The Fresh Loaf

A Community of Amateur Bakers and Artisan Bread Enthusiasts.

xaipete's blog

xaipete's picture
xaipete

I saw these luscious looking onion rings on YeastSpotting several weeks ago and just could not get them out of my head. After eating them only once, I'm more obsessed with them than ever!

sourdough onion rings

What a terrific way to use up your sourdough discard! Heck, these were so good that I'd make sourdough starter for the express purpose of turning out these tasty little rings.

Why were these onion rings so good? They weren't at all greasy (I recovered almost all the oil after cooking), they stayed crisp even when cool (not that many had the chance to get to that state but I had to save a few for the picture), and they had a wonderful flavor.

This was the best batter I have ever used. It would work great on fish (fish & chips) as well as vegetables (tempura). It is a total winner and many of us at TFL have an ample supply of SD starter in our kitchens at all times.

I made a few little changes to the original recipe.

The Batter:

130 g ripe sourdough starter (that was all I had; the original recipe called for 150 g)--my starter was firm, 67% hydration

Heaping 1/3 cup AP flour (original recipe called for 1/2 cup)

Heaping 1/3 cup water (original recipe called for 1/2 cup)

Mix together well and let sit on counter, covered, for about 3 hours then refrigerate until very cold (about another 3 hours).

(The original recipe just fed the starter and immediately refrigerated it, but I felt a little funny about that so I let it sit out for a while and start to grow.)

When you are ready to make the onion rings:

Heat 48 ounces of canola oil in a heavy bottomed pot to 375º. I used a pot that was about 3 1/2 inches x 9 inches; my oil was about 2 1/2 inches deep and that worked out just fine.

Cut one very large yellow onion in slices about 1/4 inch wide and separate them into rings (you can leave them in either two or one ring slices--I did both types).

Place one cup of AP flour into a pie plate and season it with 1 teaspoon cayenne pepper and 1 teaspoon granulated garlic (I don't like the taste of garlic powder so if you can't or don't want to obtain a superior product, I'd just skip it--I use Morton & Bassett granulated garlic with parsley).

Take your starter out of the refrigerator and whisk it with 1/4 cup cold seltzer (or soda) water. It will require some work to get the starter and water mixed up. The batter will be very thick.

Dip the onion rings in the flour, coat with the batter, and then drop them in the hot oil. Don't crowd the pan (one onion required two batches for me). Turn them over several times while they were cooking (about 6 minutes, I think, but you will know when they are done).

Remove to a lined platter and reserve in a 250º oven while you are getting the next batch done.

Sprinkle with kosher salt when they come out of the oil. A dap of your favorite hot sauce makes a nice accompaniment.

Serves 2.

sourdough onion rings

sourdough onion rings

--Pamela


xaipete's picture
xaipete

California seems to have an abundance of fresh cherries in the markets right now. Since fresh cherry pie is one of my favorites, I just haven't been able to resist the urge to work on my recipe.

I assembled the pie dough first using the Vodka crust recipe from Cook's Illustrated. It was easy to work with. I thought the top crust came out very flakey and flavorful but was a little disappointed in the bottom which was a bit on the soggy side.

While the crust was chilling in the fridge, I pitted the cherries which took about 45 minutes.

I sprayed my working surface with pan-spray and then sprinkled it with flour. This proofed to be an excellent surface for rolling out pie dough. (I got this tip from Debbie Wink, who, I think, read about it in Shirley Corrihers' BakeWise.) 

The cherry mixture consisted of 6 1/2 cups pitted cherries, 3/4 cup sugar, 3 tablespoons of tapioca, and the rind and juice of 1 small lemon.

I baked the pie at 400º for 25 minutes then turned the heat down to 350º and let it bake another 35 minutes.

--Pamela

xaipete's picture
xaipete

I made David's famous Pain de Campagne AKA San Jaoquin Sourdough today. I followed his excellent instructions exactly making one large batard. I baked the loaf on a stone in the center of the oven which proofed to be the wrong rung for my on-the-small-side wall oven as the loaf got a little too brown.

pain de campagne

The crumb is nice and open, and the flavor has a lot of sour and complexity to it. I'm not sure why I only have a hint of an "ear" but perhaps I didn't get enough surface tension when I was shaping.

pain de campagne


Thanks, David, for this and all the other wonderful variations on the theme!

--Pamela

xaipete's picture
xaipete

I tried those pot stockers featured on this week's Wild Yeast blog. I was amazed how incredible easy they were to make and roll out. This was my first time and I noticed they were a little chewy where they were sealed. I think this was because I didn't roll them out quite thin enough, but the chewiness could have also come from my choice of flour (see below). I sprinkled them with a little cornstarch to prevent sticking. I will never used purchased won ton wrappers for pot stickers again!

pot stickers

2 cups (250 g) AP flour (I used KA AP but next time I will use a softer flour, e.g., Guisto's Baker's Choice)

1/2 cup (113 g) warmish water

Put flour in food processor. Pour in water and run until combined. Form dough into a ball and divide into 4 sections. Roll each section out into a log and cut into about 10 pieces. Flatten each disk into a round and roll out with a pin until you have a round that is about 3 1/2 to 4 inches. Cover unused dough logs to prevent drying out.

I used Hugh Carpenter's Santa Barbara Pot Stickers recipe for the filling. I doubled the sauce recipe per batch and ended up with extra filling mixture. I'm going to make some more today and freeze them.

pot stickers

Filling:

12 ounces spinach trimmed (or use one box of frozen chopped spinach)
2 green onions
2/3 pound ground pork
2 teaspoons finely minced fresh ginger
1/2 teaspoon finely grated orange peel
1 egg
1 tablespoon light soy sauce
1 teaspoon Chinese chili sauce
1/2 teaspoon kosher salt (you may want to leave this out until you make sure the dish isn't too salty but I put it in and it seems fine to me)
24 homemade pot sticker skins
cornstarch for dusting
2 tablespoons peanut oil

Sauce:
1/2 cup chicken stock
2 tablespoons dry sherry
2 teaspoons oyster sauce
1 teaspoon hoisin sauce
1/2 teaspoon Chinese chili sauce
1/4 teaspoon sugar
2 teaspoon finely grated orange peel

Drop the spinach leaves into 1 quart rapidly boiling water. when leaves wilt (about 10 seconds) drain and rinse under cold water. Squeeze out water (if you are using frozen spinach, squeeze it dry), then mince by hand. Mince green onions. Combine spinach, green onions, pork, ginger, orange peel, egg, soy sauce, chili sauce and salt. Mix thoroughly. (I think it is best to make the filling in advance so it can firm up a bit in the refrigerator.)

Within 5 hours of cooking, fold filling into dumplings.

To cook: place a 12-inch non-stick skillet over high heat (I used my 12-inch stainless All-clad without any issue). Add oil and immediately add dumplings (I add the oil, then the dumplings, then place the pan on the stove). Fry dumplings until bottoms become dark golden, about 2 minutes. Pour in orange sauce. Immediately cover pan, reduce heat to medium, and steam dumplings until they are firm to the touch (about 2 minutes).

Remove cover. Over high heat, continue frying dumplings until sauce reduces completely (about 1 minute). While cooking, shake the pan so that the dumplings are glazed all over with the sauce. Tip out onto a heated serving platter.

Serves 6

pot stickers
These dumplings can be frozen. Cook frozen dumplings over medium heat until dark golden (about 3 minutes). Because they take longer to cook, you may have to add a little water to the frying pan during the steaming stage.

Notes on ingredients:
Chinese chili sauce: best brands are Cock Brand Delicious Hot Chili Garlic Sauce and Szechuan Chili Sauce
Hoisin sauce: no oriental condiment varies so much in quality from brand to brand. Buy only Koon Chun Hoisin Sauce
Oyster sauce: Lee Kum Kee Oyster Flavored Sauce (best) or Old Brand Oyster Sauce
Light soy sauce: Superior Soy Sauce (not Soy Superior)

--Pamela

xaipete's picture
xaipete

A friend of mine, who is a great baker, sent me this recipe that she adapted from a clipping that she cut out of the Chicago Tribune in 1994. She's getting ready to move and discovered it when cleaning out her files. She had kept it for 15 years but never tried it (just how many of us have recipes lying around for decades that we've never tried?) The recipe from the clipping was from The Bread Book by Betsy Oppenneer.

I just made half of the recipe but I was really sorry that I didn't make the full batch because this is such a delicious bread with a lot of interesting flavors, a nice soft crust, and a powerful aroma that was even present upon opening the loaf up the next morning. It made my whole kitchen smell like a bakery.

Kalamata Olive, Sun-dried tomato, and Feta Bread

400 g water

14 g instant yeast

625 g bread flour (I used KA--you might need a little more flour depending on how wet your olives and tomatoes are)

42 g dried milk powder

18 g sugar

7 g salt

1 egg, beaten

180 g pitted Kalamata olives, cut in half or thirds (I used a drained 6.5 oz. jar of TJs)

8 oz. julienned sun-dried tomatoes packed in oil, drained (can use reconstituted dry pack if you prefer; I used an 8.5 oz. of TJs julienned sun-dried tomatoes)

25 g chopped fresh parsley (fresh basil would also be delicious)

8 oz. feta cheese, crumbled

Egg wash

Combine water, yeast, flour, dry milk, sugar, egg, and salt in mixer bowl. Mix with paddle just to combine. Add in tomatoes, olives and parsley at the end being careful not to break them up too much.

Let dough rest 15 minutes in covered mixer bowl. Turn out onto lightly floured counter and knead a few turn to form a ball. Place in oiled covered container and let rest another 15 minutes. Do a stretch and fold. Return dough to bowl. Wait another 15 minutes and do a 2nd stretch and fold.

Return to covered bowl and let rise until double (about an 1 1/2 hours--I can't remember exactly how long this took).

Divide dough into two equally sized balls and roll each out into a cylinder about 12" long and 1/4" thick. Sprinkle each rectangle with half the feta, and then cut the rectangle in half length-wise.

Roll up each strip of dough tightly to form a long cylinder, and then roll each cylinder back and forth until each is 24" long. Braid two cylinders together and then coil them to form a round loaf.

Place each loaf on parchment, spray lightly with pan-spray, cover loosely with plastic wrap, and let proof until almost double, about one hour.

Place oven stone on rack in middle position and preheat oven to 375º F.

Just before baking, brush loaves with egg wash. Bake directly on stone for about 35 minutes until center reaches 190º F.

Makes two round loaves (can also be baked in loaf pans).

Kalamata Olive, Sun-dried tomato, and Feta Bread

We cut a few slices of the bread when it was still warm (we just couldn't wait; it smelled so good). The reason why part of the slice is missing in this shot is because my husband pulled off one of the bulbs and ate it before going to bed. (Geeze, Jim, you wrecked my picture!)

Kalamata Olive, Sun-dried tomato, and Feta Bread

It also makes great toast. I had it for breakfast and lunch!

Kalamata Olive, Sun-dried tomato, and Feta Bread

--Pamela

xaipete's picture
xaipete

These baguettes turned out surprisingly well in spite of a number of recipe mishaps--I improperly jury-rigged some ripe firm levain into an instant liquid levain, made two large loaves instead of three smaller, and left the oven at 500º. The crumb was somewhat open and had a nice buttery flavor, but the loaves lacked a crispy crust owing to their too high and brief bake. I really owe this one another try before deciding on its merits!

dimuzio french baguette


dimuzio french baguette

450 g KA AP flour

290 g water

10 g salt

3.5 g instant yeast

100 g liquid levain

Put together in the usual fashion.

--Pamela


xaipete's picture
xaipete

Happy Memorial Day, Everybody!

I made Dan's SF SD bread yesterday, baked it last night (it got a lot of oven spring), and let it cool on the counter overnight. When I sliced into it this morning, I was very pleased with its structure and open crumb. I would have liked a bit more tang but think that could be achieved by retarding the proof overnight in the fridge. I'm not sure if that would required reducing the amount of starter, but perhaps Dan will supply an opinion. Dan's formula for SFSD was both easy and rapid. Another benefit to Dan's formula (indeed all of the formulas in Bread Baking) is that you can use KA AP, which can be purchased is 25 pound sacks, instead of KA Bread flour. I was amazed that I could turn such a professional looking loaf in a mere day, not counting the time required for getting the starter ready. Dan's formula also incorporated a lot more starter in it than I'm used to! I think this was a very successful bake and I would definitely recommend it to anyone wanting to reproduce an authentic San Francisco Sourdough!

dimuzio san francisco sourdough

Formula for two loaves:

700 g bread flour (because KA bread flour is so strong, I used KA AP)

500 g water

20 g salt

480 g firm ripe levain (67% hydration)

My method: mix the water and ripe levain together to combine, add the remaining ingredients and mix with the paddle on speed 1 for 1 minute. Turn off mixer and let rest 5 minutes. Mix with dough hook on speed 2 for 4 minutes. Let dough rest covered in mixer bowl for 20 minutes. Dump dough on lightly floured counter and do a stretch and fold. Put dough into an oiled dough bucket and let rest another 20 minutes. Do another stretch and fold. Let rise until double in the covered dough bucket. Form into two loaves and proof onto a well-floured linen-lined banneton until nearly double. Bake at 450º on a hot stone with steam until done, about 27 minutes. Let rest in a turned off oven for about 10 minutes to darken and harden the crust.

dimuzio san francisco sourdough

--Pamela

xaipete's picture
xaipete

This was a delicious bread! It was everything I hoped for (thank you David!). This massive loaf had a delightful sourness with a nice rye flavor, a well-developed structure without any hint of heaviness, and a wonderful aroma. I would definitely make it again.

This was a three-build bread: I made the German rye sourdough Thursday night and the rye sourdough Friday night. I used KA bread flour and home-ground unsifted rye (the formula called for white rye so this was a substitution). Everything ticked along exactly as expected. I put the final dough mixture together Saturday morning and mixed it in my Kitchen Aid on speed 4 for 14 minutes (again, thanks for your help on this David!), scraping the sides down twice. After I literally poured the mixture into a dough bucket, I let it ferment at room temperature for about 2 1/4 hours. Meanwhile I scoured the house for an appropriately sized proofing basket for my 2 1/2 pounds of dough finally turning up a basket from a closet.

After rubbing a considerable amount of rye flour into a flour-sack couche, I emptied--again almost poured--the dough into its center. The dough was too slack to shape, so I just lifted the whole thing into the basket, covered it with plastic wrap, and let it proof for another 1 3/4 hours during which time it nearly doubled. I then placed a piece of parchment paper on a baking sheet, sprayed it with PAM, placed it over the basket, flipped it over and watched the dough come tumbling out.

After three quick scores about 1/2-inch deep, I slid the spreading mass onto a preheated oven stone on the middle rack, plopped 3/4 cup of ice cubes in a skillet beneath the stone for steaming, shut the door, and hoped for the best. As I watched through the oven window I was delighted to see a lot of oven spring. The dough expanded both upwards and sideways increasing in volume nearly 50%. I was very pleased and hopeful. I threw a piece of foil over the loaf after 20 minutes because I worried that it was getting brown to quickly and then checked it to see if it was done at 40 minutes. It registered 96º C. so I removed it to a cooling rack. I was very happy to feel that the loaf was wonderfully light. I knew I had a winner.

Notes: I used the rye sour from Leader's book. It had sat in the refrigerator un-refreshed for a month but seemed to perform just fine after only one feeding and 12 hours on the counter (actually, I let it sit on the counter for 24 hours before using it); no doubt, this is a testimonial to the rehabilitation properties of rye flour.
You can see the hole in the top of the loaf where I injected the helium. polish cottage rye
I took some more pictures but didn't have the CF card in the camera so I'll post more tomorrow.
Here are some more pictures. Vodka is the traditional accompaniment.
polish cottage rye
polish cottage rye crumb
This is a picture of about one-third of the loaf in its proofing basket; I'm including it so you can see how really large this massive loaf was.


After our dinner of sausages, grilled red peppers, and sautéed onion relish, we enjoyed a fre$h cherry pie. The pie's crust was perfectly flakey and delicious owing to the incorporation of a small amount of solid Crisco with the butter (as usual, I promised myself that this was absolutely the last time I would use the white stuff!).
fresh cherry pie

--Pamela

xaipete's picture
xaipete

Baker Beware!

I'm making a blog entry to document my experience with Leader's Corn-Rye Rounds from Local Breads. The recipe was simple enough and the little rounds seemed to turn out as described by the recipe, but they tasted just awful. I was so disappointed that I didn't even take a picture of these little round rock-like things with a very odd and inharmonious taste of corn and rye. I threw them all in the trash.

--Pamela

xaipete's picture
xaipete

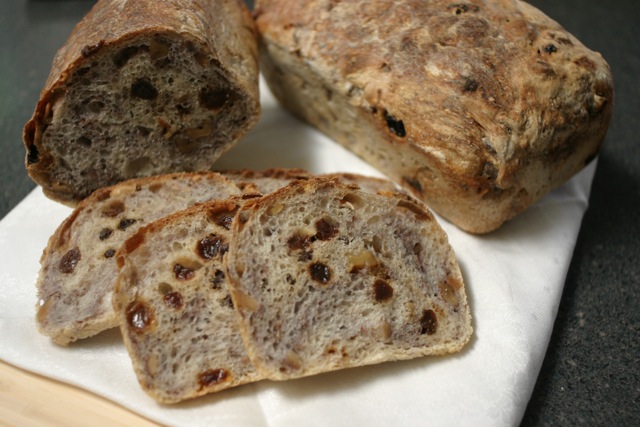
I wanted to try one of Dan's breads for Mother's Day and thought his Double Raisin Bread with Toasted Walnuts sounded delightful!

Dan gives several options for making it: as a straight dough, as a pain au levain, and as a pain au levain with a little added yeast. I chose to make the bread without the addition of any yeast.

Early yesterday morning I created a liquid levain from my stiff levain on the thought that it would take about 12 hours to fully ripen. At 8 hours I could see that it was just starting to recede, so I went into to action thinking I would have enough time to complete the bread before going to bed. (Just to clarify, I had planned to make the liquid levain in the AM and refresh it in the PM for use today, but when I saw it was proceeding faster than I expected, I just went for it.)

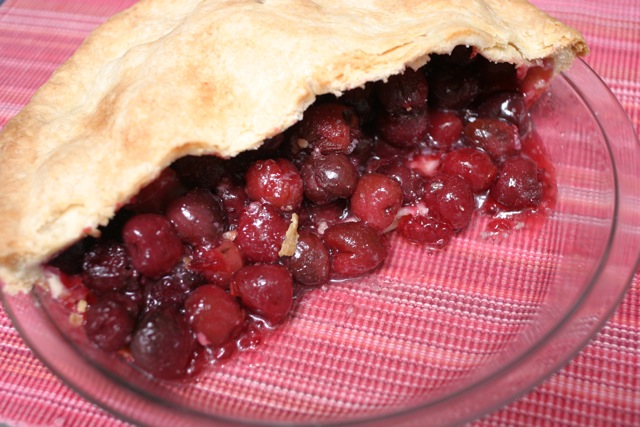
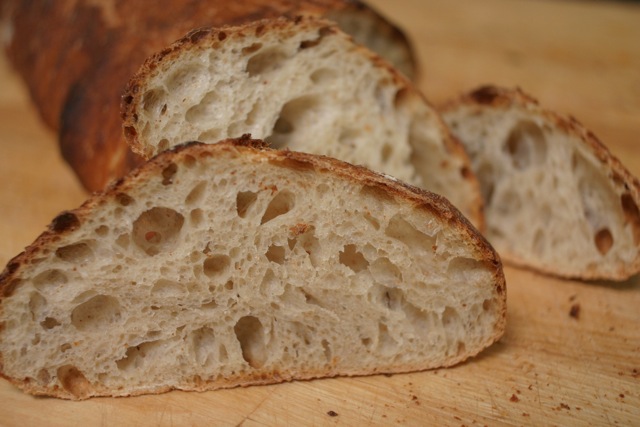
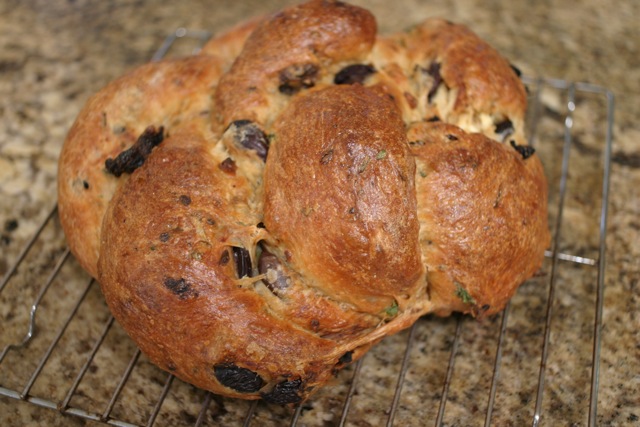
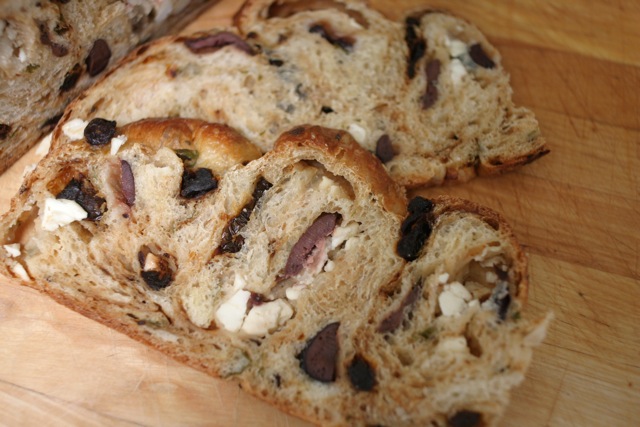
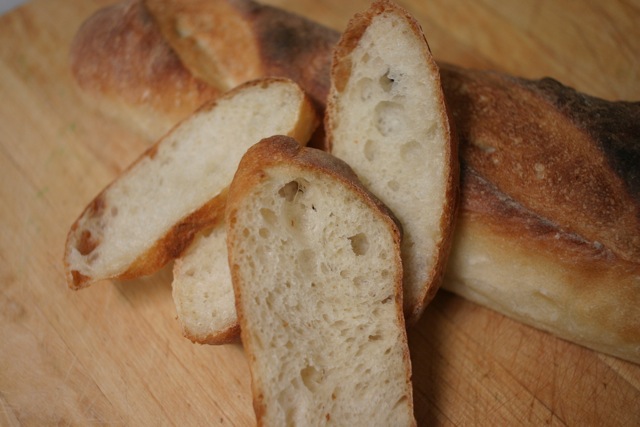
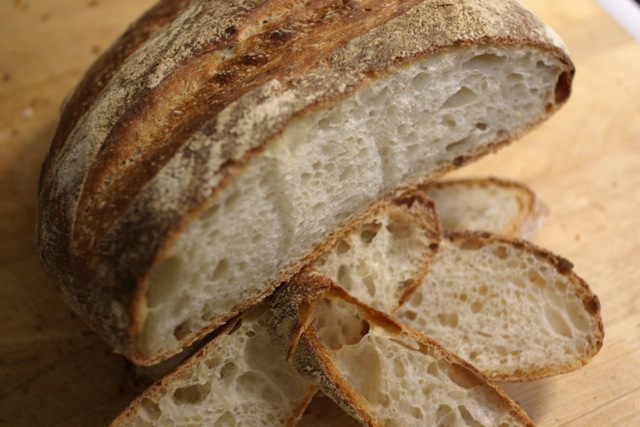
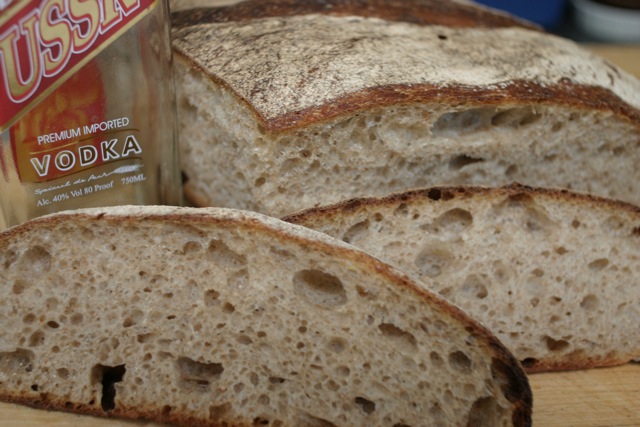
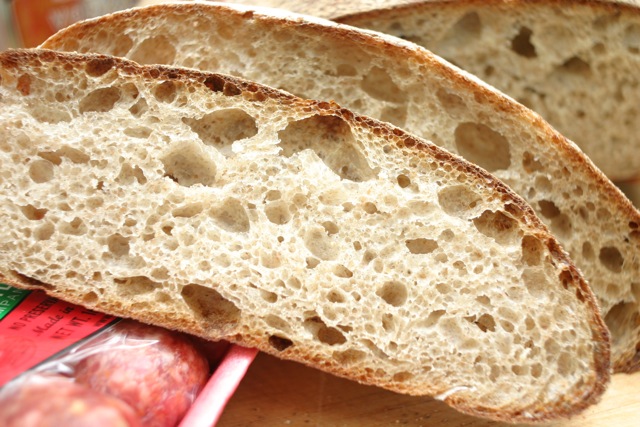
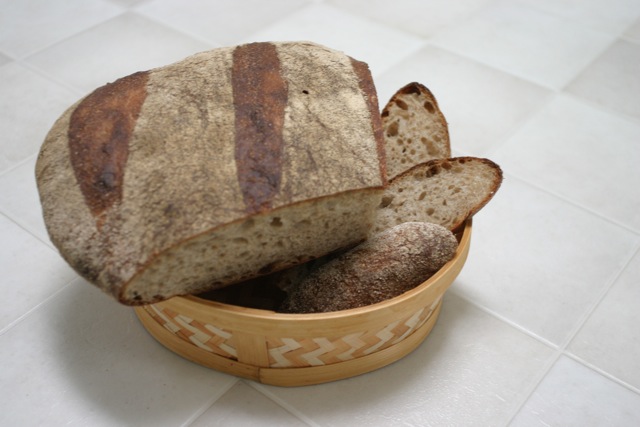
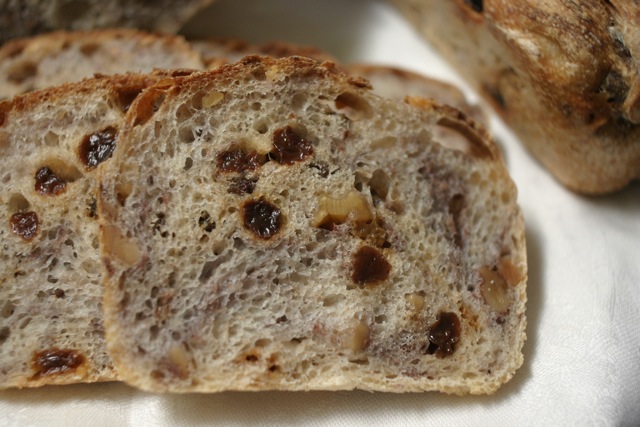
Results: I didn't get any oven spring but I think that was because I let them proof too long in the pans and I didn't have the oven hot enough (see below). The crumb is slightly wet, but pretty open. The flavor is quite delicious. This is the best raisin walnut bread I've ever had. I especially like it because it doesn't have a sugary or cinnamon flavor to it, just the pure pain au levain taste mixed with the natural sweetness of the raisins and nutty walnut flavor. I would definitely make this bread again. It is a real winner.

I'm hoping Dan will critique my method below. Dan's book, like Suas', is a big jump for me. But I figure if I don't try to learn to use this type of book, that I will never make real progress, and I really want to understand what I am doing so I will be able to develop my own recipes some day. I have given a detailed description below of how I understood Dan's method. Dan: you won't hurt my feelings so please don't hold back on any comments! Many of us will benefit from what ever you have to say.

dan dimuzio double raisin bread with toasted walnuts

dan dimuzio double raisin bread with toasted walnuts

From: Bread Baking: An Artisan's Perspective

Liquid levain:

133 g bread flour

133 g water

67 g ripe levain (I used about 60 g of my stiff levain and added a little more water to get to the total of 333 g)


Final dough:

467 g bread flour (I used KA bread flour)

67 g whole wheat flour (I used some I had ground about 30 hours before)

347 g water

13 g salt

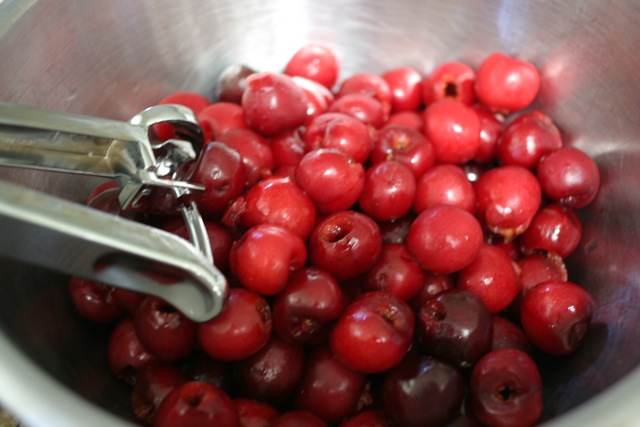
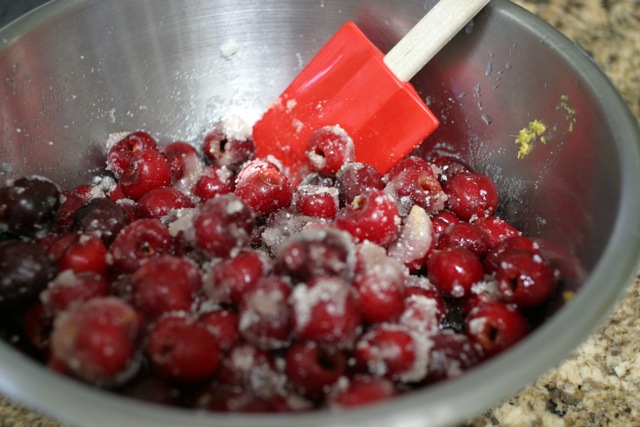
167 g dark raisins (I pumped the raisins with warm water, but drained them before incorporating)

167 g golden raisins

167 g toasted walnut halves

266g of the liquid levain at the peak of ripeness


My interpretation of Dan's method:

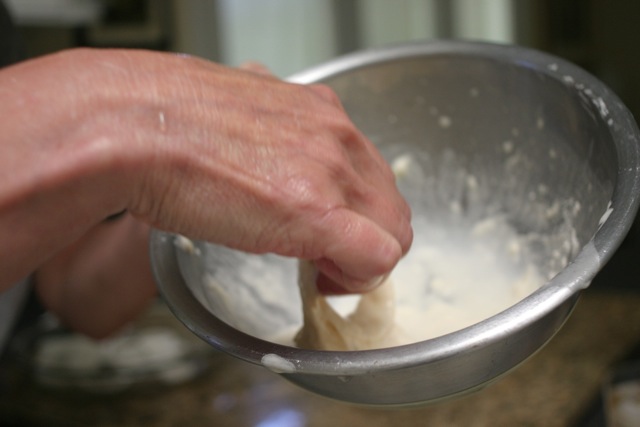
1. Mix the levain and the water together with the paddle attachment on speed 1 until the levain is well incorporated, about 1 minute.

2. Add the bread and whole wheat flours, and the salt. Mix with the paddle attachment on speed 1 until everything is combined, about 1 minute.

3. Let dough hydrate with mixer off, about 5 minutes.

4. Resume mixing with dough hook on speed 2 until dough reaches improved mix stage (window pane forms but breaks when stretched), about 5 minutes. I had to add a small amount of additional flour, approximately 1/4 cup, to get the dough to sit right on my dough hook.

5. Reduce to speed 1 and add in the nuts being careful not to break them up too much.

6. Fold in the raisins with a kidney shaped bowl scraper. Dan warned me to be careful not to cut the raisins because they are high in calcium propinate, which is a yeast retardant.

7. Place the dough into an oiled bowl, cover and let bulk ferment at room temperature for 30 minutes.

8. Do one stretch and fold, return to covered bowl, and continue to bulk ferment until dough doubles. (Although the dough was a little sticky after one stretch and fold, it seemed to have good strength so I only did one. I thought bulk fermentation would take about 3 hours--my kitchen was about 74º--but it took more like 5 1/2 hours).

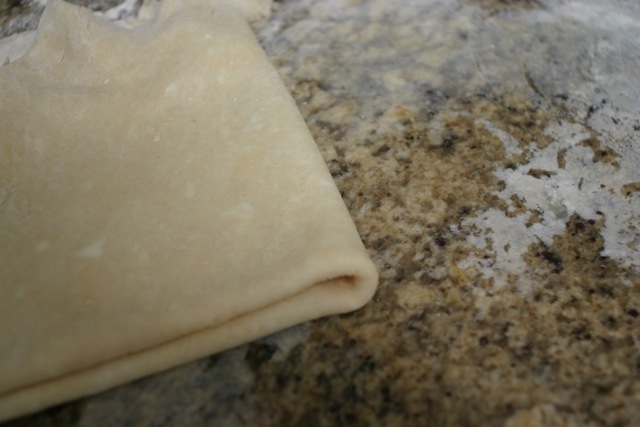
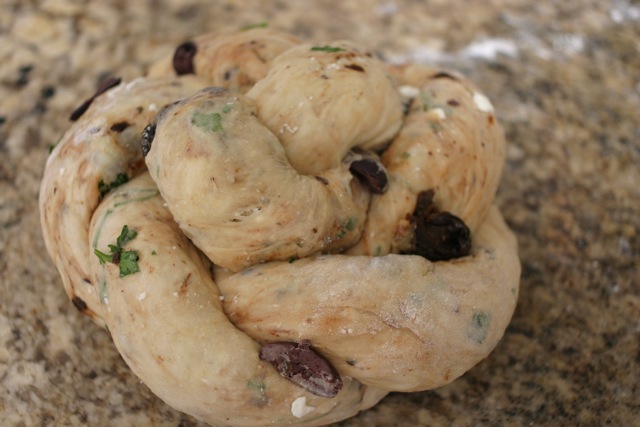
9. Preshape the dough into two balls and let rest under plastic for 30 minutes. (The dough was difficult to preshape because it was loose/wet/a little sticky--not sure what the remedy was here, but I floured my hands and the board in an attempt to make it easier to shape.)

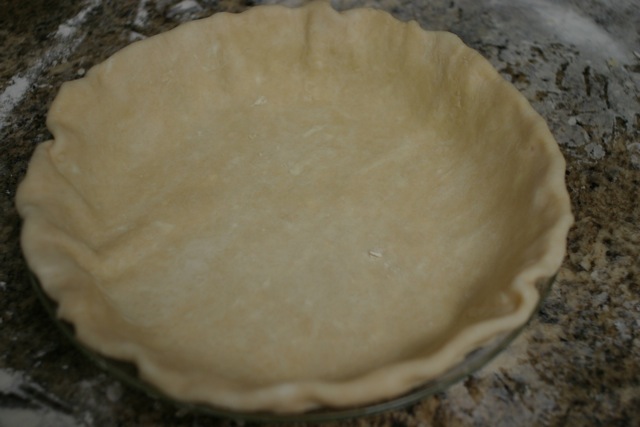
10. Shape into two loaves and place in 4 1/2 x 8 1/2 inch oiled bread pans. Cover with plastic and let proof until about 1 1/2 times. (It was now 10:30 PM and I didn't achieve very good surface tension.)

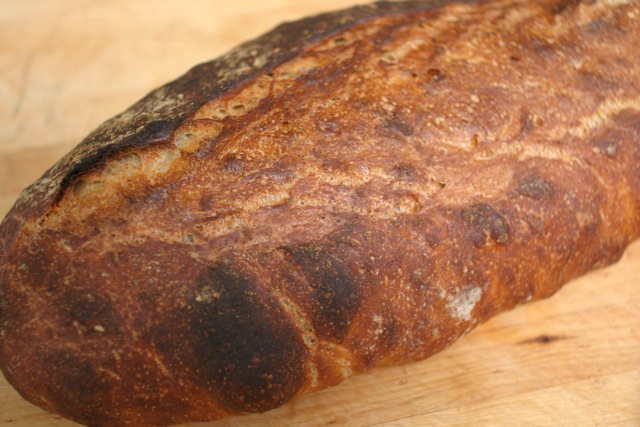
11. Bake in a preheated 375º oven for 55 minutes. (I think the oven should have been hotter because the loaves didn't brown as much as I thought they should. Also, I didn't get any oven spring, but that was probably my fault because I think I let them almost double in the pan--of course in my defense I had gone to bed. I got up at 2 AM to turn the oven on and again at 3:15 AM to put them in. By that time they were doming the pans and were probably more like double.)
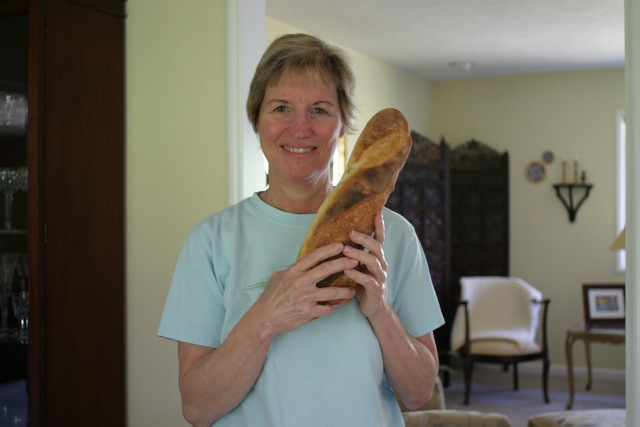
--Pamela

Pages

Subscribe to RSS - xaipete's blog