sadkitchenkid's blog
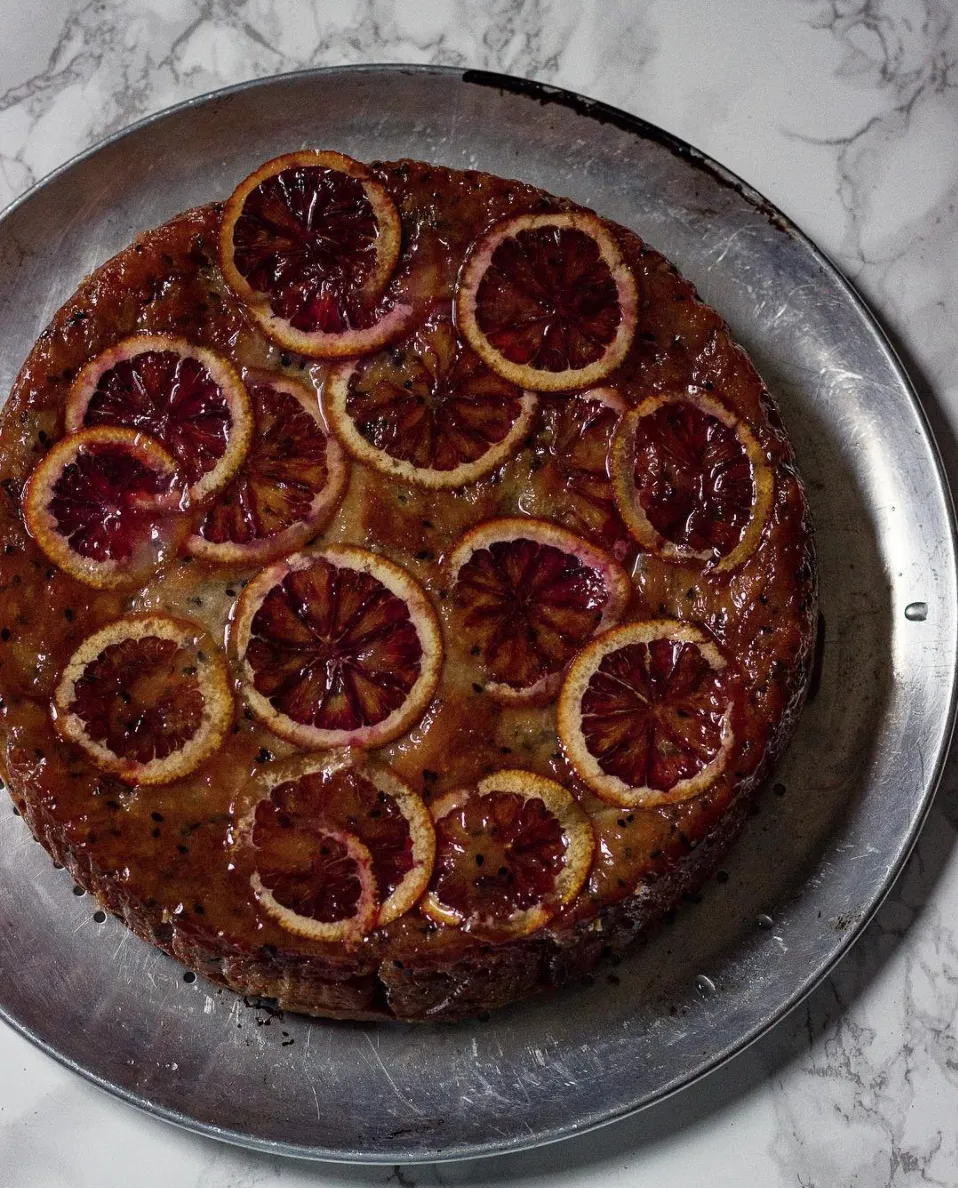


Sourdough Donuts + Blood Orange Curd Filling!
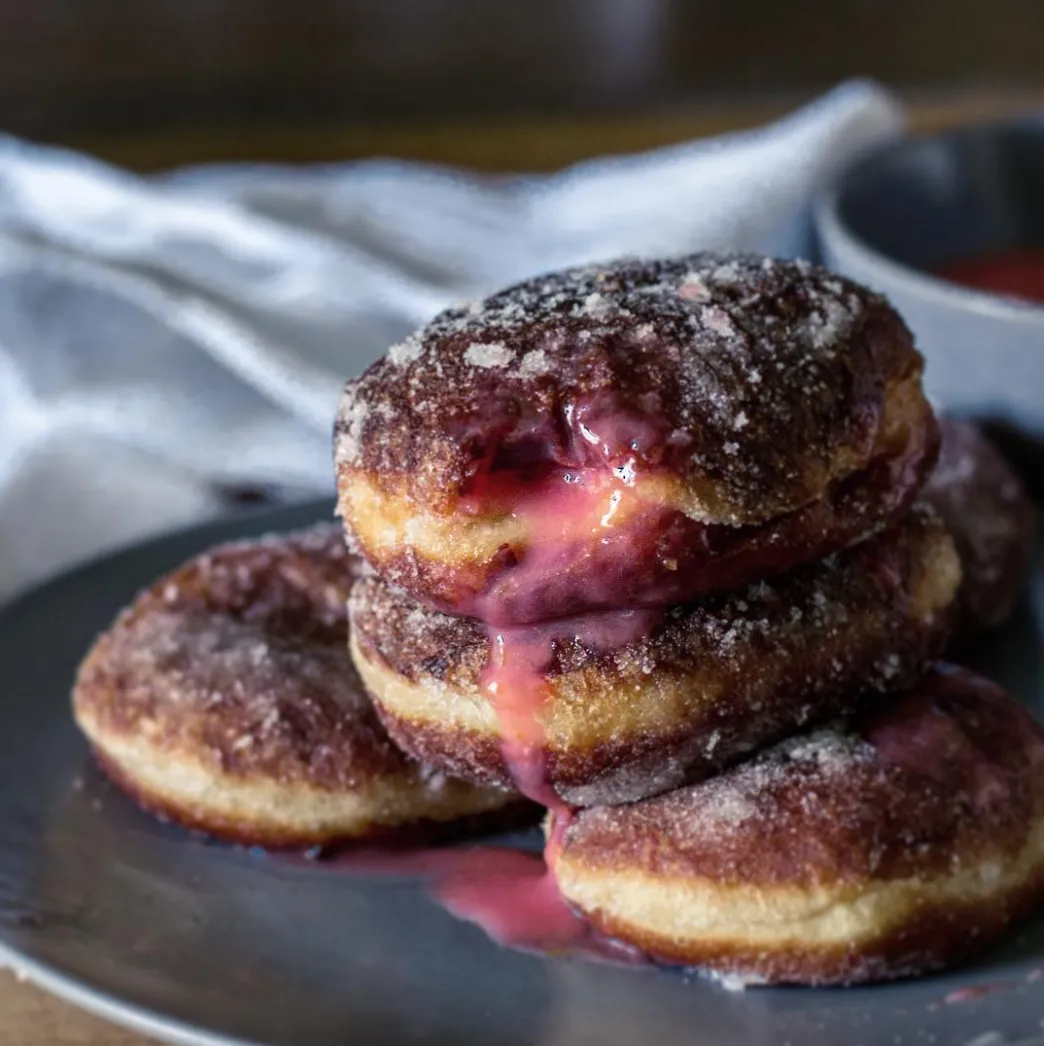
Fried up these donuts for a brunch and filled them with a citrus curd made using blood oranges and rose water!
Recipe:
Levain:
110g bread flour
35g starter
15g honey
60g water
Dough:
500g bread flour
2 eggs
70g sugar
15g salt
130g milk
15g diastatic malt (optional)
all of the levain
130g butter
1 tbsp vanilla extract
----
Filling:
1 cup sugar
8 egg yolks
20g corn starch
Shallot Focaccia Tart!
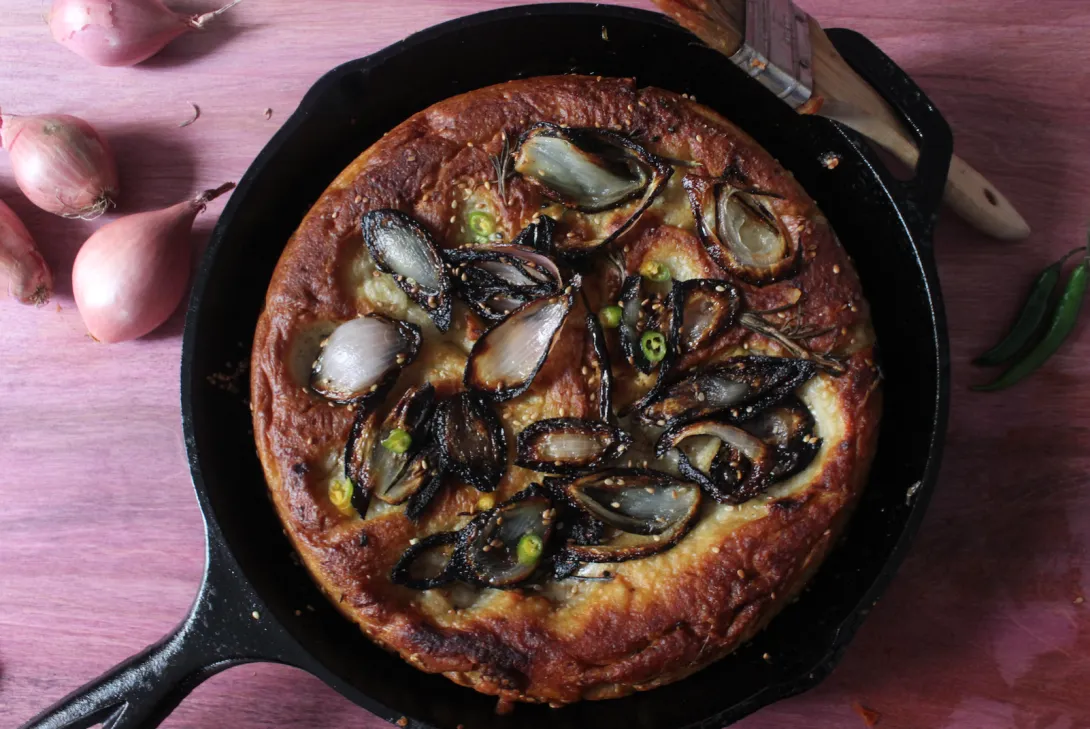
This week I made some sourdough focaccia! One of them was plain with just olive oil, rosemary, and flaked salt, and the other was made into a tart topped with shallots, bird's eye chili, and rosemary, then brushed with jalapeno honey after coming out of the oven.
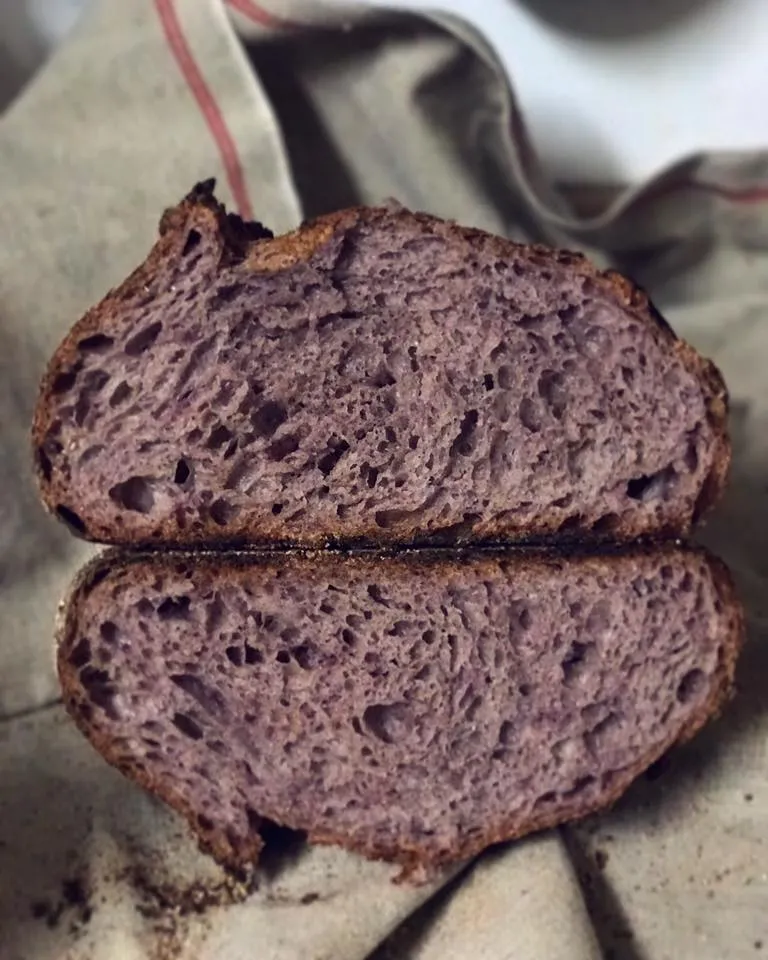
Purple Sweet Potato Sourdough

I've been wanting to make a purple sweet potato loaf for a while now because purple sweet potato is my favorite kind of potato. In this bread, I used a TON of potato puree and a lot of cornmeal, and it gave me a really beautiful loaf. The oven spring on this loaf was amazing, but the crumb is dense and cake-like. The purple sweet potato gives off a really nice floral taste and the texture of the crumb is almost creamy. Tastes even nicer the next day.
I cut into while it was still a little hot, which disturbed the crumb pattern in this picture, but look at this color!
Bagels: The Lye Bath Method

So I'm sitting here typing this with a dent on the bridge of my nose from the safety goggles, and slightly tingly fingertips (shoulda worn gloves), and I know what some might be thinking: was using lye worth it?
Well yeah duh.
Here is the recipe video I made for them
:
Anyway, the pictures speak for themselves. I'll include the recipe at the bottom.
Purple Polenta Porridge Loaf
I've been infatuated with colorful loaves for a while now. These next two weeks I'll be making purple. Tonight was purple corn polenta, later this week will be purple carrot, and next week will be purple sweet potato!
I winged this recipe. About 70% bread flour, 20% polenta, 15% wholewheat, 15% semolina, 15% starter, 3% salt, and 79% hydration.
Sourdough Croissants - Attempt #1!

This is my first time attempting sourdough croissants, and my second time attempting croissants in general! I made these into mini croissants which is why they're not as "high". I think they came out ok! When I first wrapped the dough around the butter slab to begin the lamination process, I realized that the butter slab was too cold so when I attempted to roll it out, the butter started breaking apart between the two layers of dough.
Carrot Poppyseed Loaf!

This loaf really surprised me! The carrot juice doesn't make it sweet, which was my fear. The recipe produced a nice savory and complex loaf. I added the turmeric and black pepper for the health benefits.
I also filmed another video documenting the process! I added a soundtrack that my friend made for the video. She made the music using sounds from my kitchen (ie, the stove burner turning on, a knife against a cutting board etc). It's pretty cool, you guys should check it out!
Now here come the pictures (you guys know how much I love my pictures haha),
Chestnut, Raisin, Walnut Sourdough with Whole Wheat, Espresso, and Cocoa
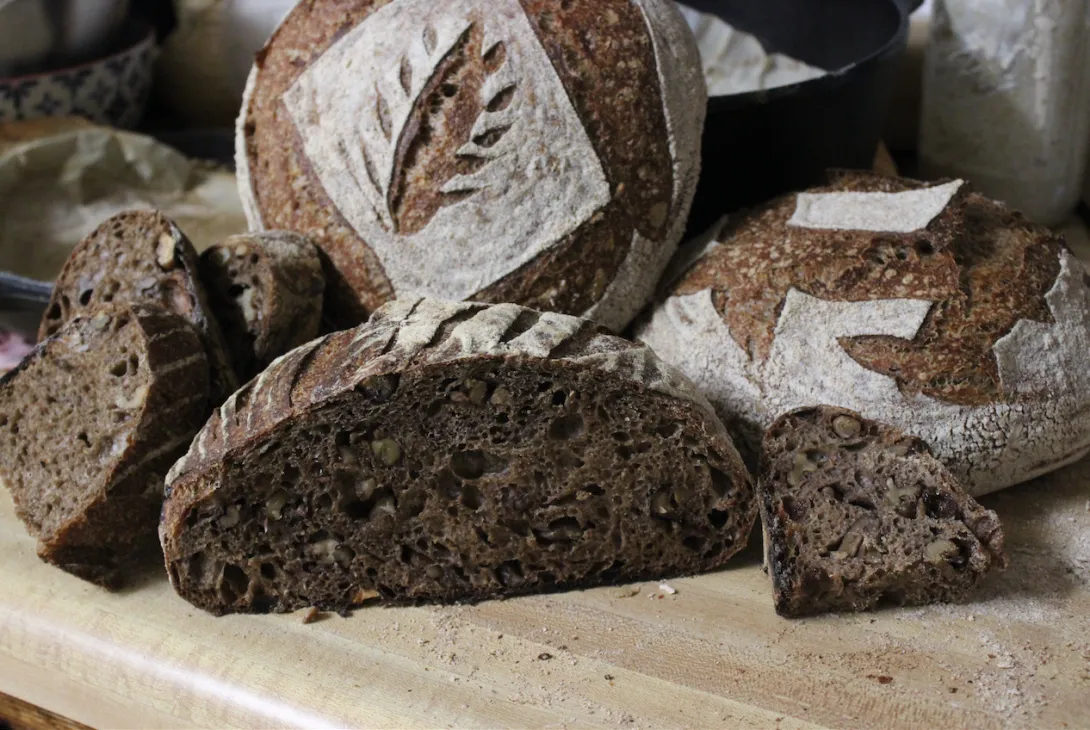
The title is a mouthful I know.
But wow this bread might be my new favorite.
I made a video showing how I made these loaves. It's pretty straight to the point, if anyone is interested in watching. Don't mind my pajamas lol.
- Log in or register to post comments
- 10 comments
- View post
- sadkitchenkid's Blog
Cranberry Walnut Sourdough! 87% Hydration
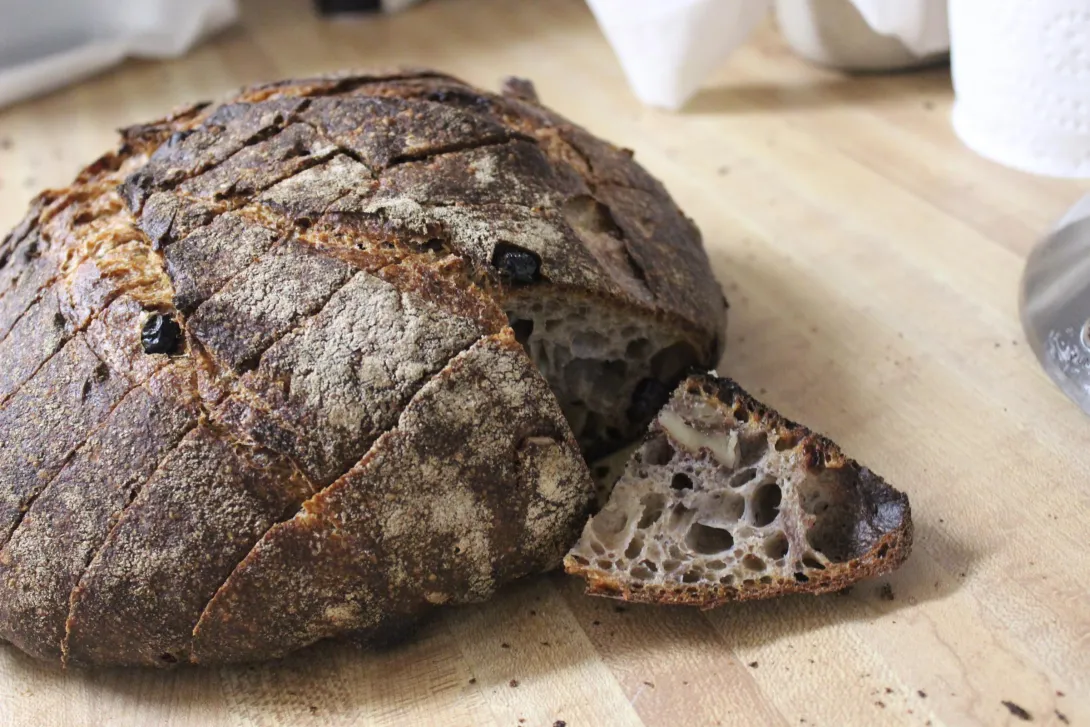
My favorite bread of all time! I haven't posted in a while! I got a new job, but I quit so now I have all the time I want to bake all the bread I want!
- Log in or register to post comments
- 8 comments
- View post
- sadkitchenkid's Blog