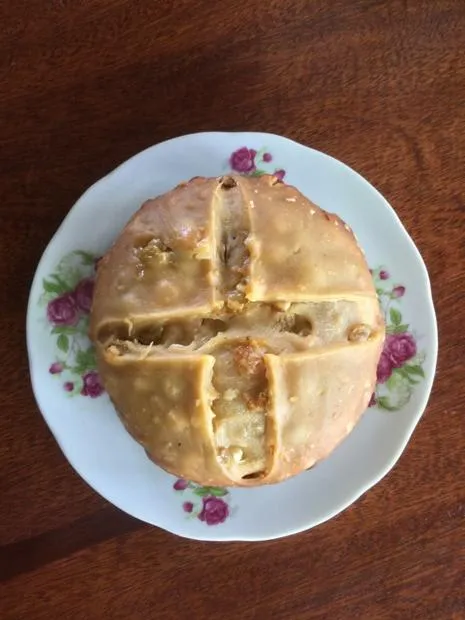
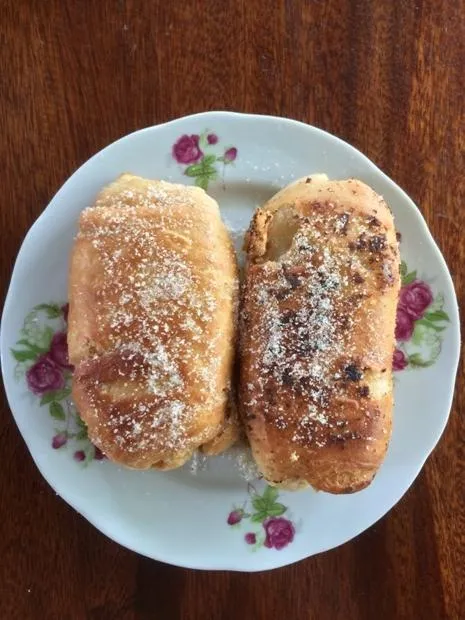
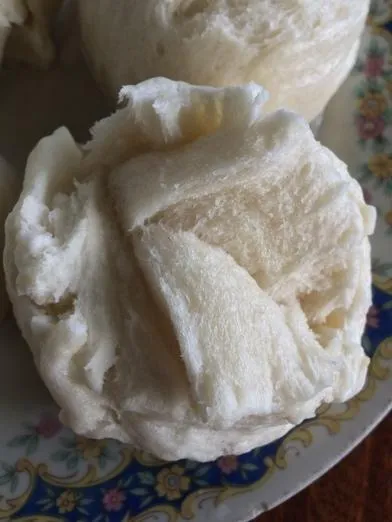
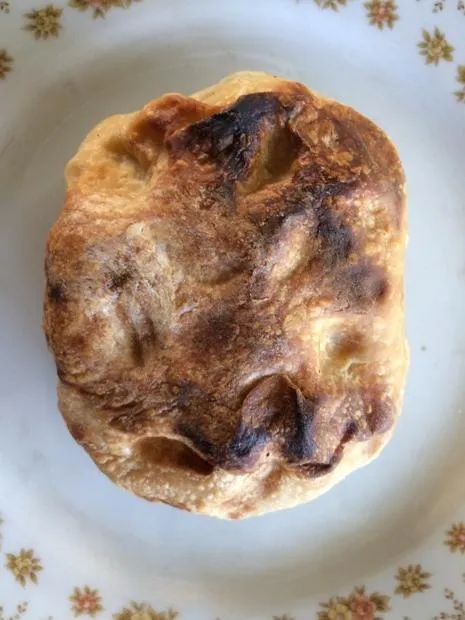
Pies for Father's Day
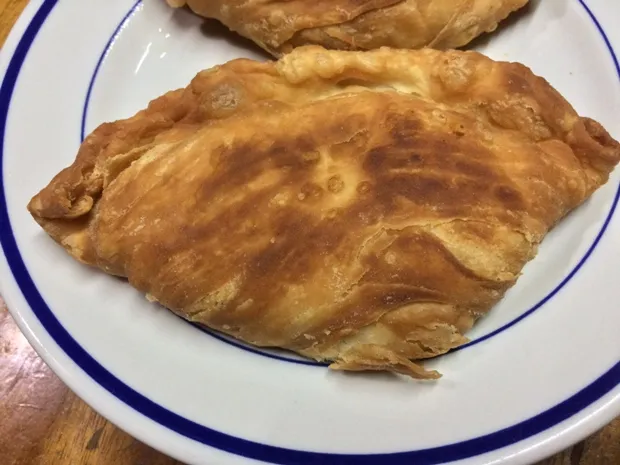
We love pie so I made some pie to celebrate Father's Day!
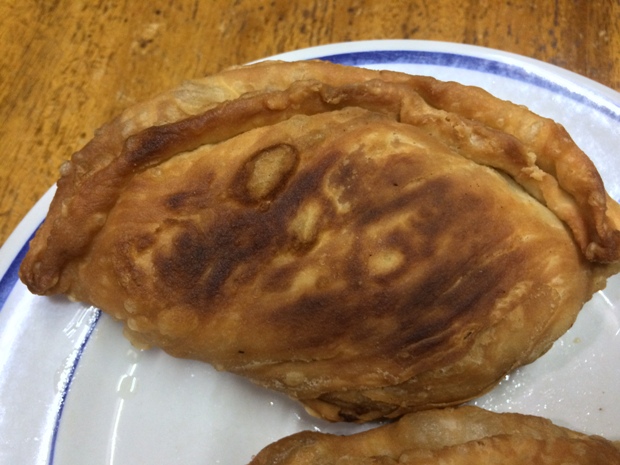
These are fried pies. I used a crust that is meant to be very tender and flaky. The filling is creamy tuna in white sauce. They are also very crispy after frying with the crispness that you associate with a croissant.