My quest for “Old-Style” San Francisco Sourdough bread: A tasty digression
My quest for “Old-Style” San Francisco Sourdough bread: A tasty digression
October, 2016
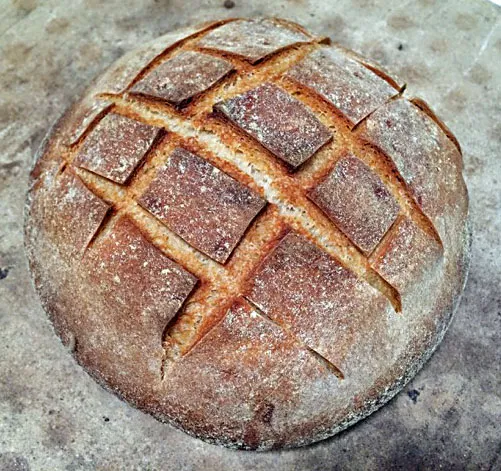
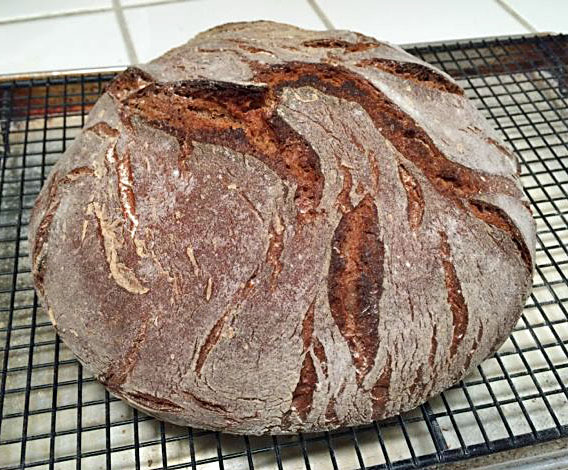
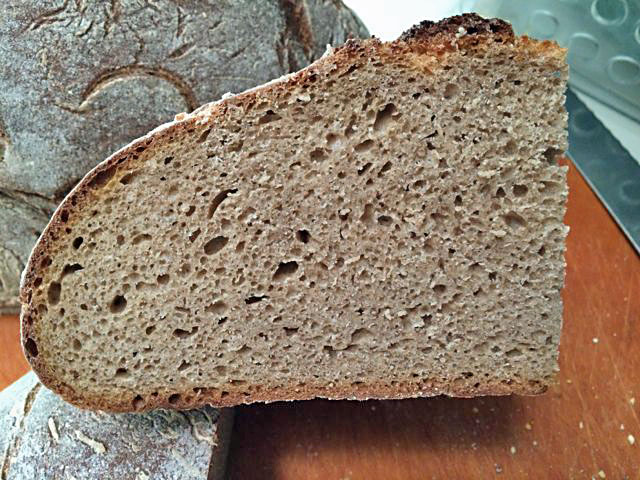
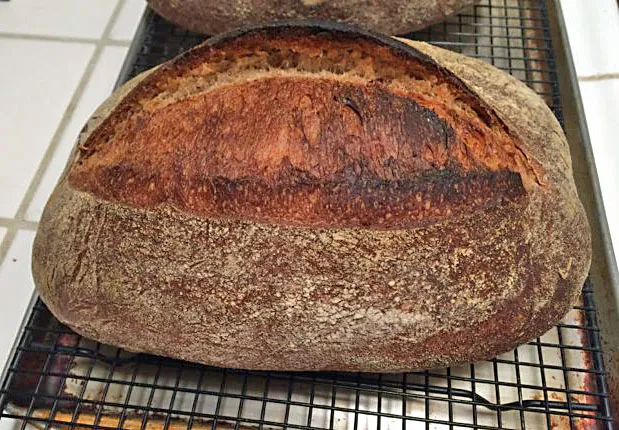
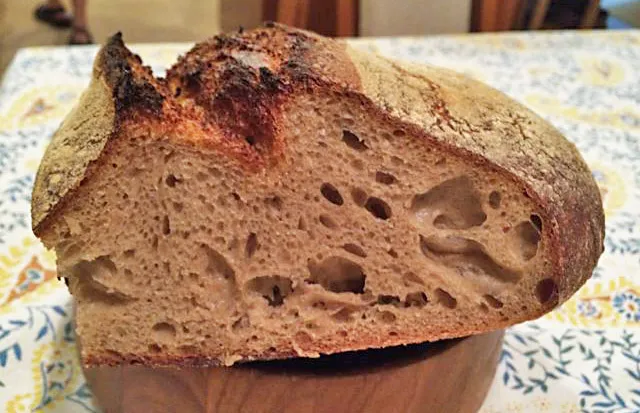
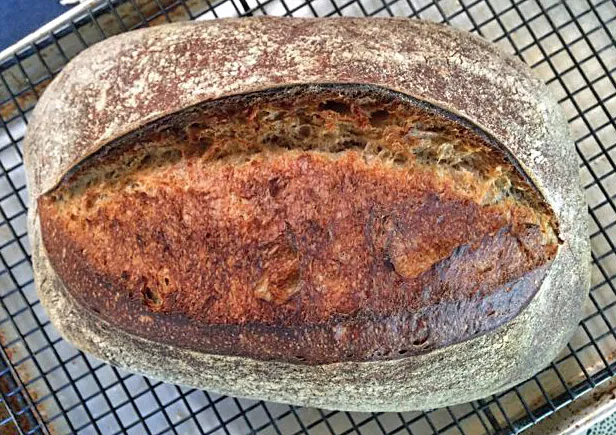
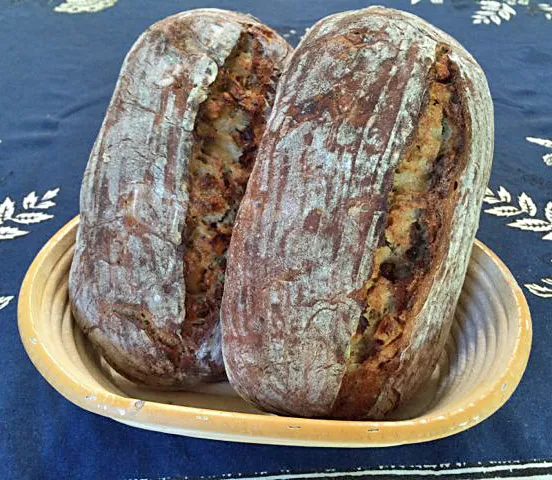
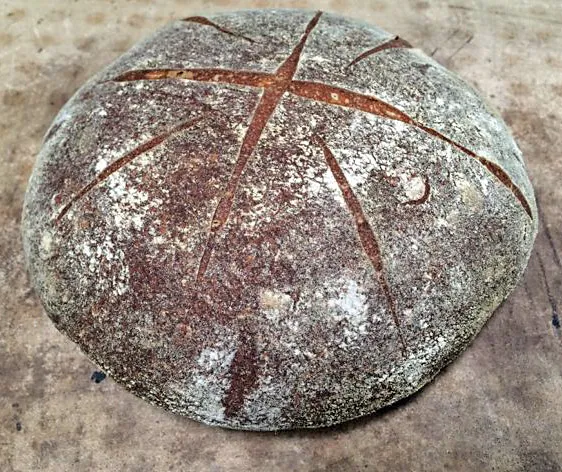
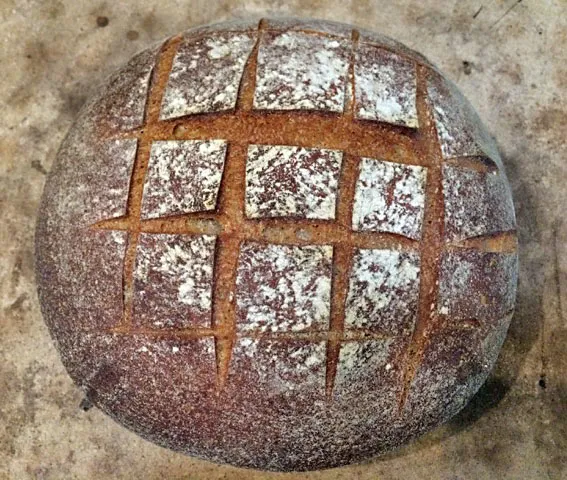
This trial builds on what I learned from my first two trials. It is a bit of a detour in that I have made some changes that, I hope, result in a bread more to my current taste, even though it deviates from the breads of the old style in having higher hydration and whole grain flours.
Total Dough | Wt (g) | Bakers % |