Multi-grain Sourdough Bread: April 30, 2019
Sourdough Bread: April 30, 2019
David Snyder
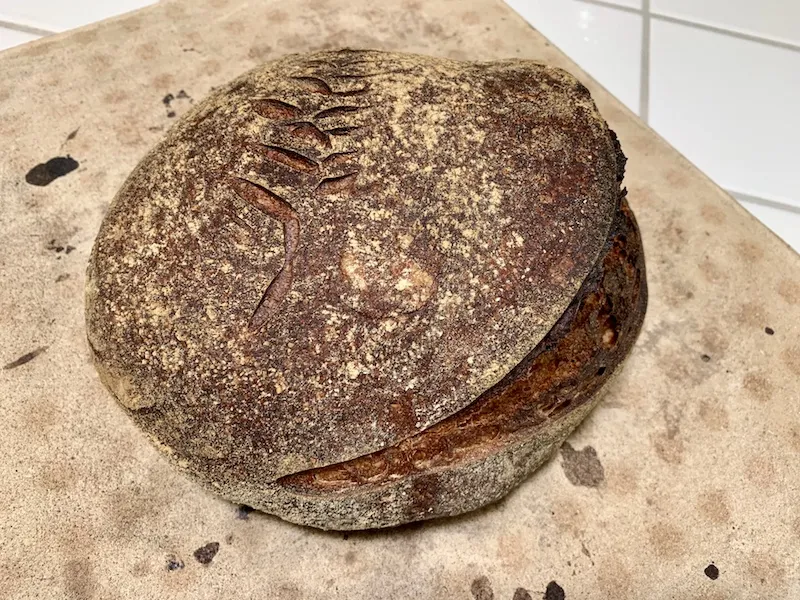
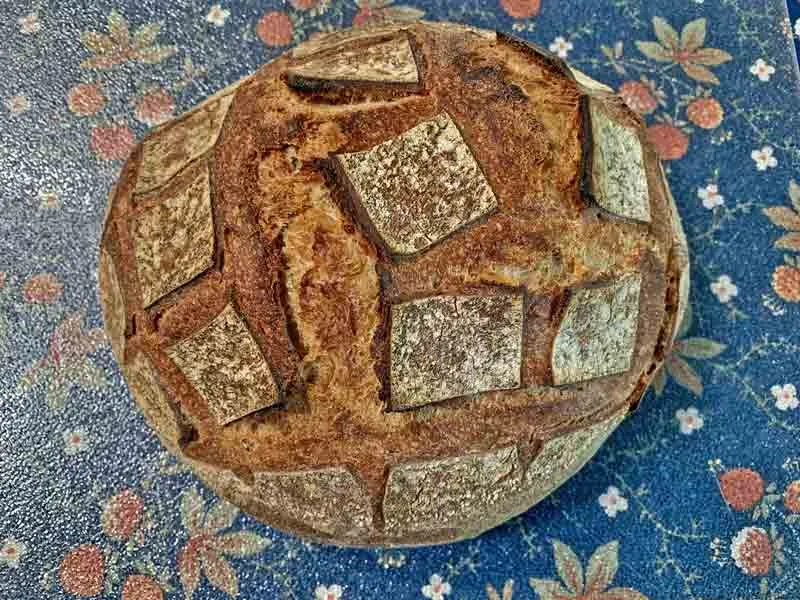
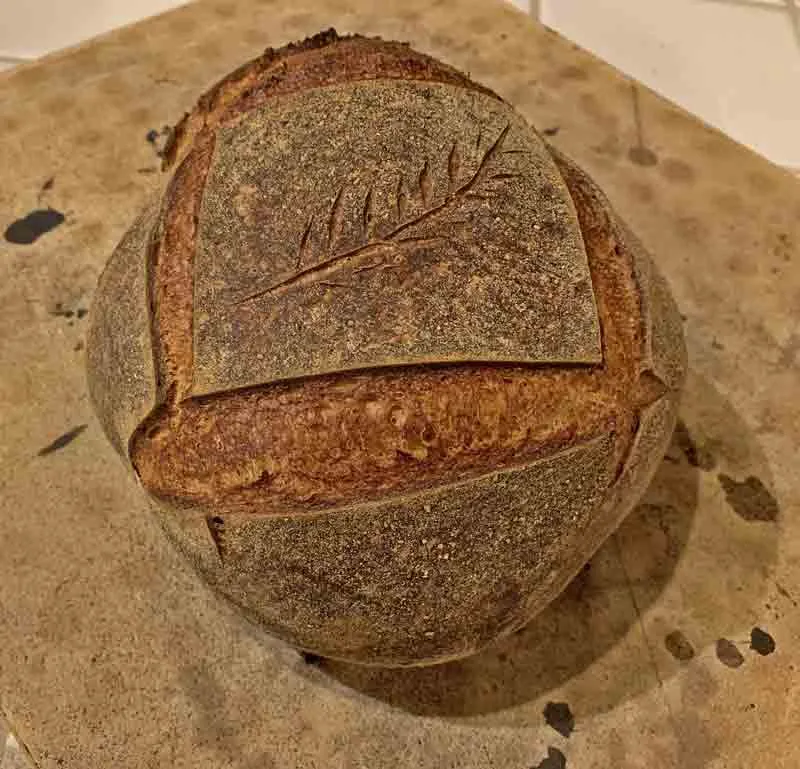
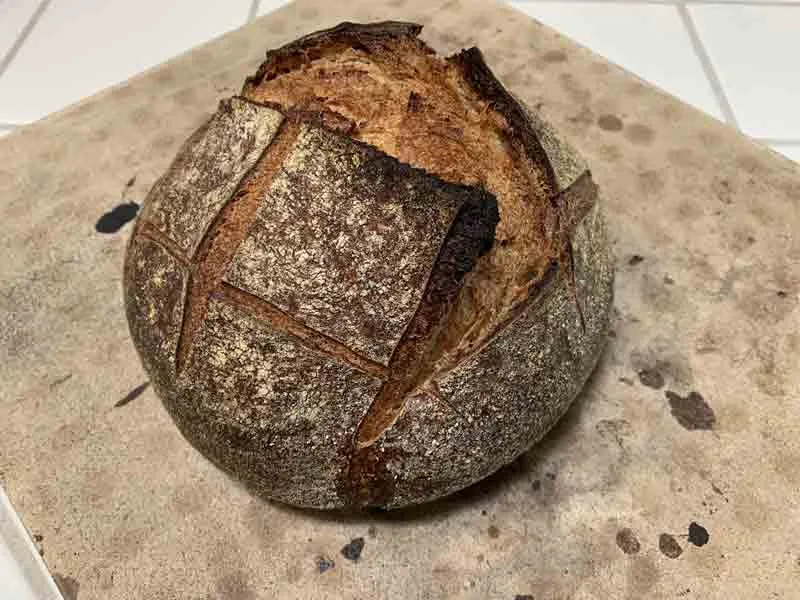
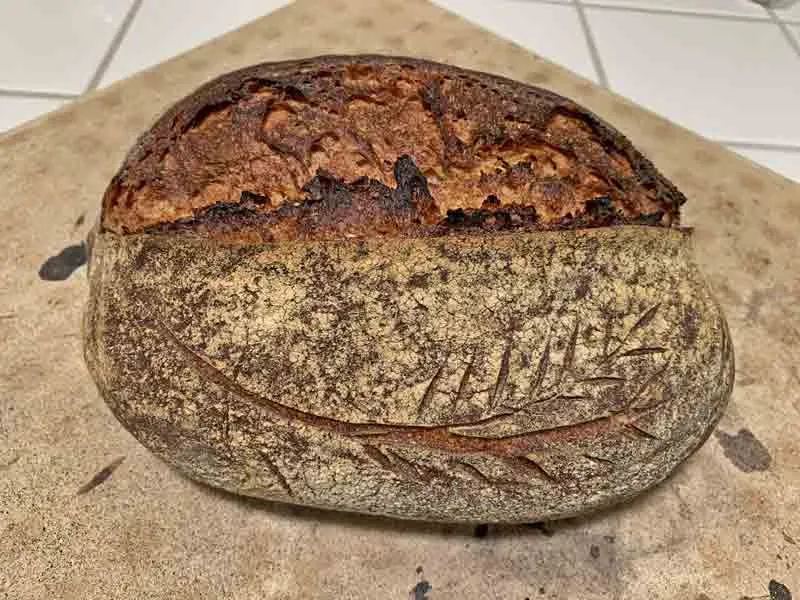
This is basically the same bread I baked on March 22, 2019. The only change was to substitute spelt for the rye and some of the all purpose flour in the final dough.
I have been trying different grain blends and anticipate continuing this line of experiments for a while. All the breads have been among my favorites. The long cold retardation really enhances the acid content without resulting in too much gluten breakdown, at least with these flours and this hydration level.