bwraith's blog
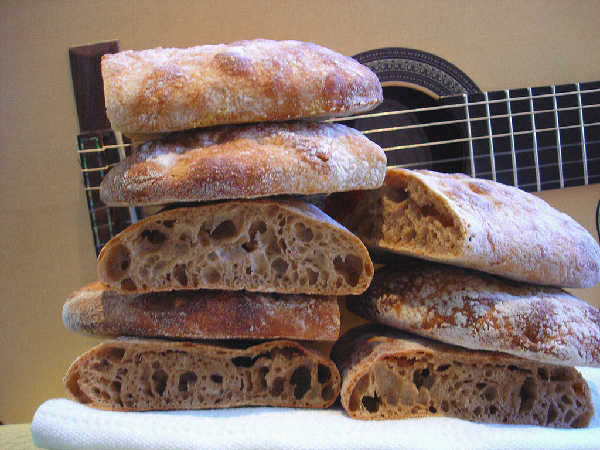 Sourdough Ciabatta - One Step (1)
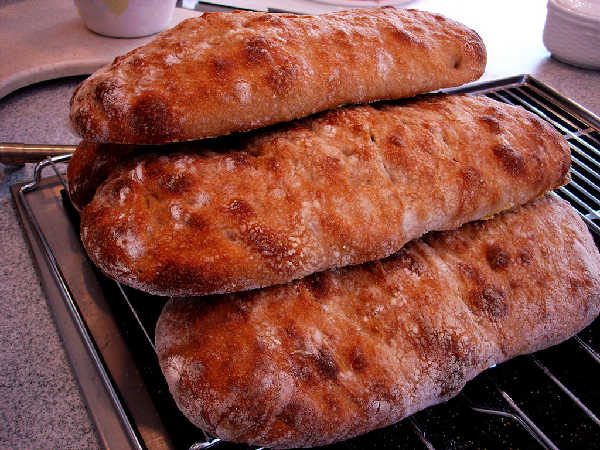 Sourdough Ciabatta - One Step (2)
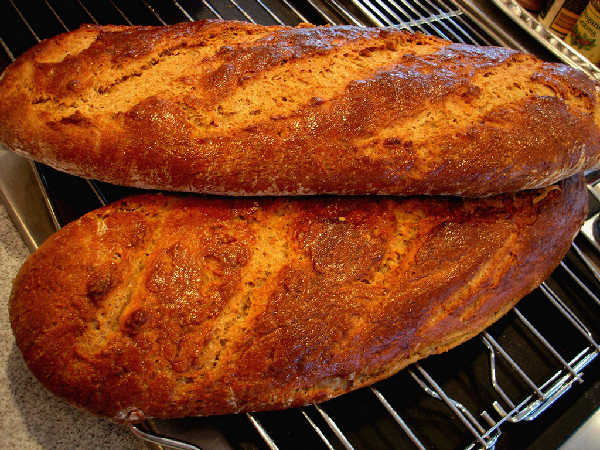 Marcel's Grandmother's Potato Bread (1)
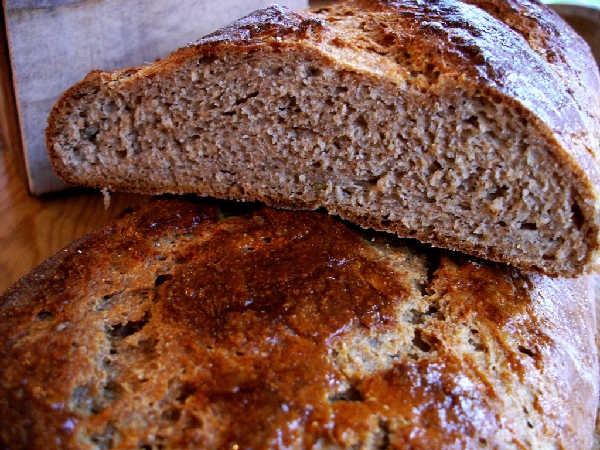 Marcel's Grandmother's Potato Bread (2)
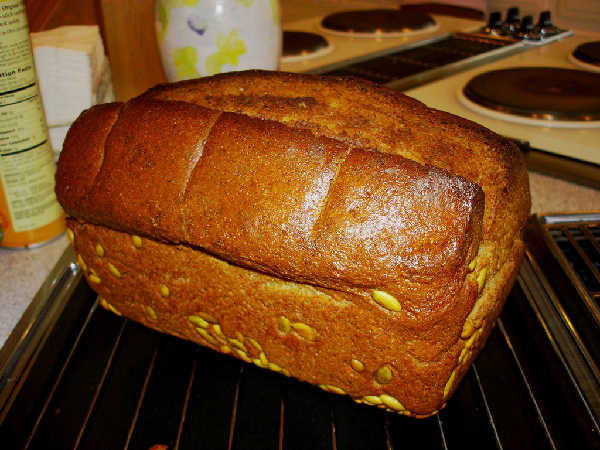 Marcel's Grandmother's Spelt Bread (1)
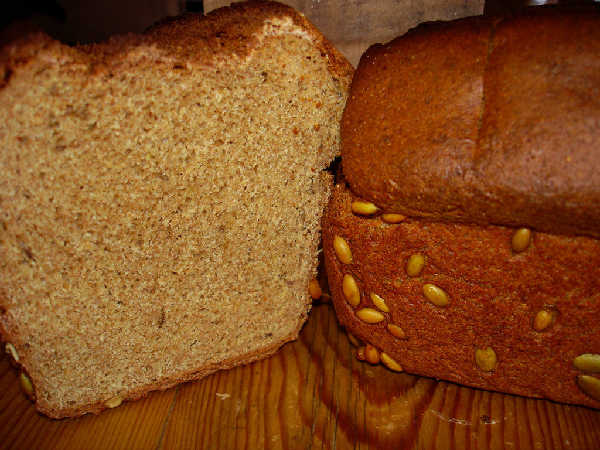 Marcel's Grandmother's Spelt Bread (2)
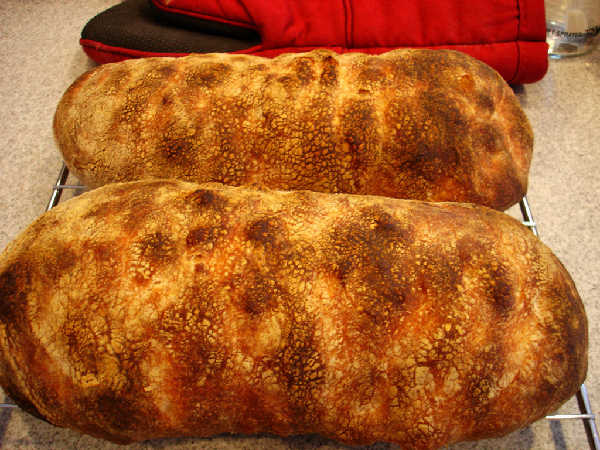 Sourdough Ciabatta - Firm Starter Version (loaves)
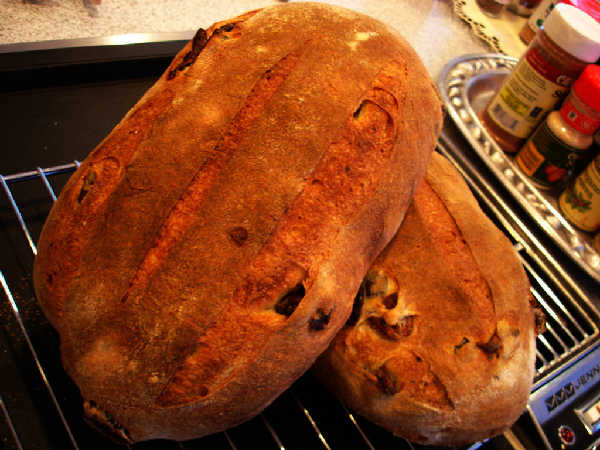 Olive Bread - Sourdough Yeast Hybrid (1)
 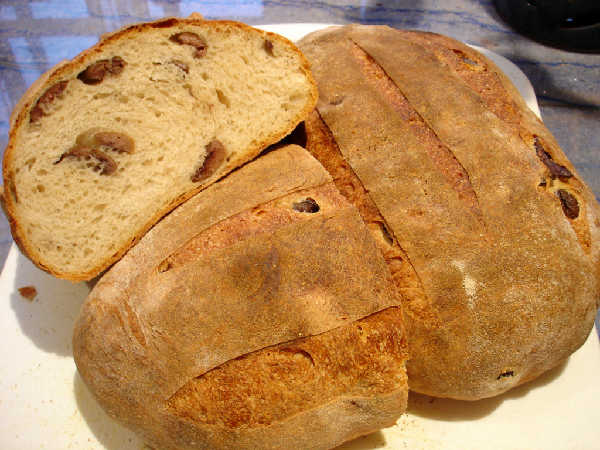 Olive Bread - Sourdough Yeast Hybrid (2)
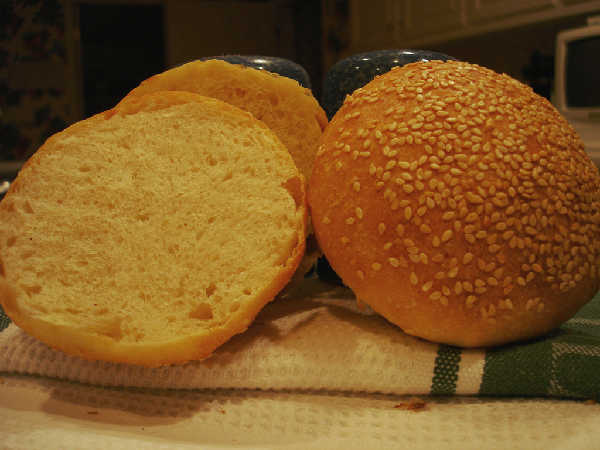 A Hamburger Bun
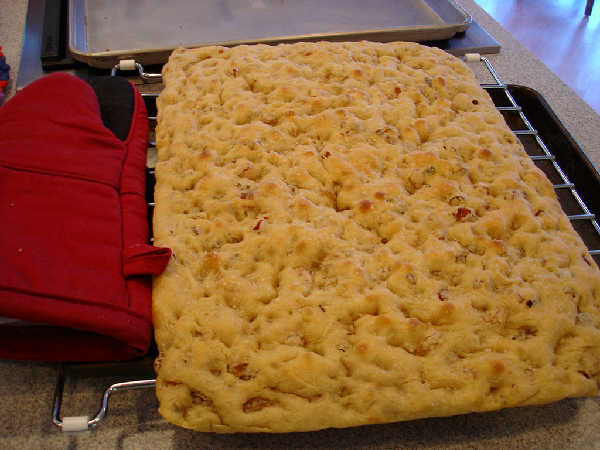 Sourdough Focaccia
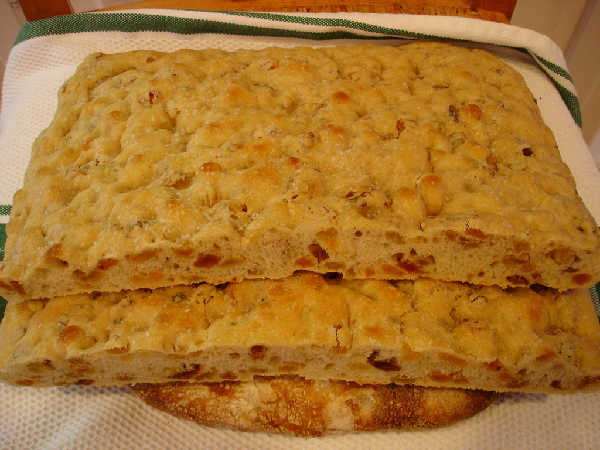 Sourdough Raisin Focaccia (a)
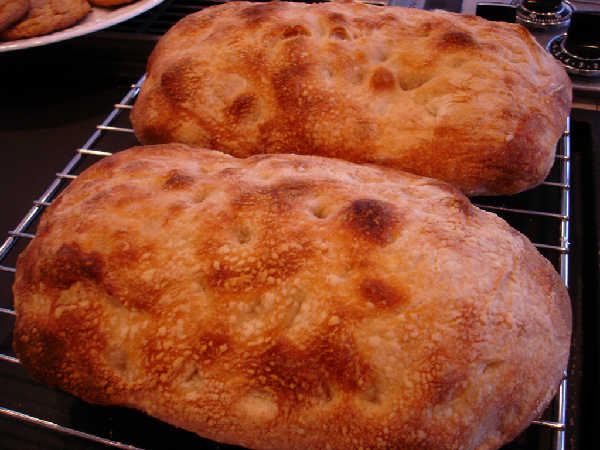 Sourdough Ciabatta Crust: Sourdough Ciabatta Crust
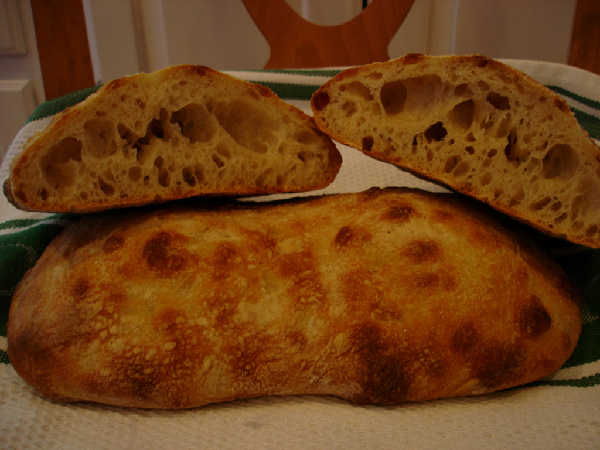 Sourdough Ciabatta Crumb
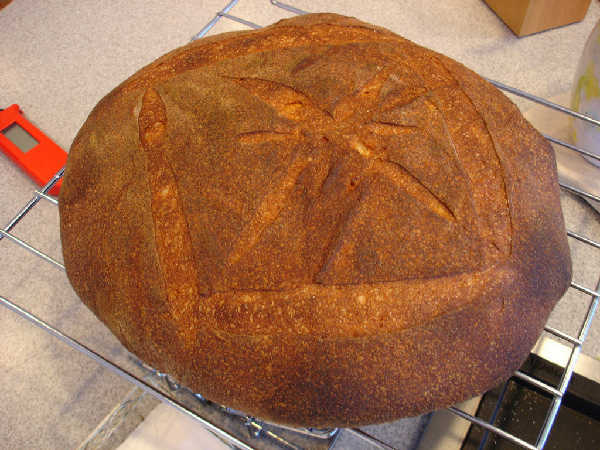
 Mixed Flour Miche (2) Crumb (a): Mixed Flour Miche (2) Crumb (a)
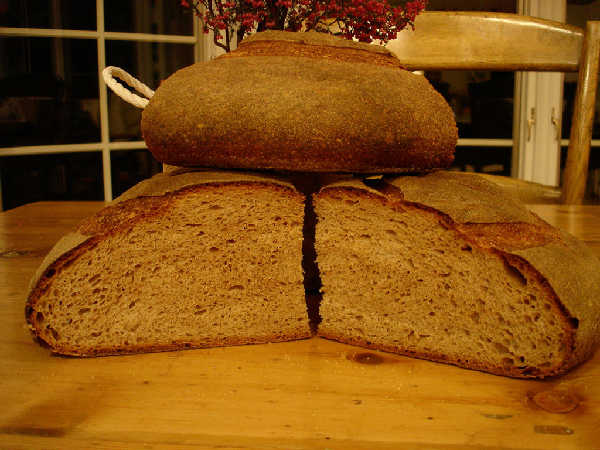
In search of a good miche...
My staple bread for the past couple of years has been a miche. I started doing the BBA recipe with half bread flour and half KA whole wheat flour. Lately I've been experimenting with different blends of organic and sifted flours. I haven't yet settled on one recipe and change things every time I do it lately, but I thought I'd describe this basic recipe.