The Fresh Loaf

A Community of Amateur Bakers and Artisan Bread Enthusiasts.

Most bookmarked

nsaubes's picture
nsaubes

Dense crumb, poor ear and spring Development

Dear community:

I've been baking sourdough bread for a couple of month now. Although I've been improving on several aspects I'm still not satisfied with my loaves: 1) the crumb is too dense, I can't manage to get an airy crumb and, 2) I can't manage to get a nice ear and spring development, the surface of the bread stays smooth and flat...

I've been cold bulk fermenting and I also tried both cold bulk fermenting + cold final shape proofing.

Are those signs of overfermentation/proofing or underfermentation/proofing? Or is it because of other factors?

Thanks for your help!

Isand66's picture
Isand66

Durum Whole Wheat Mixed Cheese Porridge Bread

   Give me a good loaf of bread and some cheese and I'm good to go.  This bake kicks up a porridge bread with 2 different kinds of cheese.

I added some lemon zest to the porridge which gave the bread a nice subtle citrus flavor and it went great with the smoked Gruyere and Havarti cheeses I used in the main dough.

I also added some almond flour to the porridge for a little extra nutty flavor and some sesame seeds on the outside for some extra crunch.

All in all the crumb was nice and moist and the cheese ....not much more to say :).

Here are the Zip files for the above BreadStorm files.

Levain Directions

Mix all the levain ingredients together  for about 1 minute and cover with plastic wrap.  Let it sit at room temperature for around 7-8 hours or until the starter has doubled.  I used my proofer set at 83 degrees and it took about 4 hours.  You can use it immediately in the final dough or let it sit in your refrigerator overnight.

Porridge Directions

Add about 3/4's of the milk called for in the porridge to the dry ingredients in a small pot set to low and stir constantly until all the milk is absorbed.  Add the remainder of the milk  and keep stirring until you have a nice creamy and soft porridge.  Remove from the heat and let it come to room temperature before adding to the dough.  I put mine in the refrigerator and let it cool quicker.

 Main Dough Procedure

Mix the flours  and the water for about 1 minute.  Let the rough dough sit for about an hour or longer.  I actually left it for around 5 hours.  Next add the levain, and salt and mix on low for 2 minutes.     Remove the dough from your bowl and place it in a lightly oiled bowl or work surface and do several stretch and folds.  Let it rest covered for 10-15 minutes and then do another stretch and fold.  Repeat the stretch and folds a total of 4 times.  After the second S & F add the porridge and incorporate into the dough.  After a total of 2 hours place your covered bowl in the refrigerator and let it rest for 12 to 24 hours.  (Since I used my proofer I only let the dough sit out for 1.5 hours before refrigerating).

When you are ready to bake remove the bowl from the refrigerator and let it set out at room temperature still covered for 1.5 to 2 hours.  Remove the dough and shape as desired.

The dough will take 1.5 to 2 hours depending on your room temperature and will only rise about 1/3 it's size at most.  Let the dough dictate when it is read to bake not the clock.

Around 45 minutes before ready to bake, pre-heat your oven to 550 degrees F. and prepare it for steam.  I have a heavy-duty baking pan on the bottom rack of my oven with 1 baking stone on above the pan and one on the top shelf.  I pour 1 cup of boiling water in the pan right after I place the dough in the oven.

Right before you are ready to put them in the oven, score as desired and then add 1 cup of boiling water to your steam pan or follow your own steam procedure.

After 5 minute lower the temperature to 450 degrees.  Bake for 35-50 minutes until the crust is nice and brown and the internal temperature of the bread is 205 degrees.

Take the bread out of the oven when done and let it cool on a bakers rack before for at least 2 hours before eating.


taiwan_bake's picture
taiwan_bake

Converting granola recipe to Sugar-Free

Hello fellow Fresh-Loafers,

I like the following granola recipe, but want to make it sugar-free:

 - 4 Cups of Oats

 - 3 Cups of Seeds/Nuts

 - 1 Cup of Desiccated Coconut 

 - 1/2 Cup of Oil

 - 3/4 Cup of Honey or Maple Syrup

 - 1/2 Cup of Brown Sugar

 - 1-1/2 Teaspoon of Salt

Method: Combine Oil, Sugar, Salt and Honey/Maple Syrup in bowl and mix thoroughly. After mixing, add Coconut and continue mixing. Add Nuts and continue mixing. Add Oats and continue mixing. Mix thoroughly until is is moist throughout. Then put it in a wide, flat pan that is lined on the bottom with oven paper. Put it into a pre-heated 300F (150C) oven for 30~40 minutes. Take out and stir every 10 minutes.

-------

The recipe is delicious, crunchy, and creates big chunks that are great to eat. But it has 1/2 Cup of Sugar and 3/4 Cup of Honey or Maple Syrup, and I'd like to get rid of those and convert it to a sugar-free recipe. Afterward, I would get sweetness by adding dried or fresh fruit. 

Does anybody have any idea how to do this and still get a crunchy, nice result that sort of sticks together? 

Some online recipes suggest using egg whites, but I have little experience with that.

Any suggestions would be appreciated.

Thanks,

Tom in Taiwan


Beadman's picture
Beadman

Budget wood fired oven build!!

My goal is to build a functional wood fired oven using as many re purposed materials as possible. The oven should be able to bake 24 good sized loafs as I will be baking for a farmers market twice a week. I hope to quickly outgrow this oven and that is part of the reason that I want to build it cheap. I am working my way through the bread builders book and would love to build something using Alan Scott plans but simply don't have the time or the money at the moment. Instead what I am considering doing is using the retaining wall between the upper and lower terraces of my garden to give me a good working height. Then I will pour a slab and build a brick oven on the upper terrace. I am hoping that the whole thing will be able to expand and contract a little bit to avoid cracking. The purpose of this post is to find out what experiences, good or bad people have had with similar projects. For instance I was hoping to use the abundant local limestone to build the oven but my research has indicated that this would be prone to explosion! So any advice about potential pitfalls or any awesome money saving ideas would be greatly appreciated.. I'm hoping to build something that can get me through this coming winter and then maybe in the spring build something bigger and better. I'm in Central Texas so it won't be a cold winter but there should be a good freeze or two.

agres's picture
agres

Leningrad Rye

An old friend seeks loaves of "Leningrad Rye" such as she had in Leningrad circa 1955.  The loaves were cob shaped, dense, firm, very dark, and damp inside. And, fragrant! Oh, and loaves would start being sold about 4 hours after the truck load of flour arrived at the bakery.  (People would be in line for bread, and see the trucks arrive!)

My guess from economic history suggests 80% rye flour, 4% flax seed (meal?) 4% sunflower seed (meal?), and coarse whole wheat flour.  From her accounts of fragrance, I assume some caraway, and salt?  Things like coffee and cocoa were simply not available. Some brewers products such as dark (rye?) malt, hops, and yeast were available.  On the other hand, the Leningrad bakers had long traditions of being able to produce good bread even in the face of harsh adversity.   

Somehow her descriptions suggest sourdough, but is there any way to produce sourdough breads that fast?  How would you approach authentic 1955 Leningrad Rye Bread?  This is not urgent as we do make very good, dark rye breads, both yeast and sourdough. Rather this  a quest for the taste and smell of her childhood food.

Or, were the Leningrad loaves of 1955 simply so much better than the Leningrad loaves of 1945? (made with cottonseed meal, and worse), and not nearly as good as the famous sourdough Leningrad loaves of 1845? Or, perhaps standing in line for hours in the cold Leningrad winter made the bread seem better? Am I on a fool's quest?


nocrapman's picture
nocrapman

Artisan bread to Sandwich loaf

Hi folks,

I am new to baking. I have been getting my feet wet with Ken Forkish and Jim Lahey's books and their various breads.

The kids really want less crust and more square bread! I guess they are used to the grocery store offerings!

How do I take the skills learnt with the above books and make them more familiar loaves?

Any books, links or ideas are appreciated.

Thanks!


PK

tsb264's picture
tsb264

Mixed Nut Loaves and Lessons Learned

I bought an enormous amount of hazelnuts last week with the intention of doing a double batch of hazelnut and currant loaves over the weekend. Not long after the nuts went into the oven to toast up, I got a call from my brother, forgot to set the timer, we had a nice leisurely catch up and...well, you know how this story goes. While I do not recommend burning $18 worth of nuts, I do recommend creativity in troubleshooting and using what you have on hand. I made good use of what was lingering in my pantry--some walnuts, pistachios, and slivered almonds and I'm quite pleased with the results, although I wish each bite had just a bit more nut! Truth be told, I probably would not have even thought to incorporate pistachios into my loaf had I not put myself in a sort of bind. Once I did, I got really hung up on the idea of invoking some baklava flavors, so one loaf has quite a bit (~55 g) of local clover honey mixed in. I did notice that loaf did not get quite the same rise as my mixed nut and currant ones, but that can also be attributed to the fact that I used a bit less leaven and not necessarily the added weight or moisture of the honey? I'm not quite sure.

I'm traveling up to Vermont in two weeks and have requests for 2 savory loaves. I'm thinking of doing a sun dried tomato and parmesan loaf, which seems simple enough, but am also tampering with the idea of a spinach pesto loaf. Has anyone had good luck incorporating pestos into their Tartine-method sourdoughs? And, if so, could you point me in the direction of a good recipe? I'm more worried about oxidation than anything else. No one likes a swamp-colored loaf. 

Happy baking and Sunday to all! :)

Excelsior Bakery's picture
Excelsior Bakery

Please help!- My wife is obsessed :)

Some weeks ago my wife started to bake sourdough, and I admit very nice it is too. However, I have very little interest in baking sourdough so have not taken any great notice in how she is preparing the dough other than that she always seems to be doing stretch & folds.

Anyway she has just started work and informed me this morning that I will now have to take over and wants around 8 stretch & folds per batch, 3 times a week or more which would be fine except that it limits me from my own daily routine. Previously,  If we went out our dough invariably came with us so it could receive all her love and attention and I put up with that but I'm not prepared to molly coddle it as she does.

It is starting to rule and ruin our life- I suggest we do something- she says I just have to do some stretch & folds first, or we are doing something else and she wants to stop so she can do stretch & folds.

I remonstrated that most seem to do only three S&F which I could grudgingly accept but she is adamant that her recipe calls for 8 so that's what I have to do. Seriously, Please ! is there any proof that the more stretch & folds you do the better the dough is? surely someone must have done some experimentation? It's driving me nuts :(


IceDemeter's picture
IceDemeter

Aug 4 - Rolls can be baked while on crutches!

Even though I have enough bread in stock to get us through the long weekend, I have been mighty restless with the enforced rest caused by my sprained foot.  I knew that I didn't feel safe with juggling the high temps for loaves while on crutches, but that stunning front page display from isand66 got me wondering about making some rolls...

With that in the back of my mind, I noticed that I had some pumpkin puree hanging out in my freezer for a while, so that image joined in with the rolls idea...

I spent some time wandering through blogs here and elsewhere, and found a lot of different pumpkin roll recipes, some yeasted, some sourdough, some dinner-roll or sandwich-roll style, and many versions of cinnamon / chelsea bun / sweet roll sort of thing.  There were a lot with dried fruits (a LOT with cranberries), and all of them were very sweet and included the stereotypical "pumpkin pie spice" (cinnamon, nutmeg, ginger, and sometimes a touch of cloves). 

None of that really appealed to me, though.  "Sweet" and "pie" just weren't what I wanted in these rolls, so I got the leaven and the poolish going, thawed the pumpkin, and then went and hung out in my pantry sniffing things until I ended up with sage, tarragon, ginger, and lots of dehydrated onion bits...  I often use a mix of maple syrup and blackstrap molasses as part of the background for sweet-and-sour style sauces, so those got tossed in, too.  I had just finished making a batch of lemon curd, so it made sense to me to throw the remaining lemon zest in with the rest.  The flavour that I had in mind needed a good percentage of rye in there, and I wanted some durum and soft white wheat, so the base recipe started coming together.

I wasn't too sure how much stamina I would have for prepping these, so I decided on doing a hybrid with both levain and poolish, and used the refrigerator as needed.  These could easily have been done in a single day, but the three days that I took worked out just fine...


INGREDIENT

AMOUNT (g)

FLOUR TOTAL (g)

% WATER

WATER (g)

BAKER'S %

LEVAIN


Fresh Milled Rye

24

24


3.69

Water

24


24.00

3.69

Fresh Milled Durum

100

100


15.38

Water

80


80.00

12.31

POOLISH


Fresh Milled Soft White

100

100


15.38

Water

100


100.00

15.38

Active Dry Yeast (pinch)

0.5


0.08

DOUGH


Dark Rye

176

176


27.08

Pumpkin Puree

250


90

225.00

38.46

Blackstrap Molasses

20


21.9

4.38

3.08

Maple Syrup

20


32.1

6.42

3.08

Dry Milk Powder

60


9.23

Lemon Zest

5


0.77

Ginger, dried ground

4


0.62

Sage, dried, ground

4


0.62

Tarragon, dried, ground

4


0.62

Onions, dehydrated

32


4.92

Salt

10


1.54

All Purpose Flour

250

250


38.46

Active Dry Yeast (1/4 tsp)

1


0.15

Water

64


64.00

9.85


Total Dough Weight

1328.5


204.38


Total Flour


650


100.00

Total Water (Hydration)


503.80

77.51

Day 1:

Poolish build: 100g soft white + 100g water + wee pinch ADY, allowed to sit at room temperature for 4 to 6 hours, then either used immediately or refrigerated.

Levain build: 40g lively starter (20g rye + 20g water) mixed with 80g whole rye flour and 80g water, allowed to sit at room temperature overnight. (This time I used up some left-over levain from previous builds: 24g rye / 24g water and 100g durum / 80g water)
Soak: Mix together pumpkin puree with dehydrated onion, maple syrup, blackstrap molasses, lemon zest, sage, ginger, and dry milk powder. Refrigerate overnight for flavours to mix.

Day 2:

Pull soak, poolish, and leaven out of fridge and allow to come up to room temperature (about 2 hours).

Dough mix: Whisk together dark rye and AP flours with 1/4 tsp ADY. Mix in poolish, leaven, and soak in to shaggy mass. Cover and let rest for 20 minutes.

Knead in the salt and keep kneading complete dough until reaches medium gluten development (just passes window pane), either using mixer or by hand. Add additional water as needed (this time was extra 63g).

Do stretch and fold mix every 20 minutes for first hour (more if needed), then leave at room temperature until dough has doubled in volume (pay attention - it could be as soon as an hour). I was too tired to finish them this time, so I popped it in to the refrigerator for overnight and it was just over doubled when I pulled it out 13 hours later.

Day 3:

Gently remove dough from bowl on to clean surface (weigh it as you remove it), then divide in to 16 even weight pieces. Cover and allow to rest for 10 to 20 minutes.

Shape each piece in to a tight ball (use lightly oiled hands and surface if the dough is really sticky or seems too dry), and place on to parchment lined baking sheet or in to a greased pyrex baking dish (for pull-apart style), leaving space for expansion. Glaze with milk, then cover with oiled plastic wrap and allow to proof until doubled in size (could be anywhere from 45 minutes to 4 hours - watch the dough!).  This time the dough felt quite dry, so I used oiled hands and shaped on oiled plastic film, which was then used to cover the shaped pieces.  Proof was 2-1/2 hours with my kitchen at under 70 deg F.

Preheat oven to 400 degrees F. Once rolls are fully proofed, glaze tops again with milk, then drop temp to 375 degrees F and bake for 25-30 minutes until golden brown on top and register 190 degrees F internal.

Allow to cool in pan for about 10 minutes, then finish cooling on rack.

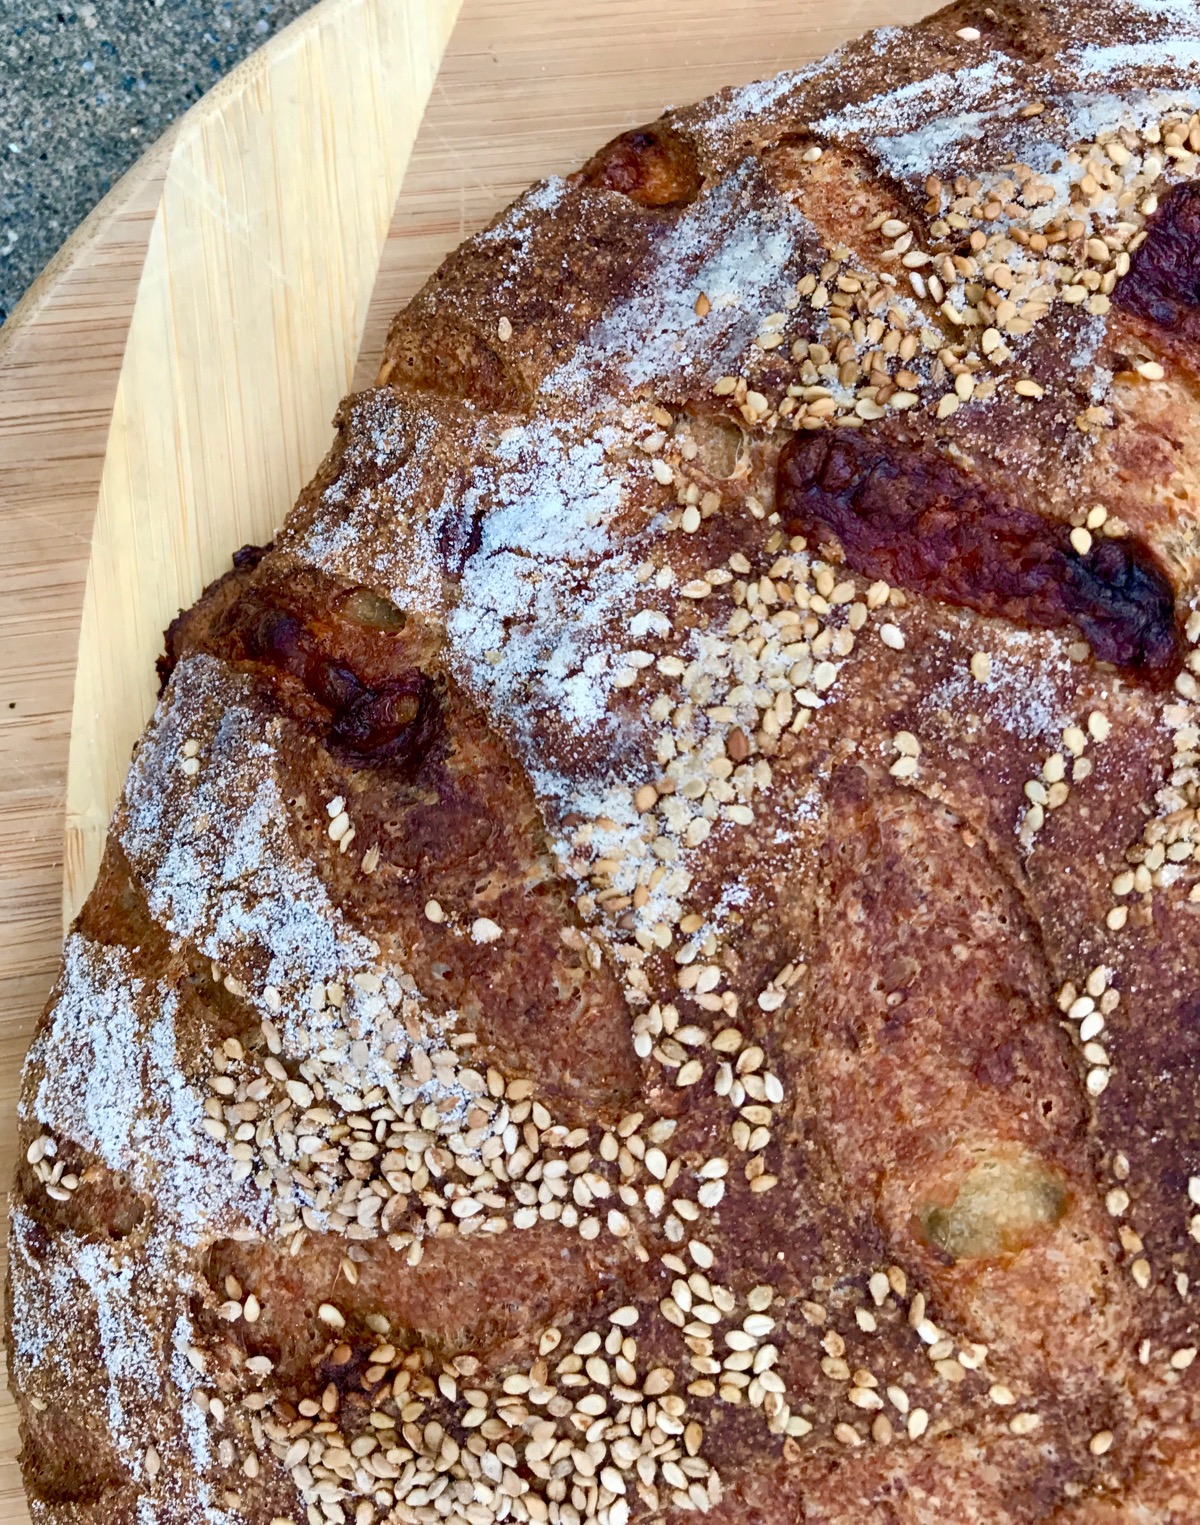
I really wasn't sure whether I wanted slightly more "crusty" stand-alone rolls, or the softer and higher pull-aparts, so I settled on 9 in a 9" x 9" greased pyrex, with 7 done individually on a parchment lined baking sheet.  Both options were easy enough for me to handle with one hand, but I really should have steamed the individual ones and started them at a higher temp. 

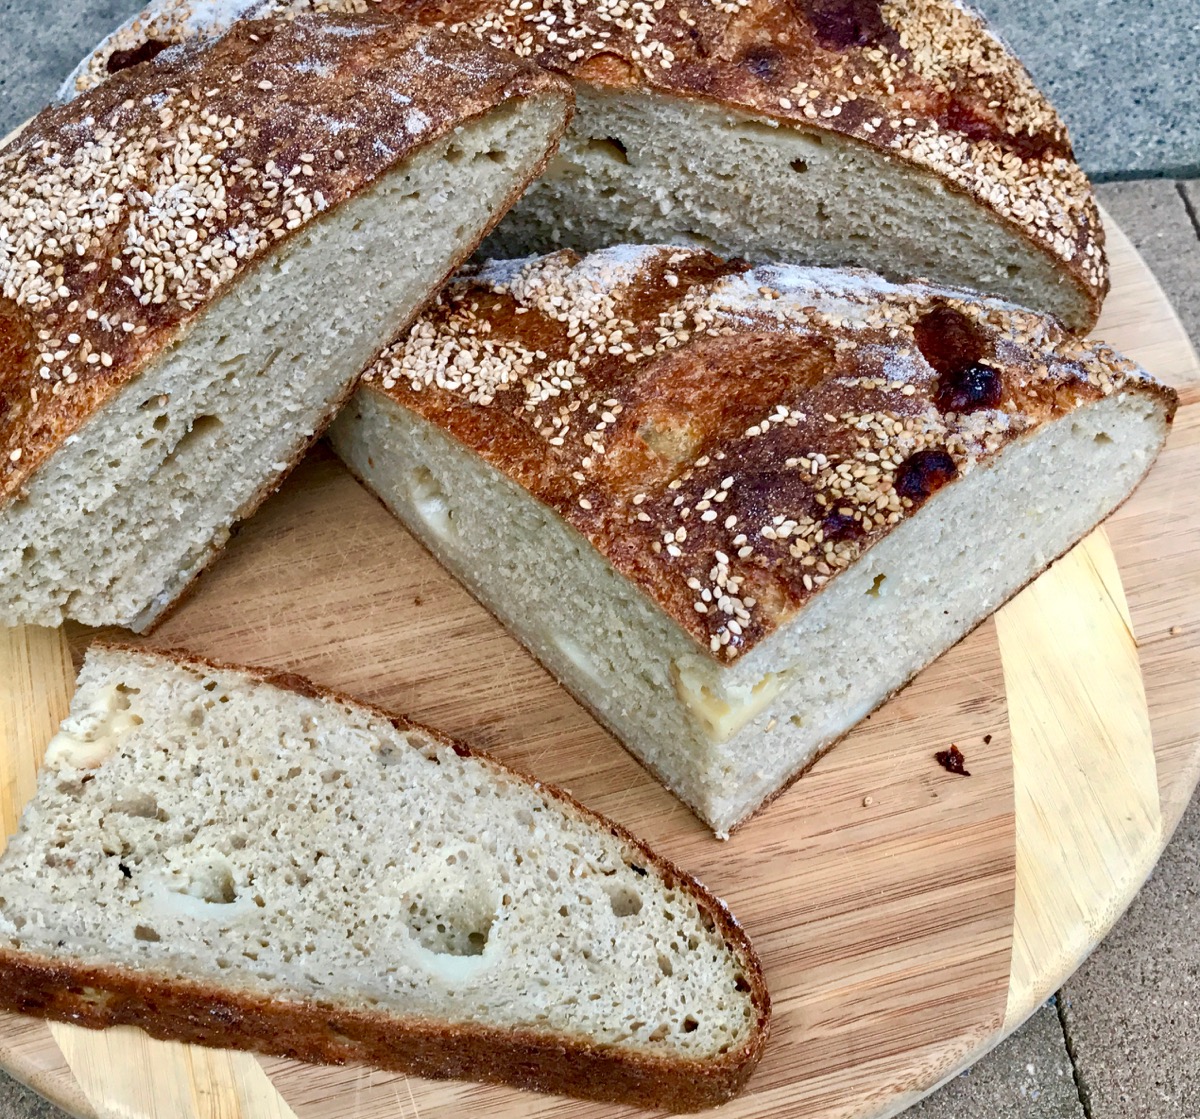
The first "taste test" one was the "spare" 7th from the baking sheet --- and I couldn't wait for it to fully cool!  The husband drifted by as I sliced it, and we are in agreement that this more savoury version of a pumpkin roll is definitely a winner for us, and just calls out for turkey sandwiches with stuffing or a spicy hoisin style chicken...

They are all cooled now, and mostly sliced and wrapped and in to the freezer (with a few out to enjoy with dinner). 

All in all, it was a grand distraction, and definitely achievable without aggravating the injury.  The refrigerator is definitely my friend, and it sure is handy being able to choose sourdough or ADY or a combination in an amount that gives a whole ton of leeway in the schedule.

Keep baking happy!

TomW's picture
TomW

What did I do wrong?

I tried to do a coconut-bun for a keto-burger, but it didn't turn out as I expected.


At first, it looked and felt fine, but once you firmly grab it like you would a normal burger, it felt soggy and fragile.
Here is the list of the exact ingredients I used for 3 buns(10cm diameter, 2cm height):

  • 60g Coconut flour
  • 30g margarine
  • 3 large eggs
  • 1 tsp baking powder
  • 1 tsp Dried Rosemary
  • 1 tsp garlic&pepper powder
  • 1/4 tsp salt
  • 180g water

Baked for about 20 minutes at 175C


I think I used too much water, and instead of water I should have used 100g of milk, and baked it for at least 30min.
What do you think?

Maybe a bit of yeast so it uses up the sugar from milk and coconut flour?

Pages