The Fresh Loaf

A Community of Amateur Bakers and Artisan Bread Enthusiasts.

Most bookmarked

TastefulLee's picture
TastefulLee

Kitchenaid Artisan Mixer Problems with Kneading

Hi. I have owned a Kitchenaid Artisan Stand Mixer with a twisting lock bowl for about 3 years. I have used it successfully for soft doughs such as cookies, and general mixing purposes.

Since I began making bread about 7 months ago I have tried to use the dough hook for several different recipes of several different hydration levels, and every time I have the same problem - once the dough starts to come together it the adjustable arm (the one the dough hook is inserted into) begins to float wildly about, even though I have the switch in the locked position.

I have also experienced this to a lesser degree, of the arm moving about, sort of shaking, on the higer levels of power.  I have never attempted to knead dough past the 2nd setting per manufacturer's instructions, but I can't seem to keep this thing still no matter what.

I'd really appreciate any suggestions or information - between the carpel tunnel and my lower back and hip problems I could really use this machine for kneading if I can just get it to work properly.

Thanks in advance!

PiPs's picture
PiPs

B-Sides - From the cutting room kitchen floor - Part 3

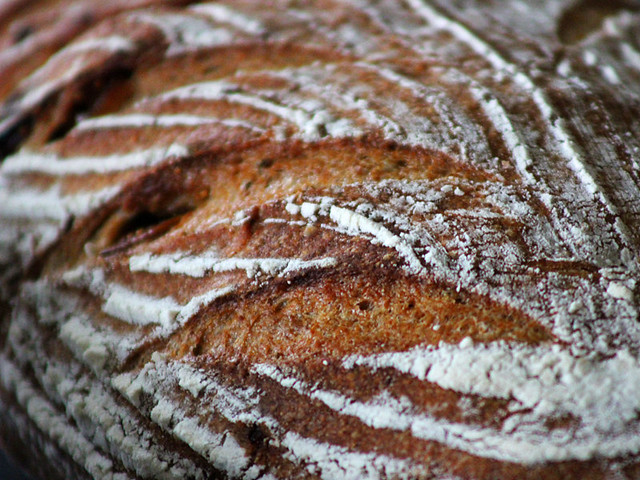
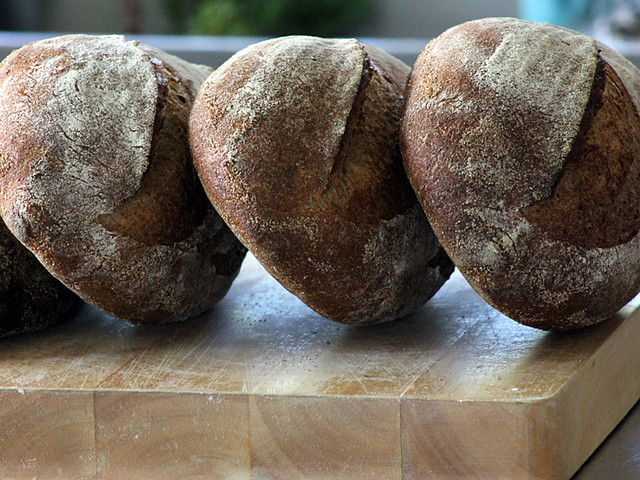
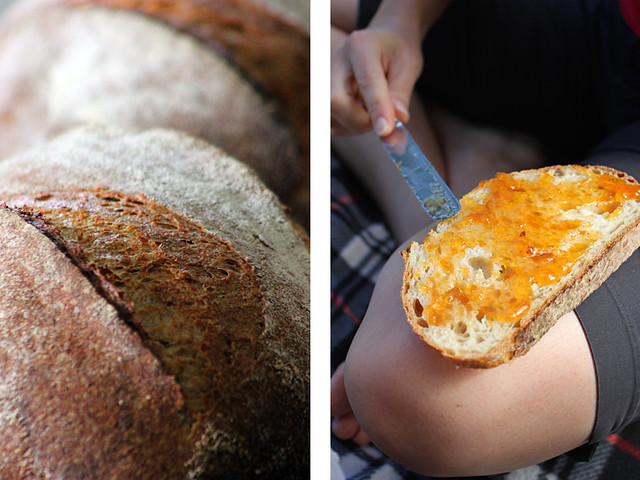
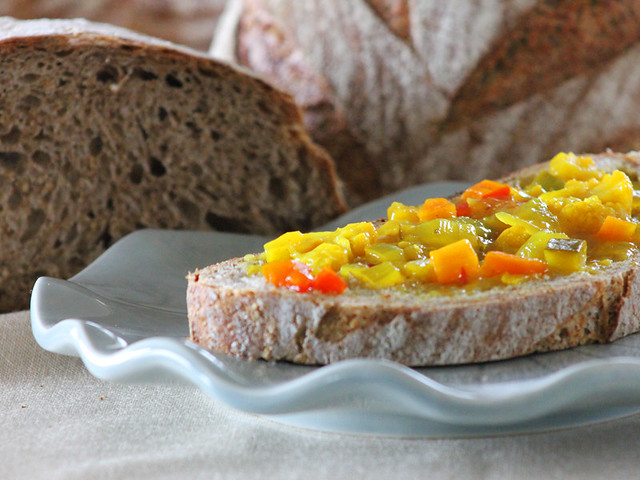
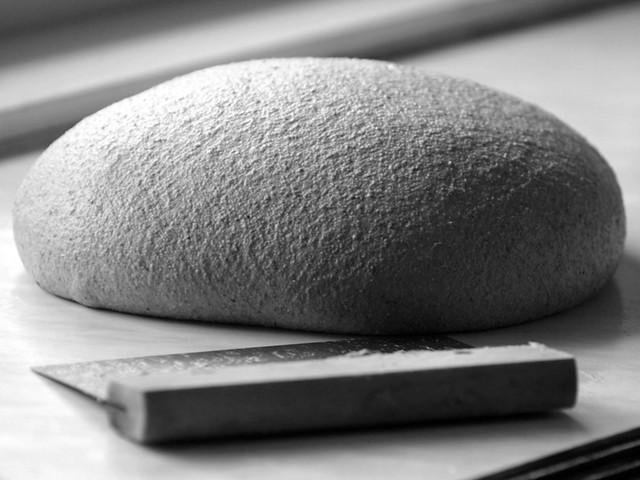
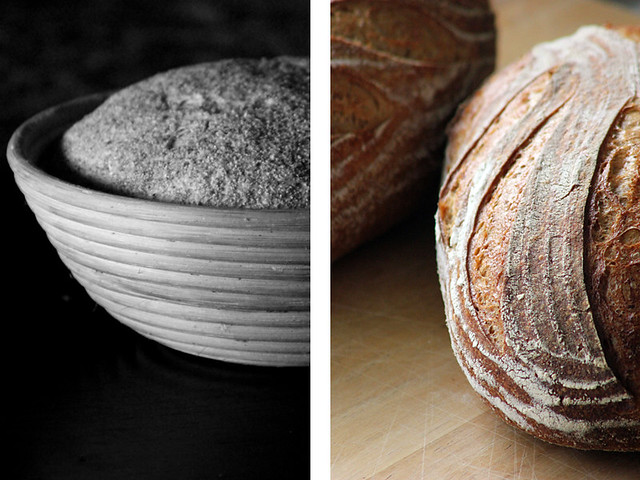
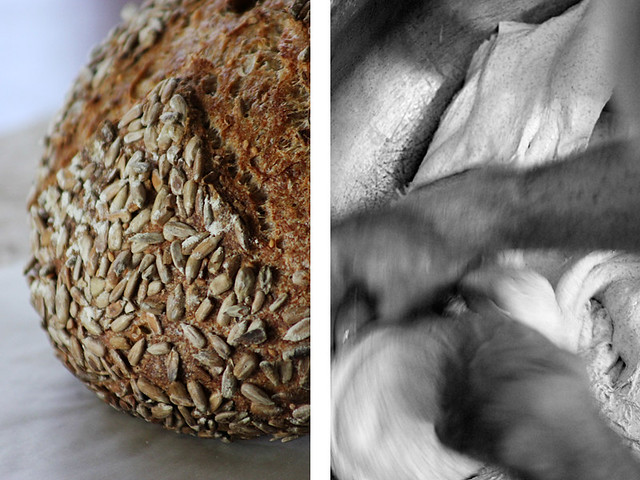
Please welcome the B-sides Part 3 ...

Cheers,
Phil

joyfulbaker's picture
joyfulbaker

Mixing bagels in new mixer with thanks to all who helped me decide (read on!)

To all of you who helped me decide on a new mixer, thank you!  I did purchase the Bosch Universal from PHG, and I feel it was a good decision for my purposes (large amounts of bread/bagel dough).  I added the stainless bowl, a personal preference.  I "broke it in" by mixing a double batch of the ITJB bagel dough, that is for 24 bagels, and the Bosch came through with flying colors.  To be fair, I did increase the hydration to 55% from the 52% in the original recipe (which I used when I was testing the DLX, to be honest and fair).  I used 80% All Trumps, 20% Gold Medal bread flour, with a couple tsp. of VWG.  After shaping, I bagged them with white plastic garbage bags (blowing air into them so they don't stick to the dough) over the baking sheets, which have no sides and are used as peels, then put them in the fridge for an overnight fermentation.  Now for the camera shots (all but the crumb shot--sorry, but I was too busy chewing):

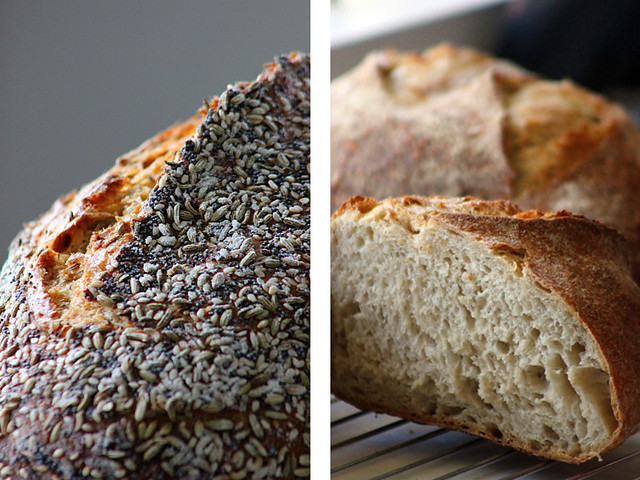
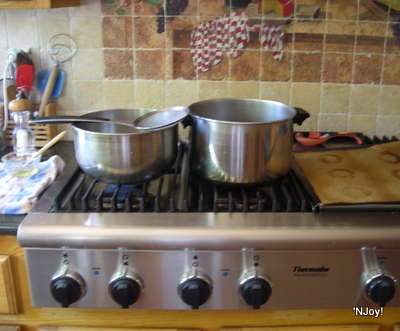
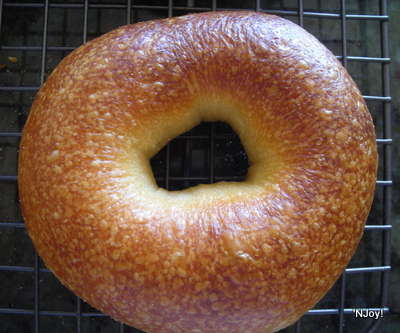
So you can see the new "big mixer" sitting there proudly, next to "little mixer" K/A Pro 6 (still going strong and doing much better with the spiral hook!)  Next is a shot of the prep, in order, R to L:  baking sheet lined with reused parchment, sprinkled with semolina (or rice) flour, boiling bath with barley malt syrup in the filtered water, 2 TBSP to about 3-4 quarts(?), then the ice water bath, which isn't difficult and cools them down quickly; replenished with ice as needed.  I was able to boil and chill 6 bagels at a time (handy when baking 24).  I placed a smooth cotton kitchen towel on a small cooling rack to hold the wet bagels.  Seeds are placed on salad size plates.  Baked on a stone preheated to 460, per ITJB recipe.  Although the pictures are not all in sequence, you can see the shaped bagels on the parchment lined baking sheet (new parchment on that one) and finally the finished bagels.  I usually mix 'em up, some plain, some with sesame, some with poppy and some with my own seed mix (B & W sesame, poppy, fennel, sunflower and flax, plus a little sea salt).  New trick I learned to keep the seeds from falling off:  brushing the tops of the unbaked, just boiled and cooled bagels with an egg-white/1 tsp water wash.  Also, I have learned there's no problem reusing parchment, even several times.   I'm gearing up to baking about 3 dozen bagels for a birthday brunch (mine) later this month!  Next will be the bialys . . .   Once again, thank you, TFL friends!

Joy

ehanner's picture
ehanner

Non-GMO Foods

I contacted Bob's Red Mill this week to ask about their policy on selling Genetically Modified Foods (GMO). As you may know, Monsanto and other giants in the herbicide/seed/fertilizer industry have made a play to control the corn and soy markets. The have genetically modified for example, corn so that the worms that eat the corn will die after eating the roots or kernel.

It is estimated that 80% or more of the current corn crop is GMO. So it is highly likely that most of the food products made with a corn ingredient will contain this frankencorn. Understand that this is no longer corn. It looks like corn but it is not corn as our ancestors and their digestive systems evolved to consume. Yes, the blended feed made of corn and soy is also mostly GMO. Yep, the milk too.

Anyway, Bob's Red Mill tells me they have a policy of not sourcing any GMO foods. I will attach their response here.  I find it comforting that Bob's has taken this position and I plan on supporting them as much as possible. This GMO issue is a BIG DEAL. The state of California is about to pass a labeling law that will require a warning on the ingredients label if there are GMO ingredients. Everyone except the voters is trying to block this from passing. From what I hear, public support is around 80%, so it should pass. This will have an effect on every aspect of the commercial food business. I'm sure Kellogg's doesn't want to admit the Corn Flakes are made from genetically modified corn. And all that vegetable/corn oil, same thing. This is going to be a shock wave in America that will shake most food processors.

Those of us who enjoy real foods with identity-preserved DNA, and appreciate the value of Organic produce and grains should make a point of supporting companies that feel as we do.  This is a big issue. I suggest if you are concerned about your health and our food supply and want to learn more, Google GMO foods.

Eric

Hi Eric,

Thank you for your inquiry. Here at Bob’s Red Mill, we have made a commitment to purchase only non-GMO products. This means, that all of our products are made of ingredients that were grown from identity preserved, non-GMO seed. This will count only for commodities that are commercially altered: corn, soy, rice and flax (all other grains are still identity-preserved, non-GMO by nature and have not been genetically altered).

I will note that we do not guarantee the complete absence of genetic modification in our products because of wind drift, pollinators and our lack of testing equipment.

Best Regards,


Heather Johanesen

Bob's Red Mill Natural Foods

Customer Service

120ThingsIn20Years's picture
120ThingsIn20Years

Cheese starter culture as a sourdough starter

I just made a loaf from a cheese starter I had in my freezer, because wikipedia tells me the same micro-beasties that make a cheese starter are also in a sourdough starter. 

It worked!

I thought it was going to be a miserable fail, because the milk I was using as liquid in my loaf separated out to curds and whey. Or at least to whey. The curds were mixed up in the (I cant remember the word for the proofed liquid and yeast.) ~ sponge?~ Anyway, there was yeast in there as well. 

I made a loaf out of it using that method where you roll it out and cut it with scissors bending each spike one way and then the other.

I served it with olive oil, balsamic vinegar, and dukkah. 

And it actually worked :)


SylviaH's picture
SylviaH

Greek Pide A Sequel - EO baked

A sequel to my previous WFO bake of my Greek Pide.  This time it was baked in my electric oven 'EO' just because...I had nothing better to do and wanted to use the dough I had frozen from last weeks previous bake and I was curious to see how the GP would turn out versus the heat of the WFO.  Well, the results were pleasing.  Flavor wise...well very pleasing from the EO..excellent from the WFO.  No doubt there are certain types of breads that benefit from the smokey hot flames, coals and intense heat of a WFO.  I pre-heated my oven and stones, 550 convection setting, for an hour..this gets the stones much hotter versus a 45 min. pre-heat.  The pizza and pide both had crisp crusts that were nicely browned without to much browning of the cheeses.  Both were done in 8 minutes.

First the same favorite for Mike..the pepperoni pizza.  One large thin crusted from previous frozen pizza dough.  Very tasty with mixed italian cheeses.


                                        Without the charred crust the pizza would be lacking in flavor.


Greek Pide ..... This time with Goat Cheese.  It was tastier last bake with the creamy Feta.  I forgot the Greek Olives, remembering to add them just as I had loaded the pide onto the stone.  I did remember to add some black sesame seeds :) how pretty and tasty.  I brushed the rim with a little egg wash to help them stick.  I had to trasfer this pide to the paddle with my 'Super Peel' as it was to heavy to pull onto the paddle.  Last time I was able to pull the pide onto the peel.  I wasn't fast enough making this one and the dough was slacker after being frozen.  It would have only stretched and not moved if would have tried to pull it or lift it onto the peel.  I love my 'Super Peel'.  I might use it only once or twice a year...but when I do, it's WIW in flour.  

                                             Added the Kalamata Olives I forgot earlier.  Baked at 550F convection for 8 minutes


                                     Teeter Tottering Greek Pide  -  Lovely crisp crust - I preheated the oven a few minutes longer after

                                     removing the pizza.


                                             Sliced for crumb shot.


                             One of the 3          My Bella, relaxing after dinner : )


                                                  Joey just took her spot!  


            Sylvia


HeidiH's picture
HeidiH

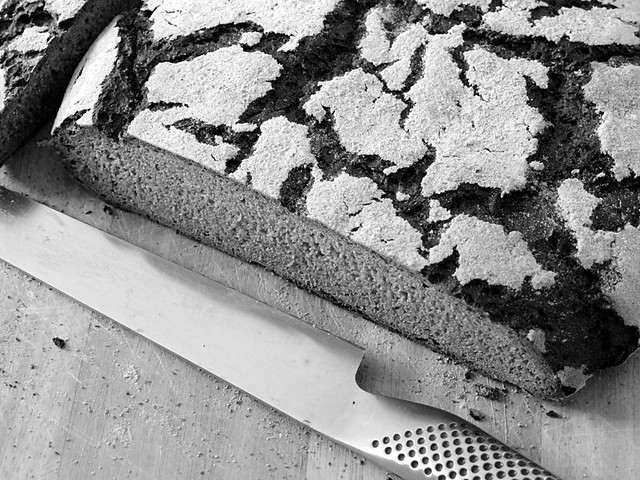
I finally got my fluffy rye!! Tee hee!

Oh, I like the solid, very dark, European rye, too, but I kept making stabs at getting a fairly light, hole-filled, rye bread.  Thanks once again to all the information here on TFL, I think I conquered the rye-door-stop demons.  At least for today.

  • First, it had to be a yeast bread because I lack the maternal instincts a starter would require of me.   
  • Therefore, it needed a good source of acid.  I had whey from a batch of ricotta cheese made with the juice of several lemons and driven over the edge to clear whey with a little powdered citric acid.
  • I decided to add a little oil to increase the rise.
  • I handled the dough relatively little so as not to destroy the structure of the rye pentosans.
  • And then I used a hi-gluten flour to tie everything together.

And it worked.  Here's a pic.  Below the pic are the particulars.  Don't let the shape confuse you.  I was baking in an oddly shaped pan around a large cauldron of beef bones turning into stock.  This is a marble rye using both light and dark rye flours.

  • Make two doughs, identical except for the type of rye flour, using a total of 1000 g flour.

Light (dark) dough:

  • 400 g hi-gluten bread flour (80%)
  • 100 g light (dark) rye flour (20%)
  • 25 g caraway seed (5%)
  • 8 g salt, scant (1.5%)
  • 8 g yeast, scant (1.5%)
  • 25 g light tasting oil, e.g. canola oil (5%)
  • 375 grams acidic whey (75%)

For each,

  1. Place all dry ingredients in a bowl and mix thoroughly with a whisk to make sure the rye and white flours are mixed completely.
  2. Add the oil and whey and mix with a spoon and/or your hand until all the flour is well incorporated.

Cover the two bowls with a towel and let sit at room temperature 1 hour.  Stretch and fold once and let sit another hour.

Stretch and fold again and cut each dough in half so you have two dark balls of dough and two light balls of dough.

Take one dark ball of dough and one light ball of dough.  Using a rolling pin, roll each ball of dough into a rectangle about 1 cm (3/8") thick.  Place the dark rectangle of dough onto the light rectangle of dough and continue to roll until  you have an oblong rectangle a total of about 1.5 cm (5/8" )thick and as wide as you want your loaf to be long.  Tightly roll the laminated dough into a roll and seal the ends to form a loaf.  Repeat with the other two balls of dough to form a second loaf.

Preheat oven to 375F and let the loaves do a final rise for about 45 minutes.  Bake 1 hour or until the center is 205F.

nadira2100's picture
nadira2100

Multigrain Bread: BEST loaf I've made yet!


Feeling very frustrated that I haven't been completely satisfied with any loaf I've made within the last few weeks, I decided to make a multigrain sandwich loaf. One that doesn't require a starter. And yes this frustration includes the Portuguese Sweet Bread because, even though it was soft and the crumb was almost perfect and the color was spot on, it wasn't perfect which doesn't sit well with a perfectionist. I also made this bread because I haven't been able to make a sandwich bread that is soft and spongy like so many good sandwich loaves are. Mine turn out dense. 

With this loaf I tried a few things that I haven't done in the past with sandwich loaves. The first being I used filtered bottled water. Again, I think this was part of my problem before and I don't think I'll ever go back to using the tap. The second, most important thing I changed was the kneading method. I've been obsessed with trying to pick up any tips and tricks I could find that will improve my loaves and the Stretch and Fold method really caught my attention. 

Now let me tell you, I had my doubts. But I tried it and I think I'll be applying it in the kitchen more often.  

This particular recipe is from Peter Reinharts The Bread Baker's Apprentice.... Multigrain Extraordinaire. Loved it. I actually can't wait to make it again. The loaf lasted 2 days and that's only because we wanted to save some to make BBQed pork sandwiches from a pork roast I made on Saturday. Here is what I did with a few modifications to the recipe...

Soaker:

3 tbsp Quinoa

3 tbsp course ground Corn meal

2 tbsp Flax meal

1/4 c water

Mix all of this together and let it sit overnight, covered at room temperature

Dough

13.5 oz unbleached bread flour

3 tbsp white sugar

1/4 oz instant yeast (or 1 full packet)

1 1/2 tsp salt

all of the soaker

1 1/2 tbsp honey

1/2 c milk

3/4 c water

Combine all dry ingredients and whisk together. Then add the soaker and remaining wet ingredients. Mix until the dough starts to form a ball and then turn out onto a lightly floured surface and knead for a few minutes until everything is fully incorporated. This dough was wetter and softer than I anticipated so I had to keep my area and hands floured pretty often. Once everything seems uniformly incorporated (about 3 min), place the dough ball into a lightly oiled bowl covered with plastic wrap for 30 min.

Remove the dough from the bowl and do the first stretch and fold. Place the dough back into the bowl to rest for 30 min. My dough tried to blow another bubble!

Repeat the stretch and fold and put the dough back into the bowl for another 30 min rest. (2 total stretch and folds, 1.5 hrs total of resting).

Shape the loaf and place into a lightly oiled loaf pan and proof until the dough has crested the pan. Mine took an hour.

Bake at 350 degrees for 20 minutes, then rotate and bake an additional 15-20 minutes or until the internal temp registers 195 degrees. This makes 1 - 2lb loaf.

I was amazed to see how much the dough rose during the second and third resting periods and how easy it was to handle. I was also amazed at how fast it rose, and how soft and delicately delicious the flavor and crumb turned out.

I've never made a softer sandwich loaf before. I also loved the textures of the grains that I used. All I have to say is...BEST loaf I've ever made. Now I believe that I am capable of truly extraordinary bread. 

badmajon's picture
badmajon

Cannot perfect the crumb... please critique my bread making process.

Hello all,

This is the bread I've been working on for 6 months. I've made it probably about 70-80 times, it tastes amazing, the crust is perfect, and it has a ton of oven spring. However I just can't get that nice open crumb I am searching for. So after many futile attempts I thought someone here might be kind enough to evaluate my technique and recipe and perhaps point me in the right direction.

Ingredients:
400g Bread flour (80%)
100g Rye meal flour: (20%)
360g Water (72%)
1.25 tsp salt

Starter:

1st build (1:4:4): 25g starter + 50g rye flour + 50g water (save all but 40g for next batch)/ 8 hours
2nd build (1:4:4): 40g starter + 80g rye flour + 80g water/8 hours

Starter ends up being 100g rye flour, 100g water

Then, I add the starter to 400g of white bread flour and 260g water. Comes out to 72% hydration.

Then I let rest for 2 minutes, and hand knead for 10 minutes. I let rest for 2 minutes, then knead for another 2 minutes.

One full rise (4 hours), then I stretch and fold, deflating and also redeveloping the gluten, then I put it in the fridge for 16 hours. The following afternoon, I take it out of the fridge, stretch and fold, then let it rise again (4 hours).

Finally, I do another stretch and fold, and then make a sort of package like shape with the dough and do the boule forming trick where you pull it towards yourself and keep repeating while rotating the dough. It gives it good surface tension.

Then I prepare my colander with a couche (heavily floured and oiled cut up cotton shirt) and let it proof for about 2 hours. I've found its better to slightly underproof this bread.

I bake it on a quarry tile at about 500f for about 22 minutes, rotating the boule at 10 minutes into the bake. I give it a good amount of steam for the first 3-4 minutes.

Ideas? Constructive criticism?

shoshanna673's picture
shoshanna673

Brioche Dough

Hi I'm new to this site from Adelaide, South Aussie.  Trying to find baked brioche here in Adelaide is almost impossible, so I am forced to make my own.  Have been using Michel Roux's recipe from his book Pastry, but am looking for even better recipes, which I know must be out there.  We are limited here in Adelaide in the selection of flours available for bread baking, so have been trying to source T45 flour.  Can have it sent to me from across the country at a cost of $22.50 (postage only).  Is it worth the cost to go ahead with this?  Thx for any help provided.

Pages