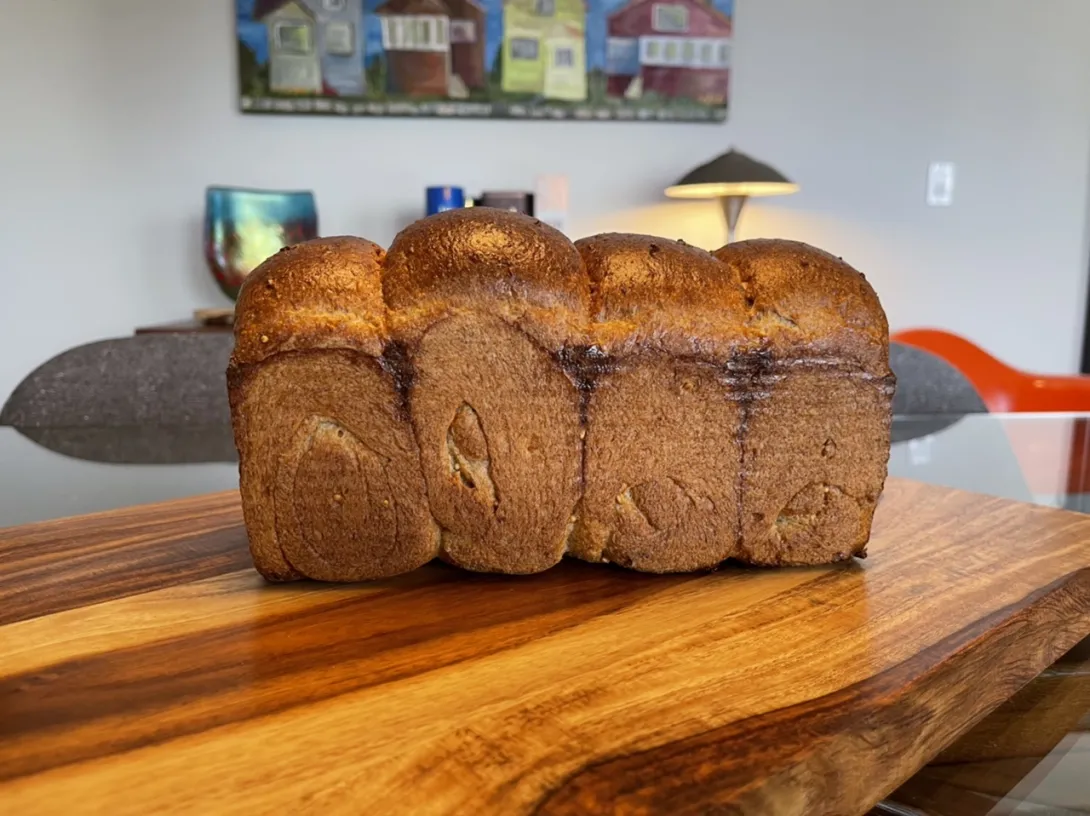
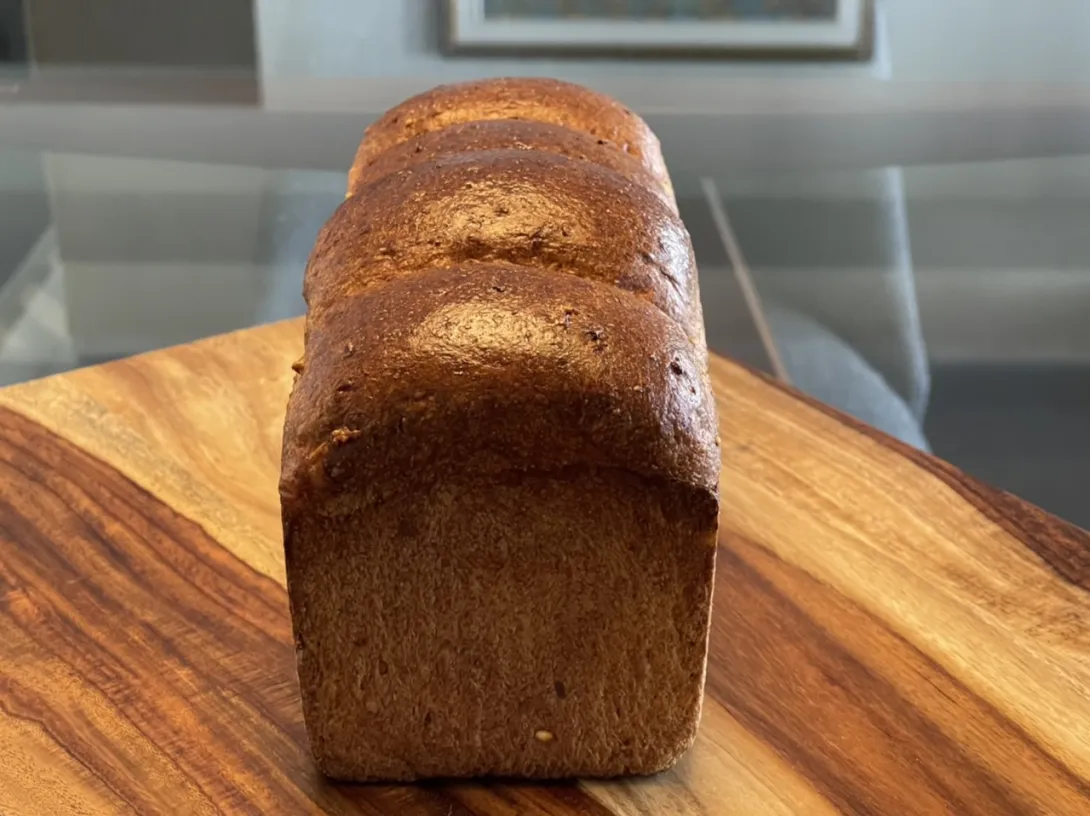
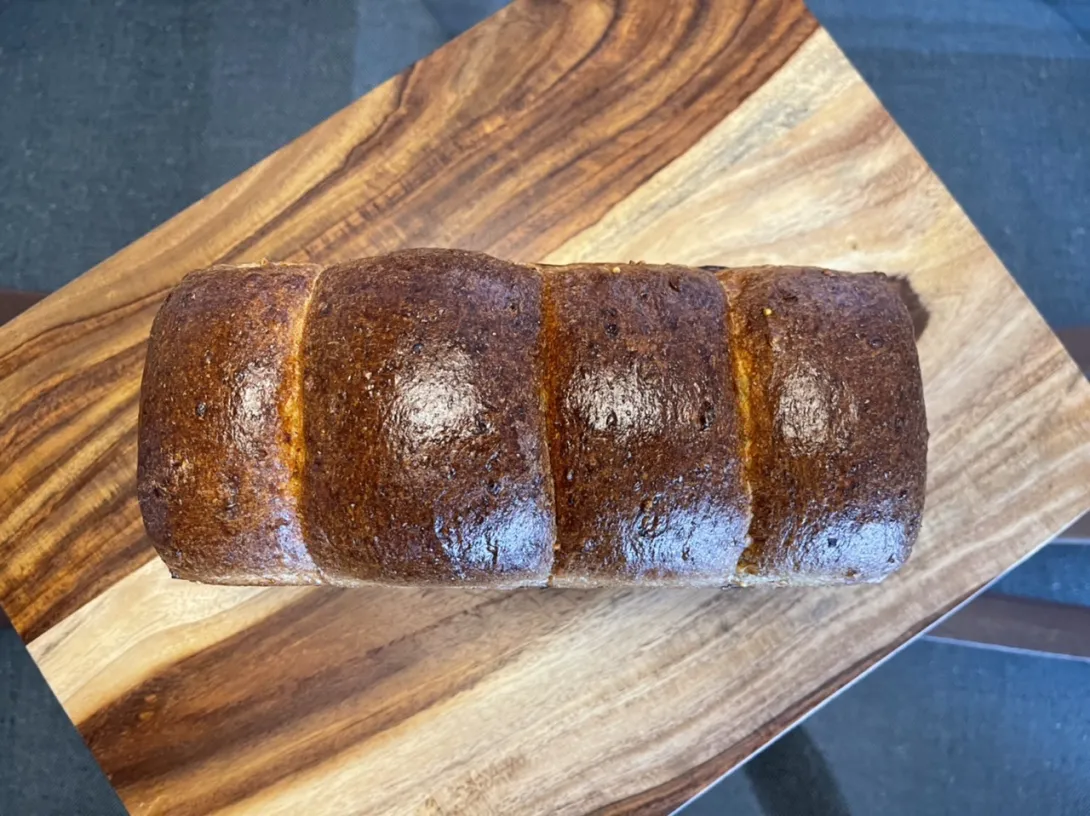
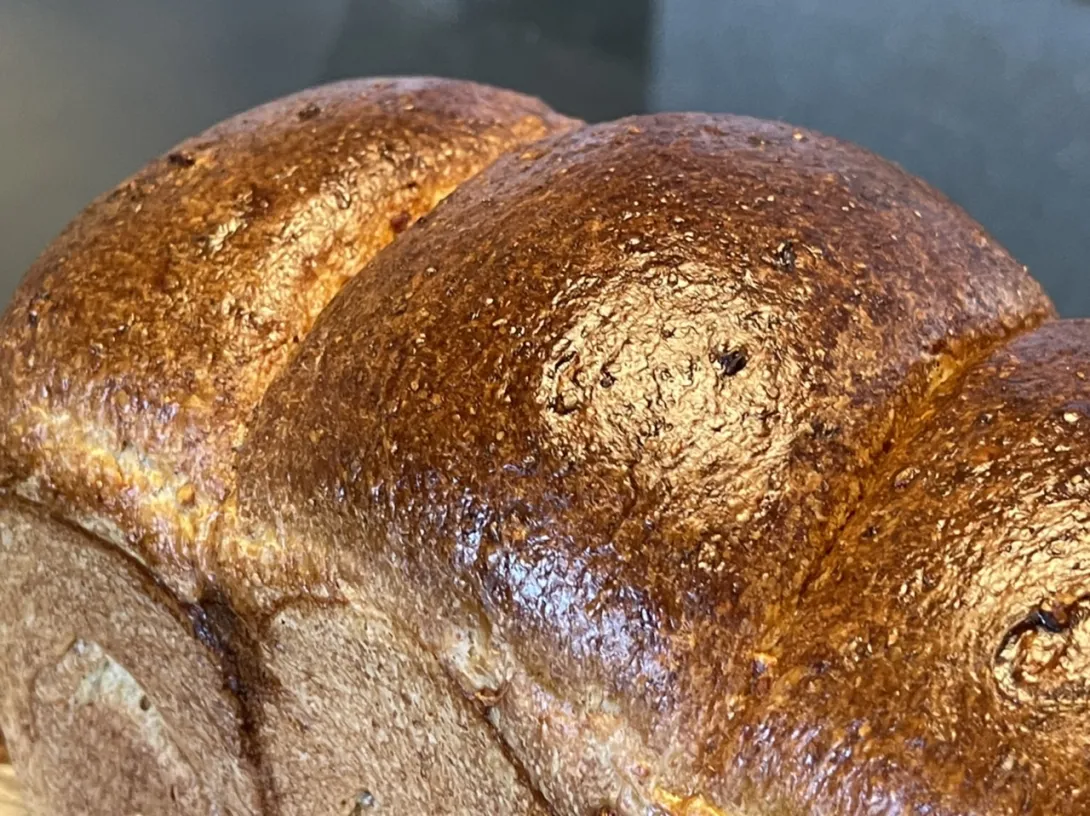
This is another variation on my 100% whole wheat SD Hokkaido Milk Bread which has become my favourite sandwich bread. It is so soft and fluffy for a 100% whole grain bread and keeps so well because of the tangzhong. In this variation, I use the classic 1:5 ratio of grain to milk for the tangzhong but instead of flour I used an organic steel cut seven grain blend of wheat, barley, rye, oats, flax, millet and buckwheat and cook it as I would the tangzhong until it is nicely thickened. The rest of the procedure is the same as my other SD Hokkaido Milk Breads.
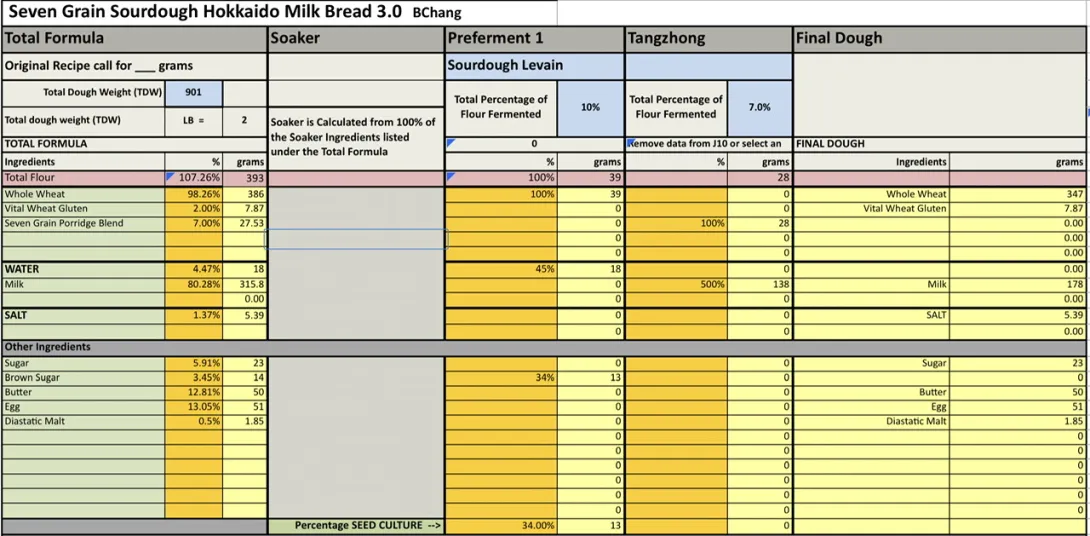
For 9x4x4” Pullman pan
Instructions
Levain
Mix the levain ingredients in a jar or pyrex container with space for at least 300% growth.
Press down with your knuckles or silicone spatula to create a uniform surface and to push out air.
At a temperature of 76ºF, it typically takes up to 10-12 hours for this sweet stiff levain to be at peak. For my starter I typically see 3-3.5 times increase in size at peak. The levain will smell sweet with only a mild tang.
Porridge
In a sauce pan set on medium heat, stir the milk and seven grain cereal until blended. Then cook for until well thickened, stirring regularly with a spoon or heat-resistant spatula. Let cool in the pan or, for faster results, in a new bowl. You can prepare this the night before and refrigerate it, ensure that it is covered to prevent it from drying out.
Dough
In the bowl of a stand mixer, add the milk (consider holding back 10 g of milk and adding later if this is the first time you’re making this), egg, salt, sugar, diastatic malt (optional) and levain. Mix and then break up the levain into many smaller pieces. Next add the flour and vital wheat gluten. I like to use my spatula to mix until there aren’t many dry areas. Allow the flour to hydrate (fermentolyse) for 20-30 minutes. Mix on low speed and then medium speed until moderate gluten development this may take 5-10 mins. You may want to scrape the sides of the bowl during the first 5 minutes of mixing. Once gluten moderately developed add the porridge. Once fully incorporated add room temperature butter one pat at a time. The dough may come apart, be patient, continue to mix until it comes together before adding in more butter. Once all the butter has been added and incorporated increase the speed gradually to medium. Mix at medium speed until the gluten is well developed, approximately 10 mins. You will want to check gluten development by windowpane during this time and stop mixing when you get a good windowpane. You should be able to pull a good windowpane, not quite as good as a white flour because the bran will interrupt the windowpane somewhat. This is a good time to add inclusions such as my favorite black sesame seeds, that way they do not interfere with the gluten development. If you add inclusions mix until they are well incorporated in the dough.
On the counter, shape the dough into a tight ball, cover in the bowl and ferment for 2.5-3.5 hours at 82ºF. There may be some rise visible at this stage.
You can next place the dough into the fridge to chill the dough for about 1.5 hours, this makes rolling the dough easier to shape. Remember, if you do so the final proof will take longer. Alternatively, you can do a cold retard in the fridge overnight, however, you may find that this increases the tang in your bread.
Prepare your pans by greasing them or line with parchment paper.
Lightly flour the top of the dough. Scrape the dough out onto a clean counter top and divide it into four. I like to weigh them to have equal sized lobes. Shape each tightly into a boule, allow to rest 5 mins. Using a rolling pin roll each ball out and then letterfold. Turn 90* and using a rolling pin roll each out to at least 8”. Letterfold again from the sides so you have a long narrow dough. Then using a rolling pin, roll flatter but keeping the dough relatively narrow. The reason to do this extra letterfold is that the shorter fatter rolls when placed in the pan will not touch the sides of the pan. This allows the swirled ends to rise during final proof, this is only done for appearance sake and is not necessary. Next roll each into a tight roll with some tension. Arrange the rolls of dough inside your lined pan alternating the direction of the swirls. This should allow a greater rise during proof and in the oven.
Cover and let proof for 6-8 hours at a warm temperature. I proof at 82°F. You will need longer than 6-8 hours if you chilled your dough for shaping. I proof until the top of the dough comes to within 1 cm of the top edge of the pan.
Preheat the oven to 350F and brush the dough with the egg-milk wash. Just prior to baking brush with the egg-milk wash again.
Bake the loaves for 50 minutes or until the internal temperature is at least 190ºF, rotating as needed to get even browning. Shield your loaf if it gets brown early in the baking process. After 50 mins remove the bread from the pan and bake a further 10 mins by placing the loaf directly in the oven on the rack with the oven turned down to 325ºF. You can brush the top of the loaf with butter if you wish at this point while the bread is still hot to keep the top crust soft.
- Benito's Blog
- Log in or register to post comments
I like the seven grain porridge in this bread, in fact I think I’ll add some black sesame seeds next time as well. It met my expectations as a soft, fluffy and flavourful 100% whole wheat bread.
I'm going to have to try this technique on a muesli bread. Great outcome, and very impressed.
-Jon
Yes you need to try this Jon, I’ve recently been enjoying adding porridges to some of my breads. I like how some porridge lend a really custard like texture to the crumb.
Happy Baking
Benny
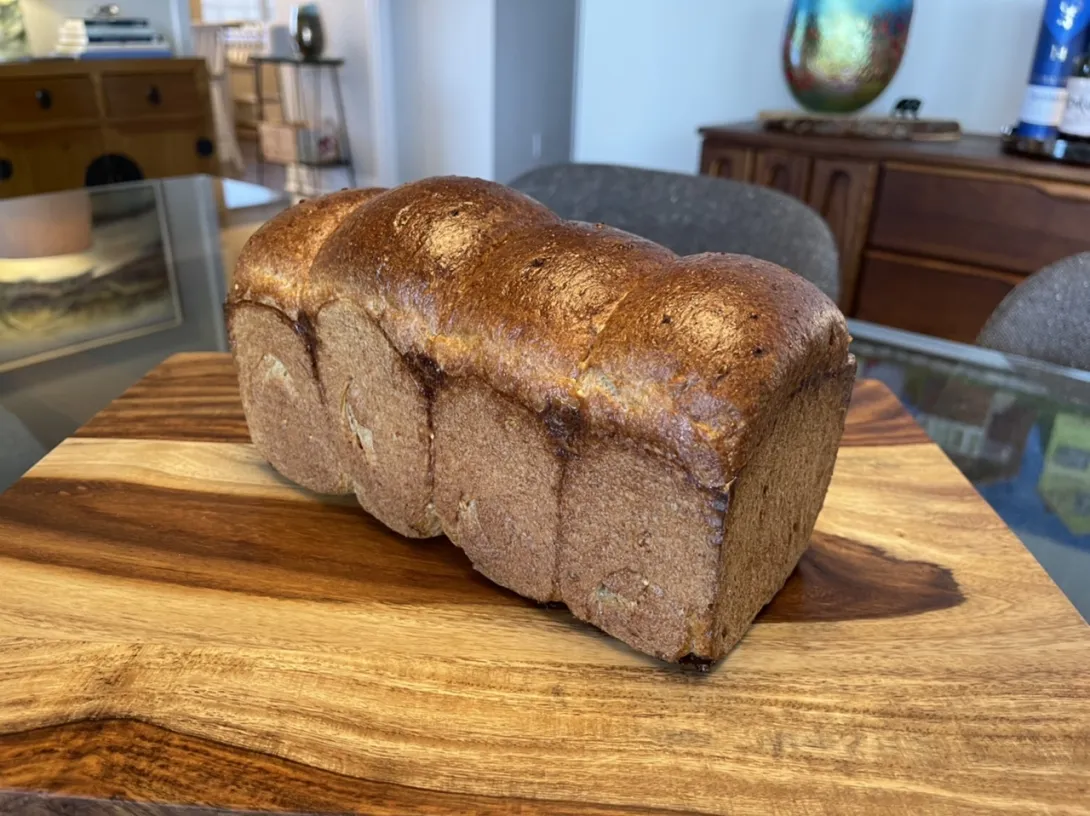
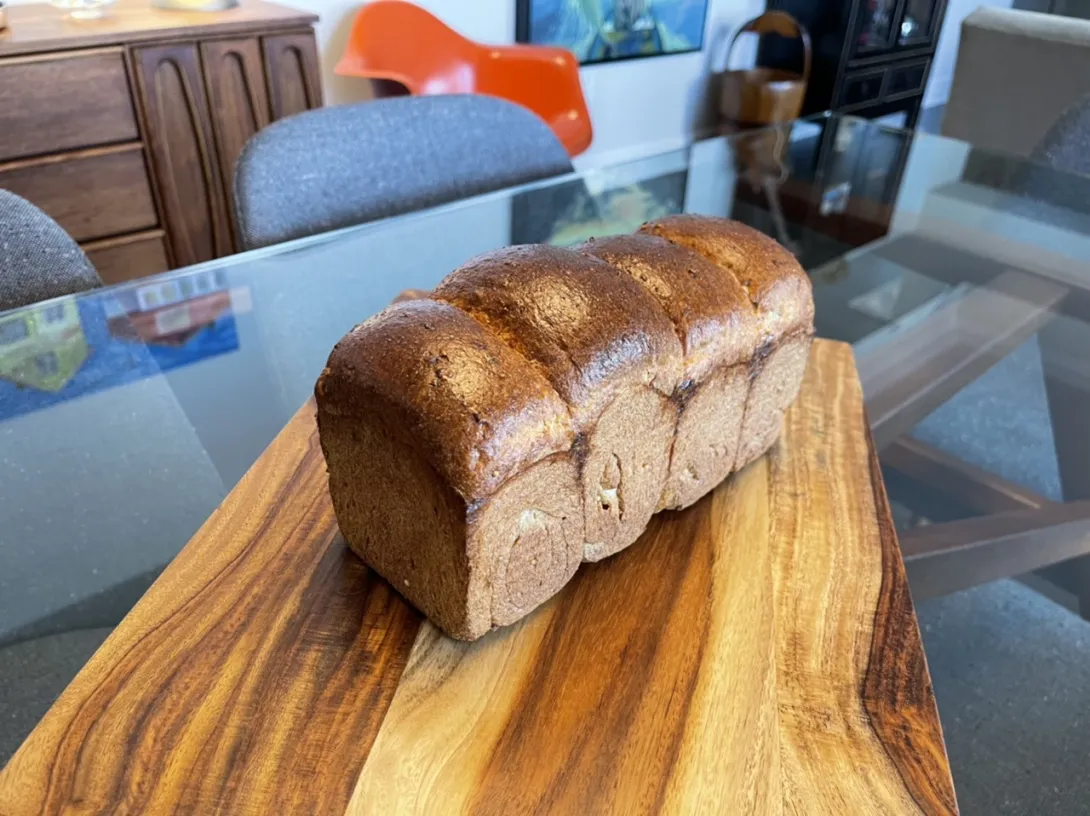
The crumb and oven spring is amazing given the amount and weight of add-ins. The texture of the crumb looks fabulous as well. Remarkable for 100% WW bread! I'm sure you are pleased that you are able to tweak your method and formula for some experimentation, but not having to sacrifice anything in crumb or oven spring. Lovely bake!
I’m quite pleased with this bake. It’s nice to see how well it takes to variations just changing the tangzhong components. This will keep this recipe interesting for me by varying certain aspects of it while keeping it all whole grain. Thank you Leigh.
Benny
Looks great as always Benny and love the addition of the porridge! This one is moving to the top of my To Try Bake List!
Thank you Troy, I’ve gradually been getting into adding porridge to my bread, they certainly give the crumb a nice soft texture.
Benny
Hello Benny Love your bread but the print on the spread sheet is very small and I can't expand it
Thanks Liz
Hi Liz, rather than typing it all out, send me a PM with your email and I can send you a copy that you’ll hopefully be able to read. Funny that I can read it on my ipad quite easily. I would see that on a phone it would be tiny, but on a computer it should be legible.
Benny
Thanks Benny I used my phone will try on my tablet Liz
On a PC, right click the spreadsheet image and select "Open image in new tab" from the context menu. The new tab will have a bigger, clearer version.
Lance
Thanks for that Lance, I haven’t used a PC in decades.
Benny
The more I look at this, the more I want to make it! I did buy a bag of vital wheat gluten, haven't used any yet. This may be the moment....
I hope you do Sue, it is a lovely delicious whole grain loaf.
Benny