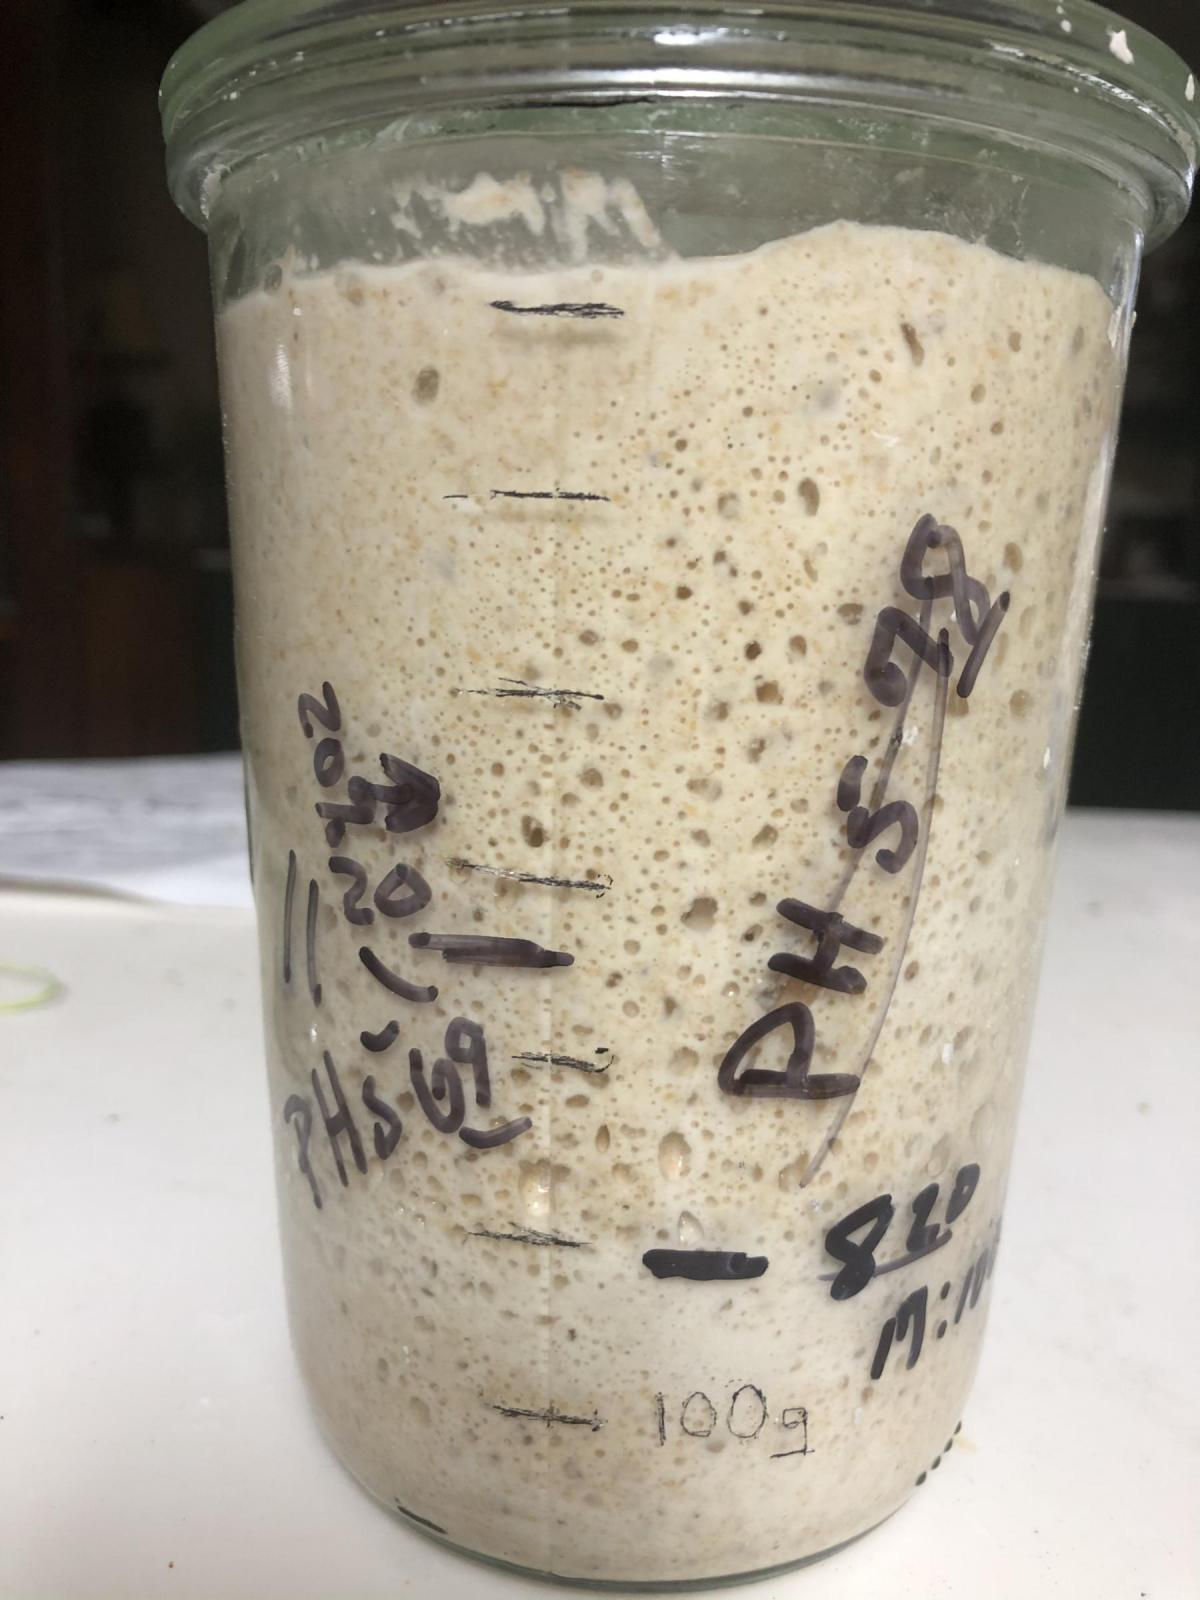
A simple way to evaluate the percentage of rise in a clear vessel
The following is used to setup a vessel with 100ml increments
- Put the vessel on the scale and tare, then place 100g water in the vessel and mark the level
- Put another 100g water in with the other water and mark that level
- Continue until the capacity of the vessel is reached.
- There is a total capacity of 800g (or 800ml) in the image below all the way up to the very rim of the glass.
NOTE - Anything written with Marking pens are easily erased with soap and water.
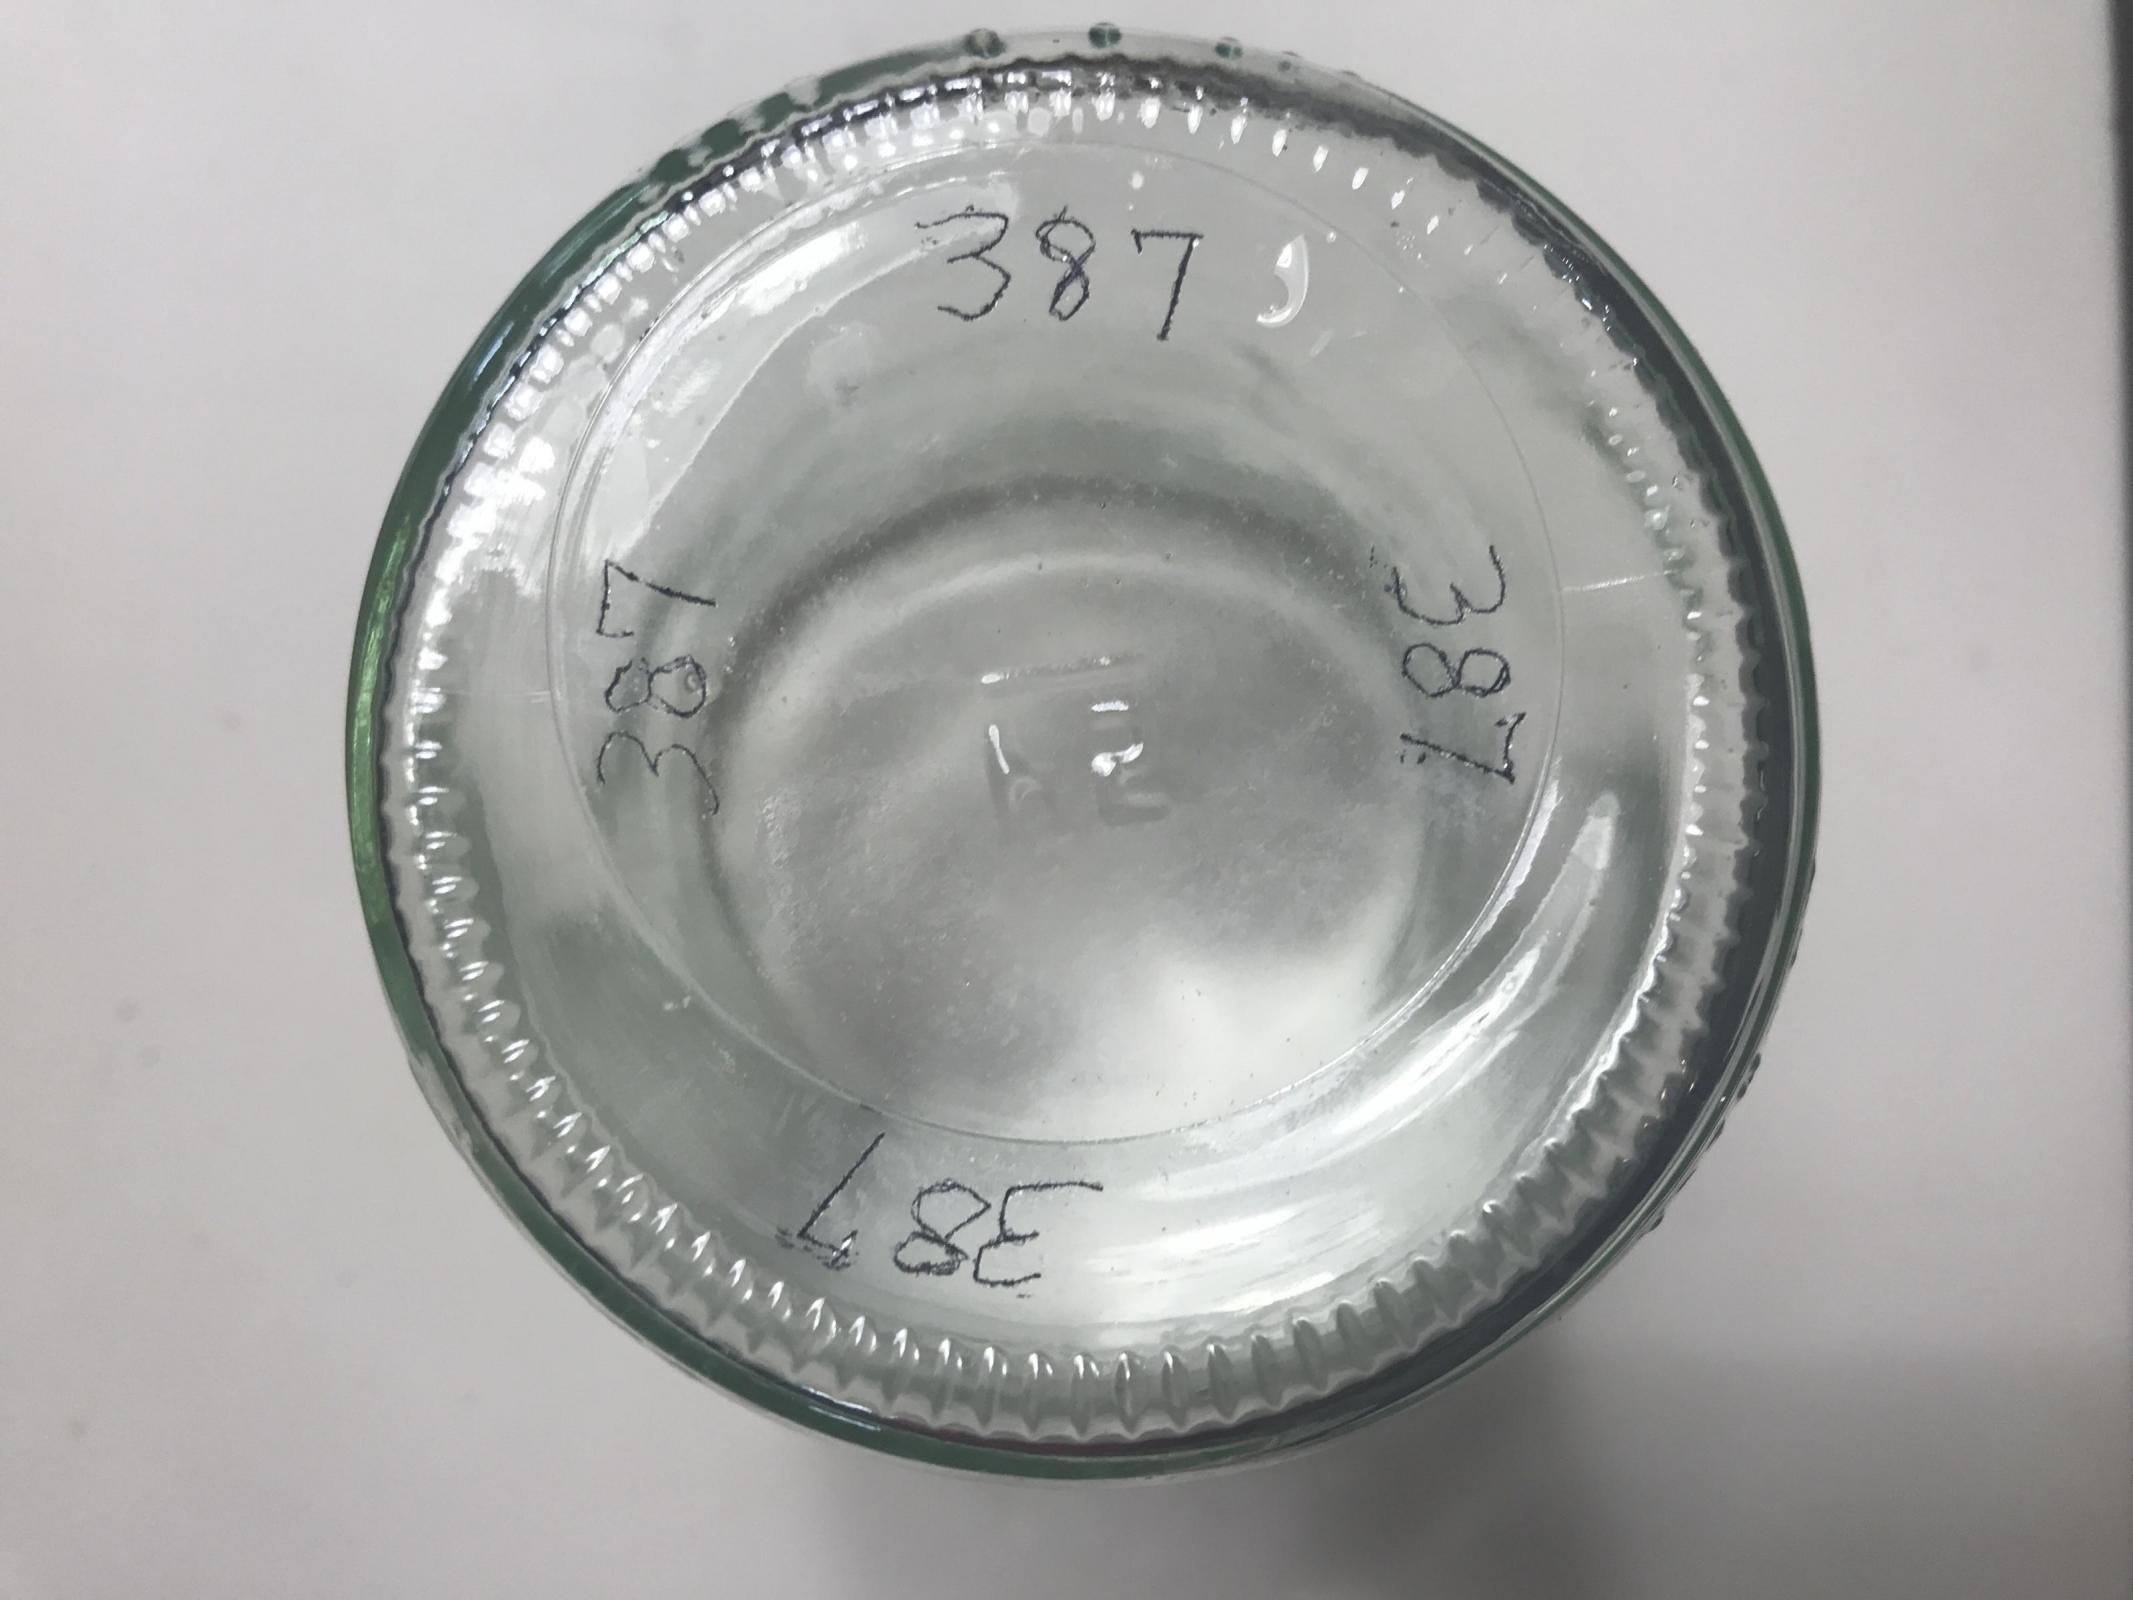
NOTE - Marking that are intended to be permanent are scribed first with a CARBIDE SCRIBE, then the etching is covered with black marking ink and washed off so that only the ink in the scratches remain. I’ve used this for years without issue.
See THIS LINK for additional information pertaining to permanent ways to mark glass. All of my containers are scribed on the bottoms with their weighs. This comes in handy if you forget or wonder if the weight of a particular ingredient was correctly added. I use these markings quite a bit.
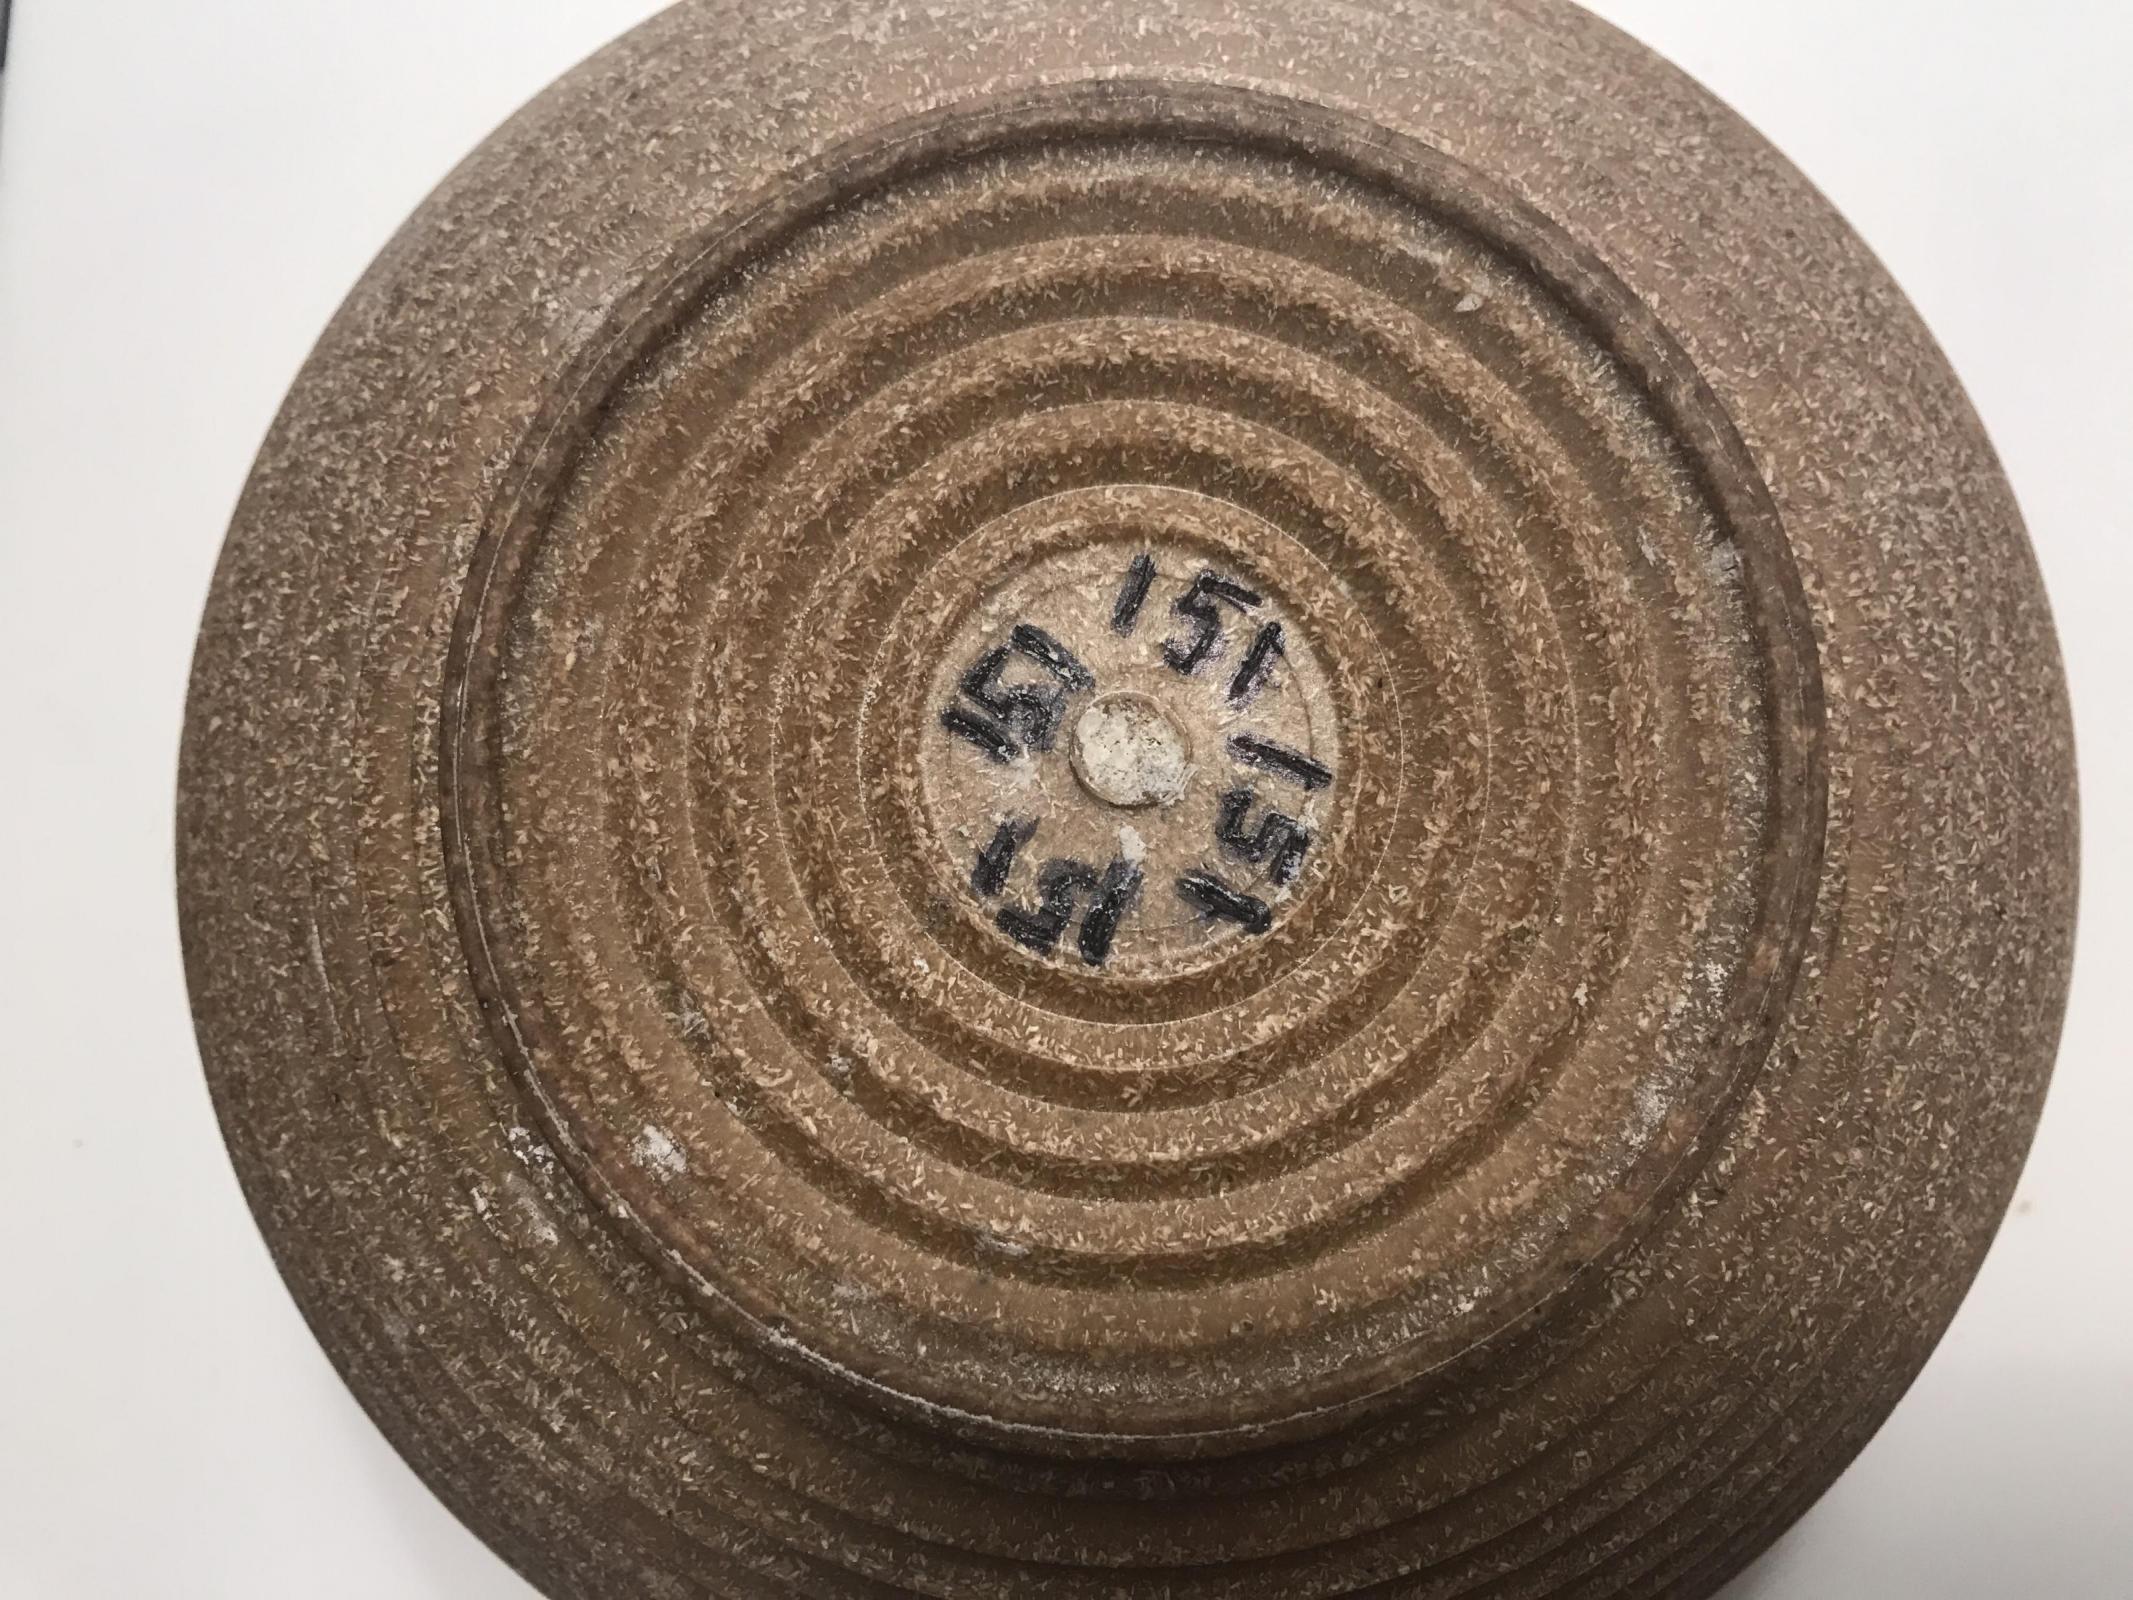
If you have an Arts and Crafts store near by you can pick up an inexpensive vase that works perfectly for a starter feeding vessel. The tall and narrow, straight sided jar is perfect for evaluating the amount of rise. In the case below the jar is marked in 25 gram increments. Simply tare the jar on your scale and add 25g water, then using a scribe mark the level. Continue adding water, 25g at a time and marking the level. NOTE - the empty jar was weighed and that weight is scribed on the bottom. The vessel weight comes in handy more times than you can imagine.

By the way - narrow is good but you want to make sure you can get a narrow spatula or something similar into the jar for cleaning.
Great idea with the scribing, Dan. I've suffered through enough meticulous markings getting wiped right off by wet hands. And also good to mark the weight of the container. For a time, I couldn't figure out why my numbers were off-- for some measurements, I was taring with an empty glass bowl of the same make, only to discover that they they had different weights. So much for manufacturing consistency.
What about those glass etching creams? You could use those, just use some masking tape to mask the areas. I seem to recall those little etching bottles were at craft stores everywhere in the 90s. Just found one, Folkart is the brand, they also make paints.
Never heard of etching cream, but that is a good idea.
I've spent some time looking for something like a graduated Weck jar. Kirsten has a nice starter jar, which is perhaps the closest thing I've found, but it is smaller than what I want. The DIY etching approach is a good alternative.
If you have a Hobby Lobby near you, you can buy very nice narrow and tall straight sided flour vases for less than 3 dollars. They are about 8-10 inches tall and about 3 inches wide.
https://www.hobbylobby.com/Floral-Wedding/Containers-Fillers/Containers/Glass-Cylinder-Vase---Small/p/4886
I use a piece of painter’s tape and mark it with a pen.