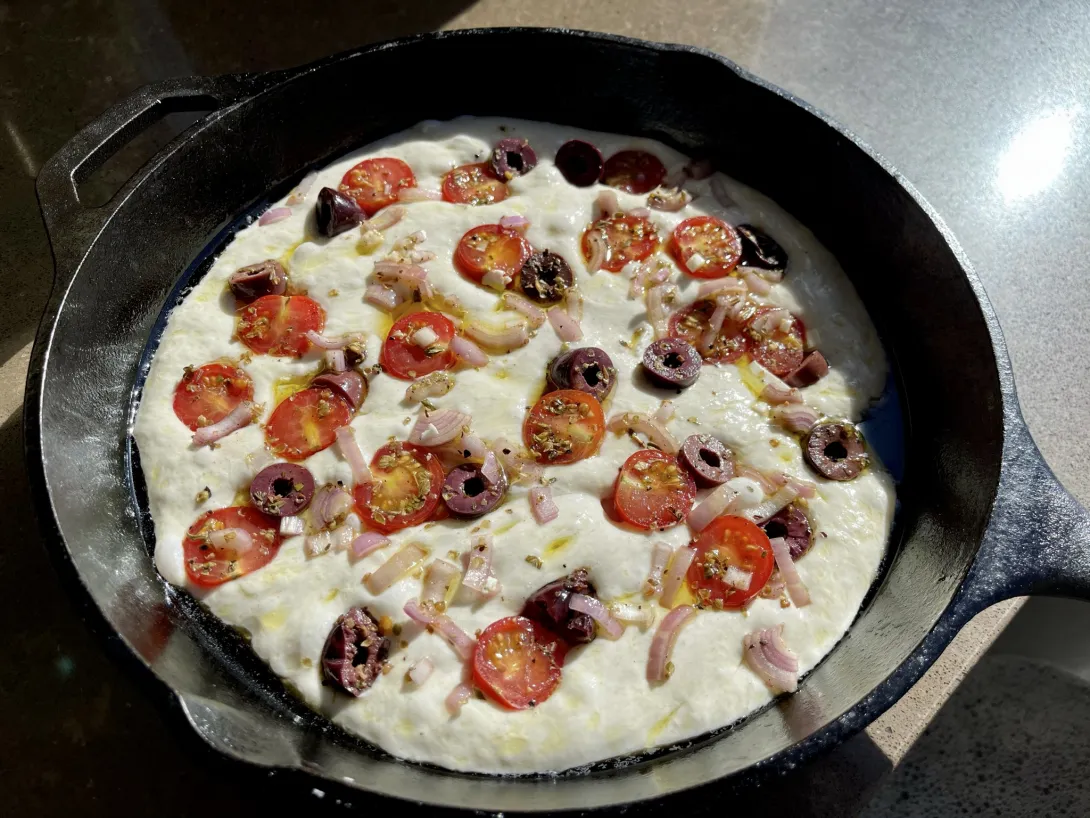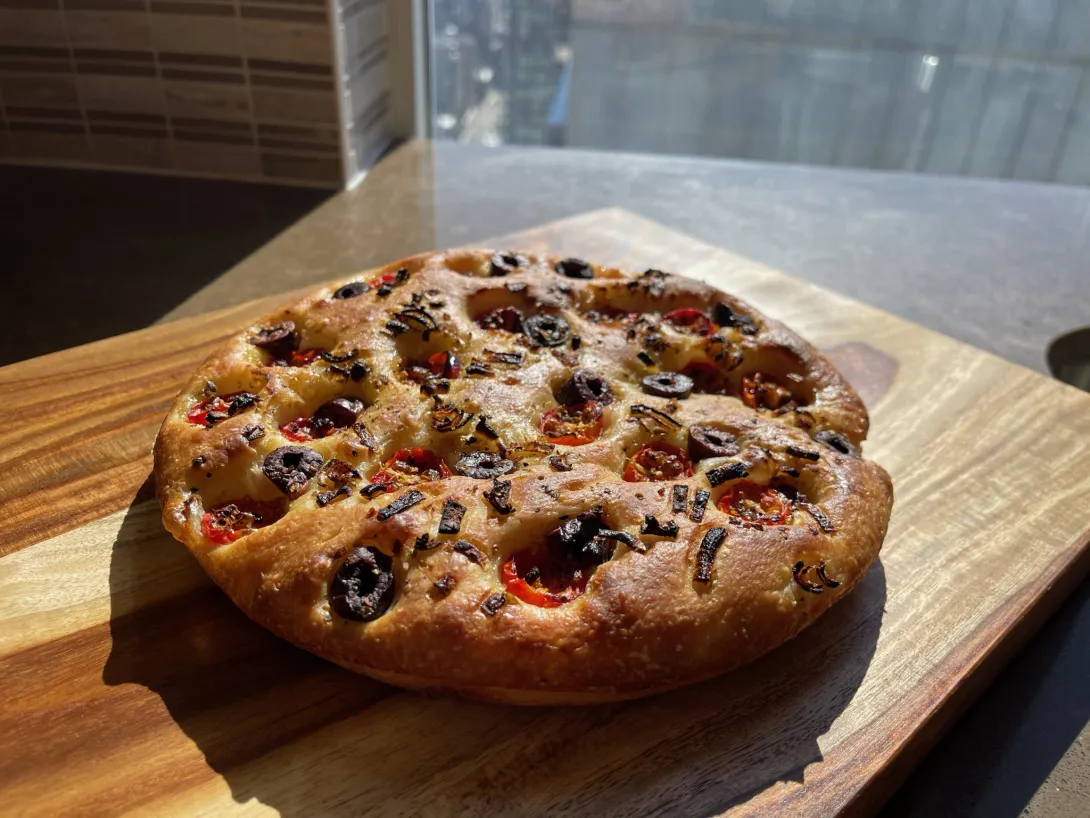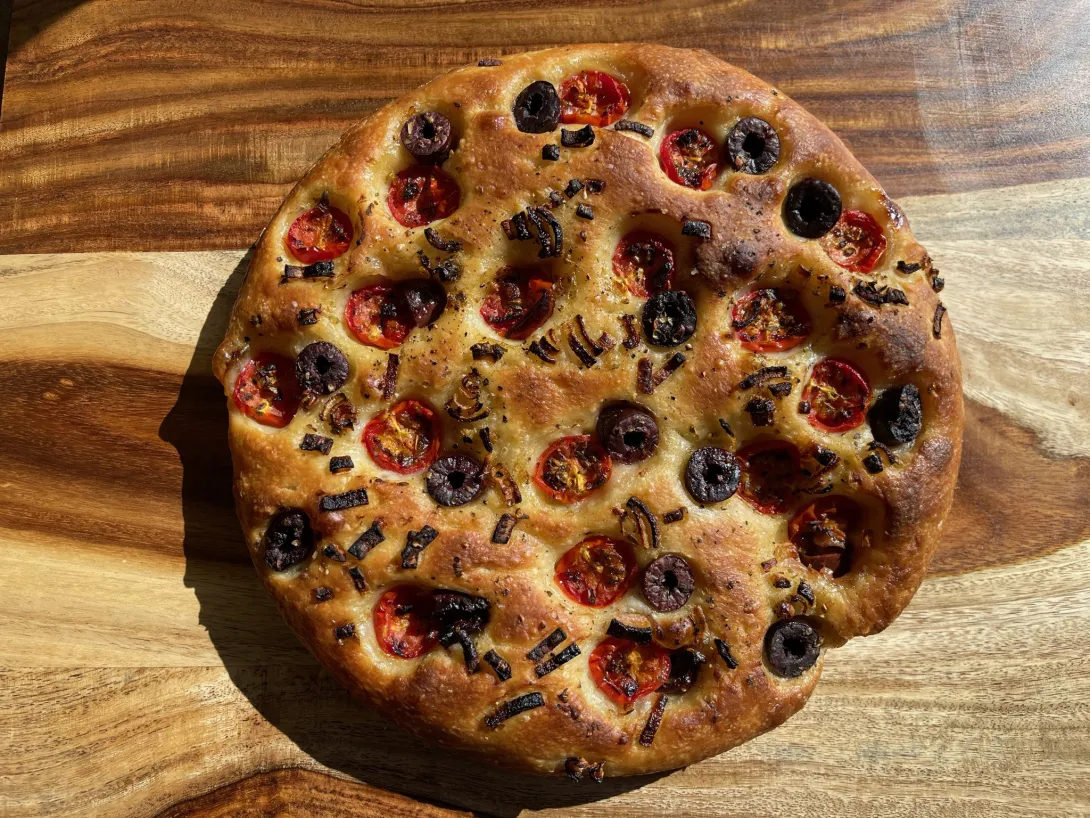
Sacrilege I know, focaccia is Italian but I wanted feta today on my focaccia. So this really is just a simplified Greek salad on bread, what’s not to like? Cherry tomatoes, kalamata olives, shallots, feta cheese, salt, pepper and oregano are the toppings. The feta is buried under each pair of tomato and olive, I wanted lots of toppings. I followed Maurizio’s sourdough focaccia recipe again however, I did adjust down the dough weight so I would end up with a more “normal” thickness of baked focaccia in the end. Because of scheduling, I had to do a cold retard of the dough overnight for the bake today. I wasn’t sure how long to let it final proof for and I’m not sure if it is over or under proofed. I was hoping to have lots of big bubbles, which I also didn’t get on my last focaccia.
9” round skillet
Total dough weight 450 g
Levain 19%
Hydration 76%
Weight | Ingredient | Baker’s Percentage |
95g | All-purpose flour 10% protein | 38.4% |
131g | High protein bread flour 13% protein | 61.6% |
4.5g | Extra virgin olive oil | 2.00% |
172g | Water | 76.00% |
4.13g | Salt | 1.80% |
43g | Levain (100% hydration) | 19.00% |
Total flour 247.5g
Levain build 1:6:6 75ºC 8-9 hours
4 g starter + 24 g water + 24 g bread flour
Method
Mix – 9:00 a.m.
This dough can be mixed by hand (I would use the slap and fold technique) or with a stand mixer like a KitchenAid.
To the bowl of a stand mixer fitted with the dough hook attachment, add both the flours, water, salt, and ripe sourdough starter (hold back the olive oil until later in mixing).
Mix on speed 1 for 1 to 2 minutes until incorporated. Then, mix on speed 2 for 5 minutes until dough strengthens and clumps around the dough hook. Let the dough rest in the mixing bowl for 10 minutes.
Next, turn the mixer on to speed 1 and slowly drizzle the olive oil into the bowl while mixing. Once all of the olive oil is absorbed, turn the mixer up to speed 2 for 1 to 2 minutes until the dough comes back together.
Transfer your dough to a bulk fermentation container and cover.
This highly hydrated and enriched dough is wet and loose , it won’t strengthen to the same degree as a typical bread dough.
As you can see below on the left, immediately after mixing the dough is still very wet and chunky. However, it’s not falling apart or soupy. Resist the temptation to add more flour at this point, as you can see below in the image at the right, by the middle of bulk fermentation it’ll strengthen after several sets of stretch and folds.
Transfer the dough to a covered container for bulk fermentation.
Bulk Fermentation – 9:15 a.m. to 11:15 a.m.
Give the dough 4 sets of stretch and folds, starting 30 minutes after mixing, and a set every 30 minutes thereafter.
Every 30 minutes for the remaining 2 hours of bulk fermentation gently stretch the dough, with wet hands, toward the corners of the rectangular container. The dough will resist stretching and spring back (especially with the oil underneath), but don’t force it—each time you stretch it’ll relax a bit more and eventually fill the container.
Proof – 11:15 p.m. to 3:15 p.m.
Transfer the dough to a deep rectangular pan that’s been greased with olive oil. If you don’t have a pan with a silicone liner, make sure to heavily oil the pan’s interior so the focaccia doesn’t stick during baking.
At 76-78°F (24-25°C), the dough will proof for 4 hours. This time period is flexible and dependent on the temperature: if it’s cooler, let it proof longer, and conversely, if it’s warm, you might be able to bake sooner.
Every 30 minutes for the first hour, uncover the pan and gently stretch the dough with wet hands to the pan’s edges to encourage it to fill the pan. The dough will naturally spread out during this proofing period, so it’s unnecessary to spread the dough aggressively. Once the dough is mostly spread to the edges, cover the pan and proof for 4 hours.
OVERNIGHT OPTION: After two hours in proof, cover the rectangular pan with an airtight cover and transfer to the fridge. The next day, take out the dough and let it come to room temperature, and continue with the Top & Bake step below.
The rectangular pan I use fits perfectly inside my B&T Dough Proofer. I keep it inside the proofer, covered with reusable plastic, and set to 78°F (25°C) until ready to bake.
About 30 minutes before you anticipate the sourdough focaccia dough being ready, preheat the oven to 450°F (232°C) with a rack placed in the bottom third (a baking stone is not necessary).
Top & Bake – 3:15 p.m.
First, dimple the unadorned dough with wet fingers. Make sure the dimples are evenly spaced and go all the way down to the bottom of the pan. Then, drizzle on 1-2 tablespoons of your extra virgin olive oil and sprinkle with herbs and coarse sea salt. If using other toppings, add them now as well—I like to press them into the dough gently.
Bake the focaccia in the oven at 450°F (232°C) until deeply colored on top, about 30 minutes. Rotate the pan front-to-back halfway through this time. Keep an eye on it during the last 5 minutes and pull it out if it’s coloring too quickly, or leave it in longer if you’d like it a little darker.
Let the focaccia cool a few minutes in the pan, then transfer to a cooling rack. It’s fantastic warm from the oven, and best on the day of baking, but it’ll keep well for a couple days loosely wrapped in foil (reheat under the broiler before serving).


- Benito's Blog
- Log in or register to post comments
I think this needed another hour of final proofing, however, it is much better than my first super thick focaccia. The flavors are much better as well., The feta embedded in the crumb is just delicious.
It looks mighty tasty. That would make a great lunch heating it up under the grill for a few minutes. You don't have to do everything, it's all there. Or you could eat it with a tuna salad.
Thank you Abe, it was great as my dinner. I do love how easy it is to make and how you can be creative with it just like a pizza. I recently make a Roman Pizza, this is similar is some ways but less messy to prepare.
And what a delicious combination of toppings! Maurizio's sourdough focaccia is now our usual focaccia. I have made it many times and never much bothered about proofing time. Since it is in a baking pan already (9 x 13" metal), I don't worry about over proofing it. I let it go until it gets as lively as I know it can and then bake it. Sometimes this means it spends overnight in the fridge and then continues to proof on the counter next day. Some times it is so well risen right out of the fridge that I gently poke in the olives without dimpling first, top with rosemary, olive oil and coarse salt and then gently onto my preheated cast iron griddle. It never disappoints. My metal baking pan has a plastic lid and the focaccia keeps well in there over the couple of days it takes us to finish it.
Thanks so much GranChaser! I do think I should have left it longer but I had an appointment to do to this afternoon and had to get this baked, you know how life gets in the way of our baking LOL.
Did you find that the total dough weight of Maurizio’s recipe gives you too much dough for the 9” x 13” pan? When I made the full recipe the focaccia was really really thick, so I rescaled it to make it thinner and I’m much happier with this one.
The pan you have sounds perfect for focaccia, no wasting aluminum foil and you can reheat it in the oven in that pan if you want to the next day.
Benny
No, I actually like the thick pillowy style focaccia I get from Maurizio's recipe. I keep saying that it's thick enough to slice horizontally for a sandwich, but all the times I've baked this so far, never once used it for a sandwich. LOL! I think I like it this way as it reminds me of the one served at Louise's Trattoria in Los Angeles. We moved away from LA many years ago and I longed for that bread more and more each passing year. This recipe yields a close enough result.
Yes, I love my Nordic Ware pans - I have two of them. Also good for transporting baked goods in that indeterminate future when gatherings may be possible again.
-G
Very flavorful combo and nice crumb. I think you’re right that a little extra proof could only help but overall great job. I’ve made bread with feta in the past and it’s one of my favorites.
Happy baking!
Thanks Ian, it was the first time baking bread with feta and it won’t be my last. The other reason to bulk longer other than the crumb, is that it might bring a bit more sour to the bread which would be nice as a Greek salad bread. Maybe a touch of rye would bring that out as well.
Benny
Hi Benny
i love feta and would eat a slice of that right now!
Is the recipe you listed the correct amount for the 9” cast iron pan? That is what I would like to use .
Glenn, yes that recipe above is my conversion of Maurizio’s recipe for a thinner focaccia as baked for a 9” skillet. I can’t wait to see what you come up with. I really loved the feta buried beneath the olives and tomatoes, I’ll be doing that again in the future for sure.
Benny