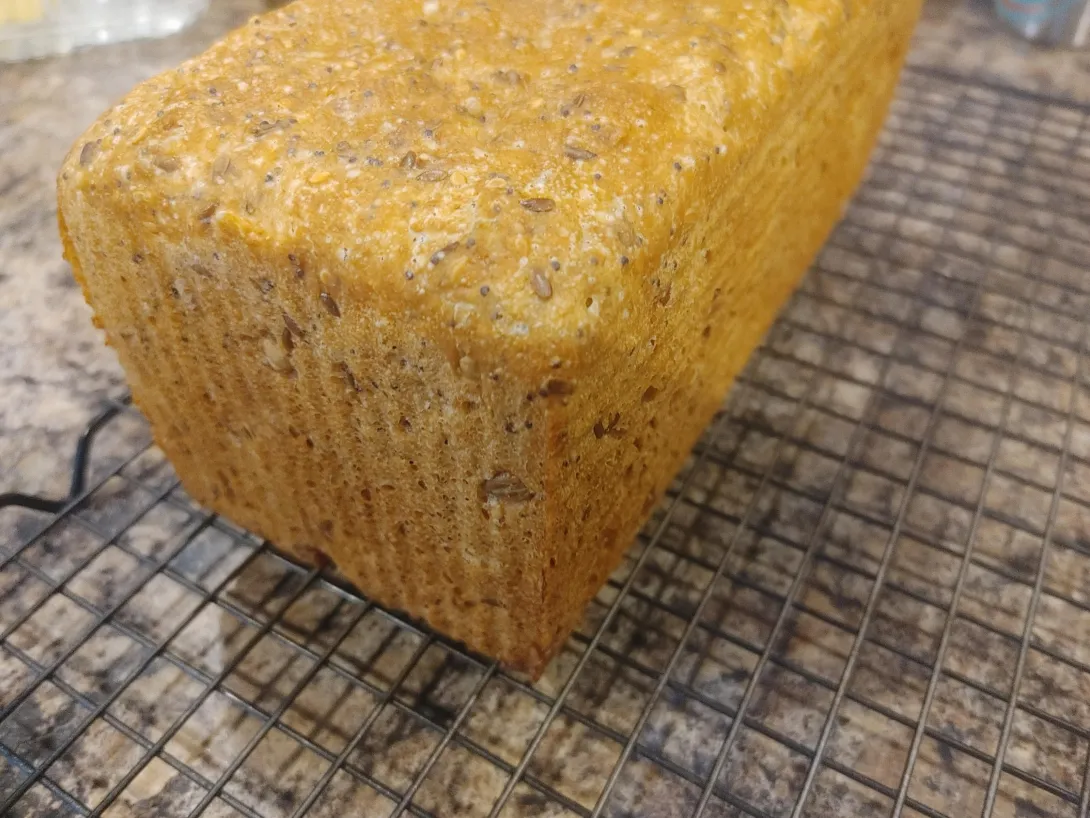
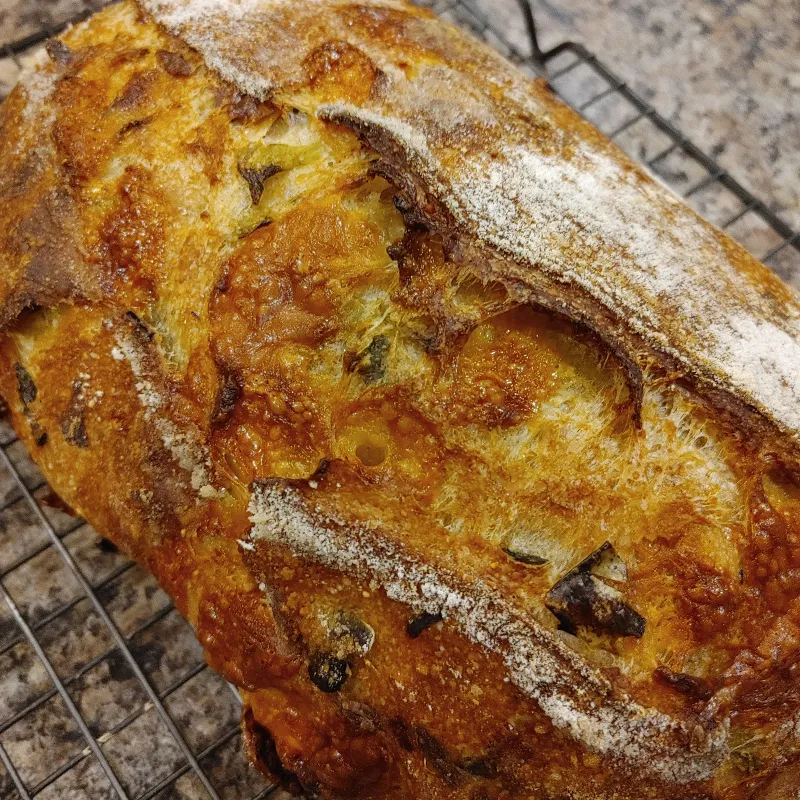
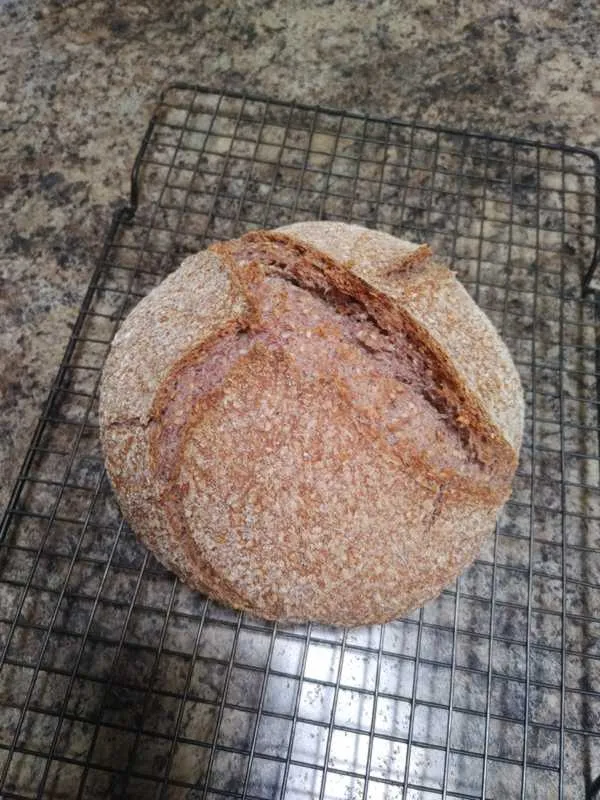
Seeded Simple Sourdough
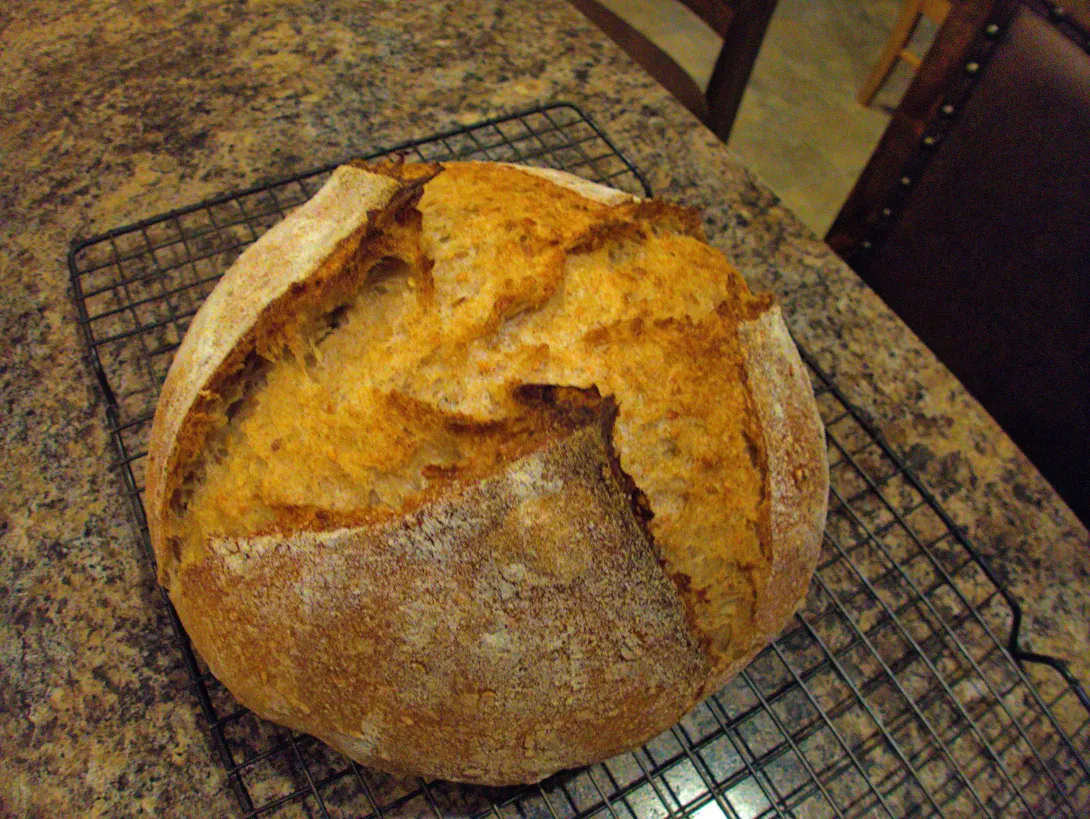
After Moe posted about a recent take on simple sourdough I got to looking through Susan's posts experimenting around with her simple sourdough approach. Her seeded doughs sure looked good. I thought I'd tweak my version of the simple formula to add in a few seeds. It turned out pretty tasty with some added nuttiness from the seeds.