Isand66's blog
Very, Very Cherry Bread
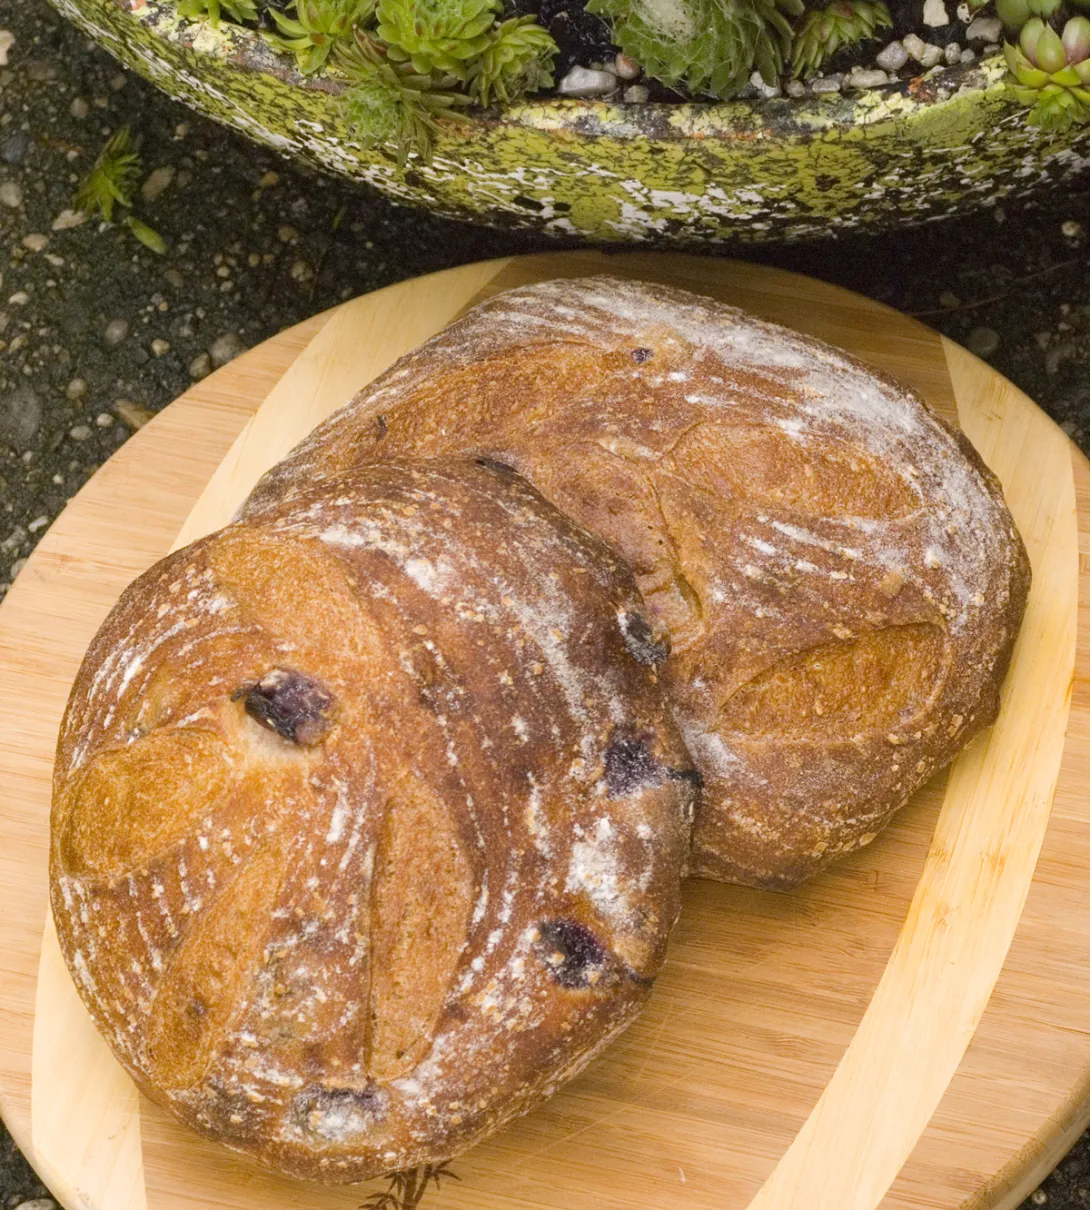
I have made several variations of breads with cherries with different formulas and flour combinations. While several of them were very good, none of them really tasted exactly like I was craving. I wanted a soft tender crumb with a strong cherry flavor without being overpowering.
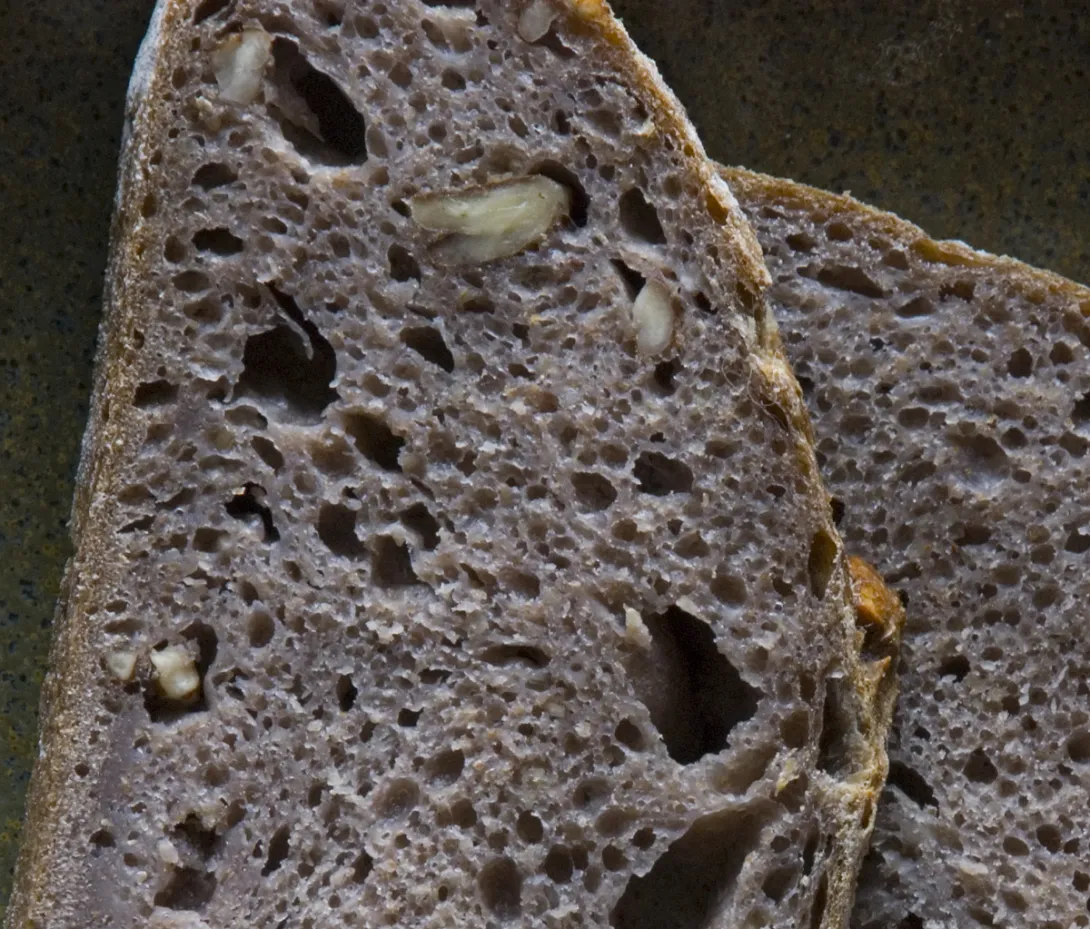
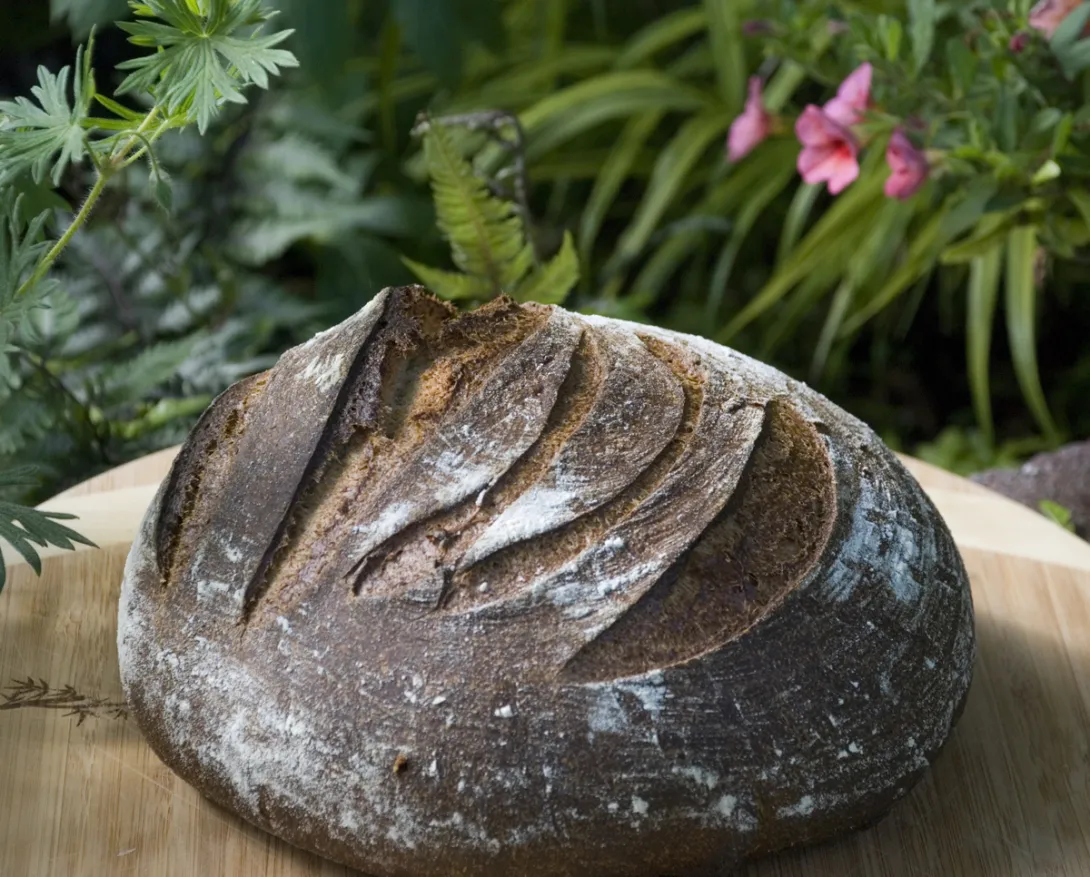
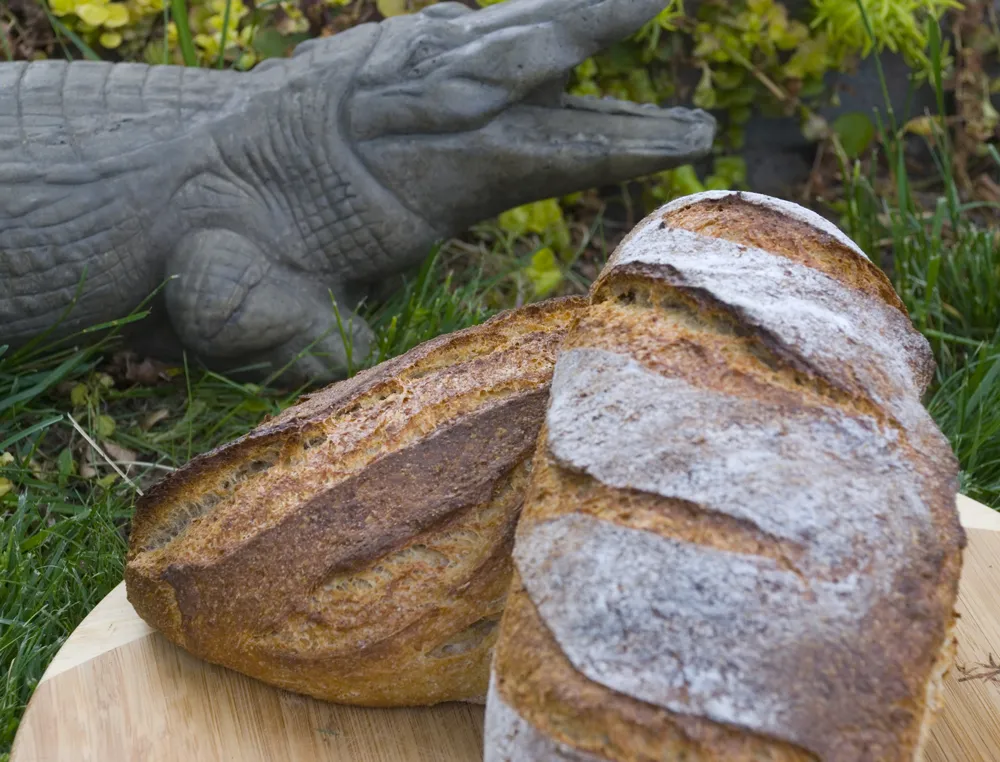
7 Grain Double Starter Soaker Bread
Well since the last few bakes have been very white I started to feel the Force draining and I was being pulled towards the Dark Side! This bread is a 70% whole grain power-house made with a soaker which I scalded to make sure it was nice and soft. I used 5 different whole grains in the scald and 3 whole grain flours plus some French style flour in the double starters and main dough.
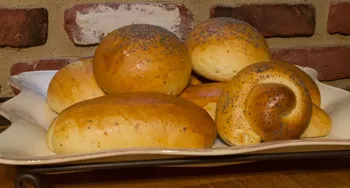
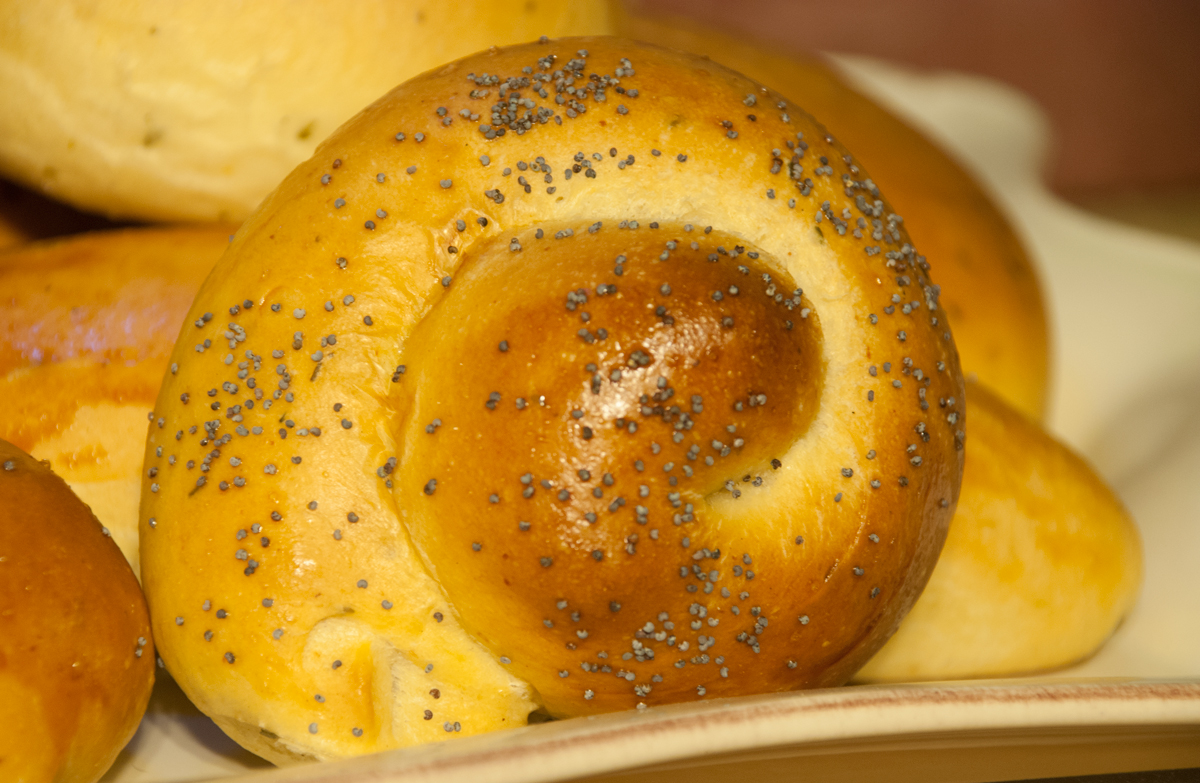
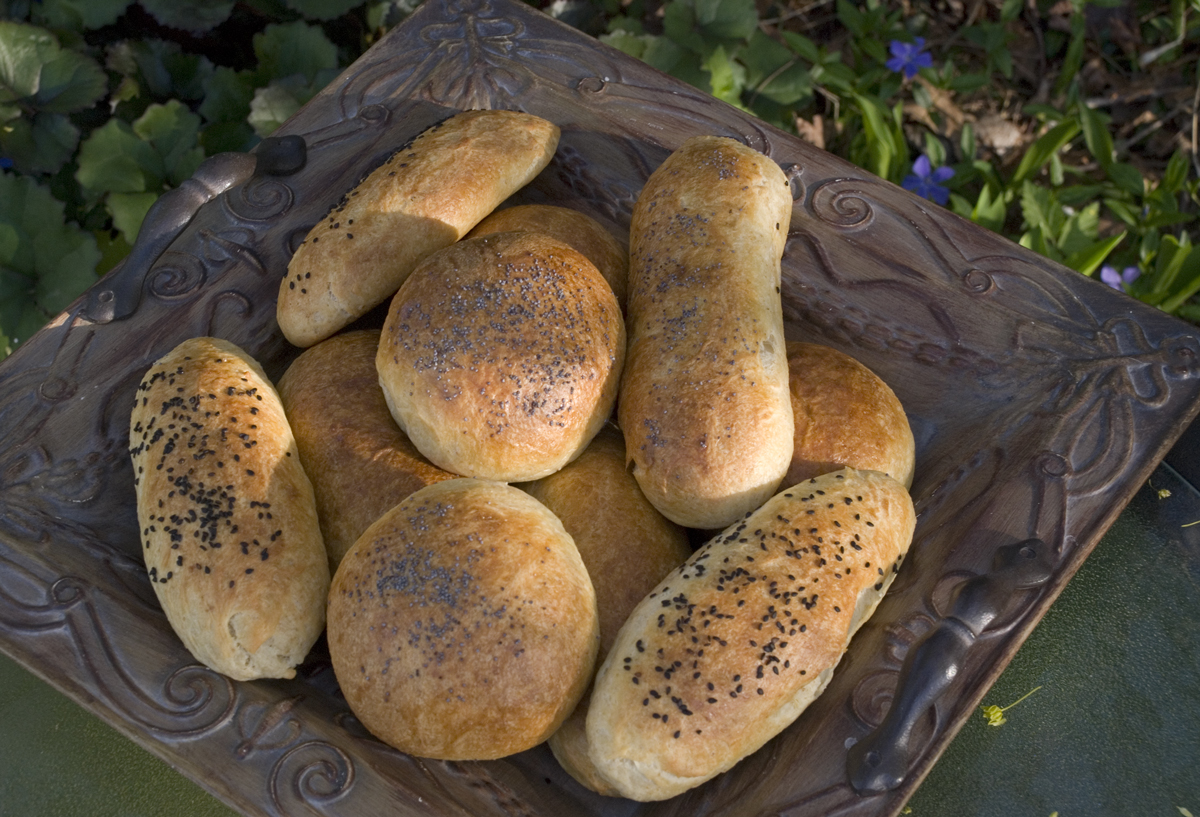
Potato Knish Rolls

I decided I wanted to make some rolls at the same time I made the Crème de Tequila bread and as I opened up my refrigerator to get a snack I spotted the extra potato knishes I had heated up the other day for dinner. Well...one thing lead to another and the inspiration for my latest bake was born.
My last few bakes for rolls did not use a sourdough starter, so I wanted to use one for this bake while still achieving a nice moist and soft roll.
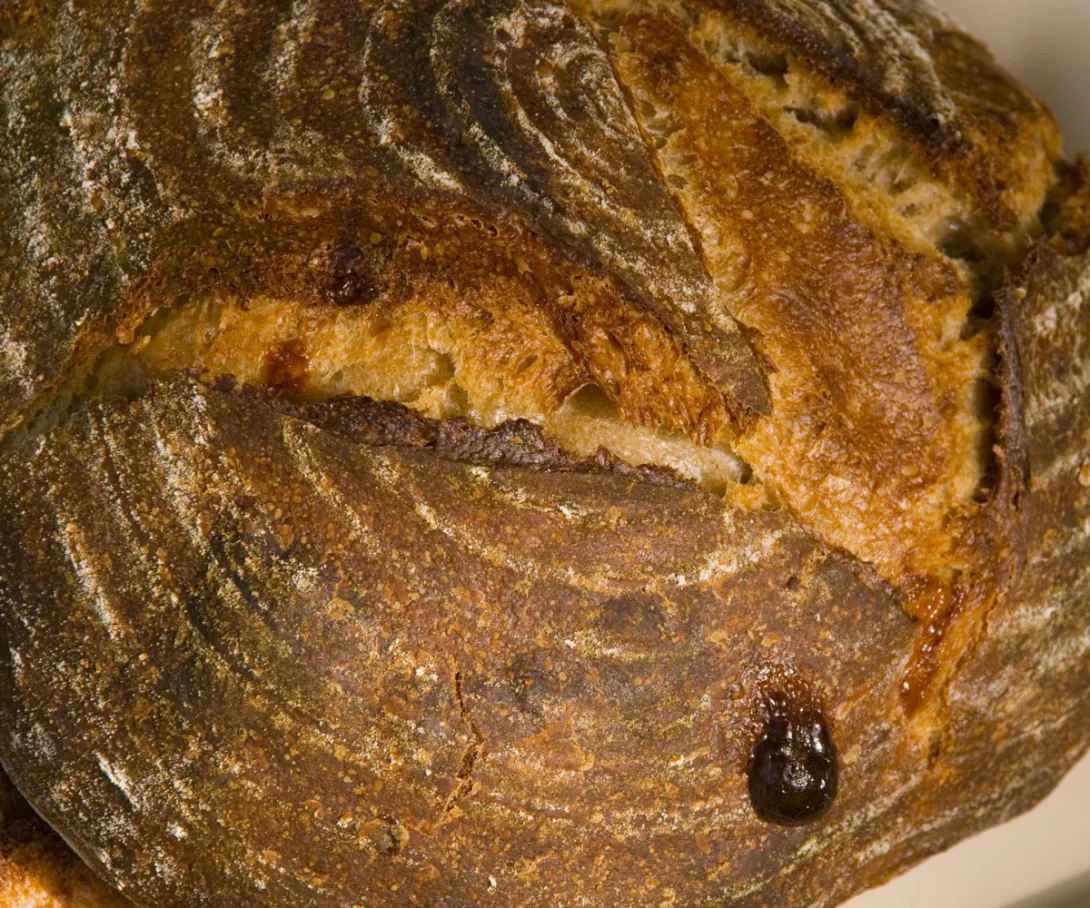
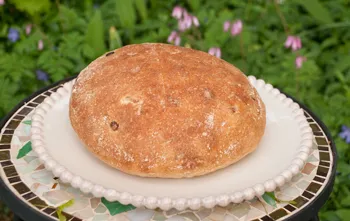
Crema de Tequila Bread
The summer will be here before you know it, although with the rainy and cold sub 50 degree weather we had the last couple of days it's hard to believe. It is nice though to see some of our flowers start to bloom with many more ready to be planted today and tomorrow into the garden soil weather permitting.
Pugliese "Pillow Bread II" with Onions
Ever since I baked my first "Pillow Bread" last month I've been wanting to try baking this again with some modifications. I wanted to use a 24 hour bulk retardation instead of baking it on the same day and I wanted to add some onions as well.
I also decided to use some of my apple yeast water in the levain and in the final dough but not as a rising agent. Instead I just to add some extra flavor and soften the crumb.
I also changed up the flour combination a bit using some Spelt flour in place of some of the Kamut flour and also in the levain.
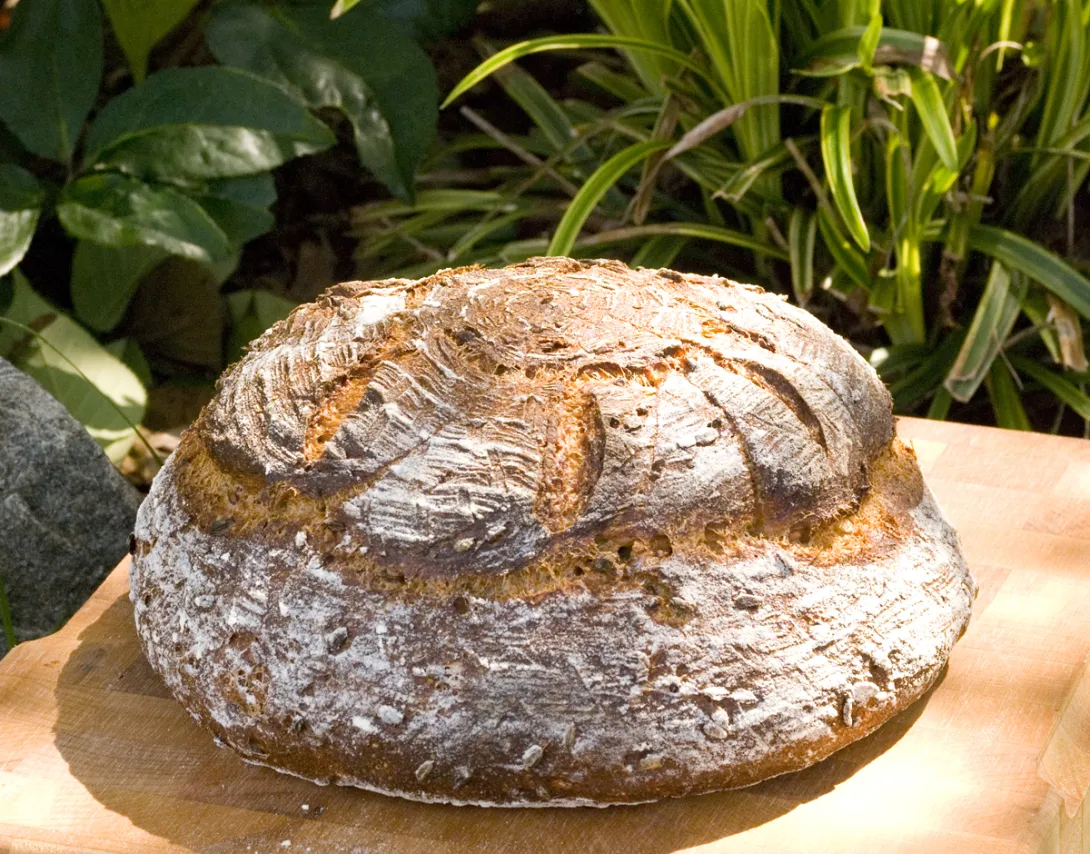
Double Trouble Multi-Grain Sourdough
I just finished up the last of my decadent cream cheese rolls so it was time to bake a more healthy hearty bread but one that is not too heavy either.
I decided to try a double starter which I've done in the past. My first inclination for this bread was to try an experiment and make all of the flour come from the pre-ferment but I chickened out at the last moment and only upped the starter amount slightly from my normal formulas.
- Log in or register to post comments
- 15 comments
- View post
- Isand66's Blog
Tangzhong Cream Cheese Rolls
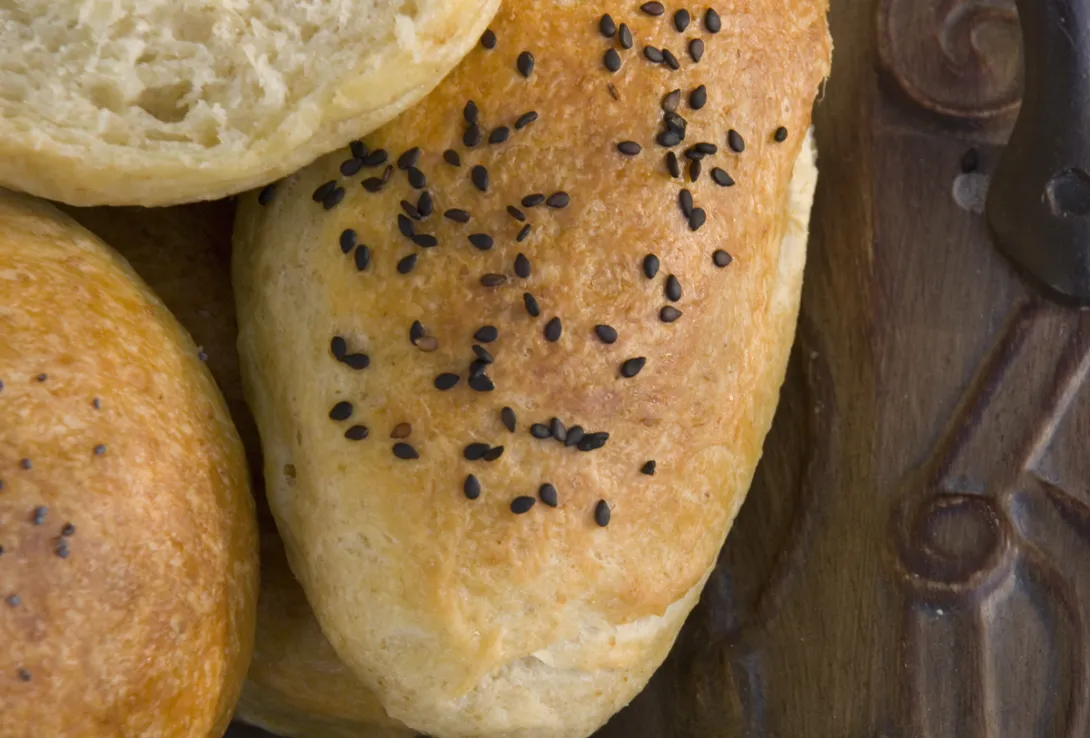
 A few weeks ago I made some potato rolls using the Tangzhong process and they came out excellent.
- Log in or register to post comments
- 13 comments
- View post
- Isand66's Blog