Kneading Conference West 2013 - Day 2
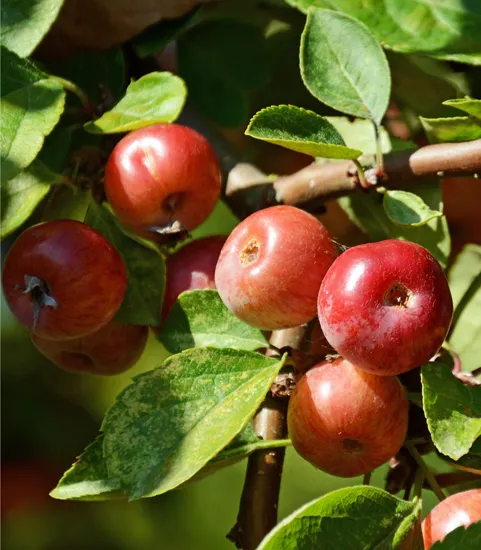
beautiful orchard fruit, grown by the Western Washington Fruit Research Foundation at WSU-Mount Vernon
Hello everyone,
Day 2 of the Conference had so many good things going on.
Notes on the seminars and talks I was fortunate to attend on Day 2 follow:
Keynote Address – “Grow It! Mill It! Bake It!: Adding Value Adds Up” – Thor Oechsner
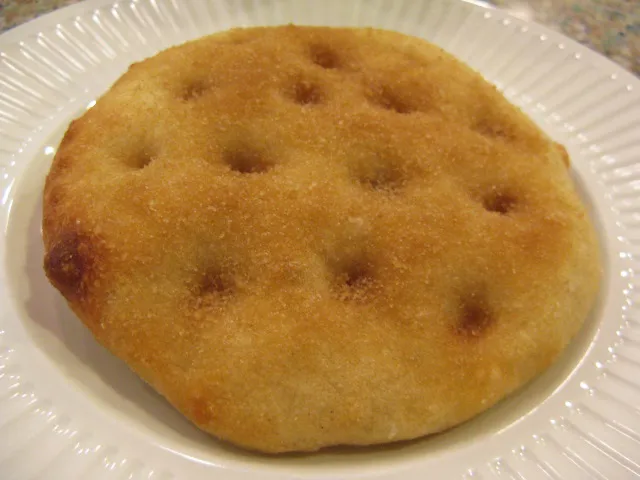
“Flatbreads from the Tandoor Oven” – Naomi Duguid and Dawn Woodward