The Fresh Loaf

A Community of Amateur Bakers and Artisan Bread Enthusiasts.

SourdoLady's blog

SourdoLady's picture
SourdoLady

I bake a lot of sourdough bread. Over the past several months I have been trying a lot of new techniques and trying to perfect the quality of my loaves. The recipe below is how I am currently making my white bread. Next year I may have a whole different approach, as I am constantly learning and trying new things.

Deluxe Sourdough Bread

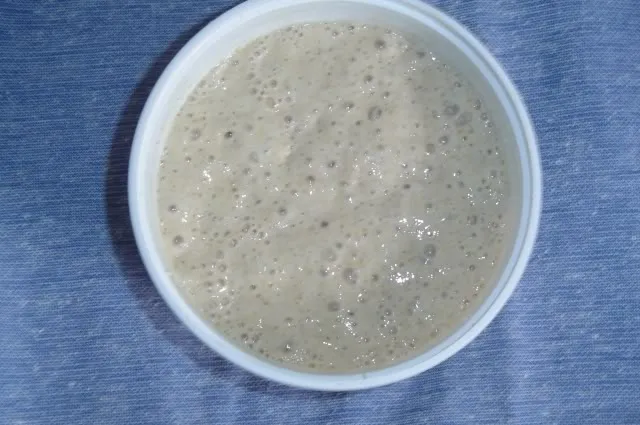
1 1/4 cups proofed starter
1 cup water
3 T. dry powdered milk
1 T. lemon juice
1/4 cup instant potato flakes
3 3/4 cups bread flour
1/4 cup white whole wheat flour
2 T. sugar
3 T. butter or margarine
2 tsp. salt

Combine the first 5 ingredients. Mix in the flour just until the mixture is a shaggy mass. Cover and let rest for 30 minutes. Add sugar, butter, and salt and mix until all is incorporated. Knead dough until it is smooth and satiny.

Cover and let dough rest for 45 minutes. Divide dough into 2 equal portions. Pat each dough portion out into a large, flat circle. Gently stretch and fold the left side over the middle, then the right side over the middle (like folding a letter). Pat down with the palms of hands and repeat the folding with the remaining two unfolded ends. Shape loaves, always keeping the folded side as the bottom. I do free-form oval loaves and place them on parchment paper.

Spray the loaves with Pam and cover with plastic. Place in the refrigerator overnight. The next day, take loaves out and let them finish rising at room temperature. They should be very light. Do not rush it or your bread will be dense.

While bread is rising, preheat oven and stone to 400� F. I also place a shallow pan of hot water on the bottom rack for steam.

When bread is fully risen, slash top and slide onto hot stone. If you don't have a stone, just bake on a baking sheet. After 10 minutes, turn the oven heat down to 375� F. When loaves start to show color, water pan can be removed. Bake until loaves are a nice golden brown. Time will vary according to the shape and size of loaf.

Cool on a wire rack. You can brush crust with butter while still hot if you like a soft crust.

The small addtion of white whole wheat flour that I use in this bread gives it an interesting depth of flavor that I like. It does not change the color of the bread. I don't know if white whole wheat flour is easily available just anywhere. I am fortunate to live in an area where wheat is grown and milled so I have easy access to various flours.

SourdoLady's picture
SourdoLady

I have been baking with wild yeast sourdough for the past 5 years. It all began when I purchased a starter from Sourdoughs International. One starter led to another starter, until I had 5 different ones. Recently, I felt up to the challenge of making my own wild yeast starter from scratch. I had tried this once before, many years ago, with no success at all. At that time I knew next to nothing about wild yeast and how it works.

This starter recipe is awesome because it really works, and it explains why it works. The starter I made is very good. The flavor is amazing and it rises very well. I purchased rye and wheat berries at my local health food store and ground them in a coffee grinder to make flour for my starter. It was kind of tedious to grind but I only needed a few tablespoons. I'm sure that you could just buy freshly milled flour at the health food store and it would work just as well. The wild yeast is on the grains and you just need to provide the right conditons to wake it up.

Procedure for Making Sourdough Starter

Day 1: mix...
2 T. whole grain flour (rye and/or wheat)
2 T. unsweetened pineapple juice or orange juice
Cover and let sit at room temperature for 24 hours.

Day 2: add...
2 T. whole grain flour
2 T. juice
Stir well, cover and let sit at room temperature 24 hours. At day 2 you may (or may not) start to see some small bubbles.

Day 3: add...
2 T. whole grain flour
2 T. juice
Stir well, cover and let sit at room temperature 24 hours.

Starter at Day 3:

Day 4:
Stir down, measure out 1/4 cup and discard the rest.
To the 1/4 cup add...
1/4 cup flour*
1/4 cup filtered or spring water

*You can feed the starter whatever type of flour you want at this point (unbleached white, whole wheat, rye). If you are new to sourdough, a white starter is probably the best choice. All-purpose flour is fine--a high protein flour is not necessary.

Repeat Day 4:
Once daily until the mixture starts to expand and smell yeasty. It is not unusual for the mixture to get very bubbly around Day 3 or 4 and then go completely flat and appear dead. If the mixture does not start to grow again by Day 6, add 1/4 tsp. apple cider vinegar with the daily feeding. This will lower the pH level a bit more and it should wake up the yeast.

Starter at Day 7:

How it Works

The yeast we are trying to cultivate will only become active when the environment is right. When you mix flour and water together, you end up with a mixture that is close to neutral in pH, and our yeasties need it a bit more on the acid side. This is why we are using the acidic fruit juice. There are other microbes in the flour that prefer a more neutral pH, and so they are the first to wake up and grow. Some will produce acids as by-products. That helps to lower the pH to the point that they can no longer grow, until the environment is just right for wild yeast to activate. The length of time it takes for this to happen varies.

When using just flour and water, many will grow a gas-producing bacteria that slows down the process. It can raise the starter to three times its volume in a relatively short time. Don't worry--it is harmless. It is a bacteria sometimes used in other food fermentations like cheeses, and it is in the environment, including wheat fields and flours. It does not grow at a low pH, and the fruit juices keep the pH low enough to by-pass it. Things will still progress, but this is the point at which people get frustrated and quit, because the gassy bacteria stop growing. It will appear that the "yeast" died on you, when in fact, you haven't begun to grow yeast yet. When the pH drops below 3.5--4 or so, the yeast will activate, begin to grow, and the starter will expand again. You just need to keep it fed and cared for until then.

Once your wild yeast is growing, the character and flavor will improve if you continue to give it daily feedings and keep it at room temperature for a couple of weeks longer.
After that time, it should be kept in the refrigerator between uses/feedings.

My First Loaves From New Starter:

Subscribe to RSS - SourdoLady's blog