bwraith's blog

Maintaining a 100% Hydration White Flour Starter
The following is a description of how I maintain my 100% hydration (1:1 flour:water by weight) starter. The term 100% hydration refers to the baker's percentage of water in the starter, i.e. the water in the starter is 100% of the weight of the flour in the starter.
This maintenance regime assumes that your starter is already healthy, fresh, and active. This is not what I would do to "start a starter", but rather it is the maintenance regime I follow to store, revive, and use my starter over time.
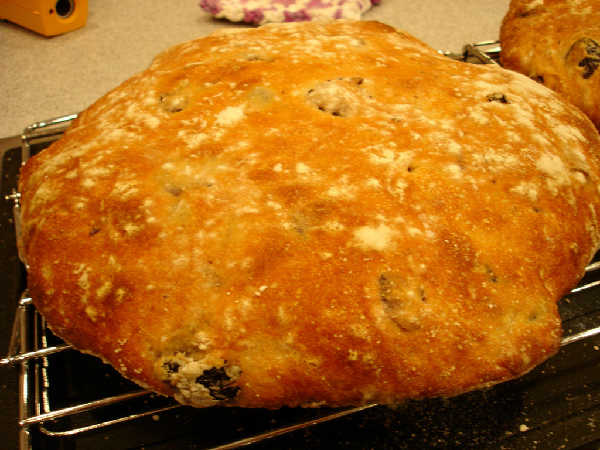
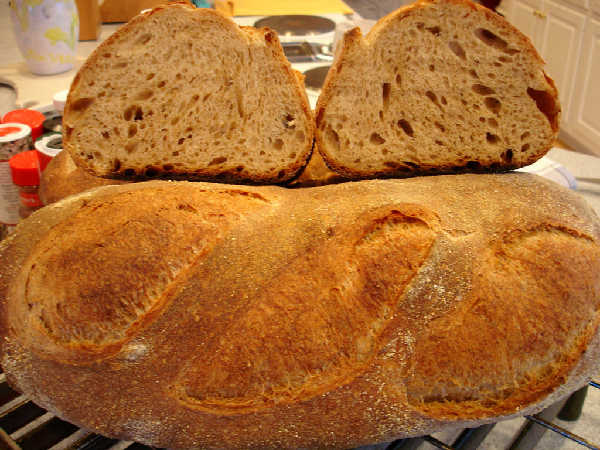
 Sourdough Pagnotta (1)
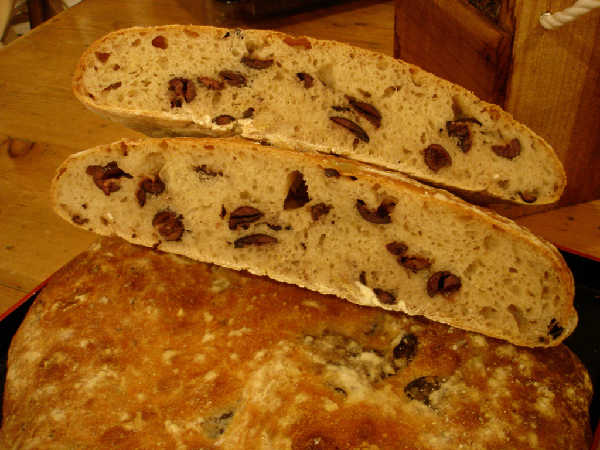
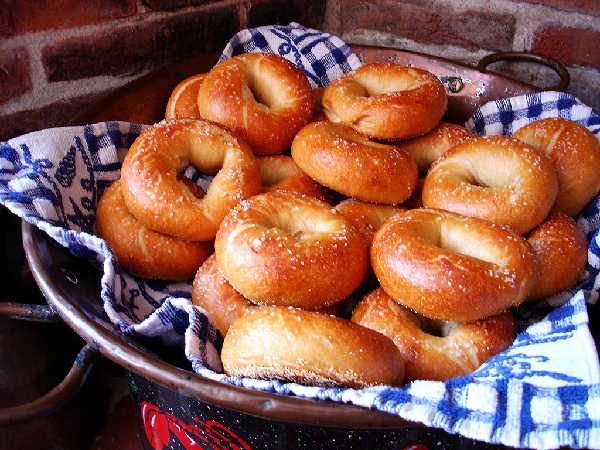
 Sourdough Pagnotta (2)
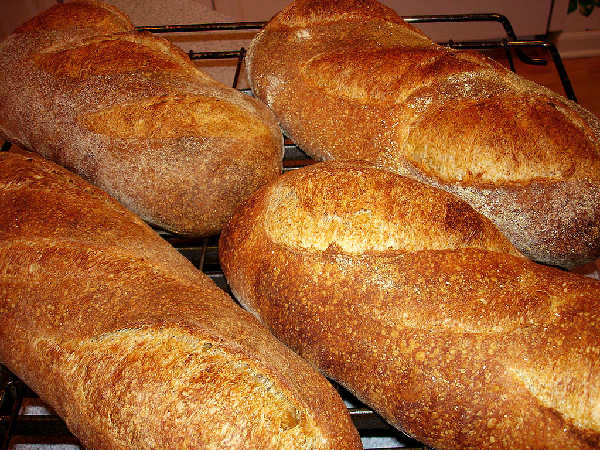
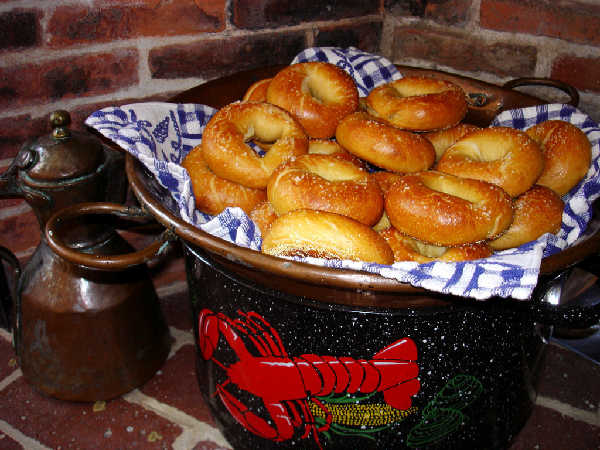
 Sourdough Pagnotta (3)
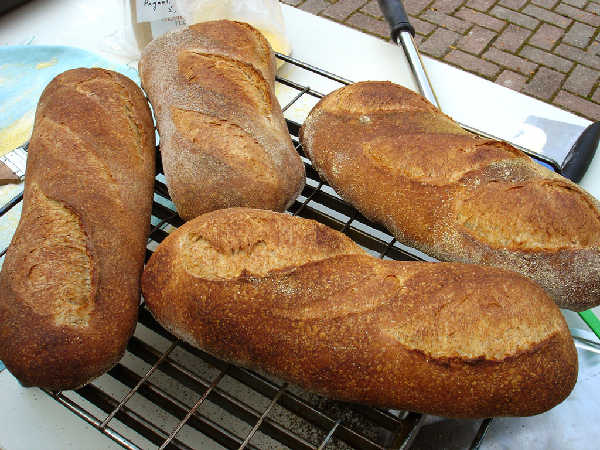
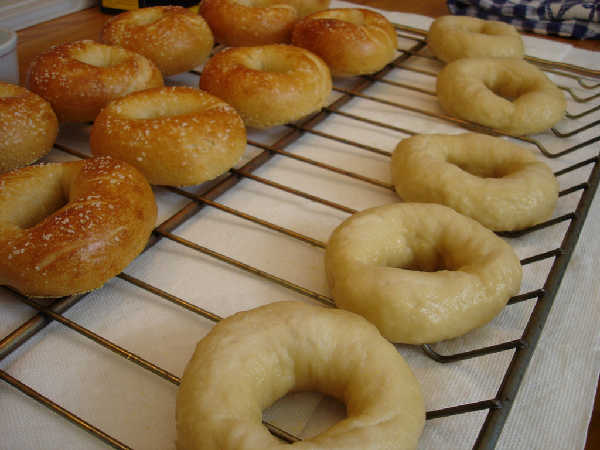