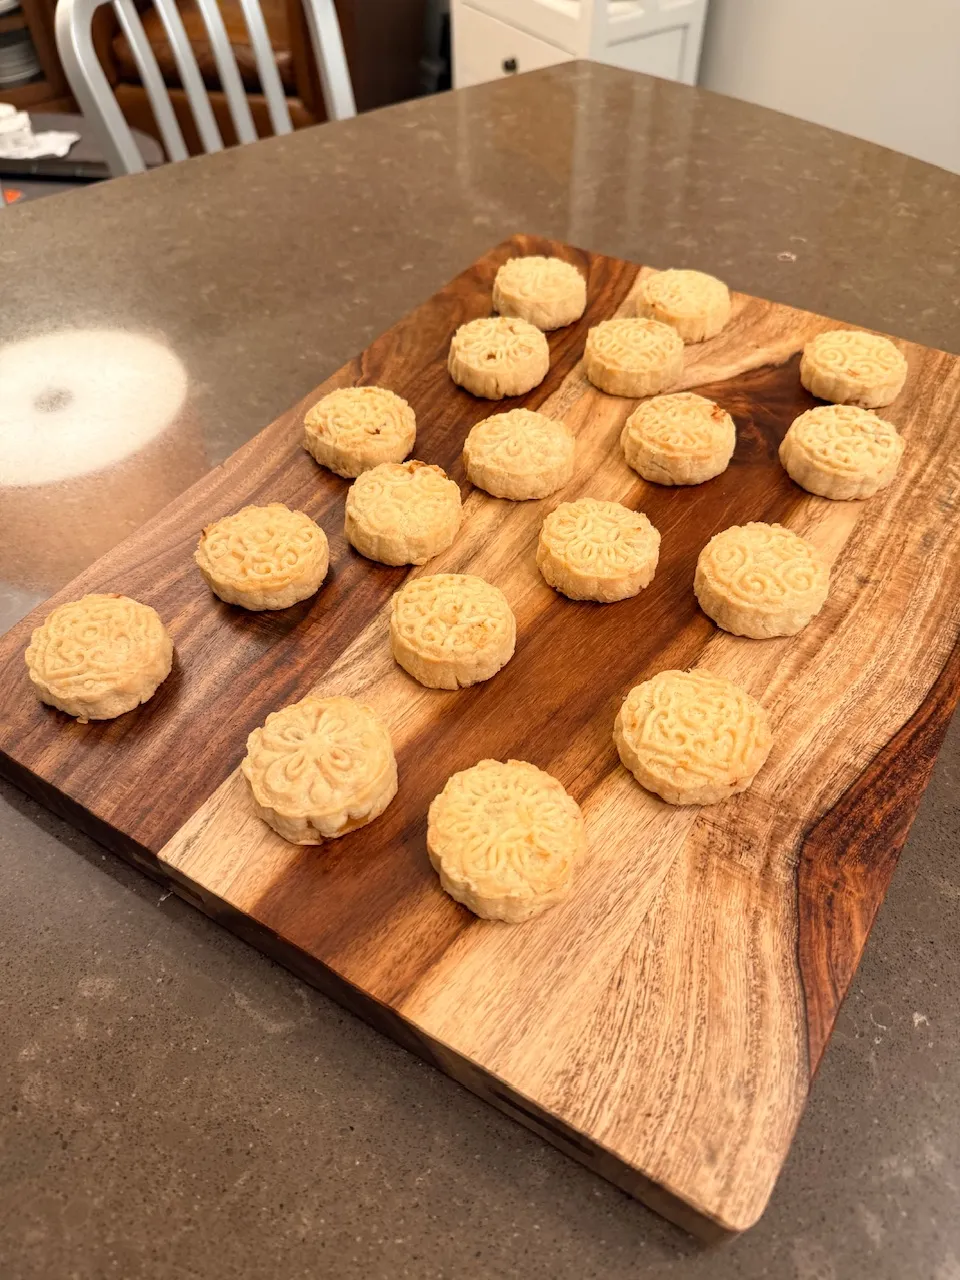
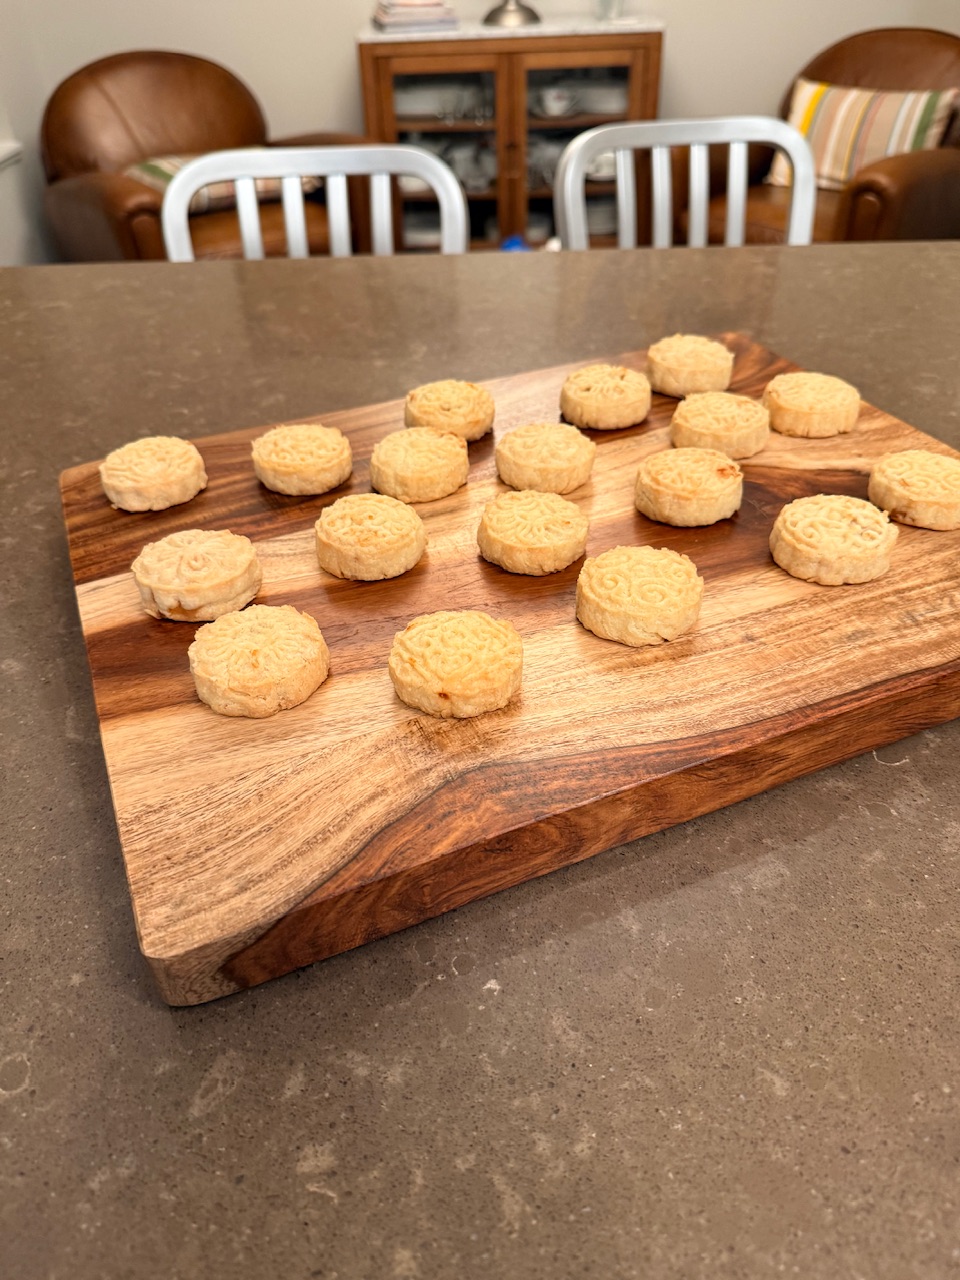
I’ve been away in Vancouver for 11 days and back to doing a locum this and the next 1.5 weeks so haven’t really had time to bake. But I carved some time out of my afternoon and evening to bake some Taiwanese Pineapple cakes for my second time. I’m made improvements on the last batch I made more than a year ago.
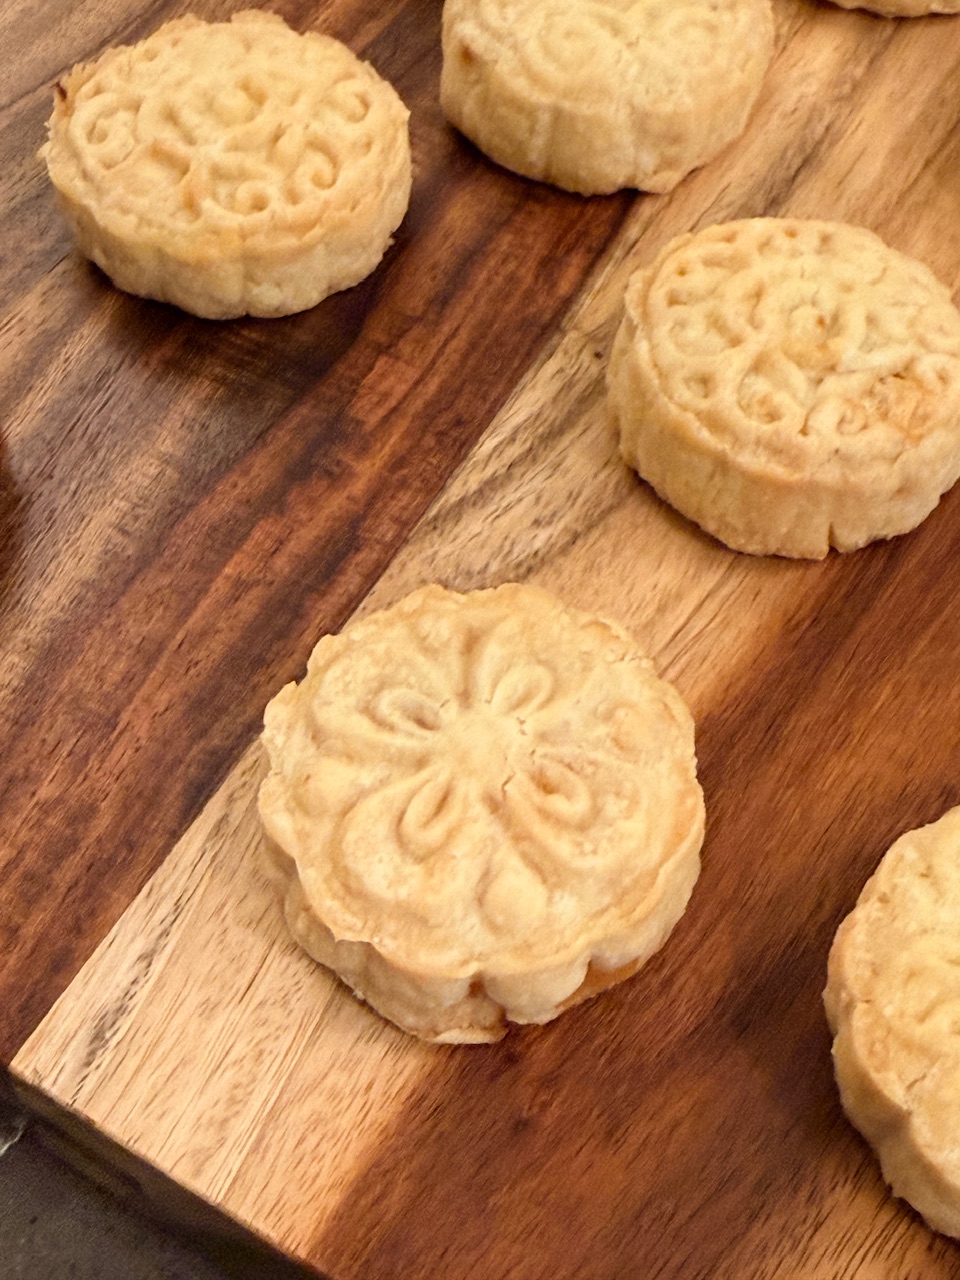
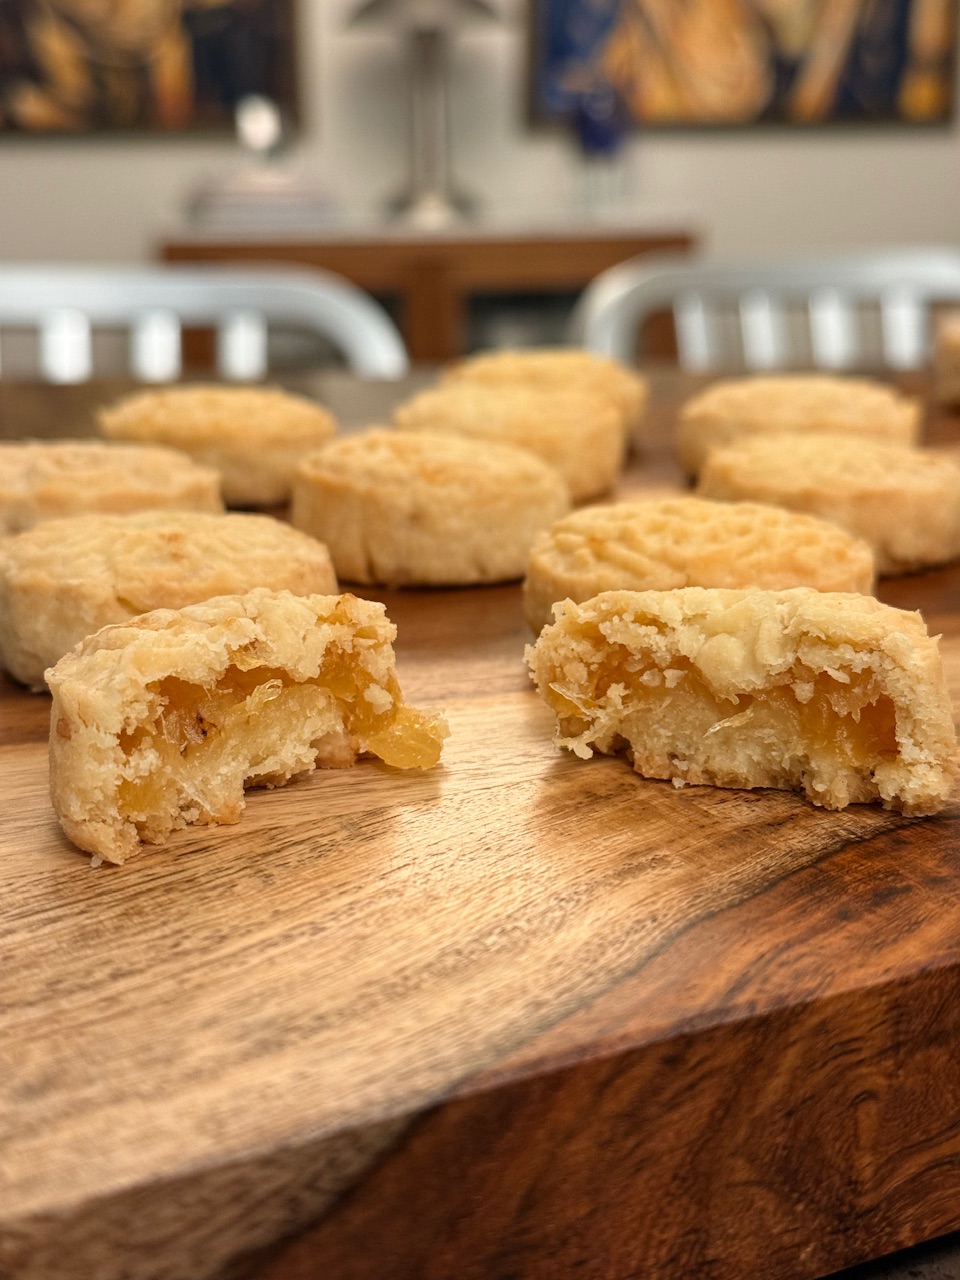
One change was to make the pineapple jam with bolder flavour. The original recipe instructs one to drain the crushed pineapple, instead I cooked the crushed pineapple with its juices until it became jammy. The flavour is much punchier now. I also played around the the shaping of each cake, treating it a bit more like a small bun. After filling and pinching each cake closed, I then spun it around on the counter with two hands to tighten the seam on the bottom and shape the cake in a small cylinder. This then is easier to place into the mold to compress into the final shape. Finally I added a period of refrigeration while the oven preheats.
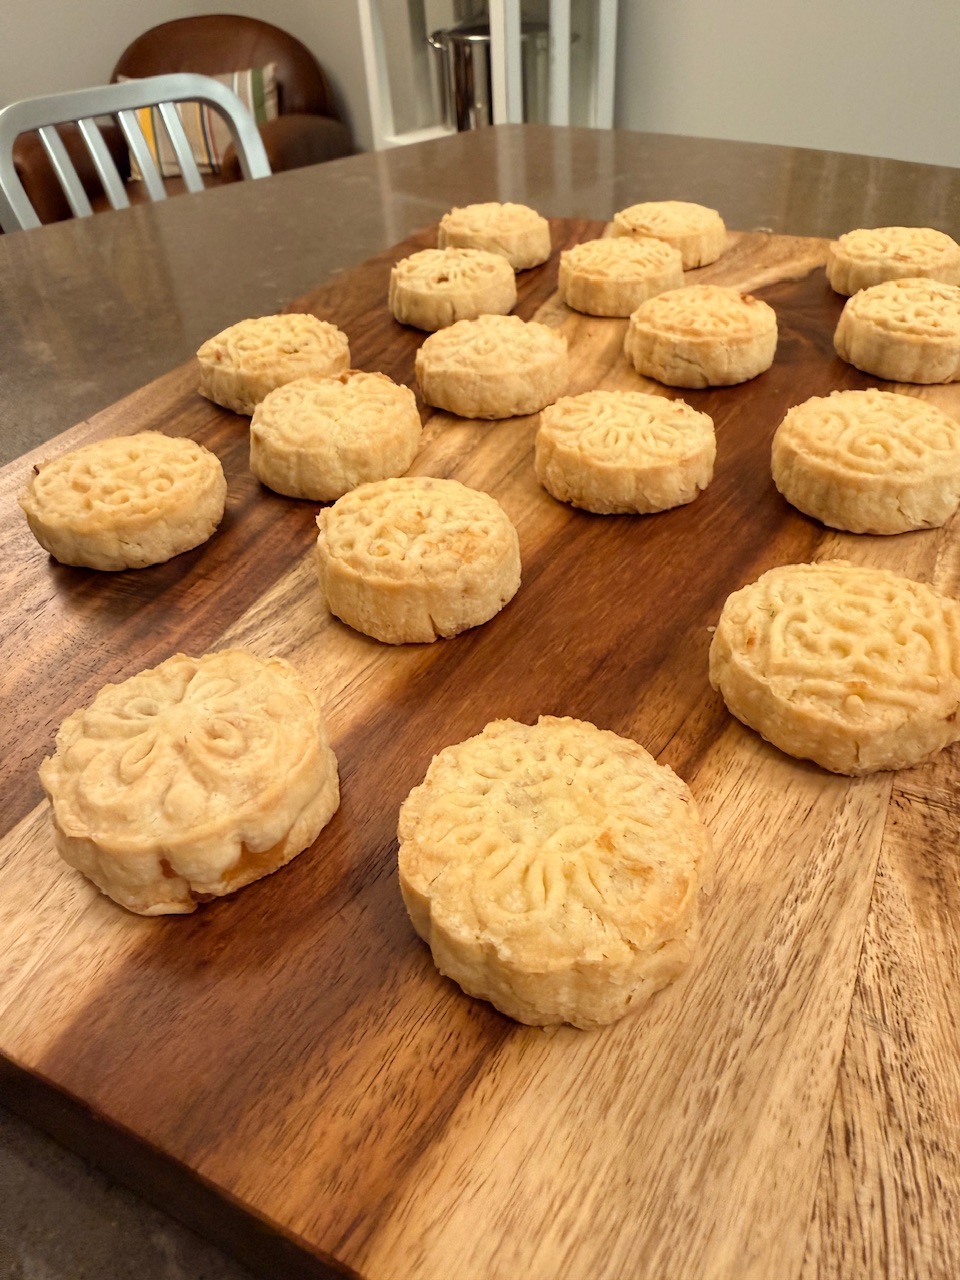
Overall I’m really pleased with the bake, the pineapple flavour is much much better and the pastry shell is still crumbly.
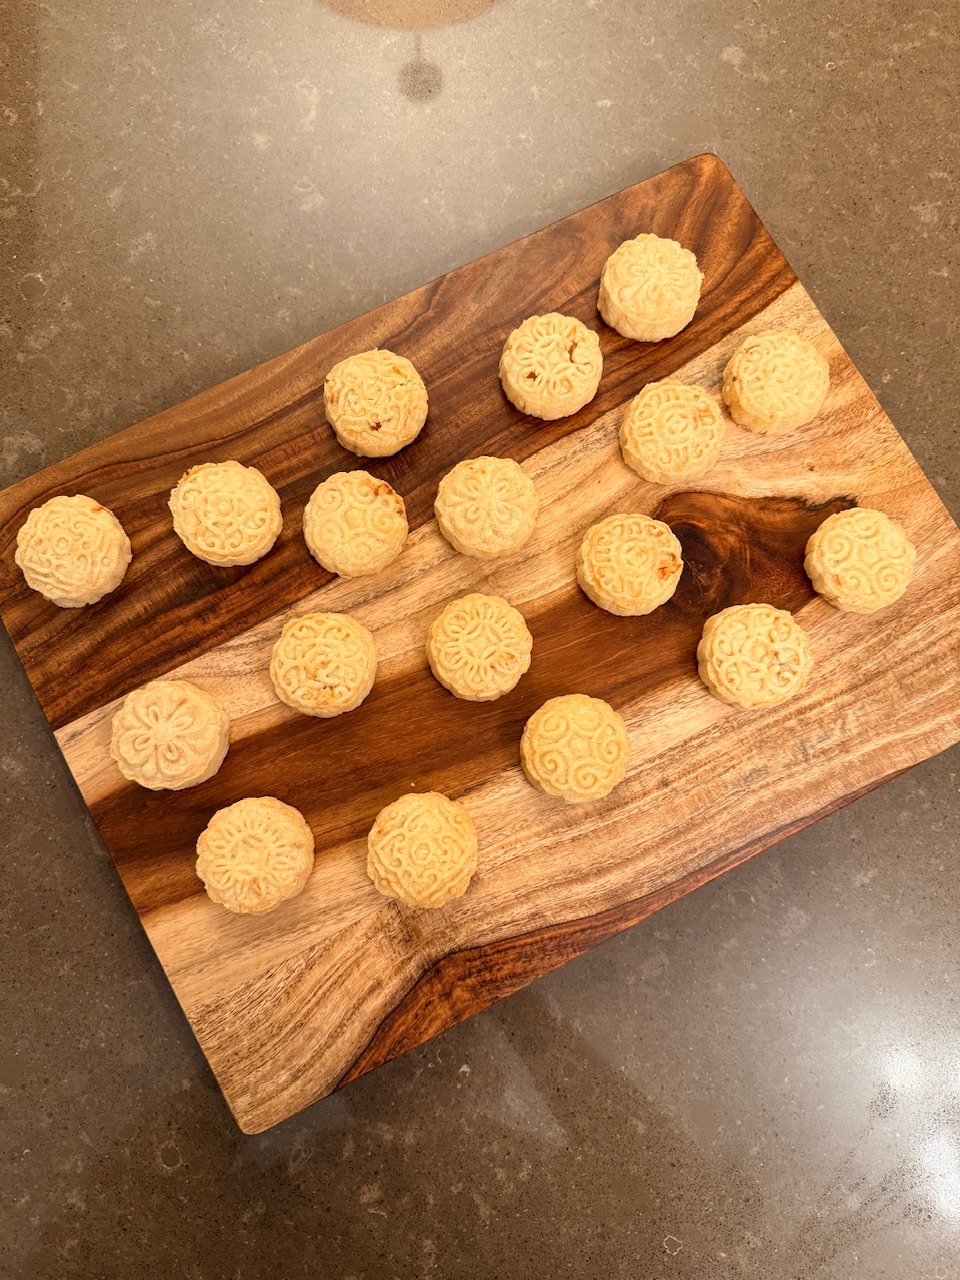

Makes 18 50 g cakes or 12 75 g cakes
Equipment
- Mooncake mold, plunger style
Ingredients
Pineapple Filling
- 1 can (14oz or 398 mL) crushed pineapple
- 50 g (⅛ cup) granulated sugar
- 1/4 tsp coarse salt
- 1/2 tsp vanilla extract
- Juice of half a lemon
Pastry
- 150 g (1 1/4 cup) all-purpose flour
- 20 g (2 tbsp) confectioner's sugar
- 20 g (2 tbsp) tapioca starch
- 1/4 tsp coarse salt
- 113 g (1/2 cup) cold unsalted butter, cut into cubes
- 1 large egg
Instructions
Pineapple Filling
- In a medium saucepan, combine the pineapple, granulated sugar, salt, and vanilla extract. Cook over medium heat, stirring frequently, until thick and caramelized. This will take some time since next time I won’t drain the crushed pineapple to try to get more flavour out of it. Transfer the filling to a heat-proof container and allow to cool completely at room temperature (or refrigerate until ready to form the cakes).
Pastry
- In the bowl of a food processor, pulse to combine the flour, confectioners' sugar, tapioca starch, and salt. Next add the cubes of butter, pulse until sand like. Add egg and pulse until a cohesive dough forms.
- Transfer the dough to a sheet of plastic wrap, pat into a 1-inch-thick disc, and tightly wrap. Refrigerate the dough until firm but still somewhat pliable, 30 to 45 minutes.
- Line a large rimmed baking sheet with parchment paper.
- Use a bench scraper to divide the dough into 18 equal-size pieces (use a digital scale if you have one). Working with one piece at a time, roll the dough into a smooth ball. Place the dough ball on a lightly floured work surface, gently flatten with the palm of your hand, and roll out to a 3-inch round with a dowel rolling pin. Aim to roll the edges thinner than the center.
- Place a teaspoon filling in the center of the dough, pull up the edges, and pinch together to seal. Place the filled cake inside the pineapple cake mold, seam side down, and gently press down with the plunger until it evenly fills the mold. Remove the shaped cakes from the mold and place on a parchment lined cookie tray. Repeat until all 18 are on the tray. Transfer the pineapple cakes to the fridge and preheat the oven to 350°F.
- Once the oven is at 350°F, bake until the cakes are golden brown, 25 to 27 minutes. Transfer the sheet to a wire rack and allow the cakes to cool on the sheet for 5 minutes. Allow the cakes to cool completely on the rack. Enjoy the cakes fresh or store in an airtight container for 24 hours to allow the shortbread to soften.
Notes
Pineapple cakes can be stored in an airtight container (a resealable bag works great) at room temperature for up to 5 days.
- Benito's Blog
- Log in or register to post comments
Lovely cakes and easy to read recipe too. Thank you.
Mini
Thank you Mini. These definitely turned out well. Much better pineapple flavour and the pastry cases were nice, crisp and crumbly.
Benny