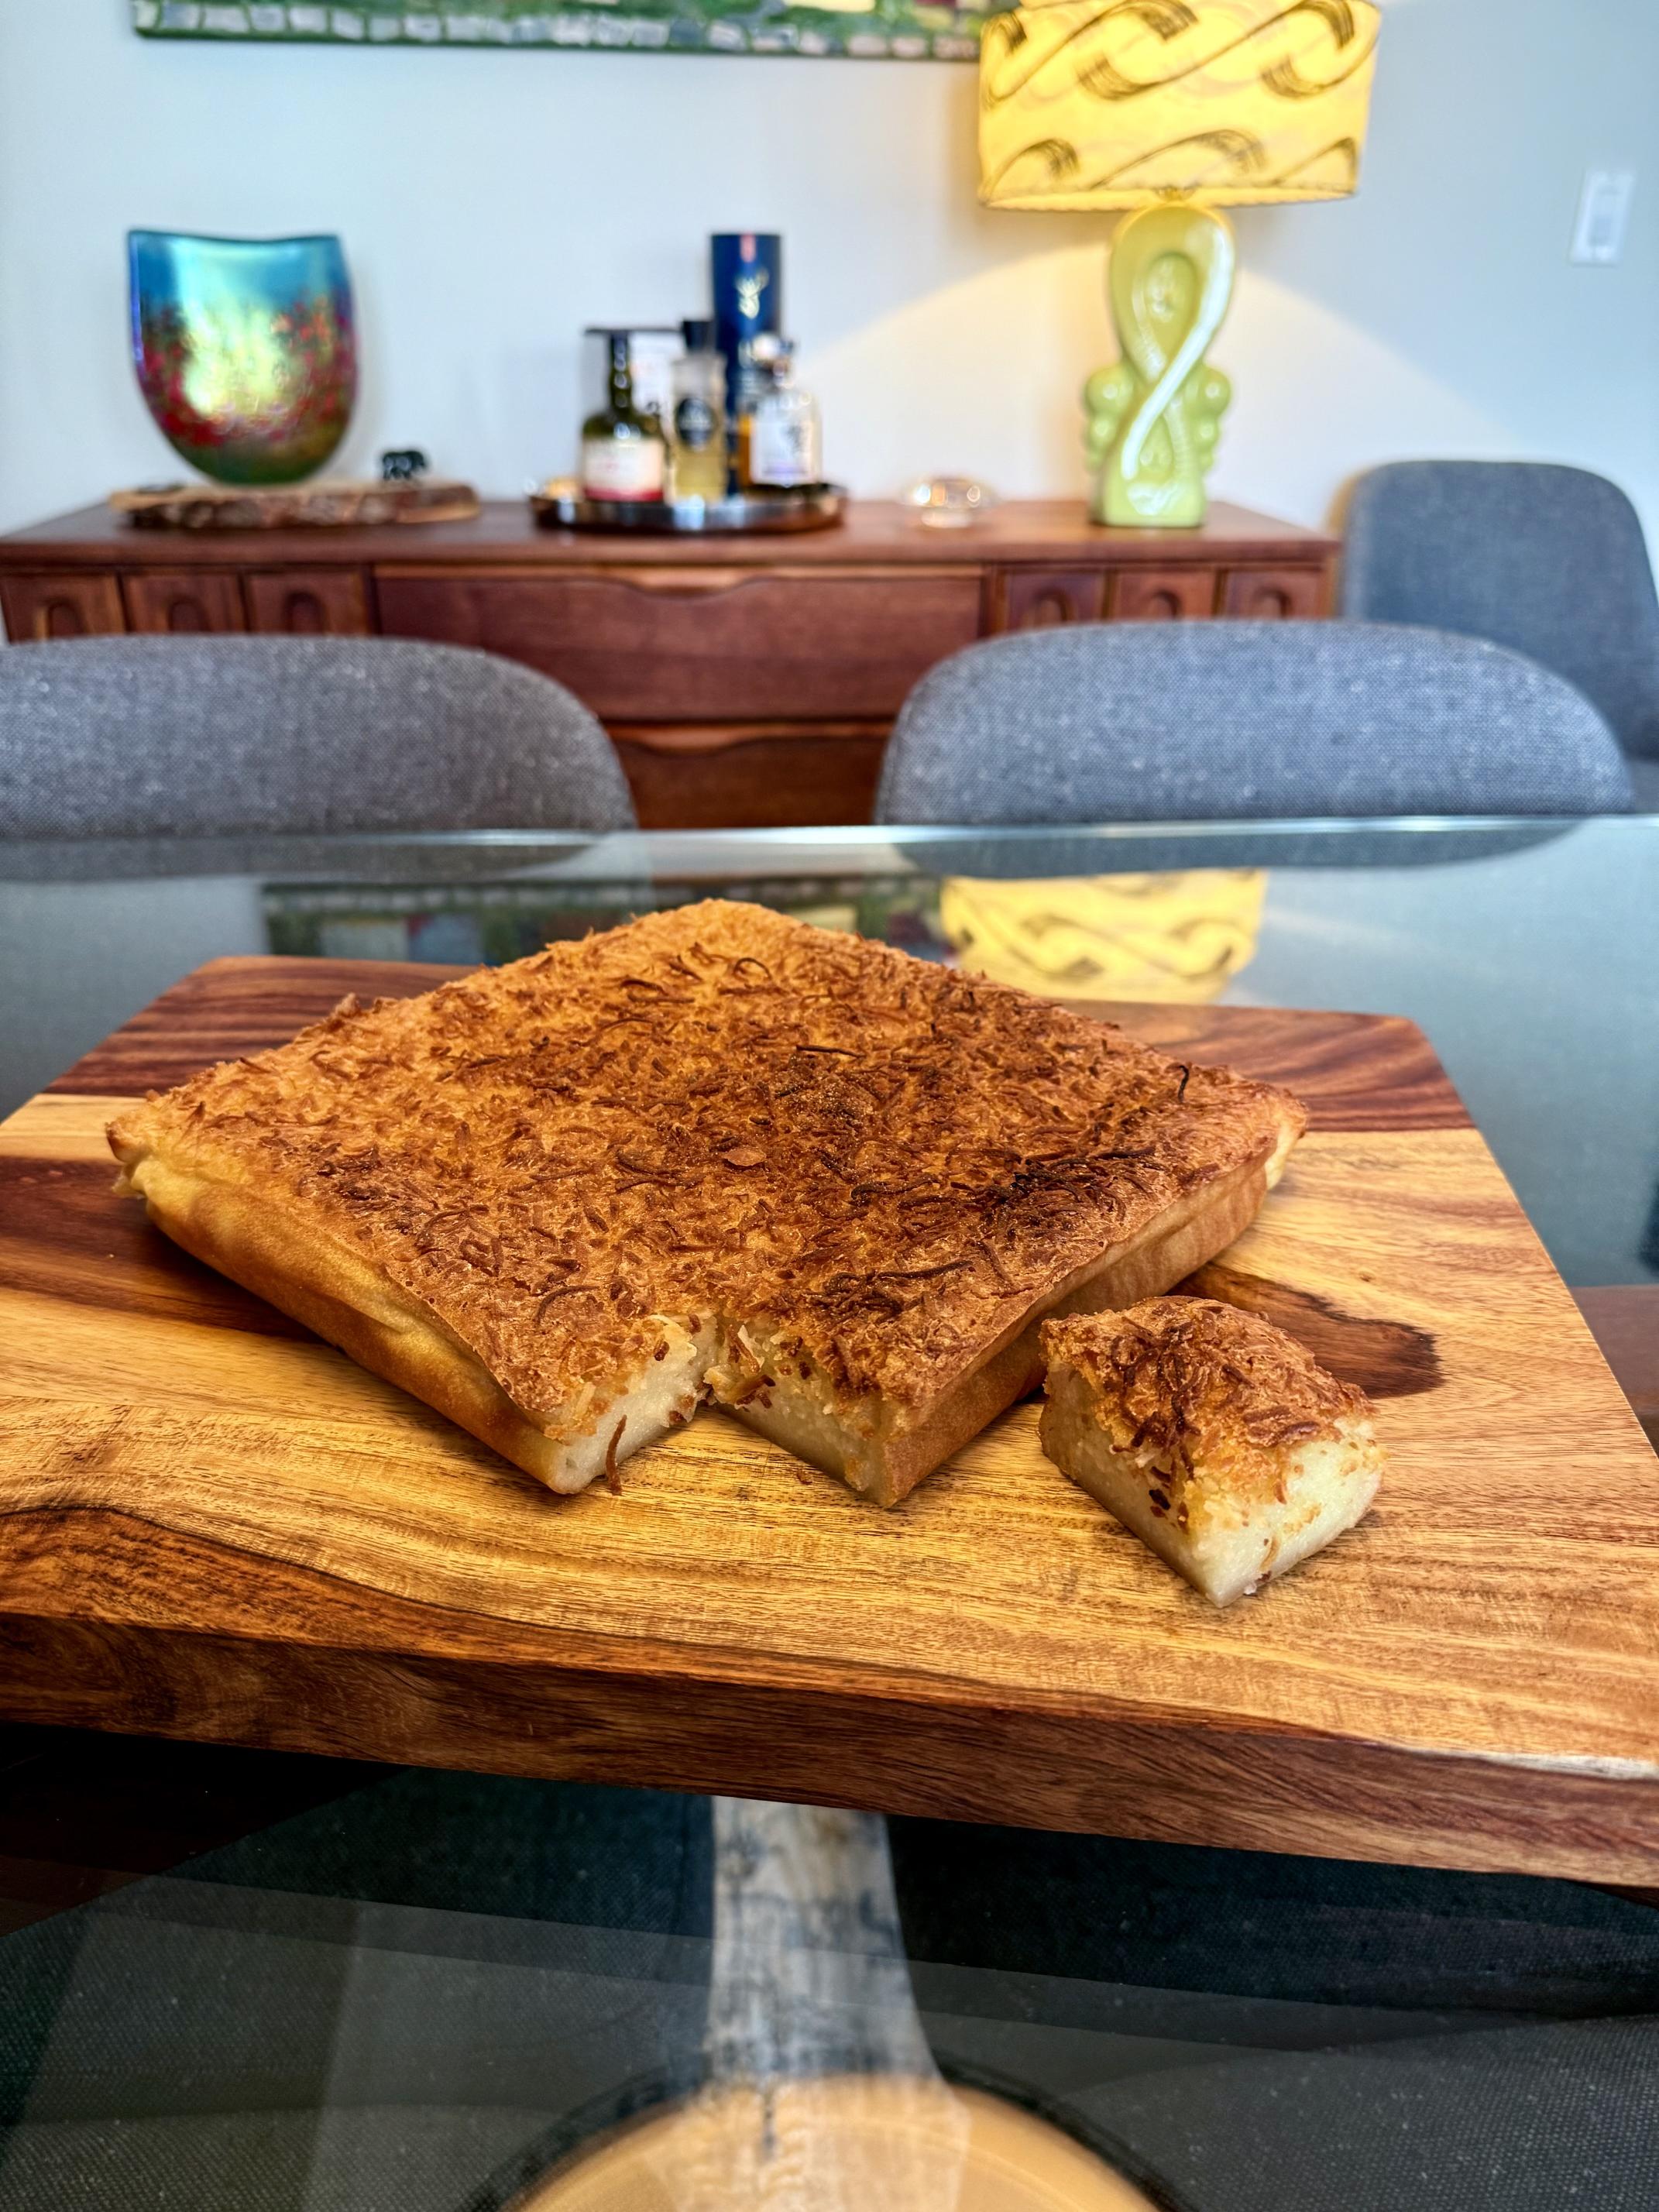
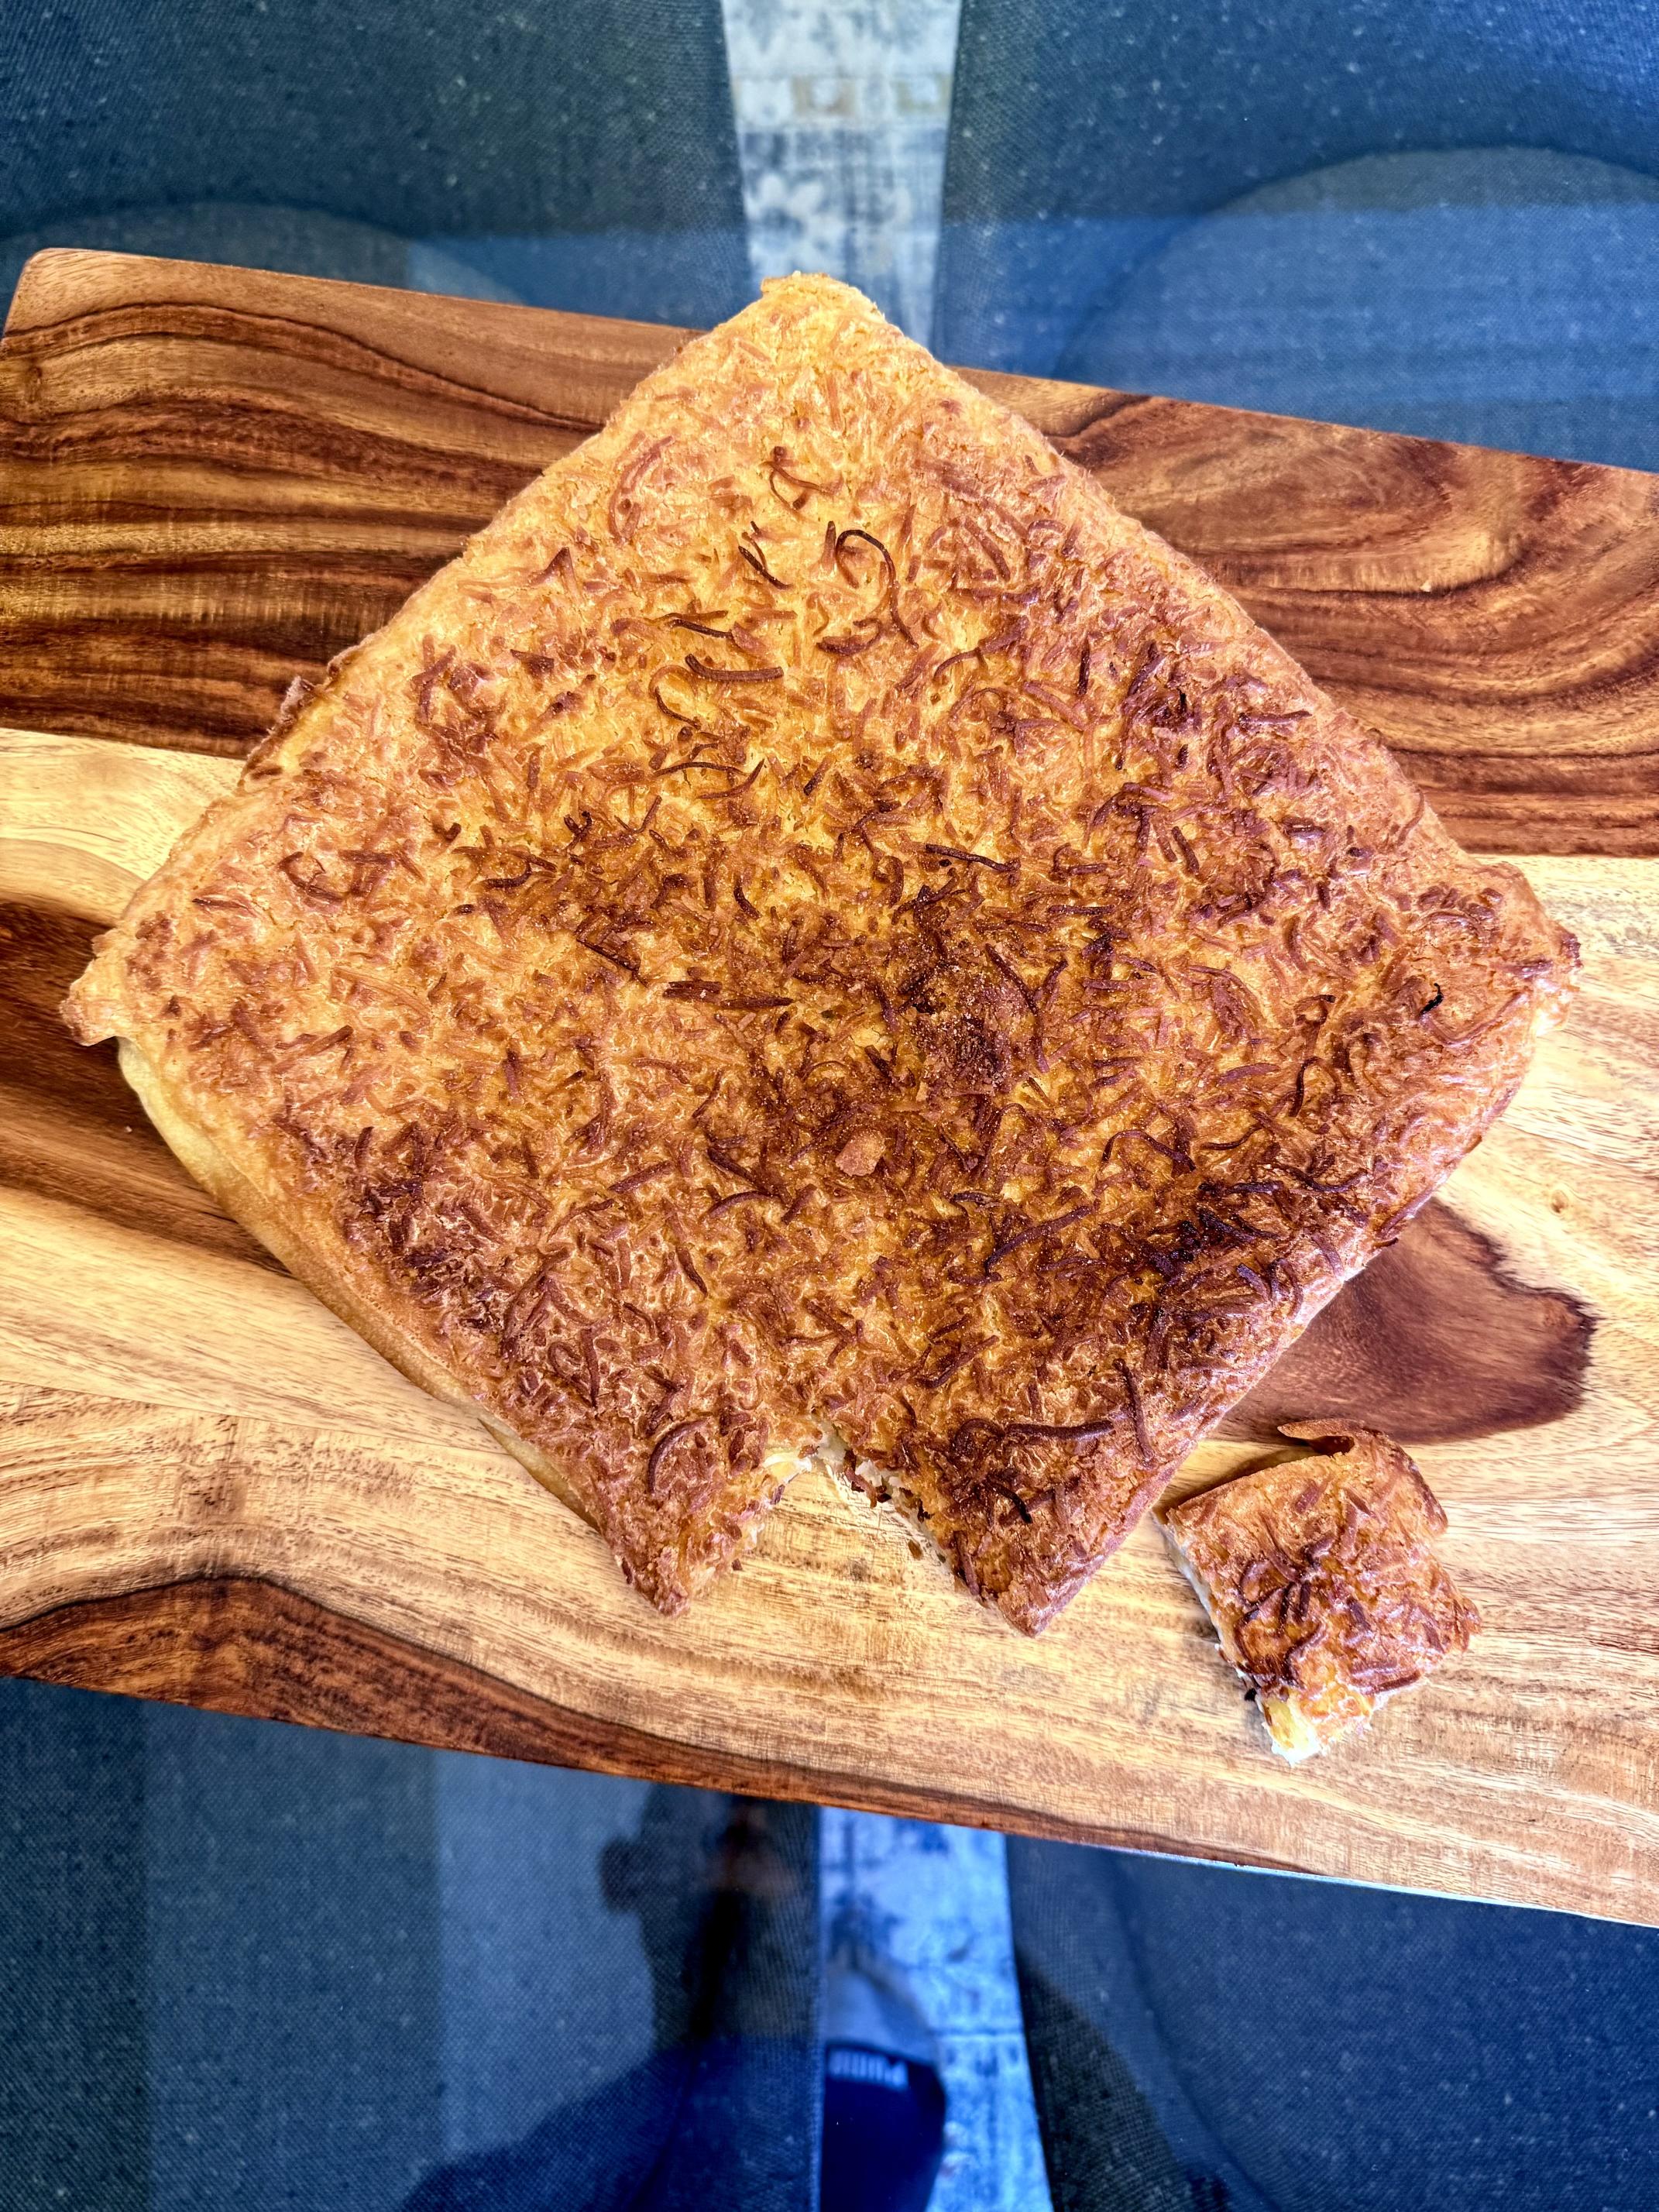
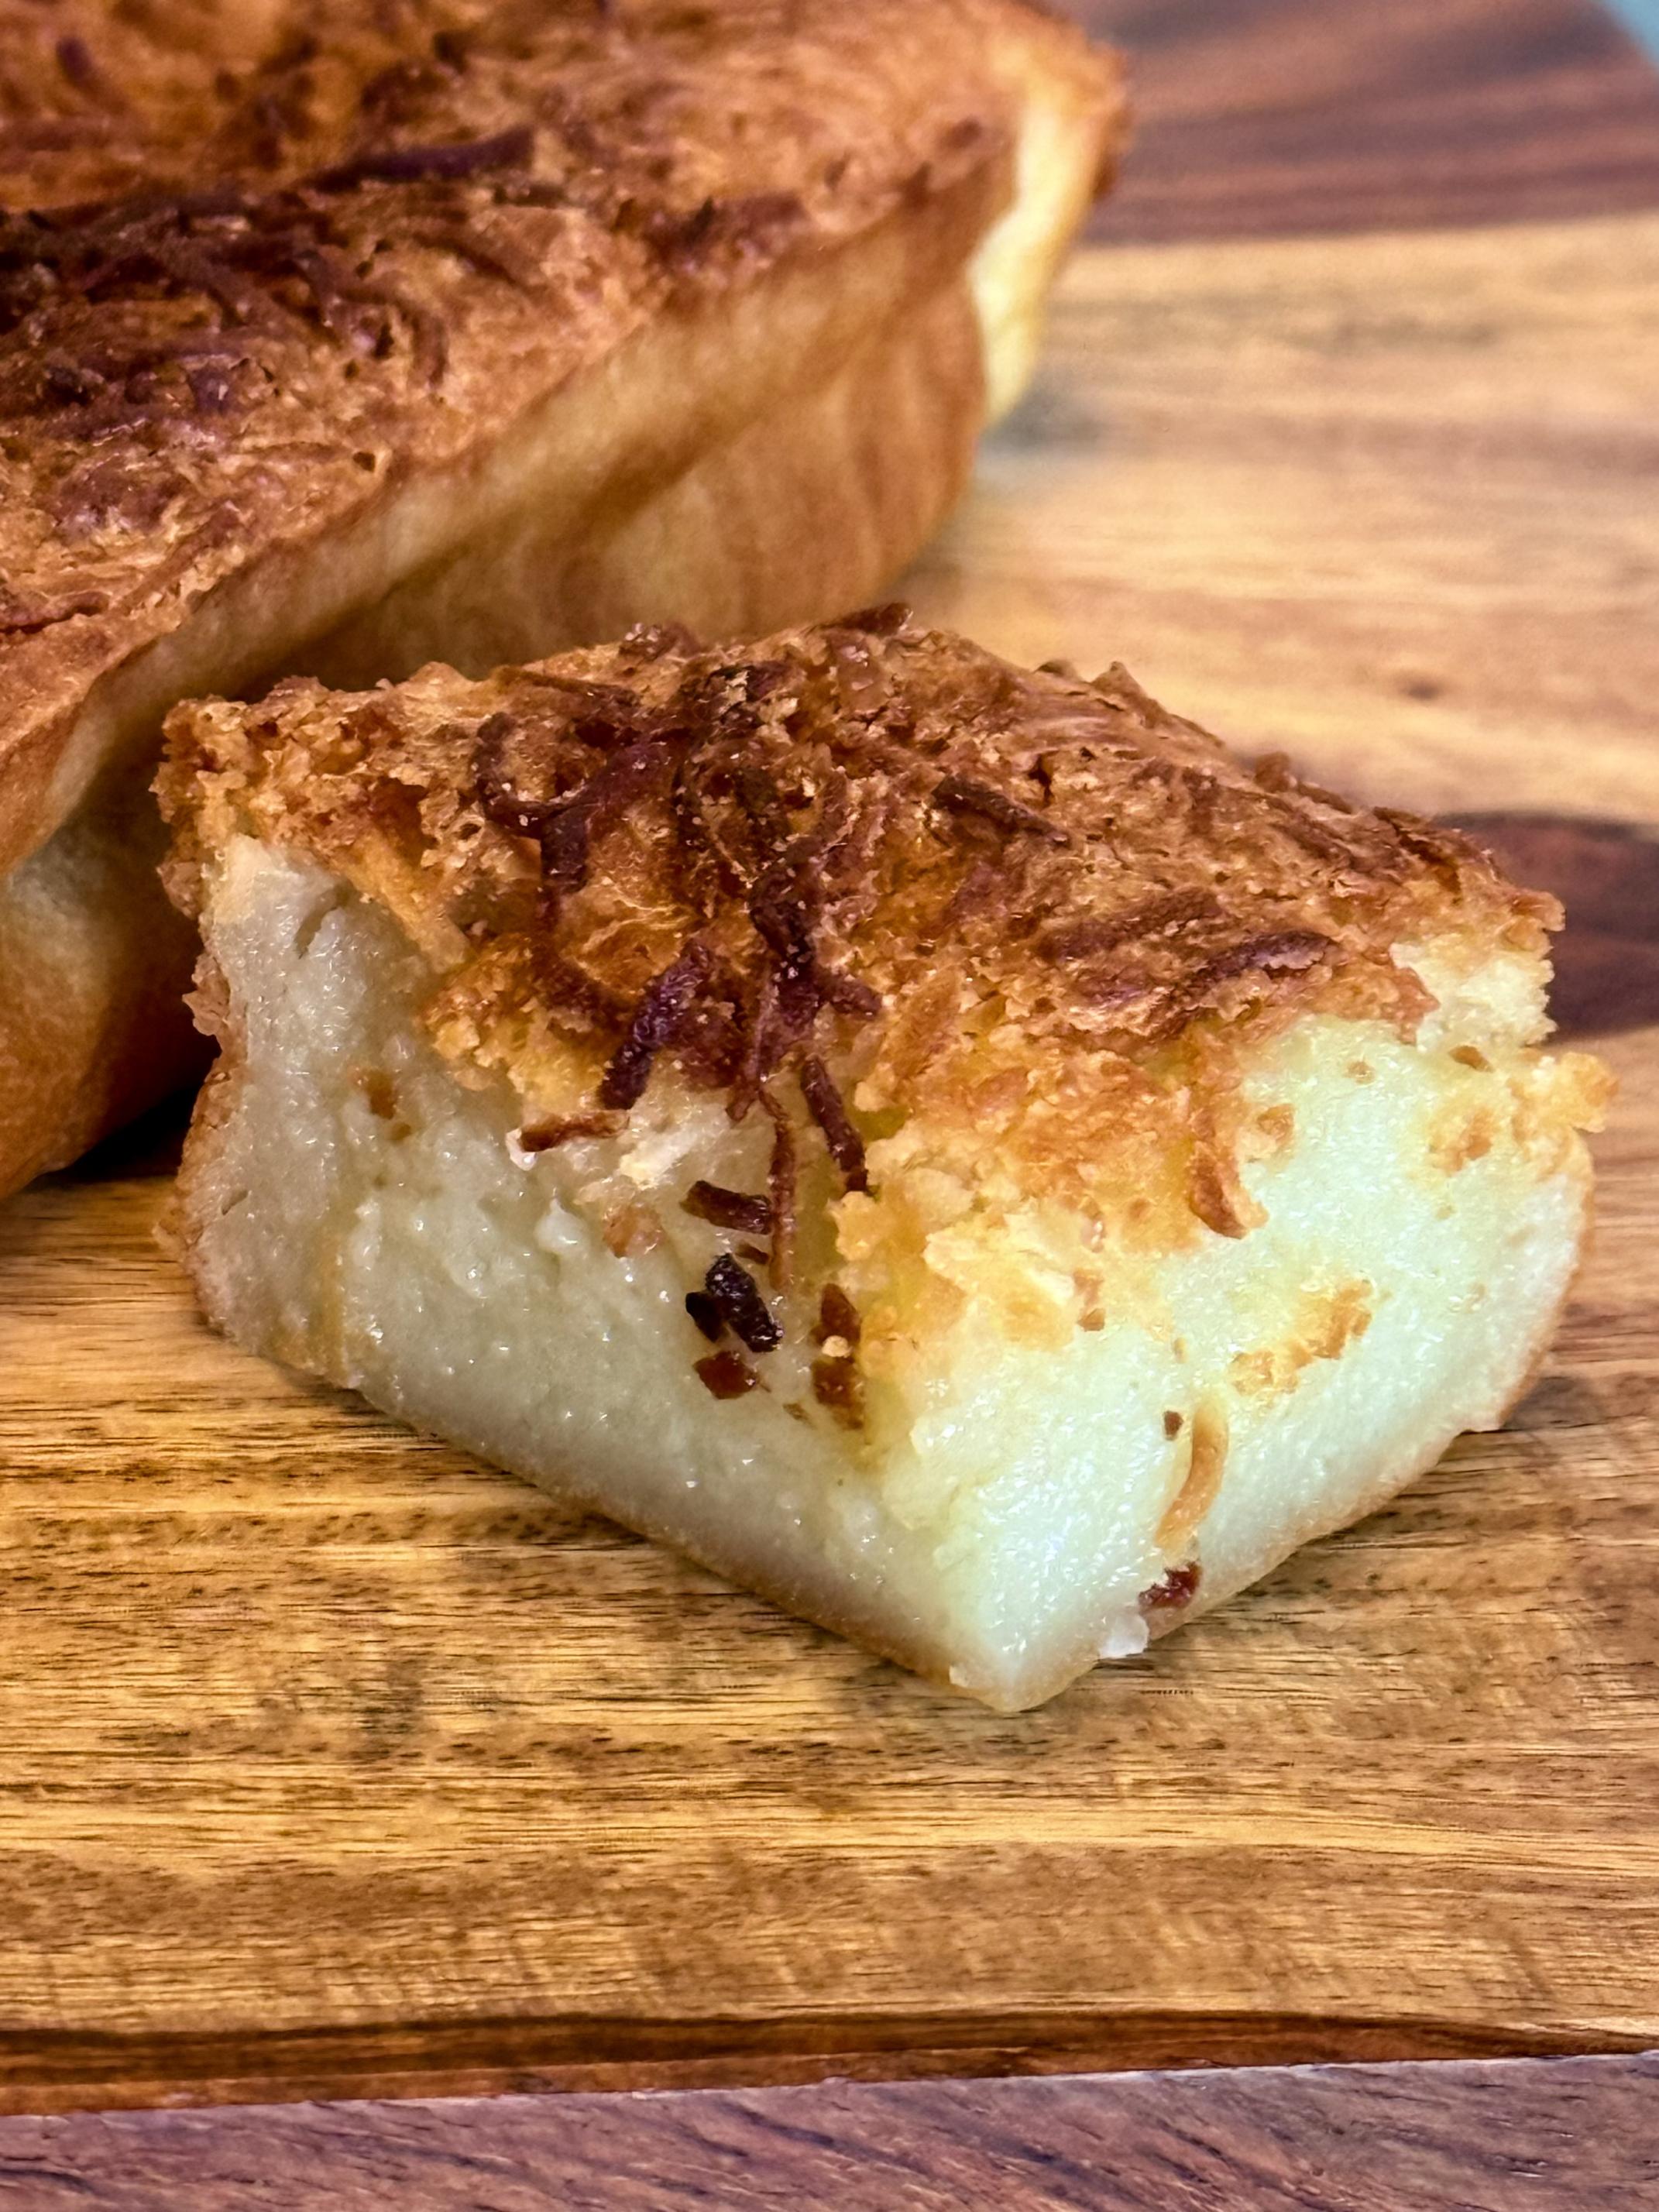
These are such a treat and so easy to make. The only challenge will be making sure you find the correct rice flour. It must be glutinous rice flour and not regular rice flour. These are actually also gluten free so perfect to serve to friends with Celiac disease or gluten intolerance. There is a wonderful contrast of textures. The top crust is crispy but the rest of the square is soft and chewy. The Taiwanese call this “QQ” and for those who aren’t familiar, it would be similar to Haribo gummy bears or the tapioca in a nice bubble tea. These aren’t very sweet and have a lovely coconut flavour. Next time I’ll add either purple sweet potato, matcha or ground black sesame to this since any of these would compliment the coconut.
Ingredients for 9x13” pan
1 tablespoon unsalted butter, softened, plus 1 stick (4 ounces), melted (divided)
2 (13½-ounce) cans full-fat coconut milk
⅓ cup milk, preferably whole
1 ½ cups (300g) granulated sugar
4 large eggs
1 pound (454g, 3 cups) glutinous rice flour
½ cup sweetened or unsweetened shredded (not desiccated) coconut, optional
Ingredients for 9x9” pan
79 g melted butter plus enough softened butter to grease the pan
560 mL full fat coconut milk
55 mL full fat milk
210 g granulated sugar (I used 200 g)
140 g eggs (I used three large eggs)
320 g glutinous rice flour (I used 335 g)
⅓ cup sweetened shredded coconut (I used ½ cup)
Directions
Step 1
Preheat the oven to 350°F.
Generously grease a 9x13 or 9x9-inch baking dish with softened butter.
Step 2
Mix the batter:
In a large bowl, combine the coconut milk, milk, sugar, eggs, and melted butter. Beat with a hand mixer on medium-high speed until well combined, 1 to 2 minutes.
Scrape down the sides of the bowl with a rubber spatula. Add the glutinous rice flour and beat again on medium speed until a smooth batter forms, about 2 minutes.
Step 3
Assemble and top:
Pour the batter into the prepared baking dish. Sprinkle the shredded coconut in an even layer over the top of the butter mochi batter, if using.
Step 4
Bake:
Bake until the top and sides are golden brown, the butter mochi has puffed, and a skewer inserted into the center comes out clean, about 65 minutes.
Step 5
Cool completely and serve:
Transfer the baking dish to a wire rack and allow the butter mochi to cool completely, at least 45 minutes.
- Benito's Blog
- Log in or register to post comments
I Iove coconut (Mounds and Almond Joy are two of my favorite candy bars), so this looks like it is right up my alley. I just need to wait for a time that we have company, since my wife is seriously into Weight Watchers presently and I certainly don't need to eat the whole thing by myself.
Paul
You may not need to eat it - but man is it good! Enjoy!
As long as you like coconut and a dessert that is a bit chewy, you will love these Paul. I have a hard time just eating one.
Benny
I think they would be perfect for entertaining! And I can see them being coated with milk chocolate, with rice puffs in the coating chocolate
Jay
Those are wonderful ideas to improve upon these and nice variations, great ideas Jay.
Benny
So interesting, I'm going through a bit of a glutinous rice phase and these do look like they'll make a delicious dessert.
-Jon
Jon, if you are enjoying your bakes with glutinous rice flour you should give these a try. They are so easy to make and everyone who I've shared them with love them.
Benny
This is a beautiful golden bake!! Sometimes I go with all nonfat reg milk to cut the fat and then eat more squares!!
Thanks Jo, I will try them with skim milk next time, I used only 2% micro filtered milk for these this time.
Benny
These look very tasty. Thanks for sharing.
Best,
Ian
Thank you Ian they are very tasty and other than the coconut topping losing its crispiness, they stay fresh a long while.
Benny