My second go at this bread that uses sweet rice flour (aka glutinous rice flour) in the tangzhong. Read my previous blog post for details as to why this type of rice flour is especially good as a tangzhong and prolonging the freshness of bread. You’ll recall that this rice flour is also used to make mochi, which I have made before and it also delicious so it is a good thing to have around if you like Asian treats.
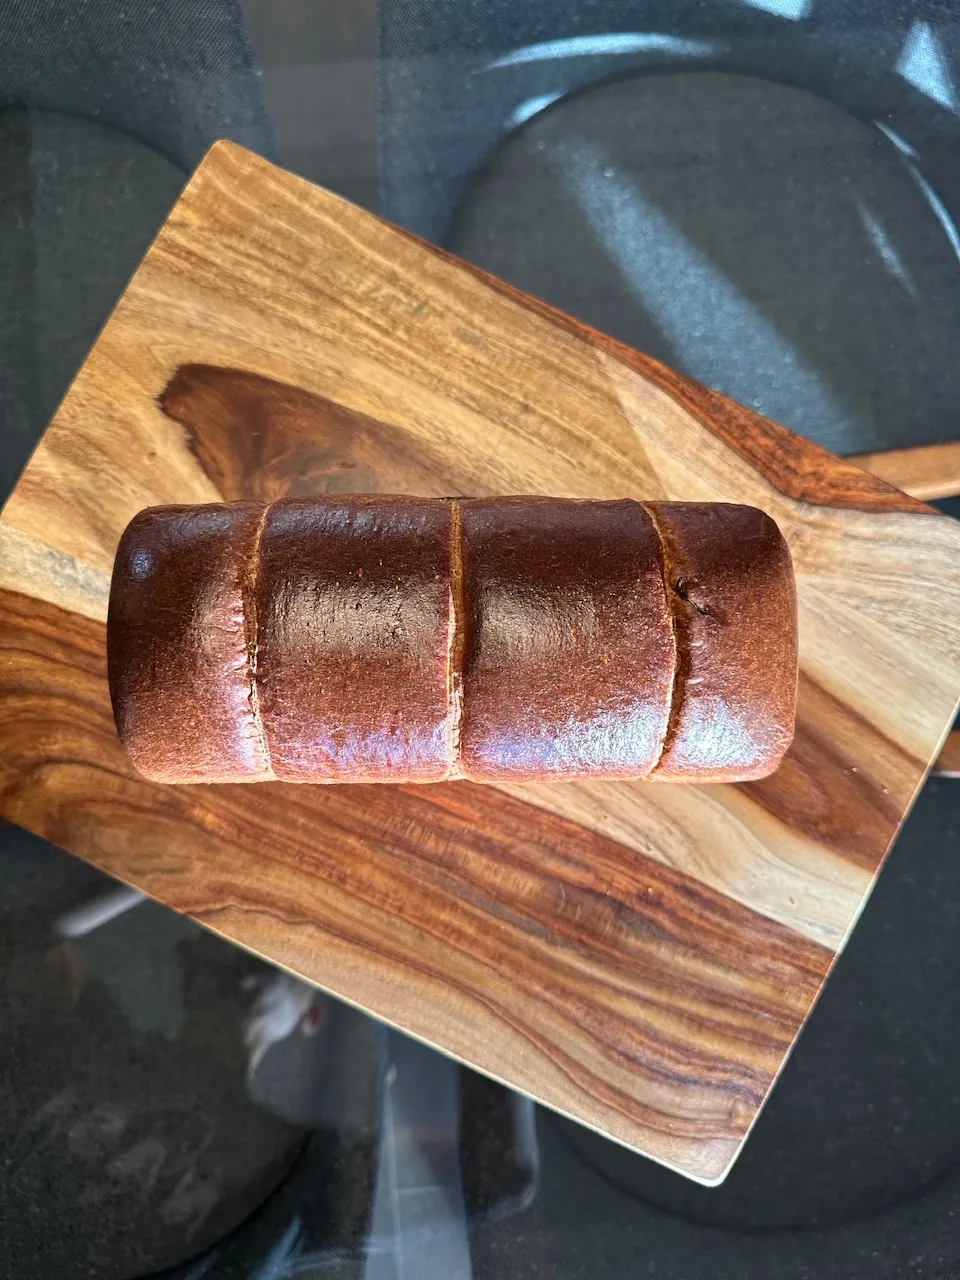
For this bake I fixed the hydration error that I made last time that prevented me from shaping the dough as I had intended. I’m much happier with this bake. I haven’t sliced it yet so I’ll post those photos and flavour/texture comments later.
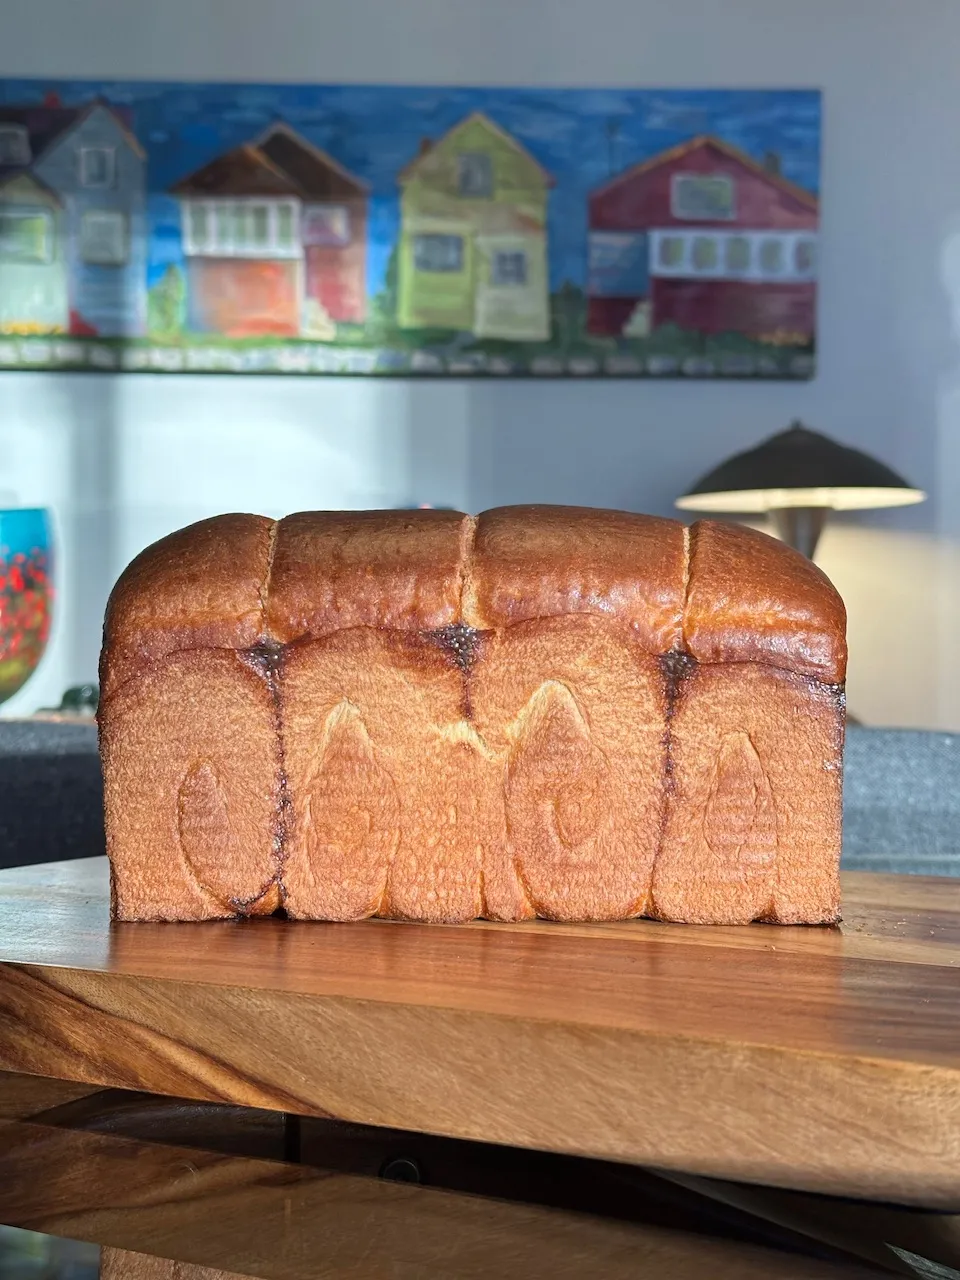
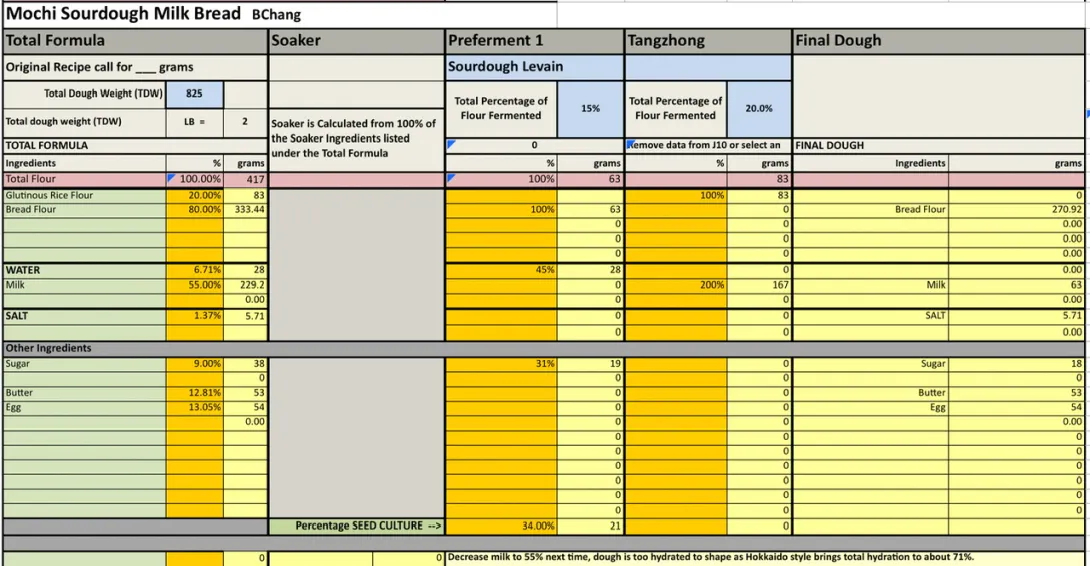
For one 9x4x4” Pullman pan loaf.
Instructions
Levain
Mix the levain ingredients in a jar or pyrex container with space for at least 300% growth.
Press down with your knuckles or silicone spatula to create a uniform surface and to push out air.
At a temperature of 76-78ºF, it typically takes up to 10-12 hours for this sweet stiff levain to be at peak. For my starter I typically see 3-3.5 times increase in size at peak. The levain will smell sweet with only a mild tang.
Tangzhong
In a sauce pan set on medium heat, stir the milk and glutinous rice flour until blended. Then cook for several minutes until well thickened, stirring regularly with a spoon or heat-resistant spatula. Let cool in the pan or, for faster results, in a new bowl. Theoretically it should reach 65ºC (149ºF) but I don’t find I need to measure the temperature as the tangzhong gelatinizes at this temperature. You can prepare this the night before and refrigerate it, ensure that it is covered to prevent it from drying out.
If you plan on using a stand mixer to mix this dough, set up a Bain Marie and use your stand mixer’s bowl to prepare the tangzhong.
Dough
In the bowl of a stand mixer, add the milk (consider holding back 10 g of milk and adding later if this is the first time you’re making this), egg, tangzhong, salt, sugar and levain. Mix and then break up the levain into many smaller pieces. Next add the flour. I like to use my spatula to mix until there aren’t many dry areas. Allow the flour to hydrate (fermentolyse) for 20-30 minutes. Mix on low speed and then medium speed until moderate gluten development this may take 5-10 mins. You may want to scrape the sides of the bowl during the first 5 minutes of mixing. Next add room temperature butter one pat at a time. The dough may come apart, be patient, continue to mix until it comes together before adding in more butter. Again, knead until well incorporated. You will want to check gluten development by windowpane during this time and stop mixing when you get a good windowpane. You should be able to pull a good windowpane.
On the counter, shape the dough into a tight ball, cover in the bowl and ferment for 2 - 4 hours at 82ºF. There should be some rise visible at this stage.
You can next place the dough into the fridge to chill the dough for about 1.5 hours, this makes rolling the dough easier to shape. Remember, if you do so the final proof will take longer. Alternatively, you can do a cold retard in the fridge overnight, however, you may find that this increases the tang in your bread.
Prepare your pans by greasing them with butter or line with parchment paper.
Lightly oil the top of the dough. Scrape the dough out onto a clean counter top and divide it into four. I like to weigh them to have equal sized lobes. Shape each tightly into a boule, allow to rest 5 mins. Using an oiled rolling pin roll each ball out and then letterfold. Turn 90* and using a rolling pin roll each out to at least 8”. Letterfold again from the sides so you have a long narrow dough. Then using a rolling pin, roll flatter but keeping the dough relatively narrow. The reason to do this extra letterfold is that the shorter fatter rolls when placed in the pan will not touch the sides of the pan. This allows the swirled ends to rise during final proof, this is only done for appearance sake and is not necessary. Next roll each into a tight roll with some tension. Arrange the rolls of dough inside your lined pan alternating the direction of the swirls. This should allow a greater rise during proof and in the oven.
Cover and let proof for 4-6 hours at a warm temperature. I proof at 82°F. You will need longer than 4-6 hours if you chilled your dough for shaping. I proof until the top of the dough comes to within 1 cm of the top edge of the pan.
Preheat the oven to 350F and brush the dough with the egg-milk wash. Just prior to baking brush with the egg-milk wash again.
Bake the loaves for 50 minutes or until the internal temperature is at least 190ºF, rotating as needed to get even browning. Shield your loaf if it gets brown early in the baking process. After 50 mins remove the bread from the pan and bake a further 10 mins by placing the loaf directly in the oven on the rack with the oven turned down to 325ºF.
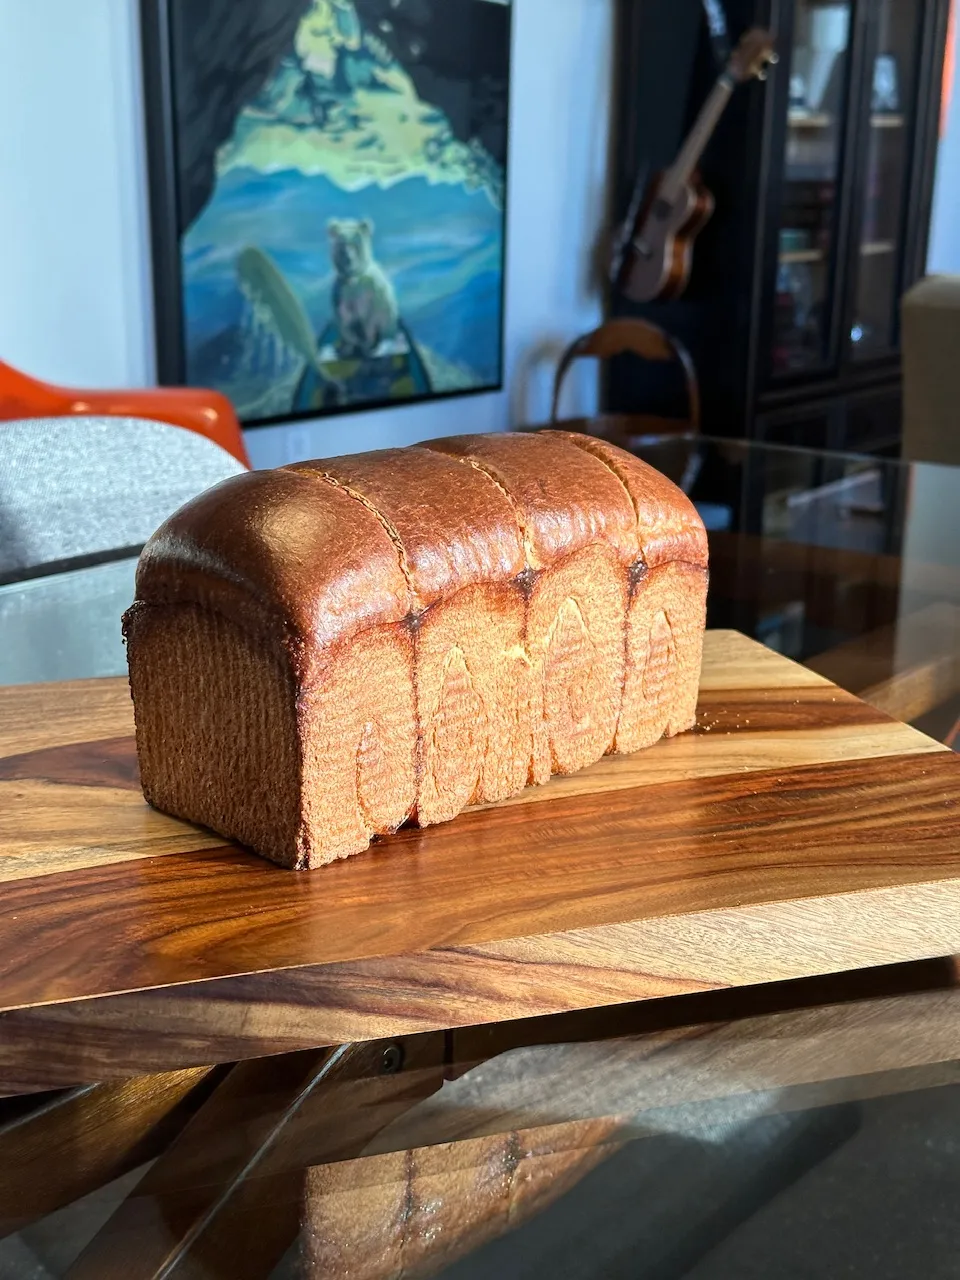
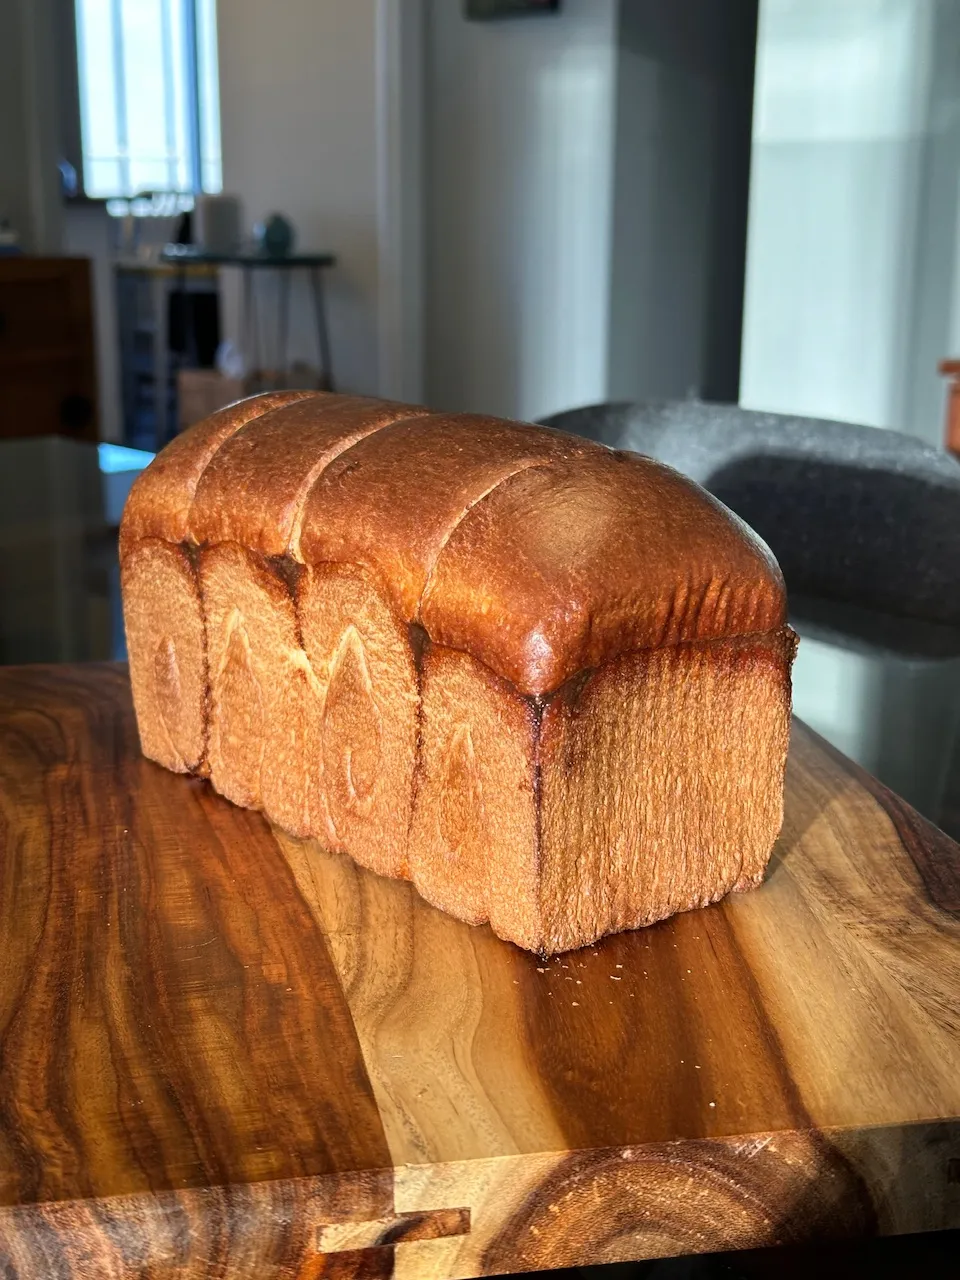
- Benito's Blog
- Log in or register to post comments
Visual perfection Benny, and I'm finding this new direction with rice on your recent bakes a fascinating one.
Tell me, have you ever tried one of those recipes where short grain rice is blended, yeast is added and a simple loaf is baked? Be curious to know what your thoughts on it are. I think I learnt about such breads on TFL previously. For example: https://youtu.be/RmYMBl2Y078
When I tried it I wasn't too impressed, because I ended up with a giant mochi!
Thank you as always Jon. I’m enjoying this new use for my sweet rice flour. Although I love mochi, I don’t make it often.
I haven’t tried making the blended rice bread, from your description it doesn’t sound like it is very good. I suppose it is just another way to make a gluten free bread.
Benny
Hi Benito, this looks incredible! Very curious about the textural difference of the sweet rice flour tangzhong. I see you are from Toronto from your previous posts and am wondering what your go to bread flour is for your home baking? I have been struggling with a big bag of Ardent Mills AP thats very weak. Thanks
Thank you very much, we really enjoyed this loaf. The dairy notes really come through given the use of only white flour. The sweet rice flour tangzhong does seem to impart a nice chew to the crumb, more than if a wheat flour tangzhong was used.
I typically go for Robin Hood bread flour, during the pandemic it was most often available so I got used to using it and have been more than happy with the results. It is predictable and that is helpful as you know. For whole grain flours I typically go for smaller mills’ products, Anita’s Organic Mill or other more local mill’s flours.
Benny
Looks like you nailed it! Not that the last attempt was so bad either 😅.
I definitely need to pick up some of this type of rice and give this a go.
Best regards,
Ian
Give it a go, it really does stay fresh a good long time. Who needs preservatives to keep bread fresh longer?
Benny
I made this bread last weekend and it turned out to be probably the softest bread I have ever made.
I started the breadmaking process (stiff sweet starter) in the early afternoon and my starter was a little bit weak. By 9 pm, it still had not risen much (maybe only nearly doubled). Because I was on a time constraint (wanting to bring the bread to a potluck lunch the next day) I decided to make the dough anyways and added half a packet of instant yeast (roughly 4 g?) to compensate.
I let this rise for 2 hours then it went into the fridge. The next morning I shaped the bread, final proofed, then baked it around 11 am.
I'm not sure if it was an issue with shaping or because of the instant yeast, but the bread did a funny thing in the oven where it sort of exploded from the bottom! See second photo. My guess is that it was slightly overproofed because of the instant yeast, but I think the texture itself was really good. It could also have been that the dough was not coiled tight enough during shaping, but I'm not sure why only the middle two rolls exploded - perhaps something to do with heat conduction?
I found it interesting that my bread had no tang despite the overnight ferment - I think this was because of the instant yeast, the final proof was very quick - taking only a couple of hours. I tried the same recipe with rye flour instead of mochi flour (post to come), letting the levain triple and with no addition of instant yeast. Again, I retarded in the fridge overnight, but unlike this one, my second attempt with rye took around 7 hours for the final proof and was noticeably more tangy.
I’m glad you found the bread to be nice and soft, that was the intent and I hope you enjoyed the flavour as well. As for the implosion, rather than explosion I’d say is most likely a combination of slightly over fermentation and shaping. I’m uncertain what method you used for shaping. Did you shape with four lobes rolling each into tight cylinders? Or did you use another method. Another possibility is underbaking, but it doesn’t look particularly underbaked to me, but there aren’t enough photos of the bread to say for sure.
I shaped by rolling into a long rectangle, letter folding and then coiling into a roll. I letterfold from the edges so that the left and right edges meet at the middle. Thinking about it some more I suspect what happened at the implosion point was to do with the edges of the roll where the letterfold does not quite meet. Because the dough was sometimes more of an oval and not a strict rectangle when rolled out, while the seams met in the middle portions, at the very top and very bottom of the rectangle prior to being rolled up there is a gap where the edges of the dough do not meet.
I placed the rolls seam side down, also alternating directions like you suggested. I always bake seam side down, but now I am wondering if it wouldn't be better to position the coils seams to the side, instead of down, to really be able to push the final proof- although perhaps just rolling up the cylinders more tightly would fix this.
Also I am curious, what is the purpose of the second 10 minutes of baking after the initial 50 minutes? Is it just for the crust or is it also for the inside? It is hard for me to measure internal temperature, but the bread was already like this after I took it out at 50 minutes.
I have always placed the rolls seam side down and I haven’t had this type of bottom implosion before. I do wonder if the loaf was a bit over fermented as that can cause some loss of structure.
The extra 10 mins of baking out of the pan is to ensure that the crust on the sides are nice and firmly baked to reduce the chance of a tall loaf side crust from collapsing, that is all. I have rarely ever measured internal temperature of my bread, when I tap on the bottom if it sounds hollow it is done.
Benny