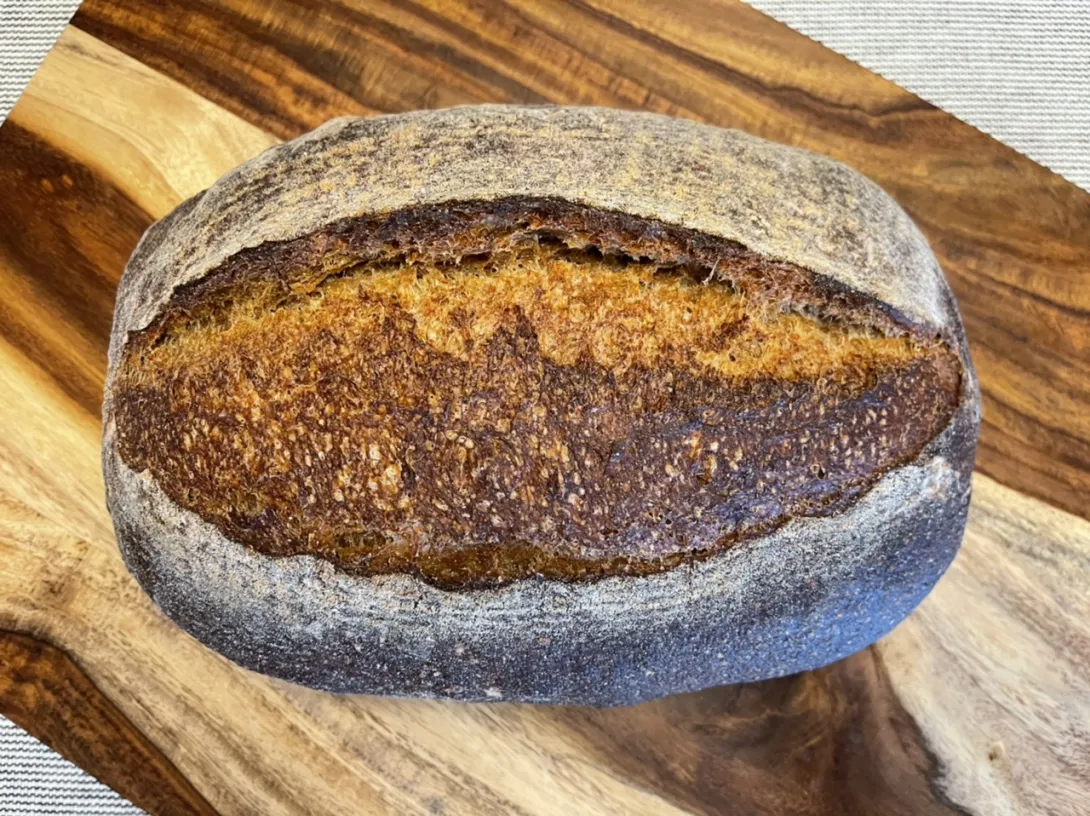
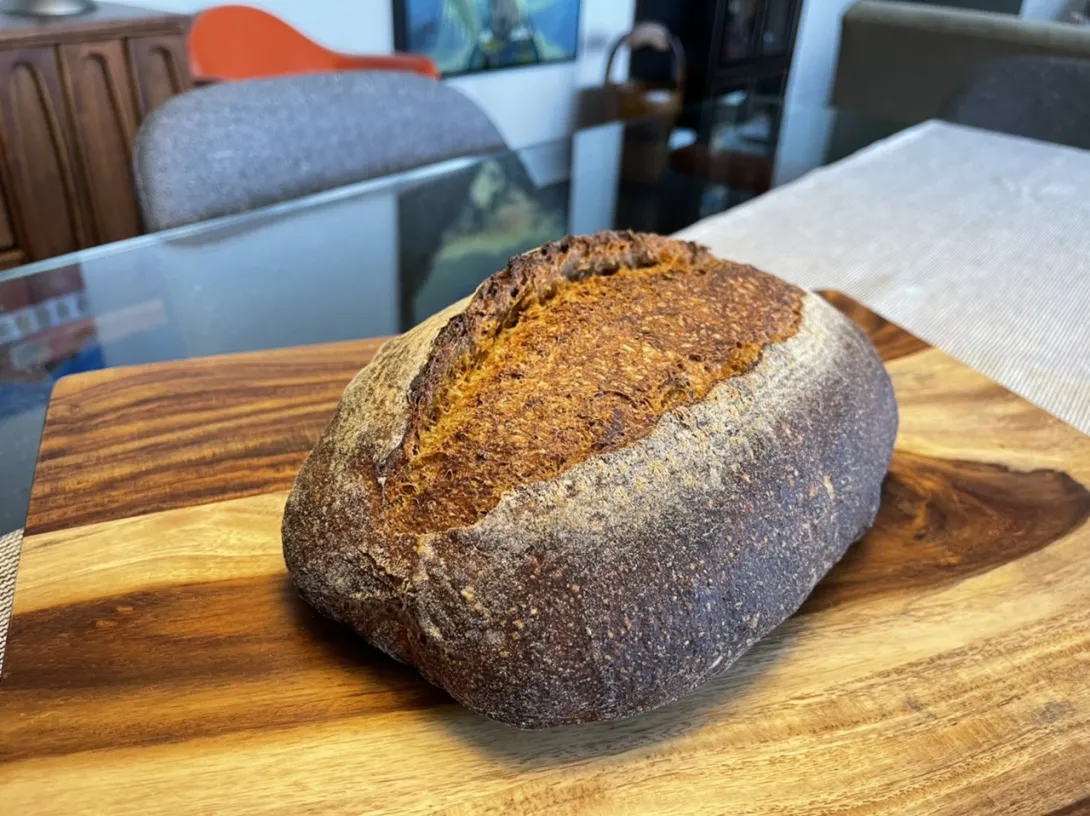
Using my home fermented miso I decided to try using it with a 100% whole wheat sourdough bread which I hadn’t tried before.
If you’re interested in making homemade miso here is the post where I started a new batch most recently with a link to the detailed post outlining how to make it from scratch.
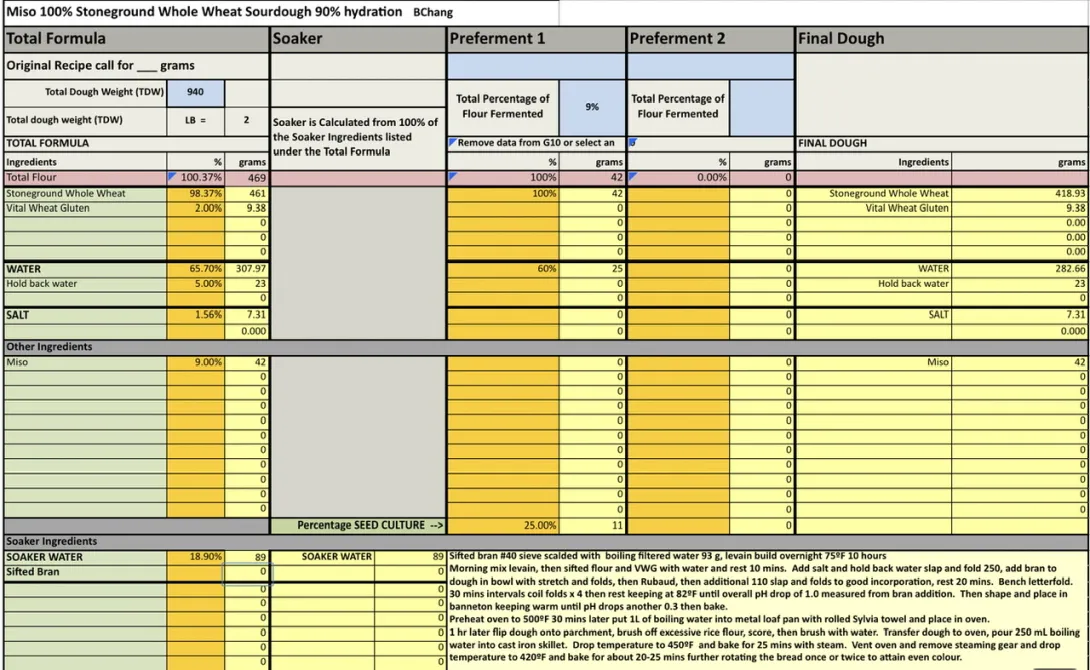
Notes 9% miso, homemade miso 4.9% sodium
Sift all flour for final dough. Scald bran with double its weight in boiled filtered water, allow to cool and hydrate overnight.
Build stiff levain, ferment at 74°F for 10 hours overnight.
In the morning, add miso and salt to the water and dissolve. Then add the levain and break down the levain as well as you can. Add all the sifted flour and mix well until no dry bits are left. After 10 mins of rest start gluten development with slap and folds then gradually add the hold back water in several aliquots using Rubaud to fully incorporate the water well. Then do additional slap and folds until good gluten development. Add the scalded cooled bran through a series of stretch and folds, may do Rubaud and slap and fold kneading until the bran is well incorporated. Bench letterfold, remove aliquots and measure pH. Then at 30 mins intervals do coil folds until good structure is achieved.
Once the pH has dropped by 1.0 then shape the dough into a batard and then start final proofed shaped and resting in a banneton.
Once the pH has dropped by a further 0.3 it will be time for baking. Place the dough in the freezer when the pH drops by 0.25 and then pre-heat oven at 500°F with cast iron skillet in the oven and set up for open steam baking. 30 mins prior to baking, pour 1 L of boiling water into metal loaf pan with Sylvia towel and place on baking steel on the lowest rack of the oven.
Once oven reaches 500ºF turn dough out of banneton, brush excess rice flour off, score and then brush with water. Transfer to oven. Pour 250 mL of boiling water into the cast iron skillet on a high shelf, high enough that the dough have fully bloom. Drop temperature to 450ºF and bake with steam for 25 mins. Then vent oven and remove all steaming gear and drop temperature to 425ºF. Bake for another 25-30 mins rotating as needed.
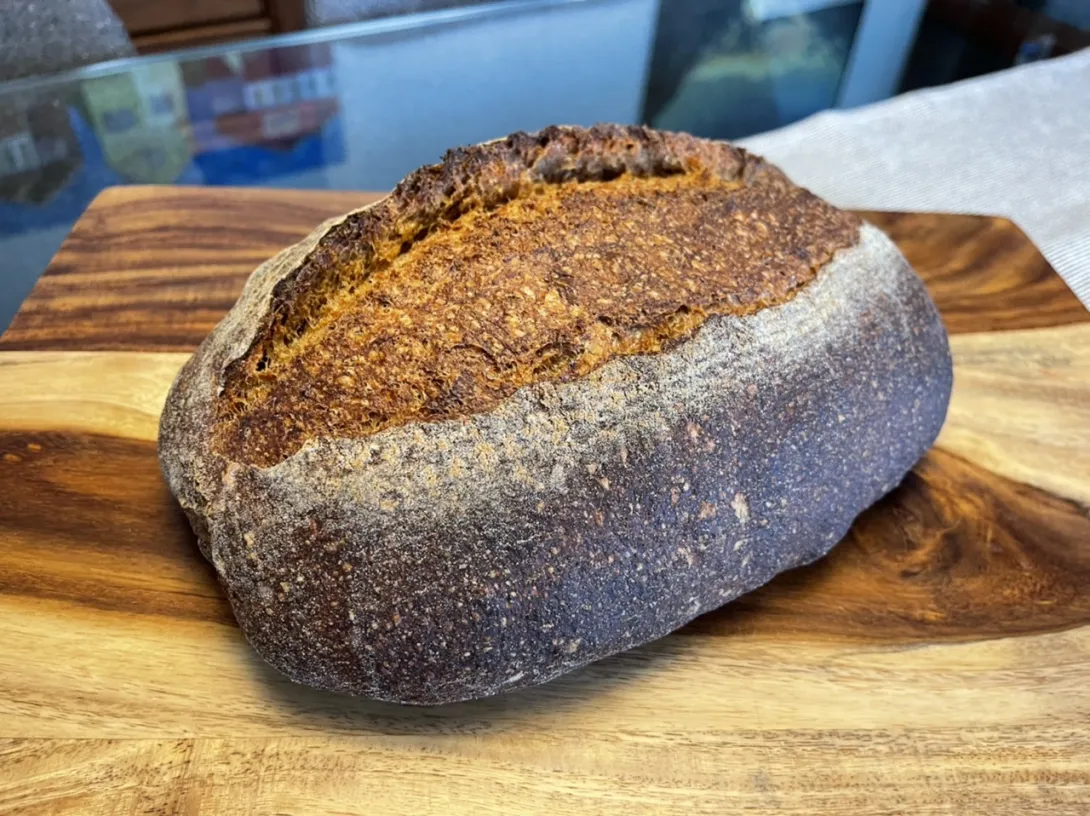
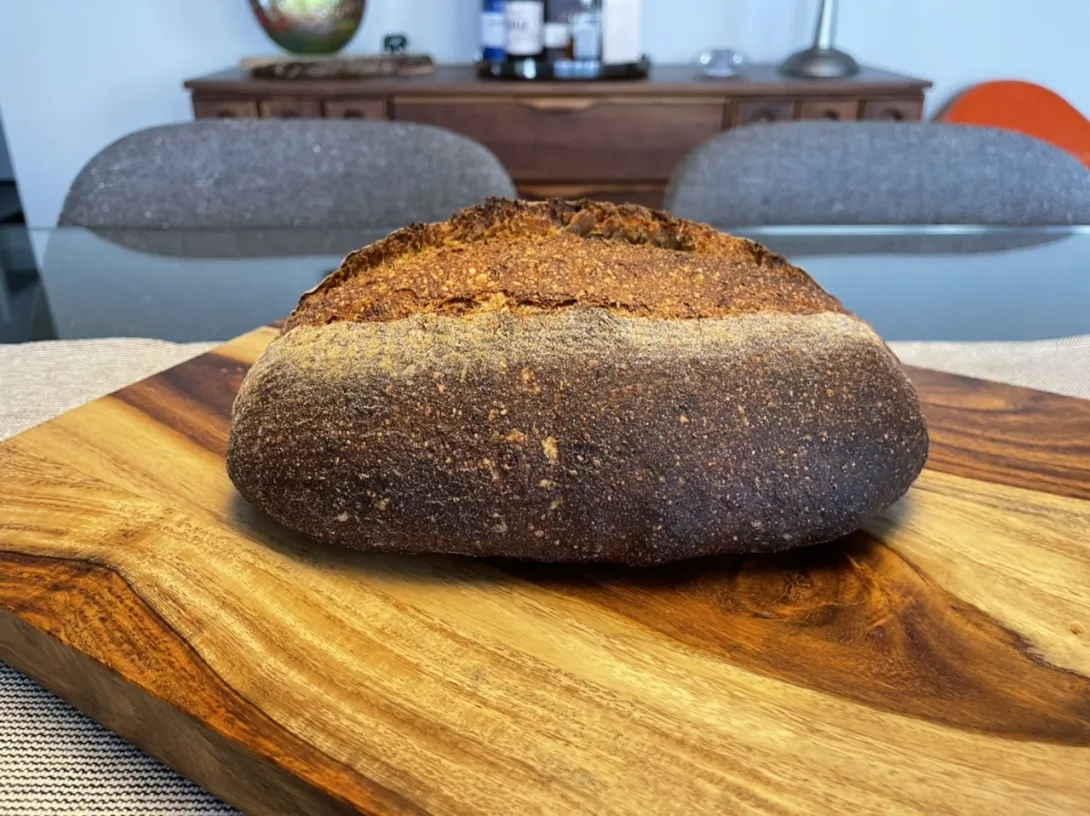
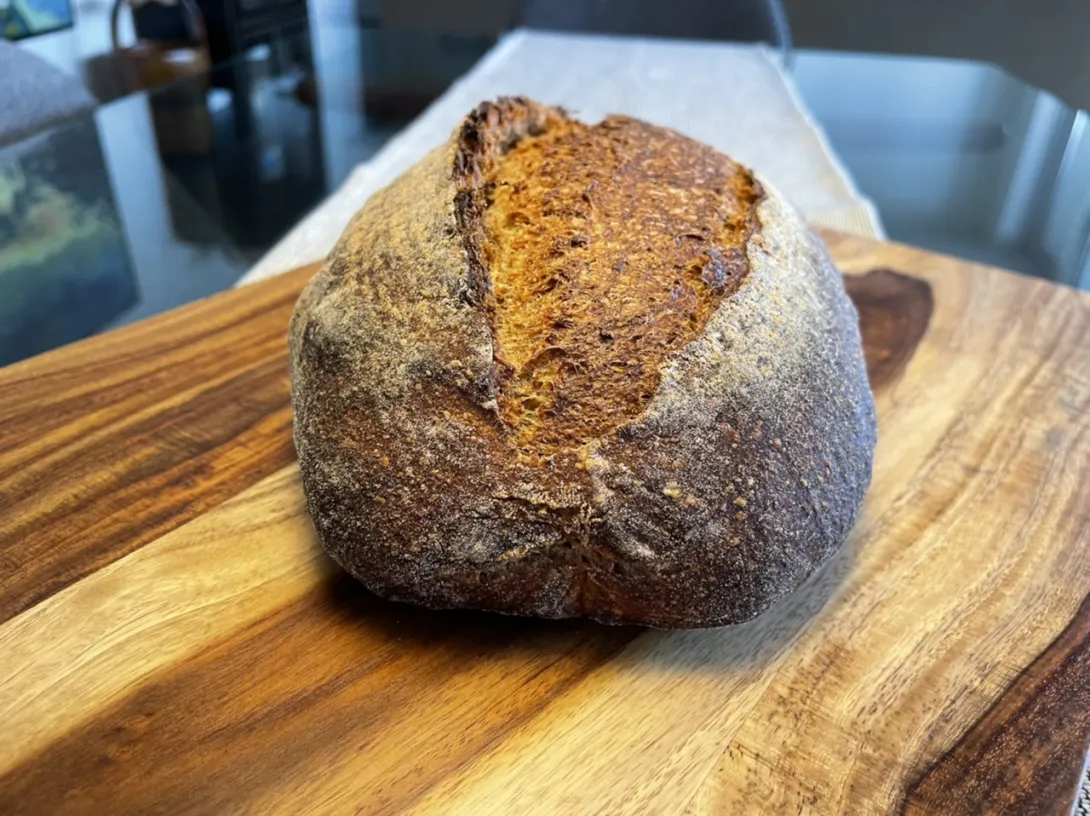
- Benito's Blog
- Log in or register to post comments
Here’s the oven spring Timelapse video for you to enjoy, if you watch until the end you can see how thin the crust is.
Here are some photos of the crumb. The miso works extremely well with the whole wheat. It adds complexity to the wheaty flavour and some umami that it doesn’t usually have.
The crumb is exceptional. I am amazed that it is so open and the hydration is so much lower than the what I thought would be necessary. I am going to rethink what I have tried. I did a sweet levain WW pan loaf today that just came out of the oven. If it turns out half as nice as yours I will be happy.
Don
Thank you Don, as Dan has pointed out, the way I setting up the spreadsheet may not be quite right. I have an additional 19% water in the bran scald but it is buried at the bottom left of the spreadsheet so it isn’t obvious. So in reality this is probably about 90% hydration or more considering the amount of water added during folds etc. I’m not sure if you’ve tried scalding the bran and adding it after the gluten is developed, but I think it is a really good method of dealing with whole grains and has been working quite consistently for me since I’ve starting using this method. I’m sure your WW pan loaf will be fabulous, I can’t wait to see it.
Benny
I did sift the flour that was milled for this loaf but the bran was only 5% of the total flour. I poured some boiling water (double the weight of the bran) on it with the pink salt for the dough but it only soaked for a couple of hours. I am not sure if that was enough time to do it’s thing. It was added to the mixer after the autolyse. We will see when I cut into tomorrow 🤞
I use Danayo’s spreadsheet also but I didn’t read it carefully so your hydration makes sense now that you pointed that out.
Because it is boiling water I believe the bran hydrates quickly so soaking for a couple of hours is plenty.
Benny
It looks like you have mastered making a 100% wholegrain bread Doc, very nice-looking crumb, good job. Now let's see if it turns out the same next time without adding VWG and scalding bran as most of us don't do that kind of stuff and can't compare :):):)!
Thank you Ming, all you have to do to see how 100% whole wheat bread turned out for me without VWG, sifting and scalding the bran is look back in my blog for the loaves I made early last year when I started trying whole grain breads. At that time I wasn’t using any of these tools and wasn’t getting great results. I don’t wish to bakes those pancakes anymore 😝.
Benny
Beautiful loaf Benny! Crumb looks spot on!
Curious…. How long do you continue to pre-heat after hitting 500 deg F? I’ve been having trouble with really hard (even burnt) bottom crusts since I started using my baking steel. So, I started putting a temperature probe on my steel while pre-heating. It takes a good 20-30 minutes after my oven hits 465 deg before my steel is up to temp.
After watching the video in this thread posted by Ming, I wonder if I’m just pre-heating too long.
https://www.thefreshloaf.com/comment/505387#comment-505387
Thank you Troy, I’m happy to be able to produce good 100% whole grain breads somewhat reliably now.
Once the oven indicates that it has reached 500°F I flip my dough out of the banneton and get the dough into the oven. I don’t wait any extra time. I don’t have an infrared thermometer so have no idea what the actual temperature is. What I’ve taken to doing, when I remember to, is after the steam baking at 450°F is done, I’ll move the upper rack to just above the baking steel and continue the bake with the bread on that slightly higher rack. I do this primarily to reduce the browning of the bottom crust.
Troy are you doing anything to shield the baking steel and insulate it from the lower elements?
Benny
I have a large’ish cookie sheet on the very bottom rack position that I use for steam. It stays in throughout the bake. I would say it shields the steel from 75-85% of the element.
The next time I bake, I’ll do a warm up profile of the baking steel. I think Dan has posted something similar before.
How thick is your baking steel? You could place it on the roasting rack that you probably got with your oven and then stuff it with aluminum foil to act as extra insulation.
It’s 1/4” plate steel.
I’m not sure if it’s too much heat transfer to the steel during the bake. I’m thinking it’s too much temperature in the steel at the start. When the oven temp hits 465, the steel temp is probably somewhere between 300-350. It’s another 20-30 minutes to get the steel up to 465. So, if I loaded when the oven hits 465, I’d be baking at a good 100-150 deg less than what I’m doing now.
Ah OK that is a much thicker steel than mine, I agree I don’t think insulating it is the issue. It is such a good conductor of heat and will hold so much heat for so long once it reaches temperature. I think getting it off the steel sooner to complete baking once the crust is somewhat set would help.
Need to try something. It’s the one step change improvement I’d like to make in my breads.
Gorgeous colour and crumb! But it's amazing. My wife asked if it was savoury or sweet. Apparently they do sweet miso breads in Japan. Never knew.
Thank you David, I am quite happy with this bread. The crumb was as good as I think I can expect using my methods and I don’t need more open than this. The bread is savory and not sweet. Interesting that your wife says that they make sweet miso breads, I have planned to do a version of the Hokkaido milk bread using miso so that would be sweetish.
I have made sweet desserts using my miso, I posted one last year. Blueberry miso crumble cake is the most recent one.
Benny