I am presenting this bake of my 3.0 version of this bread to show how it does without any added VWG. As I suspected the VWG really helps with getting the super tall loaf that I love seeing. Without the VWG, the loaf is a normal profile, neither tall nor short. I’m not mad at it. It’s good to know that VWG isn’t absolutely required.
I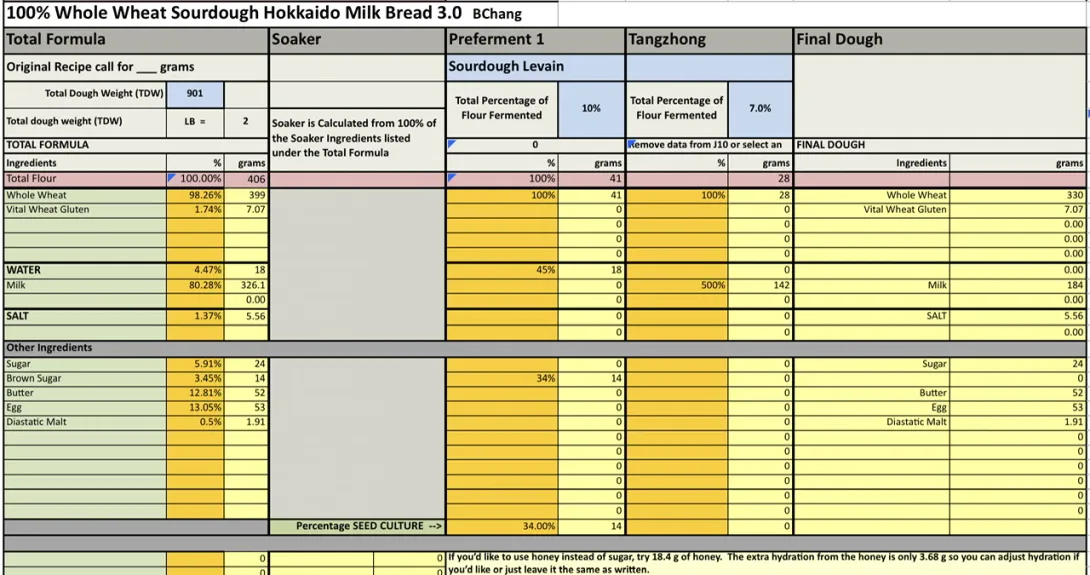
For 9 x 4 x 4 “ pan
Overnight Stiff Sweet Levain fermented at 76-78°F
14 g starter + 14 g brown sugar + 18 g water + 41 g whole wheat
Tangzhong prepared the night before and refrigerated
28 g whole wheat + 142 g milk
Final Dough
184 g milk (reduce to 174 g if not using VWG) + 1 large egg (53 g) + 24 g sugar + 5.56 g salt + all Tangzhong
+ all Stiff Sweet Levain + 331 g whole wheat flour + 7.08 g vital wheat gluten (optional) + 1.91 g diastatic malt (optional)
+ 52 g butter
Pre-bake Wash
• 1 egg beaten
• 1 Tbsp milk
Post-bake Wash
• 1 Tbsp butter (optional)
Instructions
Levain
Mix the levain ingredients in a jar or pyrex container with space for at least 300% growth.
Press down with your knuckles or silicone spatula to create a uniform surface and to push out air.
At a temperature of 76ºF, it typically takes up to 10-12 hours for this sweet stiff levain to be at peak. For my starter I typically see 3-3.5 times increase in size at peak. The levain will smell sweet with only a mild tang.
Tangzhong
In a sauce pan set on medium heat, stir the milk and flour until blended. Then cook for several minutes until well thickened, stirring regularly with a spoon or heat-resistant spatula. Let cool in the pan or, for faster results, in a new bowl. Theoretically it should reach 65ºC (149ºF) but I don’t find I need to measure the temperature as the tangzhong gelatinizes at this temperature. You can prepare this the night before and refrigerate it, ensure that it is covered to prevent it from drying out.
Dough
In the bowl of a stand mixer, add the milk (consider holding back 10 g of milk and adding later if this is the first time you’re making this), egg, tangzhong, salt, sugar, diastatic malt and levain. Mix and then break up the levain into many smaller pieces. Next add the flour and vital wheat gluten. I like to use my spatula to mix until there aren’t many dry areas. Allow the flour to hydrate (fermentolyse) for 20-30 minutes. Mix on low speed and then medium speed until moderate gluten development this may take 5-10 mins. You may want to scrape the sides of the bowl during the first 5 minutes of mixing. Next drizzle in the melted butter a little at a time, or alternatively add room temperature butter one pat at a time. Slow the mixer down to avoid splashing the butter at you. The dough may come apart, be patient, continue to mix until it comes together before drizzling or adding in more butter. Once all the butter has been added and incorporated increase the speed gradually to medium. Mix at medium speed until the gluten is well developed, approximately 10 mins. You will want to check gluten development by windowpane during this time and stop mixing when you get a good windowpane. You should be able to pull a good windowpane, not quite as good as a white flour because the bran will interrupt the windowpane somewhat. This is a good time to add inclusions such as my favorite black sesame seeds, that way they do not interfere with the gluten development. If you add inclusions mix until they are well incorporated in the dough.
On the counter, shape the dough into a tight ball, cover in the bowl and ferment for 2.5-3.5 hours at 82ºF. There may be some rise visible at this stage.
You can next place the dough into the fridge to chill the dough for about 1.5 hours, this makes rolling the dough easier to shape. Remember, if you do so the final proof will take longer. Alternatively, you can do a cold retard in the fridge overnight, however, you may find that this increases the tang in your bread.
Prepare your pans by greasing them or line with parchment paper.
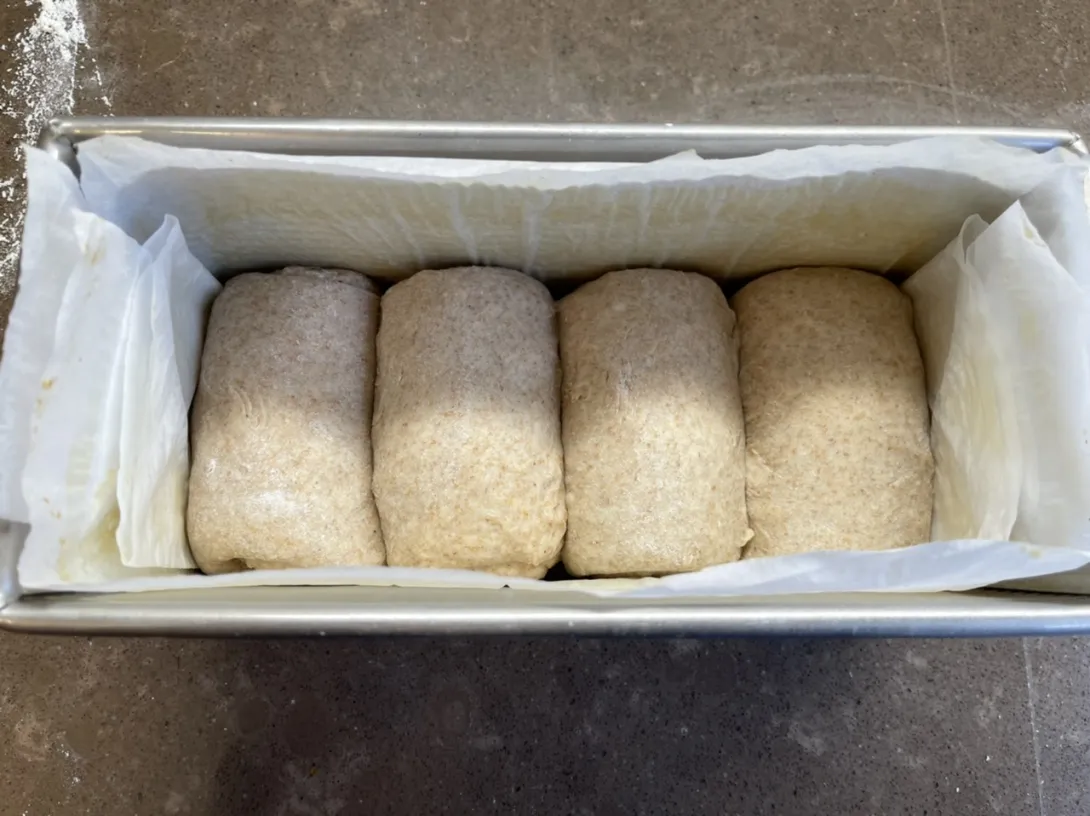
Lightly flour the top of the dough. Scrape the dough out onto a clean counter top and divide it into four. I like to weigh them to have equal sized lobes. Shape each tightly into a boule, allow to rest 5 mins. Using a rolling pin roll each ball out and then letterfold. Turn 90* and using a rolling pin roll each out to at least 8”. Letterfold again from the sides so you have a long narrow dough. Then using a rolling pin, roll flatter but keeping the dough relatively narrow. The reason to do this extra letterfold is that the shorter fatter rolls when placed in the pan will not touch the sides of the pan. This allows the swirled ends to rise during final proof, this is only done for appearance sake and is not necessary. Next roll each into a tight roll with some tension. Arrange the rolls of dough inside your lined pan alternating the direction of the swirls. This should allow a greater rise during proof and in the oven.
Cover and let proof for 6-8 hours at a warm temperature. I proof at 82°F. You will need longer than 6-8 hours if you chilled your dough for shaping. I proof until the top of the dough comes to within 1 cm of the top edge of the pan.
Preheat the oven to 350F and brush the dough with the egg-milk wash. Just prior to baking brush with the egg-milk wash again.
Bake the loaves for 50 minutes or until the internal temperature is at least 190ºF, rotating as needed to get even browning. Shield your loaf if it gets brown early in the baking process. After 50 mins remove the bread from the pan and bake a further 10 mins by placing the loaf directly in the oven on the rack with the oven turned down to 325ºF. You can brush the top of the loaf with butter if you wish at this point while the bread is still hot to keep the top crust soft.
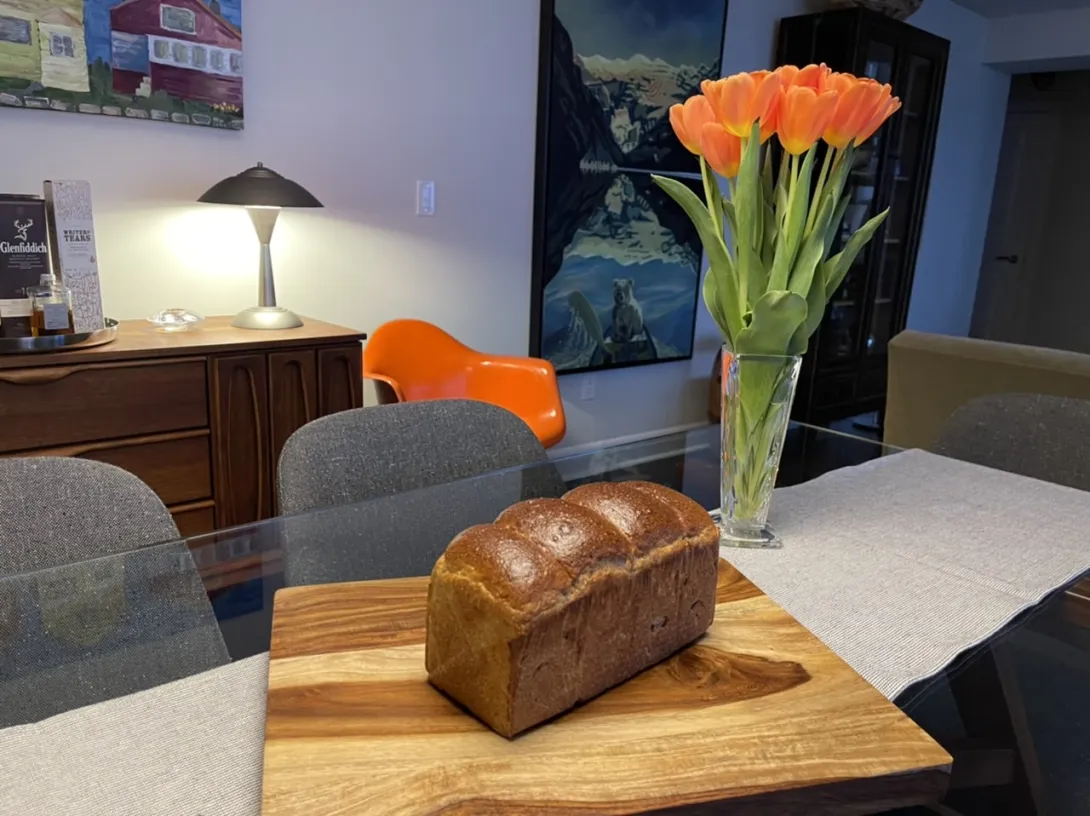
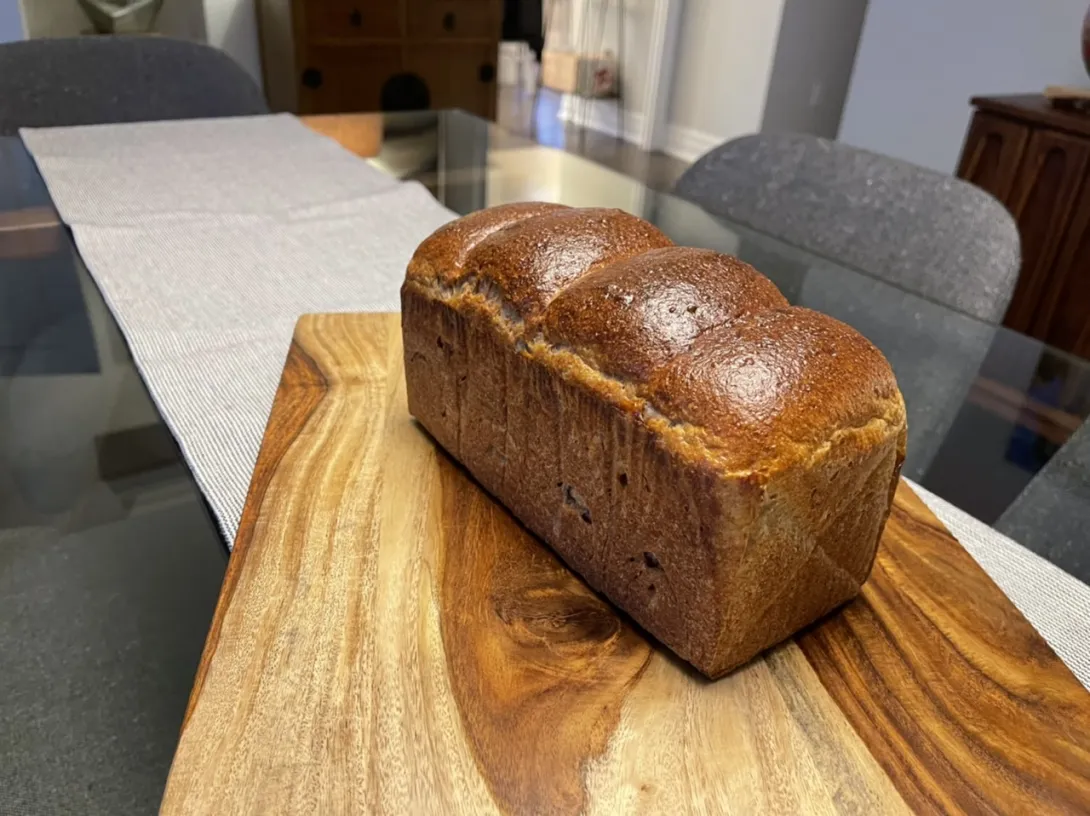
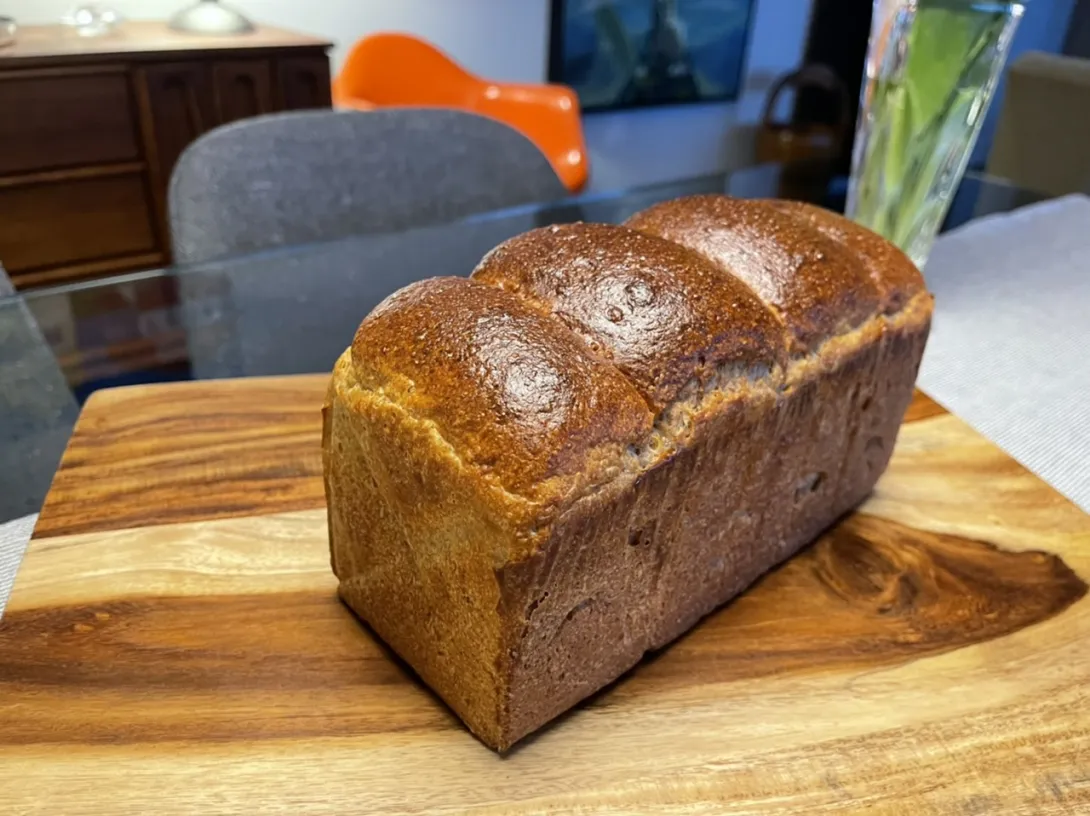
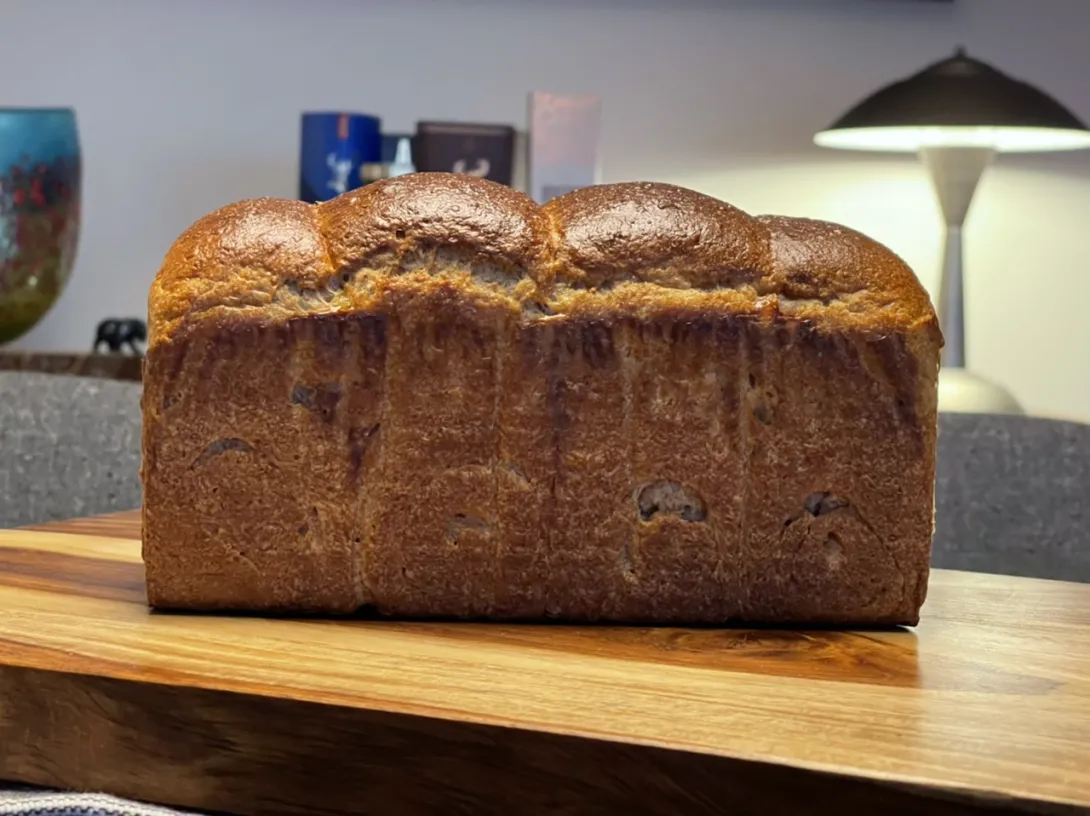
This next one is for comparison, this one used the VWG. There is quite a difference between the two and the only difference is the 7.07g of VWG. So if you want a really tall loaf, use the VWG with this small amount you cannot taste it. However, you can easily see the difference it makes.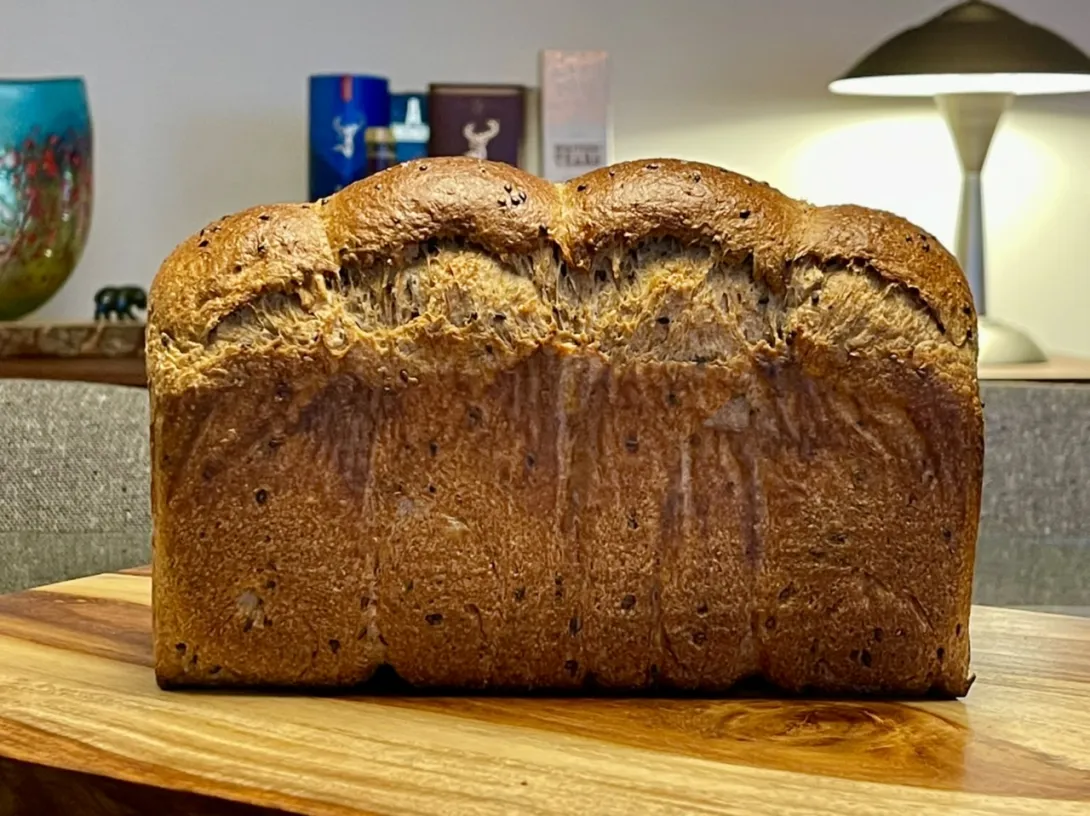
- Benito's Blog
- Log in or register to post comments
I’ve made a little video for making this bread that shows the shaping of the rolls. I hope you enjoy it, I hate hearing my voice though 😜
Have you tried buttering the pan?
If you do you can eliminate the parchment paper.
his pan has a flaw in it , you may have forgotten. We have talked about it and I was hopeful that he could return it as the USA pans are 100% returnable for a defect. I think that is why he uses the parchment. c
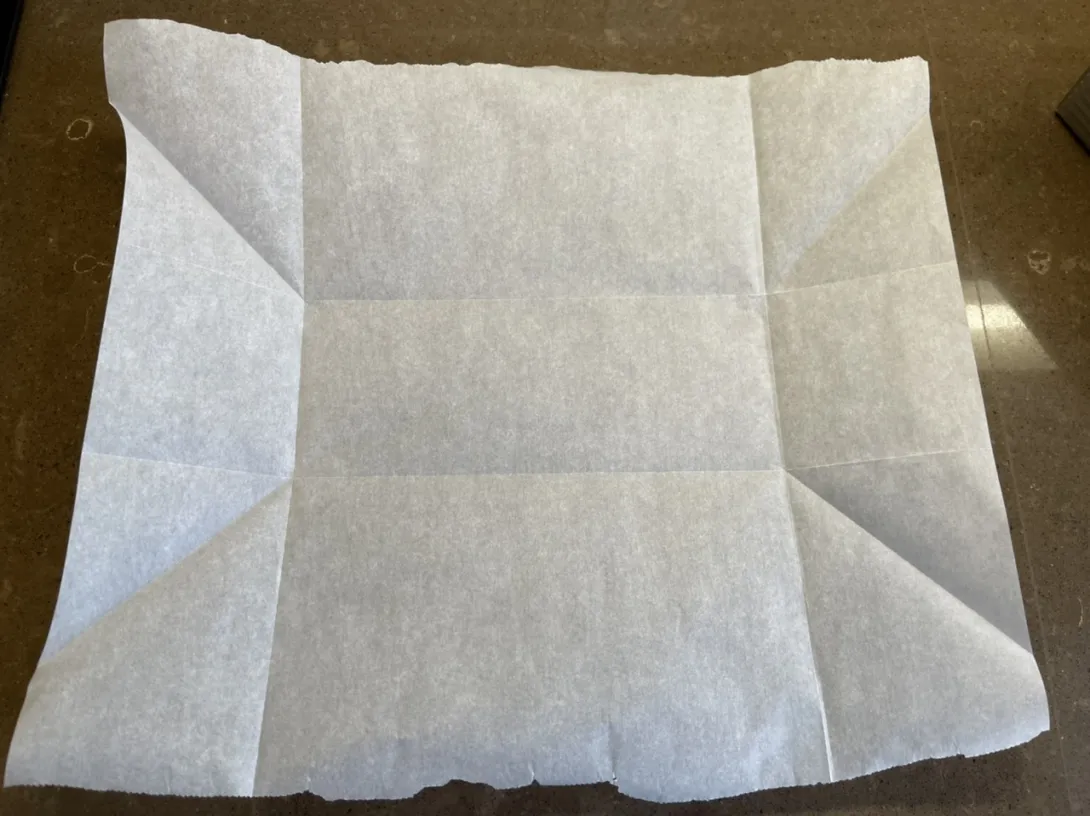
Yes there may be a small defect in the folds of the metal in one corner of the pan such that the bread gets baked and trapped inside the fold making it hard to release. On the other hand, I don’t mind using the parchment paper at all. I have a way of folding it like origami and I use it several time before needing
Image
Image
Image
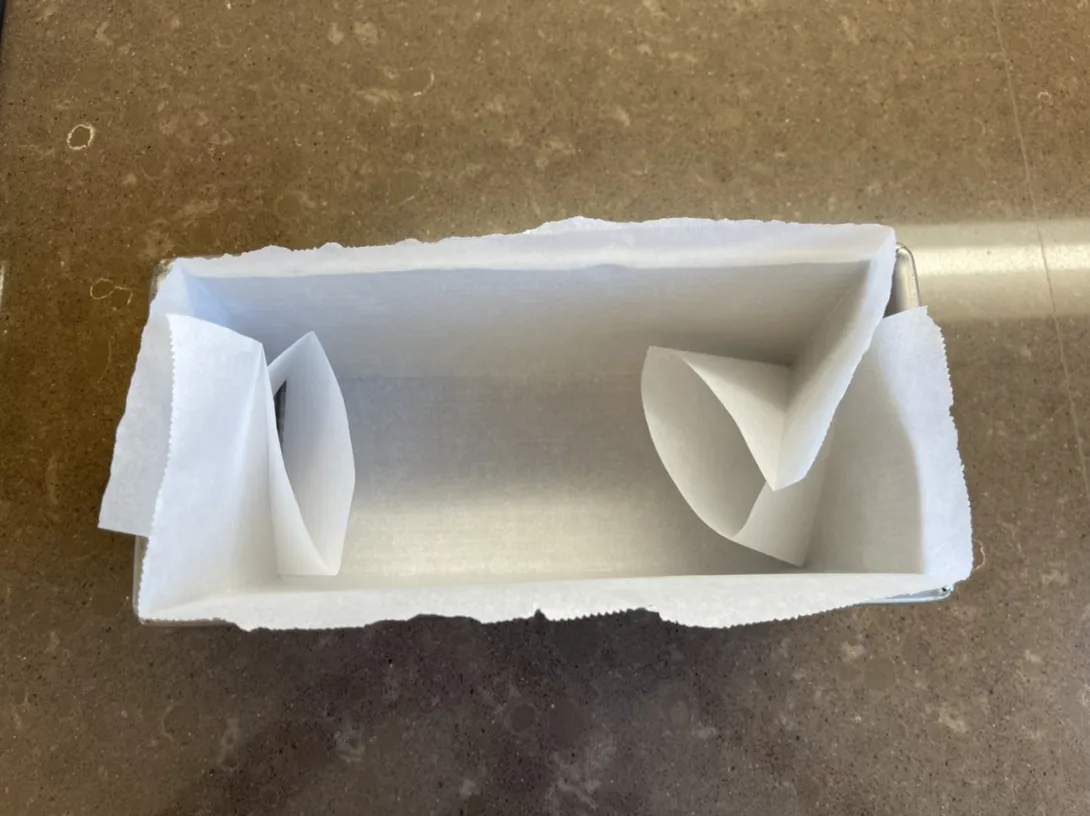
to make a new one so it’s all good.
only 7 g ! Beautiful bread each and every time! Very nice video. Interesting that we don’t like our voices… I don’t know anyone who thinks they sound ok… must be a scientific reason.
Thank you Caroline, yes 7 g makes a difference, so hard to imagine but it does.
Here are the crumb photos including the infamous chopstick test draping a slice on a chopstick.
Your milk bread without the performance enhancing doping! Looks good esp for 100% ww.
How does the texture compare without the vwg? I found I preferred my breads without added gluten if I could manage it.
Thank you David, I honestly don’t detect that much of a difference. For a loaf of this size I would only add about 7 g of VWG so in my mind it gives a huge bang for the buck without any negatives in flavour or texture. But it is nice to know what to expect without the VWG.
Great continuation of the experiment Benny, and glad to see you have a definitive conclusion. Too many of these experiments leave more questions than answers. :-) And... Good to know you can make a beautiful loaf with or without it.
Thank you Troy, I had to do this bake to answer that question and I’m glad I now know. I don’t think there is any negative to adding the VWG so I will likely add it in the future.
Appreciated the video so much. Nice to see the appearance of your dough when you were shaping it. And didn't realize that there was so much tension being built, with a pre shape, and a rolling pin and a double letter fold! Have never picked that up before from reading all your blog entries.
Tell me, at some point you were sifting the bran from your flour, weren't you? And the flour you're using now, does it have big flecks of bran or is it more like a wholemeal?
If you're using 7g VWG with Canadian flour then I guess I'll need to use VWG to get the protein up to your level, and then adding in extra VWG too. Hmmm.. as you can tell I'm probably going to have to make one of your breads soon and am now thinking aloud how to do it.
Thanks for watching my video Jon! I hope my voice didn’t put you off too much 😜
It was only for hearth loaves that I was sifting the bran and scalding it. For these Hokkaido milk breads I never bothered to sift and scald since I was mixing mechanically. Don’t give me ideas to try for future iterations please 😝
The flour I’m using is still a stoneground organic whole wheat it has become my favourite whole wheat flour and I’ve been using it for about half a year I’m guessing. It is local and freshly milled and then shipped to the store. There are definitely some larger flecks of bran in it.
I hope you give this bread a try sometime. Just remember to hold back some of the milk 10-20 g the first time you try it. I also recommend the 1.5 hour chill in the fridge to make the shaping easier and the dough less sticky.
Benny
Benny, is it possible that the egg wash is causing the top crust to harden prematurely resulting in the tear at the side on the top of the loaf?
Have you tried painting with water and if so, has it made a difference in the tearing?
You’ve tweaked this bread up so much, that I’d be foolish not to try it.
Thanks for taking the time tp publish and share this masterpiece…
An Observation-
Noticed you are using 4 dough rolls for your small sized Pullman. I’ve been using 4 dough rolls for a large Pullman, but there is space between each roll when initially placed in the pan. Next time (if I can remember) 5 rolls for the large Pullman.
Dan I haven’t tried steaming or washing the top of the crust with water instead of the egg wash because I love the shiny crust and the side tears never bothered me to tell you the truth. I think I might try baking with steam initially and see how that goes, stop putting ideas in my mind!
Yes I would recommend doing another roll for the larger sized pan, 5 would be a nice number to do.
Benny, what would you calculate the real hydration to be?
I may leave out 2.5% milk. My humidity may be a factor in the hydration. In the past I have strictly adhered to the original formula for the first bake. The dough uses home milled flour @ 100% extraction. I have to believe that home milled flour @ 100% extraction behaves quite different from commercial Whole Wheat flour.
The dough will be kept cool (<70F) and extensively mixed. I am trying something new. Mix a while, rest a while. May even rest 30-45 minutes after 20 minutes mixing and then mix a little more. The gluten is coming along nicely. The goal is a highly mixed, well developed gluten.
If we count only the water and milk, and we consider milk 100% hydration which it isn't, it would be 84.75%.
Milk: 87% water
Large eggs: 74% water
American-style butter: 16% water
Ok recalculated milk = 69.8%
eggs = 9.66%
butter = 2.05%
So total water would be 85.98% hydration of this dough as written.
I just read that you refrigerate the dough a while before shaping. That would make a difference.
How would you describe the feel of the dough just before refrigerating? I may add the 2.5% milk.
After mixing and shaping into a boule on the counter, I don’t touch the dough again until time of shaping so I cannot comment of the feel of the dough before refrigerating, sorry.