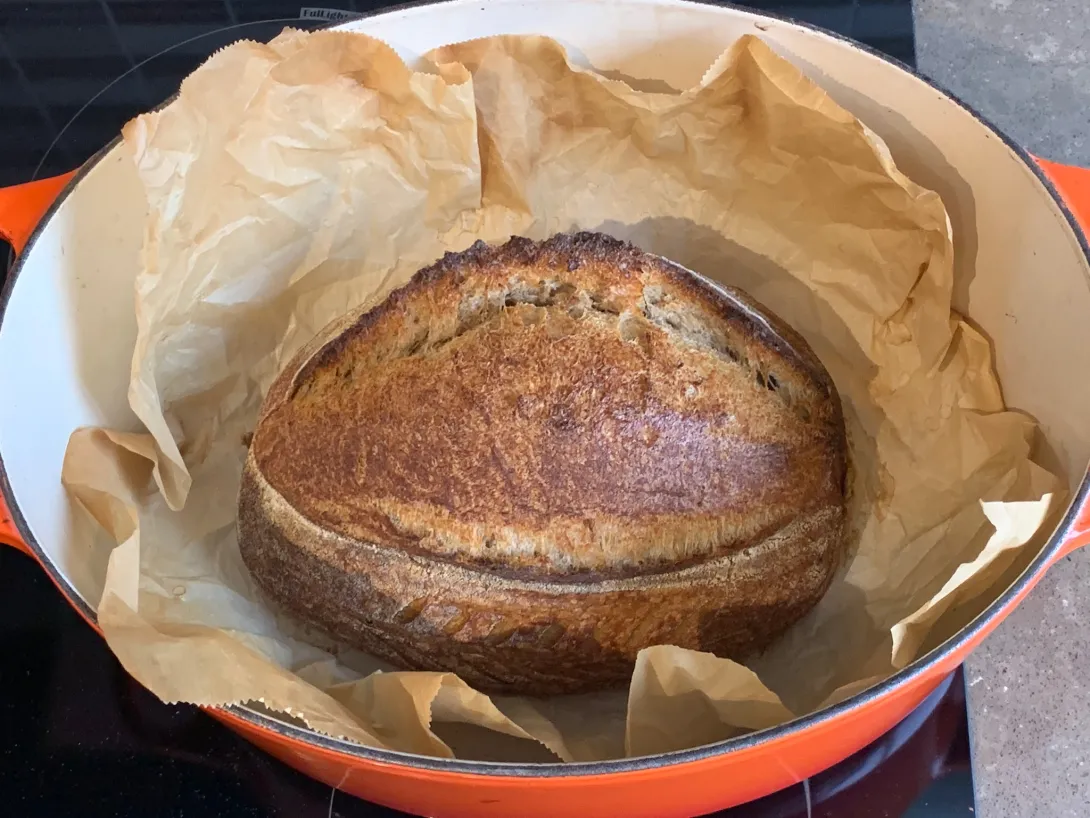
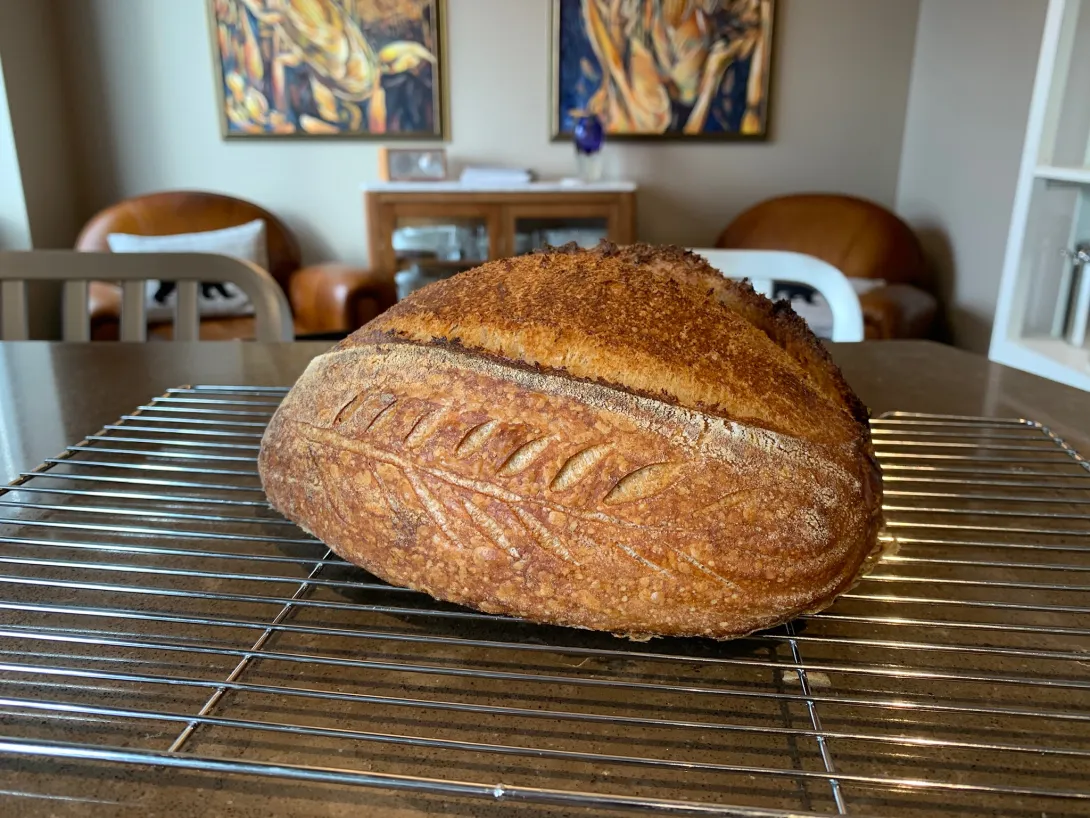
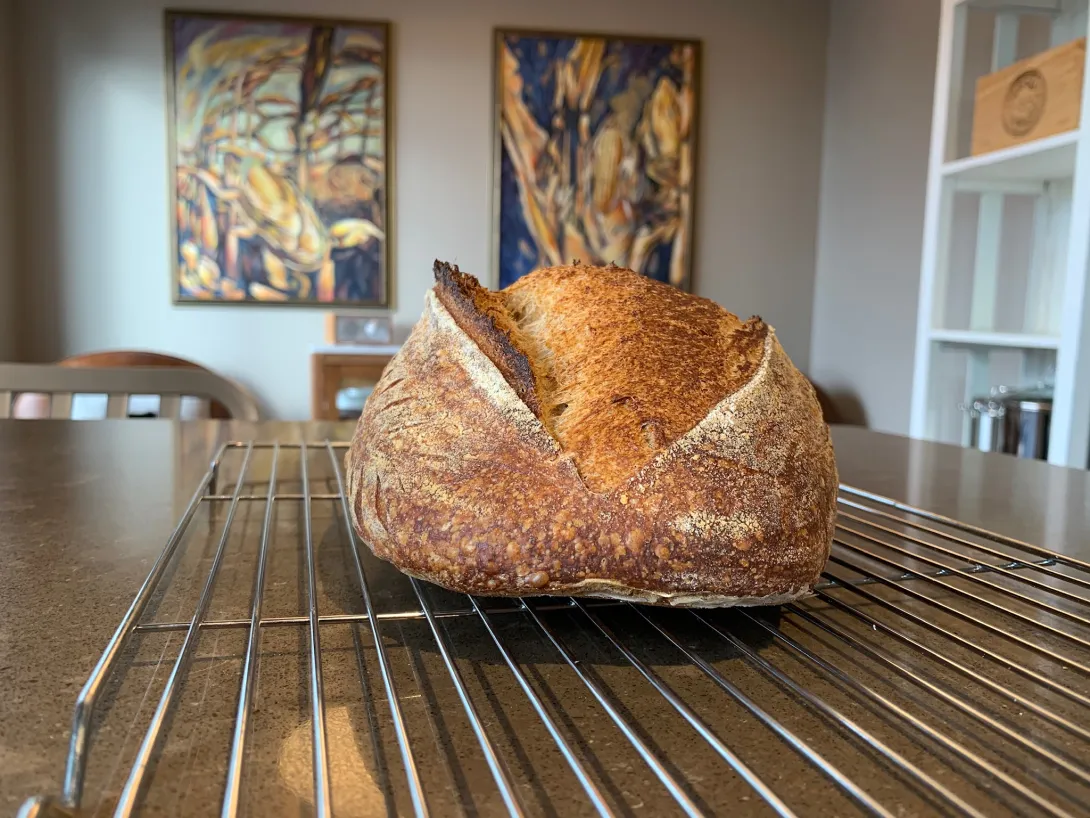
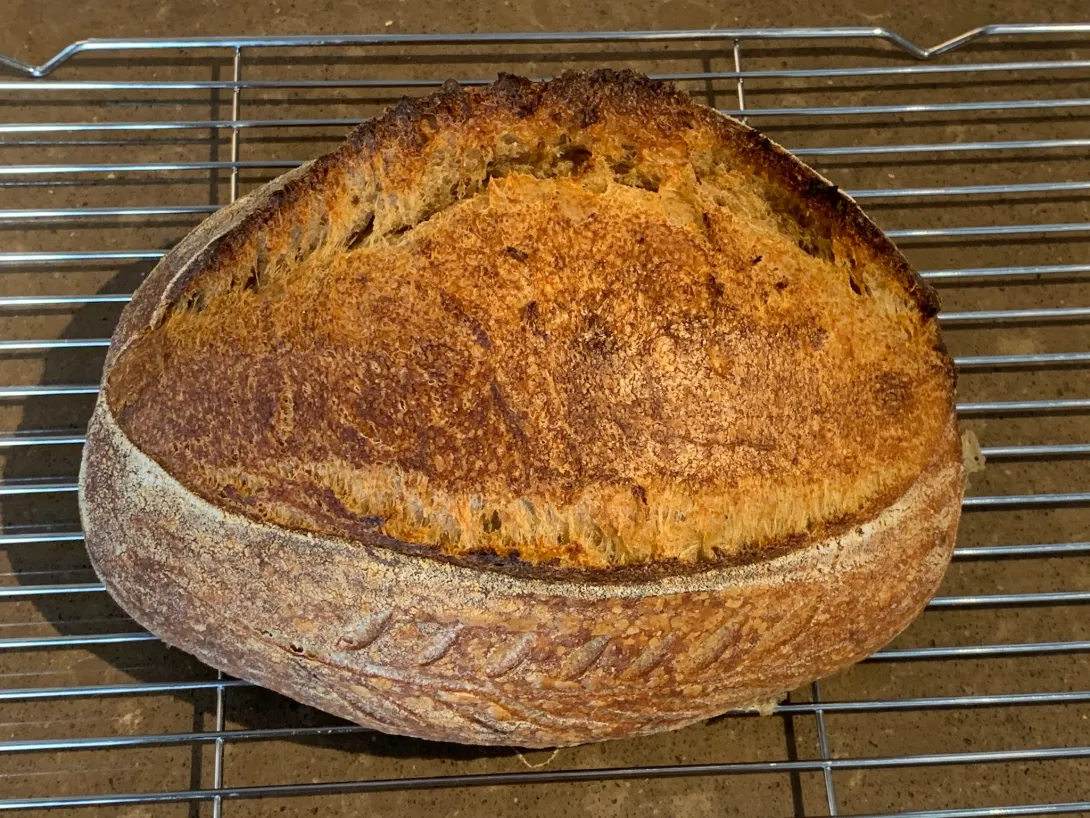
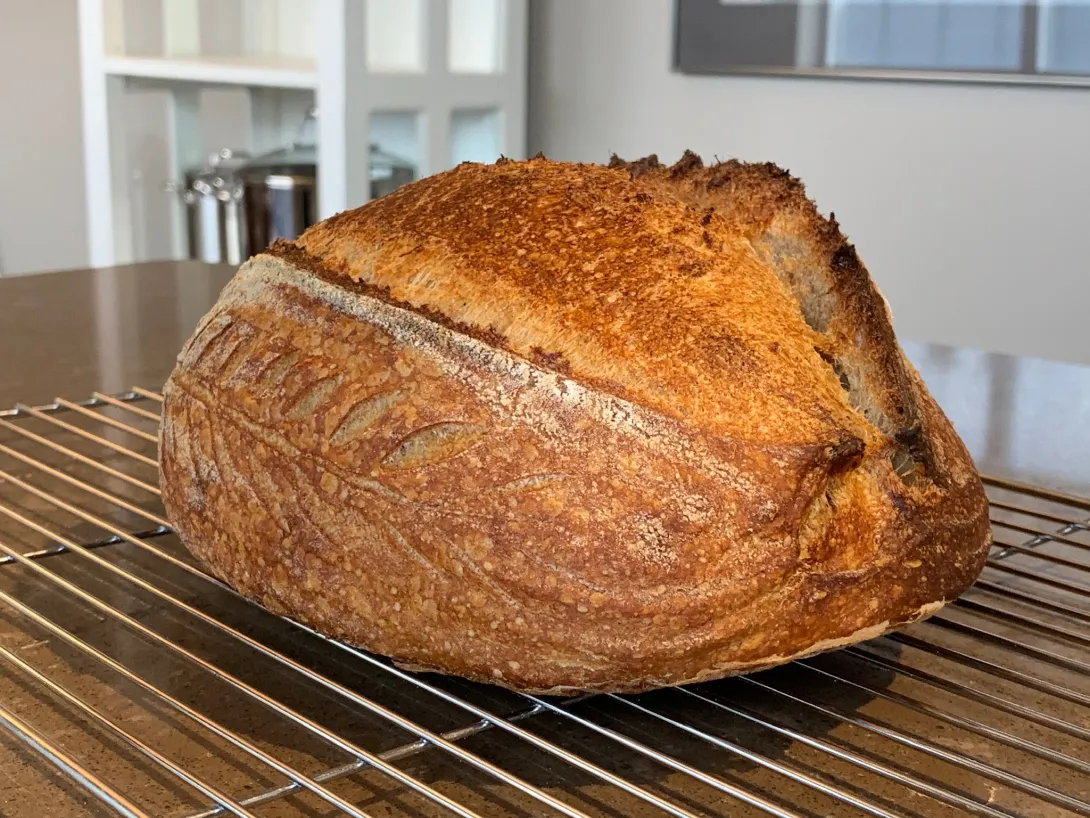
This is my first bake of this recipe from The Perfect Loaf by Maurizio. I make a 800 g dough as follows.
Dough Formula 800 g dough
Weight | Ingredient |
197 g | White bread flour |
93 g | Whole Spelt |
83 g | Whole Red fife |
21 g | Whole Rye |
332 g | Water 85% hydration |
8 g | Salt |
66 | Mature Levain |
Hold back 20% of the water so hold back 64 g and use
268 g of water during Autolyze. I added 32 g of the water to dissolve the salt and mixed. Through the coil folds I would estimate that I added back another 15 g of water so my hydration would have been around 80%.
Levain Build for 800 g dough
Weight | Ingredient |
25 g | Mature starter |
12 g | White Bread Flour |
13 g | Whole Spelt Flour |
25 g | Water |
Maurizio’s method below.
Method
1. Liquid Levain – 10:00 a.m.
Add the called for mature sourdough starter, water, and flour listed in the Levain Build section above to a clean jar. As I mentioned above, try to hit a final dough temperature of 78-80°F (26-27°C). Mix well and cover loosely for 3 hours.
2. Autolyse – 12:30 p.m.
Note: This dough has a fairly high hydration. If you’re familiar with the flour you’re using and you know it can handle it, proceed, otherwise, you might want to withhold more water through mixing than the 100g I do (I’d suggest 200g). Add this reserved water in slowly through mixing if it feels like the dough can handle the addition.
Add the called for flour and all but 100g of the water to a mixing bowl. Using your hands, mix to incorporate the ingredients until there are no dry bits of flour remaining. Cover, and keep somewhere at warm room temperature until it’s time to mix 30 minutes later.
3. Mix – 1:00 p.m.
Add the liquid levain, salt, and appropriate amount (add this reserved water in slowly as the dough handles it) of the remaining water to the mixing bowl holding the autolysed dough. Using your hands, mix everything until it comes together into a shaggy mass. Then, dump the bowl out to the counter and slap and fold the dough for about 8 minutes to develop strength. This is a wet dough, and it benefits from a little extra kneading time.
I recently uploaded a new post to my Baking Guides page with more information on the slap and fold technique, including the video below. Check out the Slap and Fold Guide Page for more information on this technique.
When the dough is mostly smooth and starts to hold its shape on the counter, transfer it to a container for bulk fermentation and cover.
3. Bulk Fermentation – 1:15 p.m. to 4:45 p.m.
During the three and a half hour bulk fermentation, give the dough three sets of stretch and folds. The first set will be 15 minutes after the start of bulk fermentation, then every 30 minutes thereafter. Let the dough rest after the last set of stretch and folds for the remainder of bulk fermentation.
4. Divide & Preshape – 4:45 p.m.
Fill a bowl with a little water and place near your work surface. Gently scrape out your dough from the bulk container onto your dry counter. Divide the mass in half using a bench knife and using a wet hand and the knife, preshape each half into a very taut round.
Let the dough rest, uncovered, for 20 minutes.
5. Shape – 5:05 p.m.
This recipe is nice shaped as a boule or batard, but I tend to prefer the long, oval shape because of how it slices. However, a boule is a nice change now and again — it’s up to you. If you do go with a batard, I would suggest shaping it a little tighter than usual, and when scoring, a double (or triple) score will help eke out a bit more rise.
I rolled the final, shaped dough on a towel with a layer of instant rolled oats spread from edge to edge to get them to stick to the exterior. Then, place the dough in the final proofing basket.
6. Proof – 5:10 p.m. to 9:00 a.m. (the next day)
Cover both proofing baskets entirely and put them in the fridge to proof overnight.
7. Bake – 9:00 a.m. (pre-heat oven at 8:00 a.m.)
Preheat your oven with a baking stone or Baking Steel inside to 500°F (260°C).
I baked these boules on my Baking Steel in my oven: see my post on how to steam your home oven for baking. However, you could also use a Dutch oven: see my post on how to bake with a Dutch oven (in which case don’t use a baking stone or Baking Steel).
The next morning, preheat your oven with baking stone/steel for one hour at 500°F (260°C).
Score each piece of dough and load it using one of the two methods listed above, then turn the oven down to 450°F (232°C). Bake for 20 minutes with steam. Then, remove the steaming pans from inside the oven (or remove the lid to your Dutch oven) and bake for an additional 30-35 minutes, or until done.
Once fully baked, cool your loaves on a cooling rack for 1-2 hours.
What I did slightly differently is that I did a coil fold 15 mins after completing the slap and folds. I followed that 30 mins later with lamination of the dough which for the first time went super well, perhaps the spelt’s extensibility really made it easier than I have experienced in the past. Then two more coil folds at 30 mins intervals.
Another thing I did differently is that I actually pre-shaped, which I usually skip since I bake one loaf at a time so don’t have to cut the dough in half. When I did the pre-shaping and the final shaping I only used water to prevent sticking to the countertop and absolutely no flour. I was surprised that this worked as my one previous attempt at using only water was a horrible disaster. I don’t know why this worked so well this time, maybe just luck?
I otherwise followed his instructions until baking, since my dough is 800g vs his 1000g, I baked for 20 mins in my Dutch oven with lid on at 450ºF, removed the lid and dropped the temperature to 420ºF and baked for 10 mins, then replaced the lid leaving gaps by placing the lid across the Dutch oven to shield the bread and baked for a further 10 mins.
The bread is cooling and won’t be cut until tomorrow at lunch so I’ll cross my fingers until then that fermentation went well and that the crumb will be good. Of note, this was my first time using my starter after a 30 day vacation during which time it wasn’t fed at all. The levain was built after only refreshing the starter 3 times.
Benny
- Benito's Blog
- Log in or register to post comments
Seems that your starter is doing just fine after the nap :) I bet the crumb would be great!
Thanks Elsie. Yes it was in better shape than after my trip to Japan. I'm very hopeful about the crumb.
Benny
Amazing design! Did you refrigerate your starter during your vacation or dried it out/ freeze before that??
Thank you. I gave my starter a good feeding and made it a lower hydration starter around 70%. After the feeding I put it immediately into the fridge at 3ºC.
This being my first sourdough bread with 50% whole grain I’m not sure what to think about the crumb. It isn’t quite as evenly open as I like, but perhaps this is about what I can expect at this percentage whole grains. It might be a bit underproofed. Any recommendations or suggestions?
I have to say I quite like the flavour of this bread though, none of the bitterness from whole wheat that I’ve had in the past, is whole spelt less bitter?
I guess you could extend the bulk slightly next time. Don't get me wrong though. The crumb isn't half bad!
It's been my experience that spelt is milder and sweeter than wheat, in the case of commercial flour that is. I can still recall how amazed I was when I first substituted spelt for wheat in pancakes. Yet this isn't true anymore once I've switched to home milling. Both are very sweet, just in a different way. Red wheat is fruitier, while spelt is maltier in my opinion.
Yes I agree with you, a bit underproofed. My starter may have been a bit less active than I had thought and I think I didn’t judge fermentation fully well. Next time I will get the starter much more active and push bulk fermentation further.
Yes my first taste of this bread I thought it was just a bit sweet, must be the spelt, in which case I like spelt, a lot.
Not bad crumb for 50% whole grains at all.
Thank you Ian. I have my starter fed and fermenting and will have another go at this bread today, fingers crossed that I can hit the fermentation.
Benny