The first step is admitting you need help, right? I need lots of it.
I've been trying to get a nice open crumb for quite a while, and have had little success. So I'm going to document my most recent bake with photos. I'm sure you guys will be able to figure out what I'm doing wrong.
I'm fairly confident in my starter: I have 2 and feed them every 12 hours, +- 1 hour and they are kept in a proofer at 70 degrees. Both are 100% hydration. One is KA AP, and the other is 80% KA AP, 20% freshly milled rye. I get similar result with both starters.
The formula I'm working with now is 79% hydration, including the starter:
- flour is 68% KA AP and 32% Freshly milled Serventa (11.5% protein) sifted to 85% extraction
- 19% Starter
- 2% Salt
- Flour weight: 320g, so the loafs are fairly small
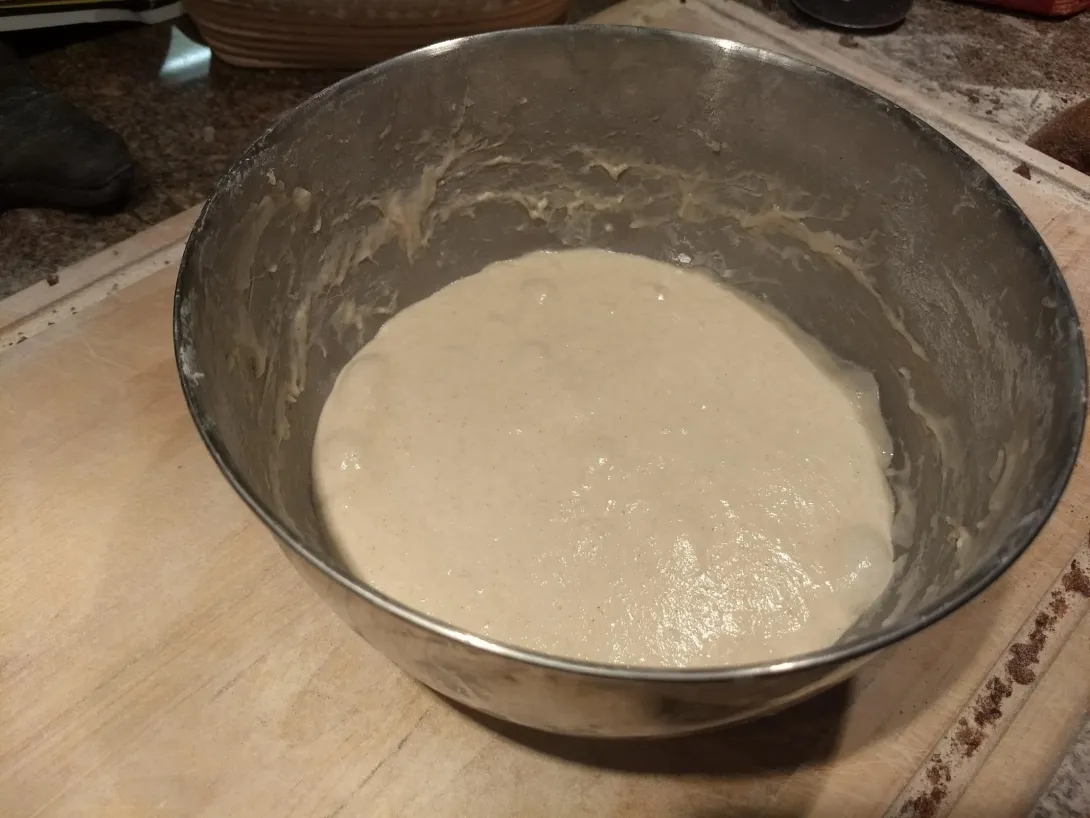
I've been using a 1:30 - 2:00 autolyse, followed by 5 minutes of Rubaud, 15 minute rest, and another 5 minutes.
I bulk for about 4 hours at 80 degrees.
Then I typically do 3 stretch and folds every 30 minutes, followed by 1-2 tension folds.
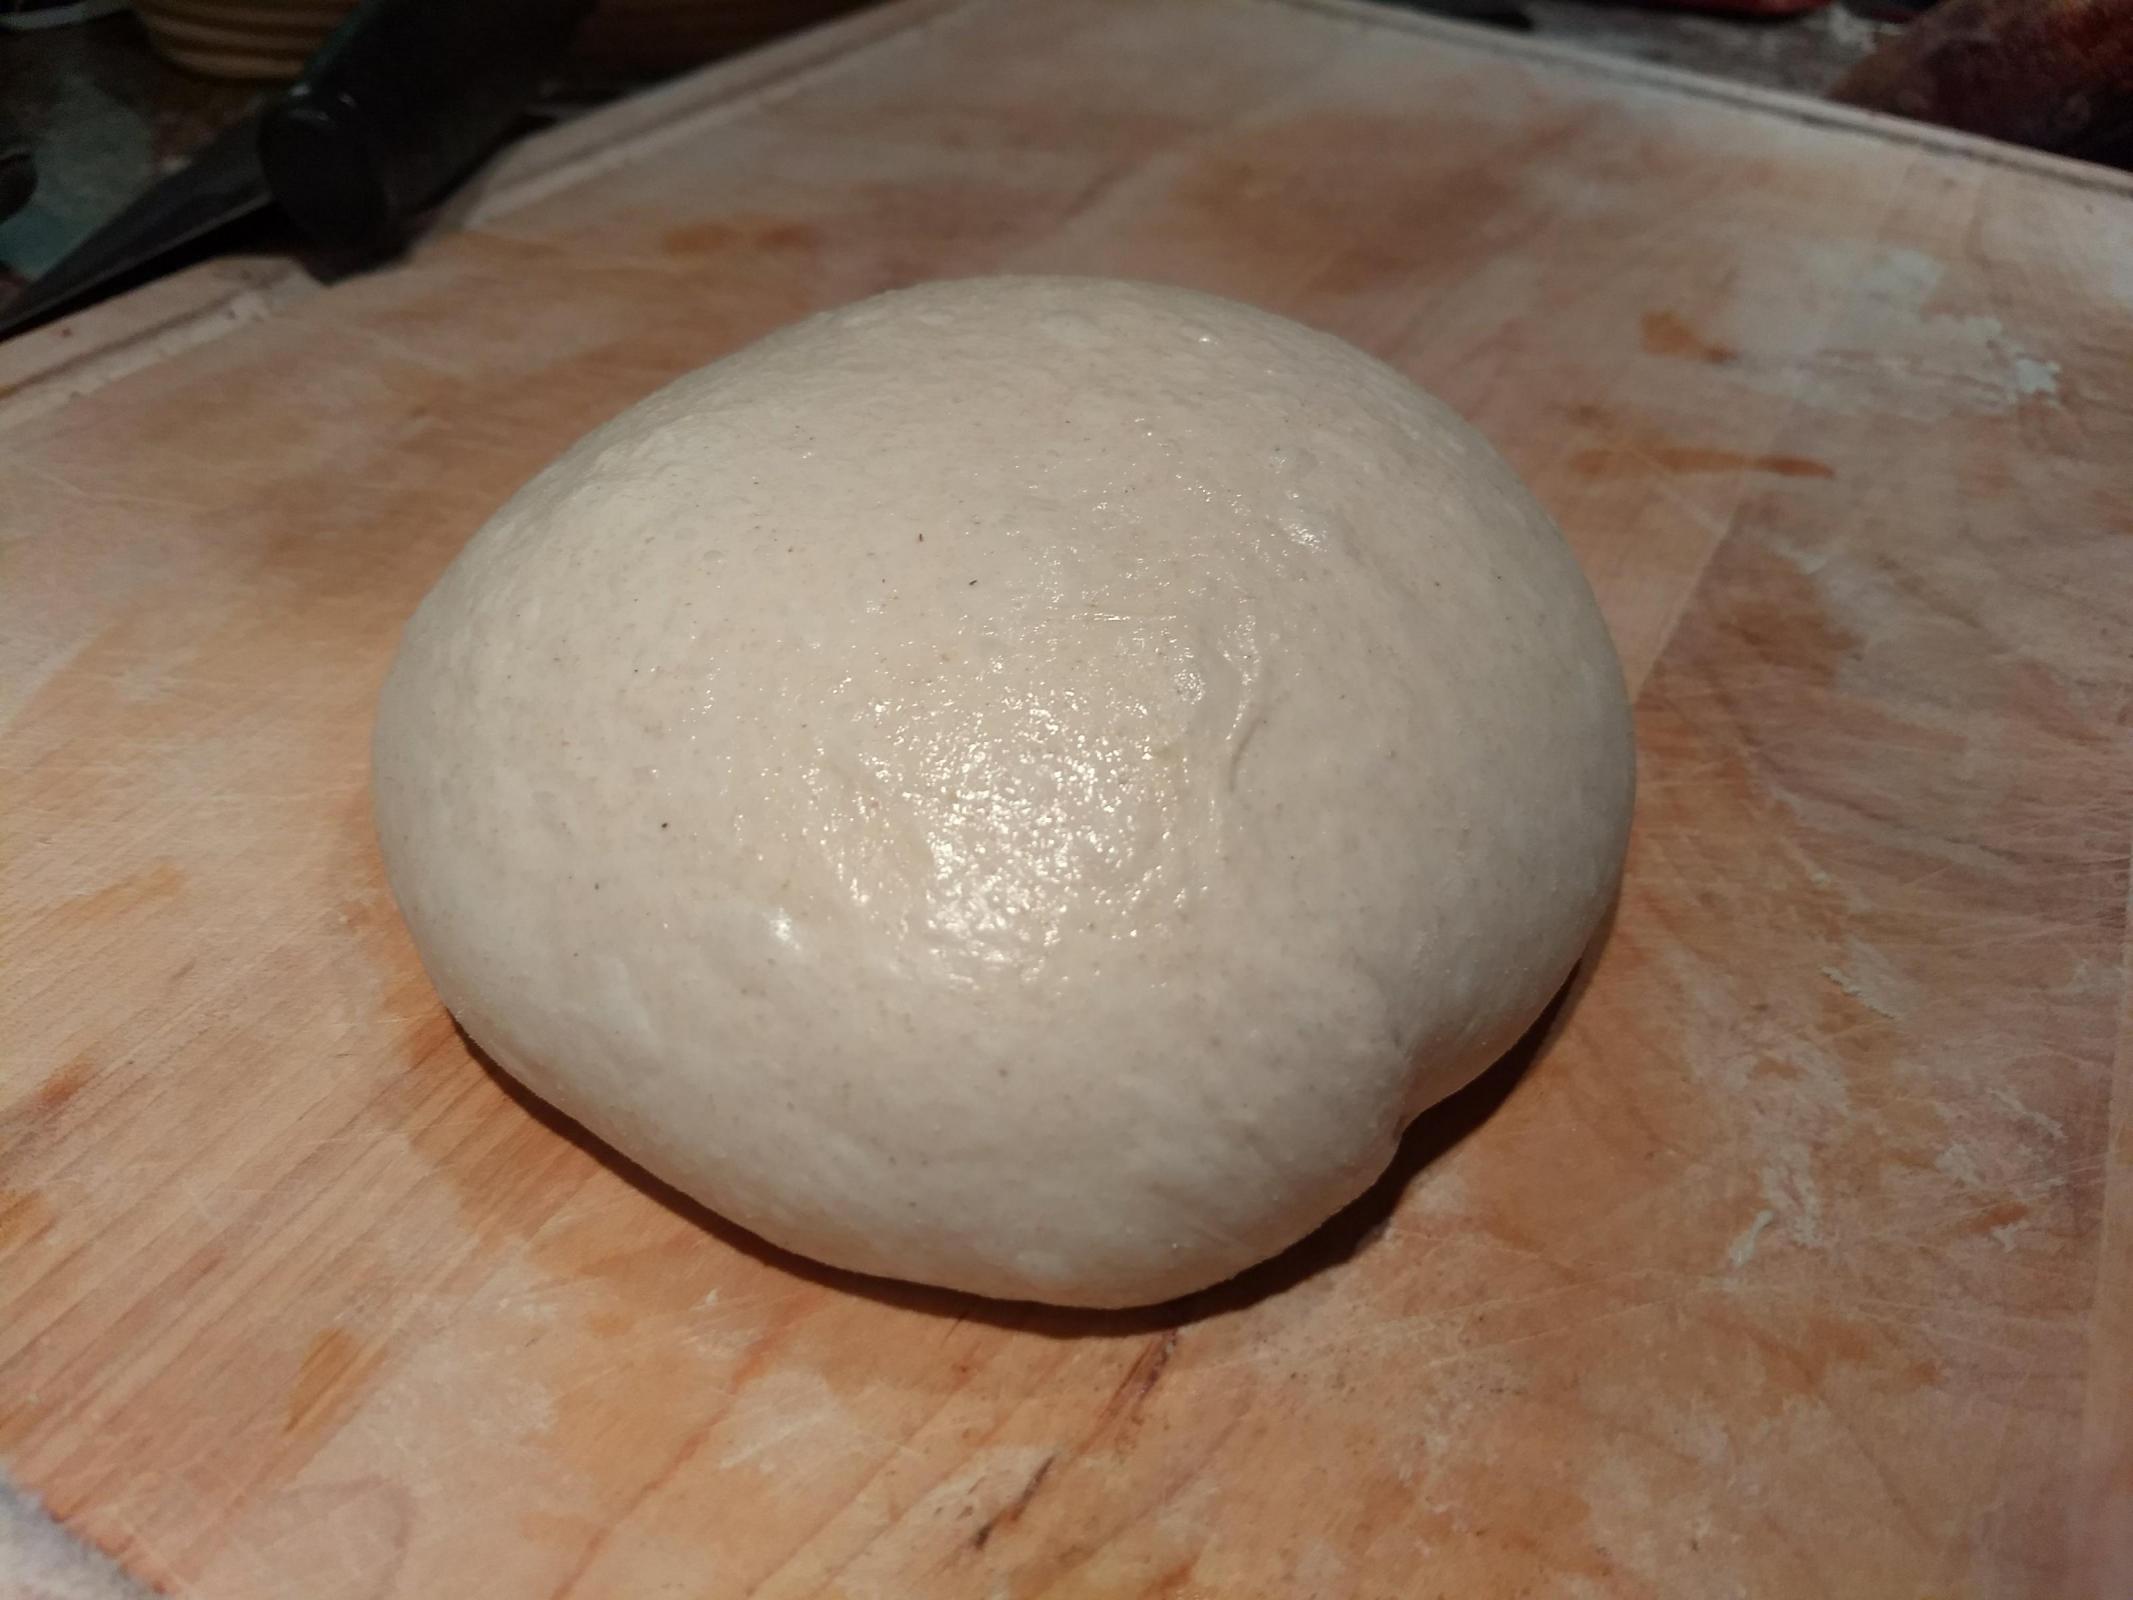
Then I pre-shape, followed by a 20 minute bench rest, followed by a clinch shaping for a batard.
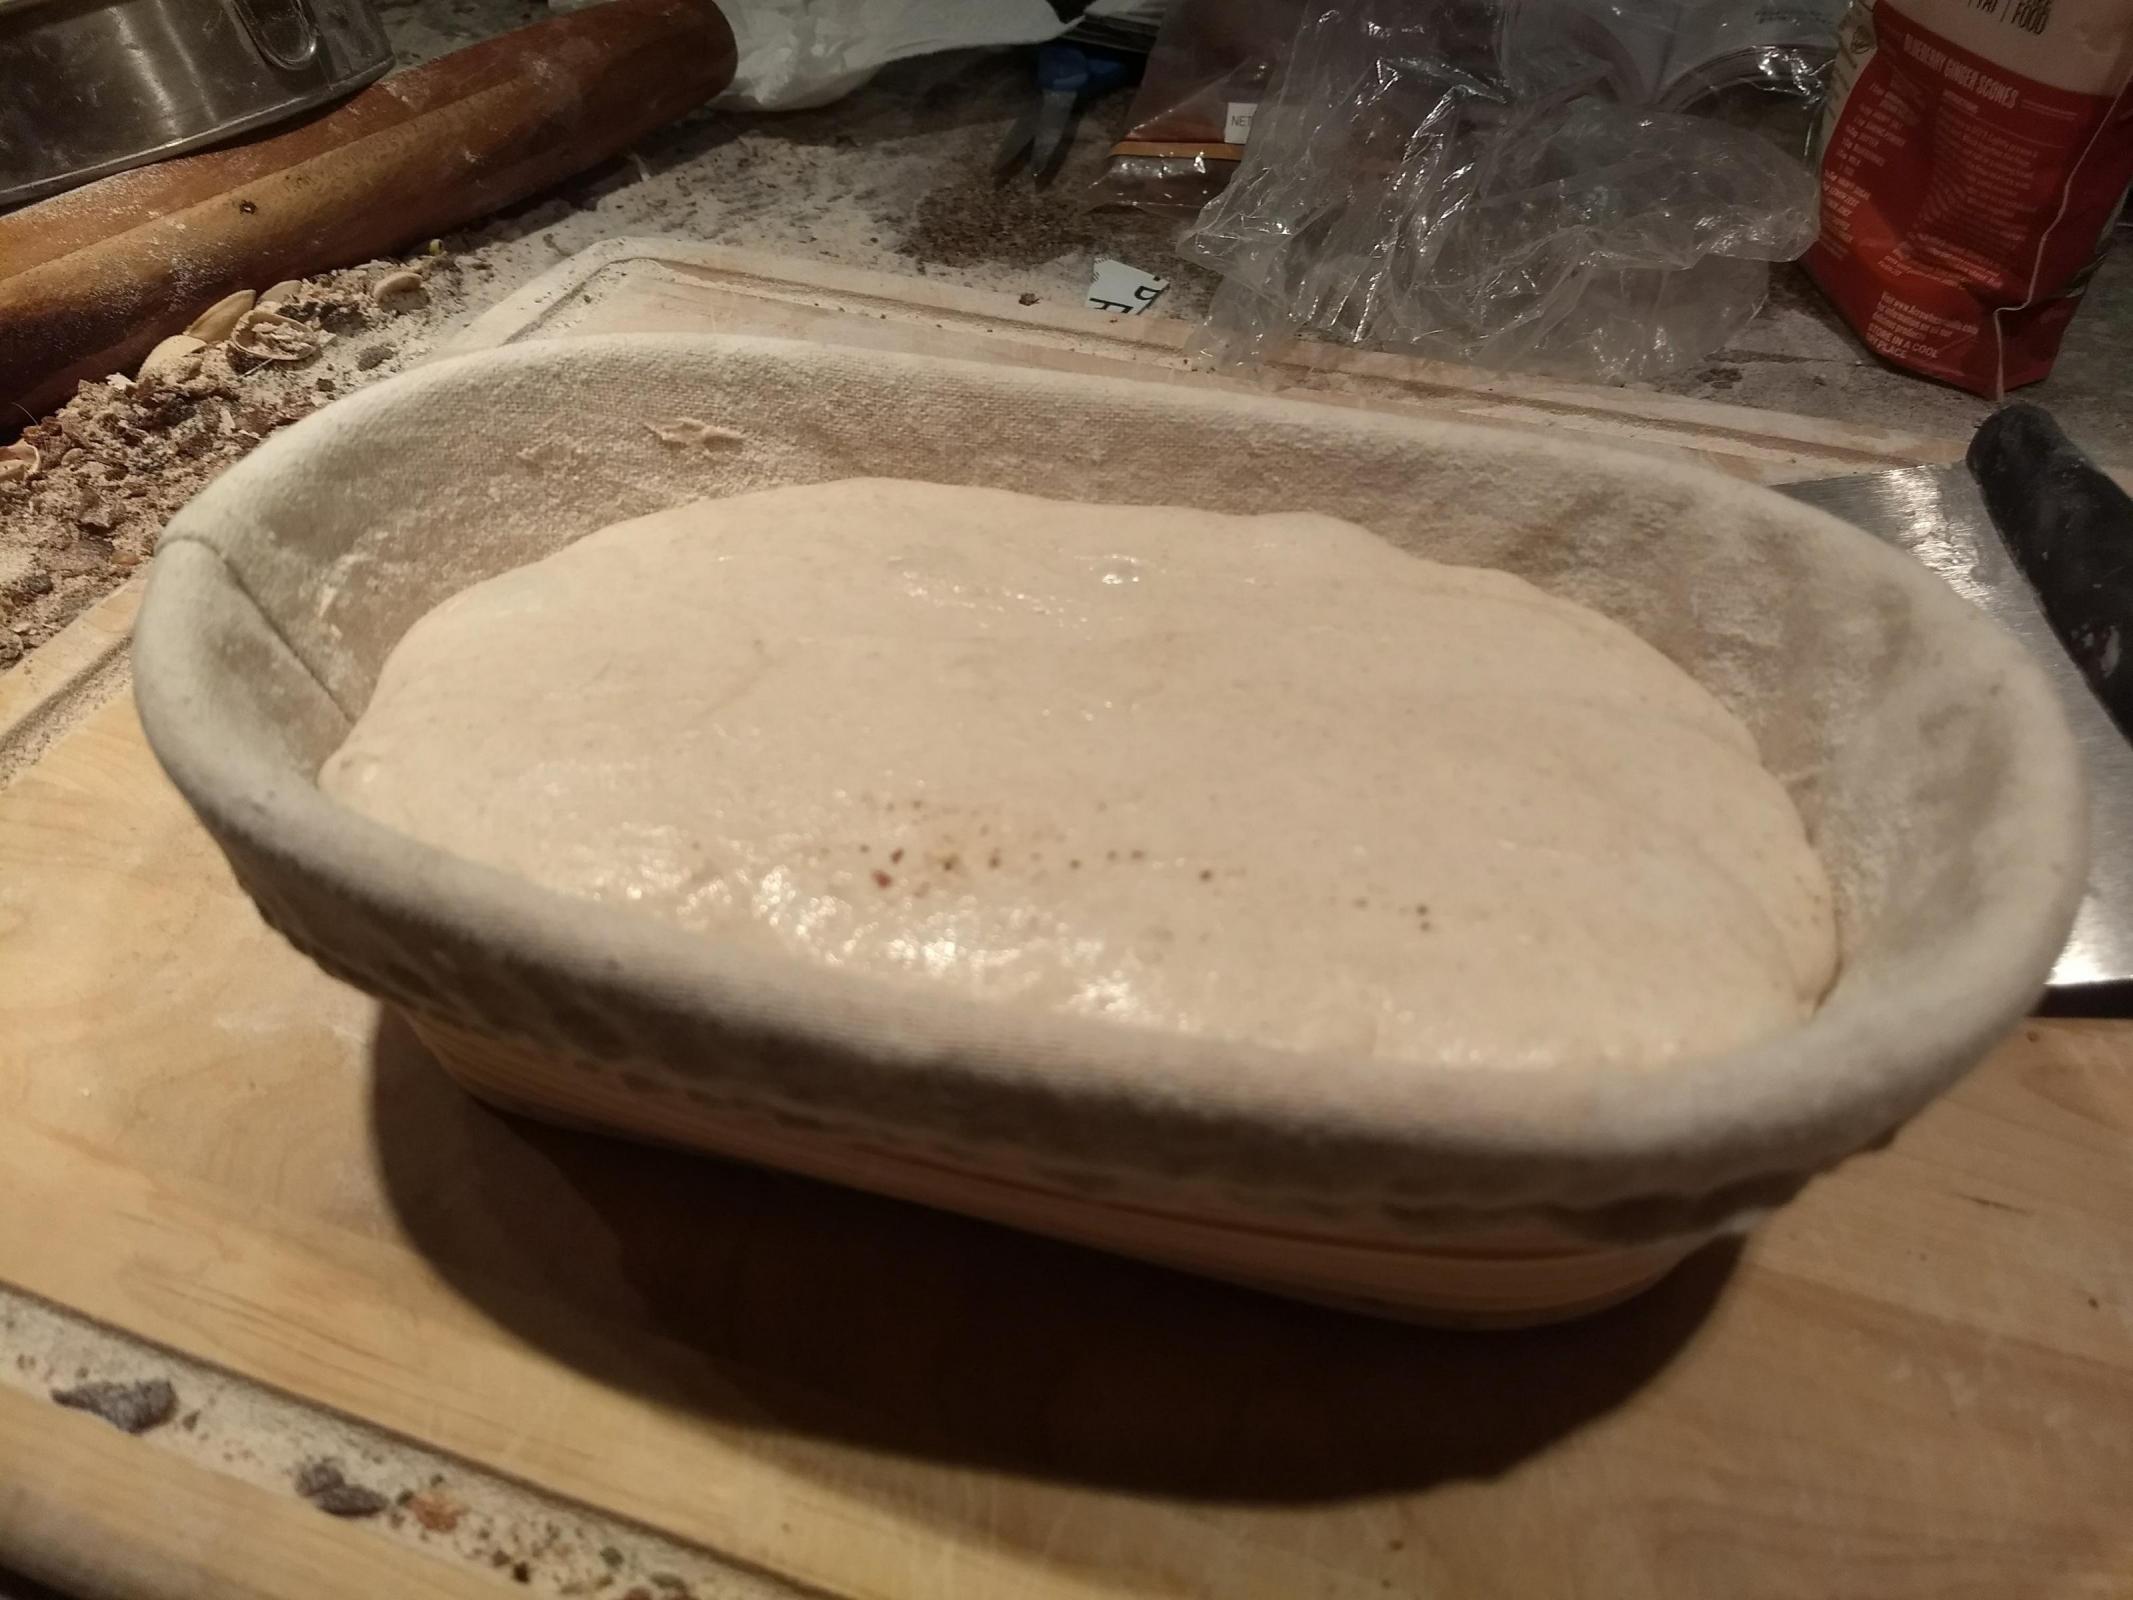
The final proof has been in the 2:00 - 2:30 range.
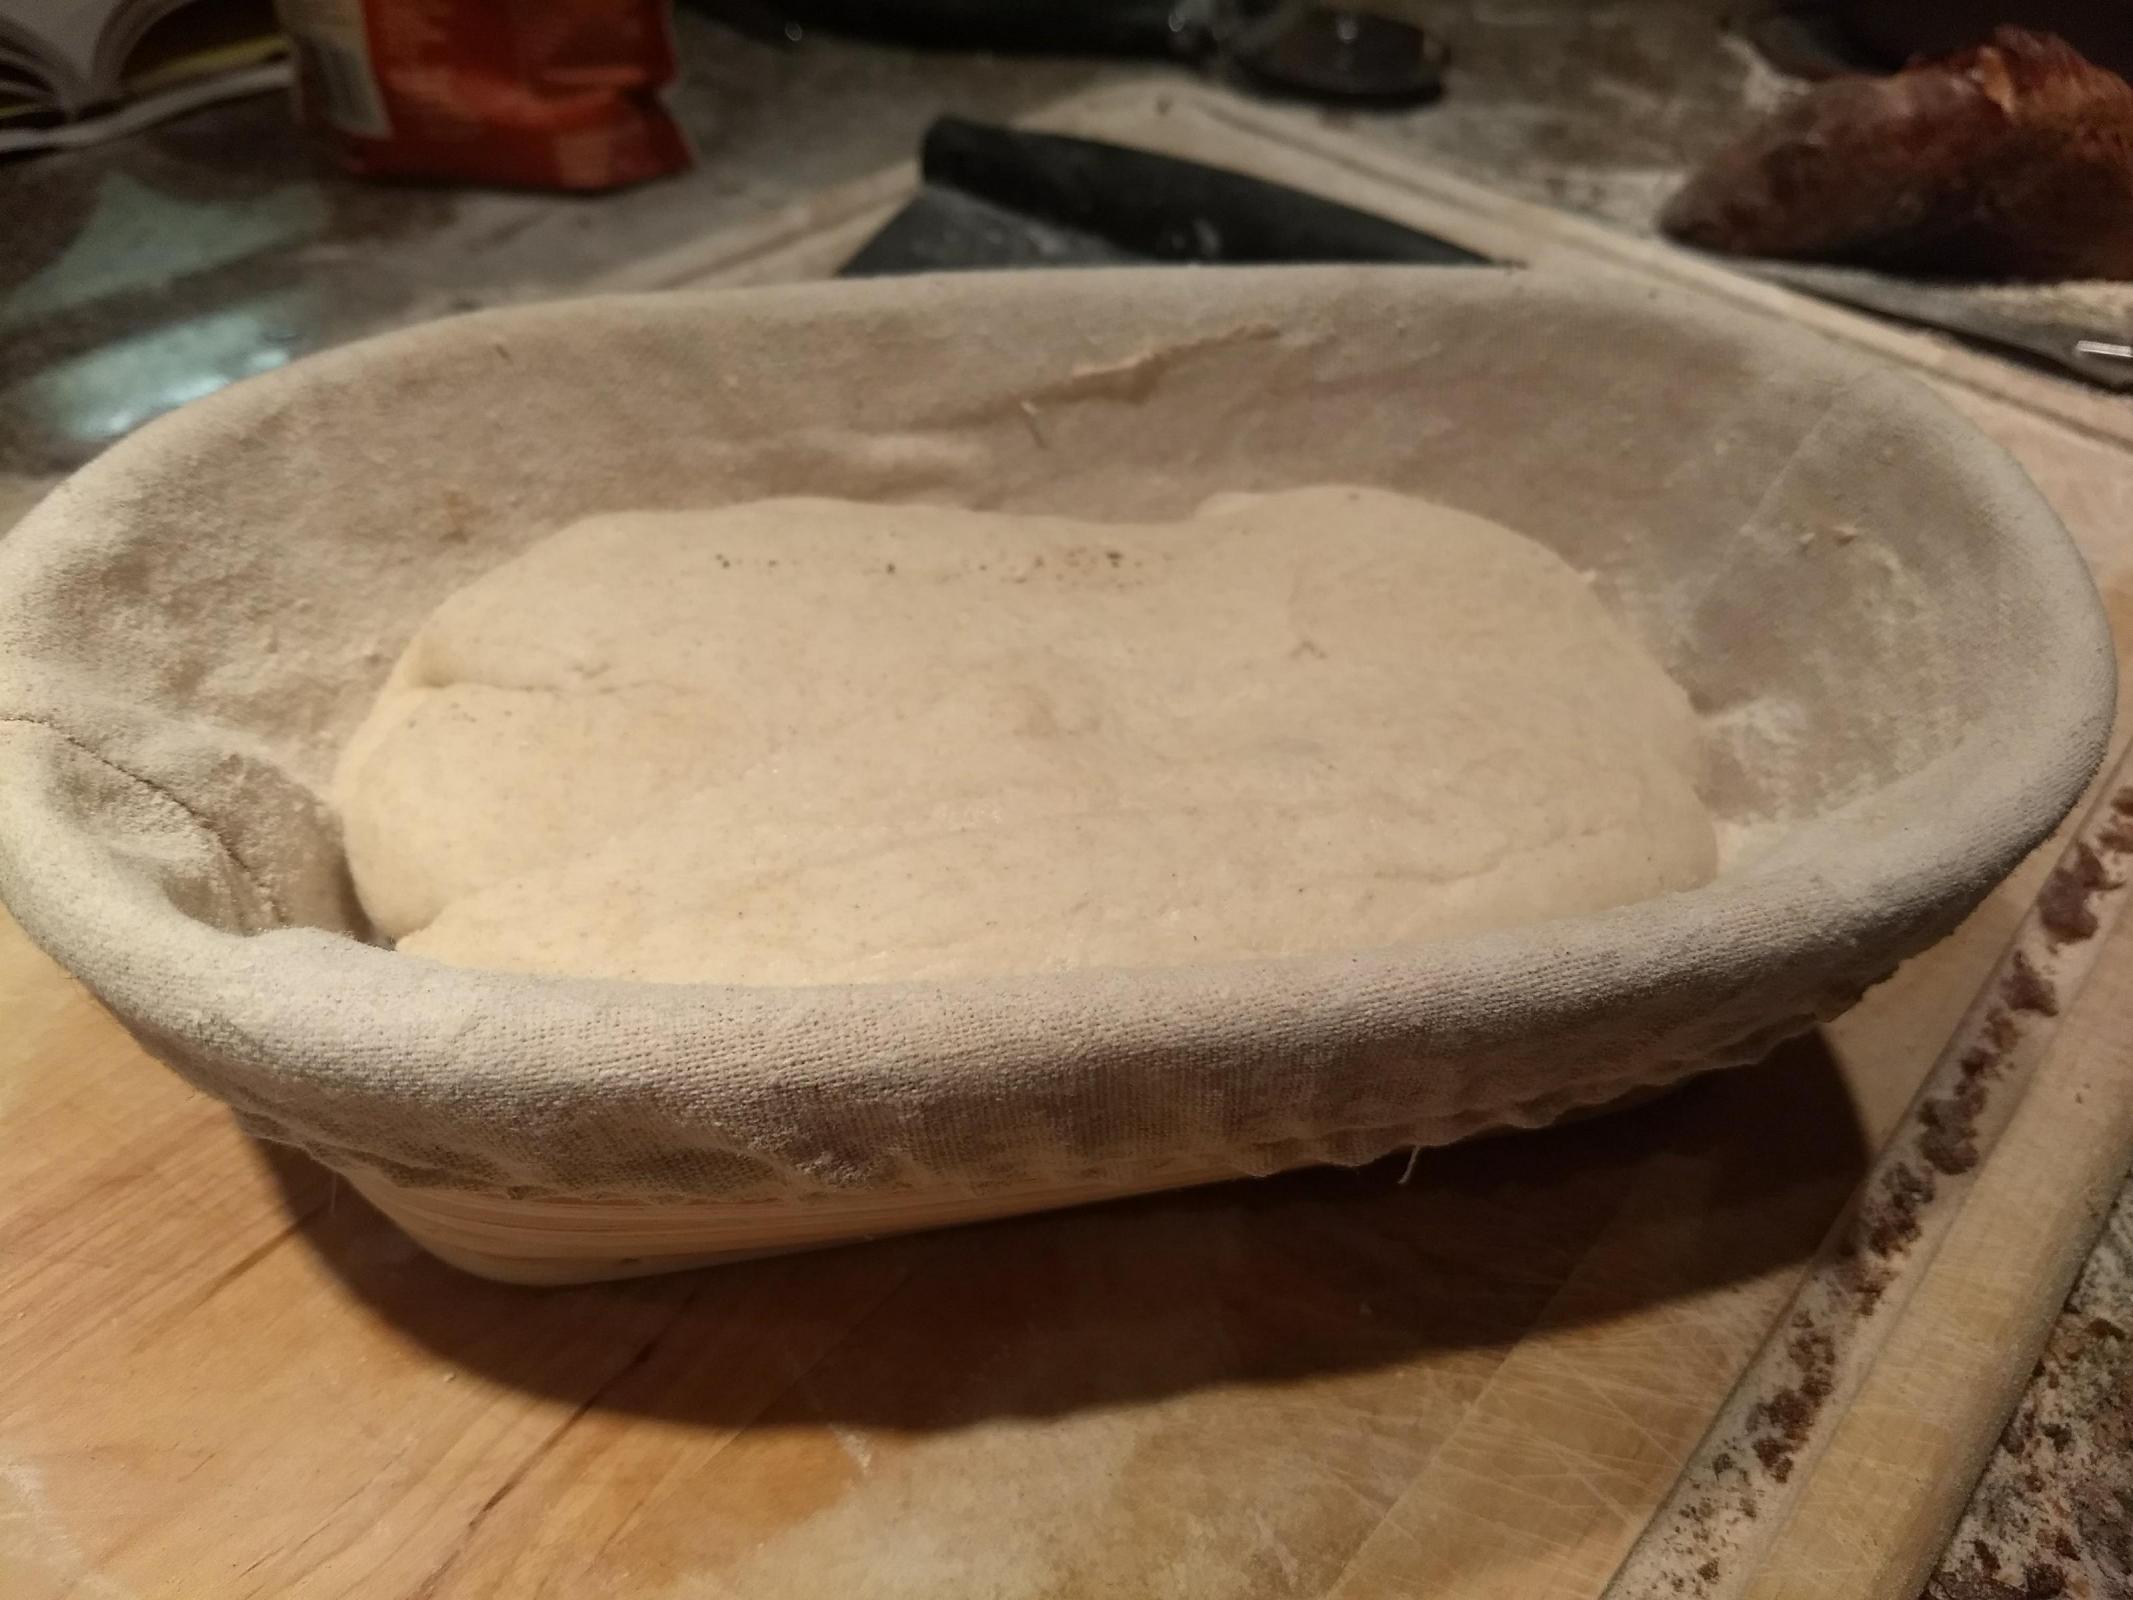
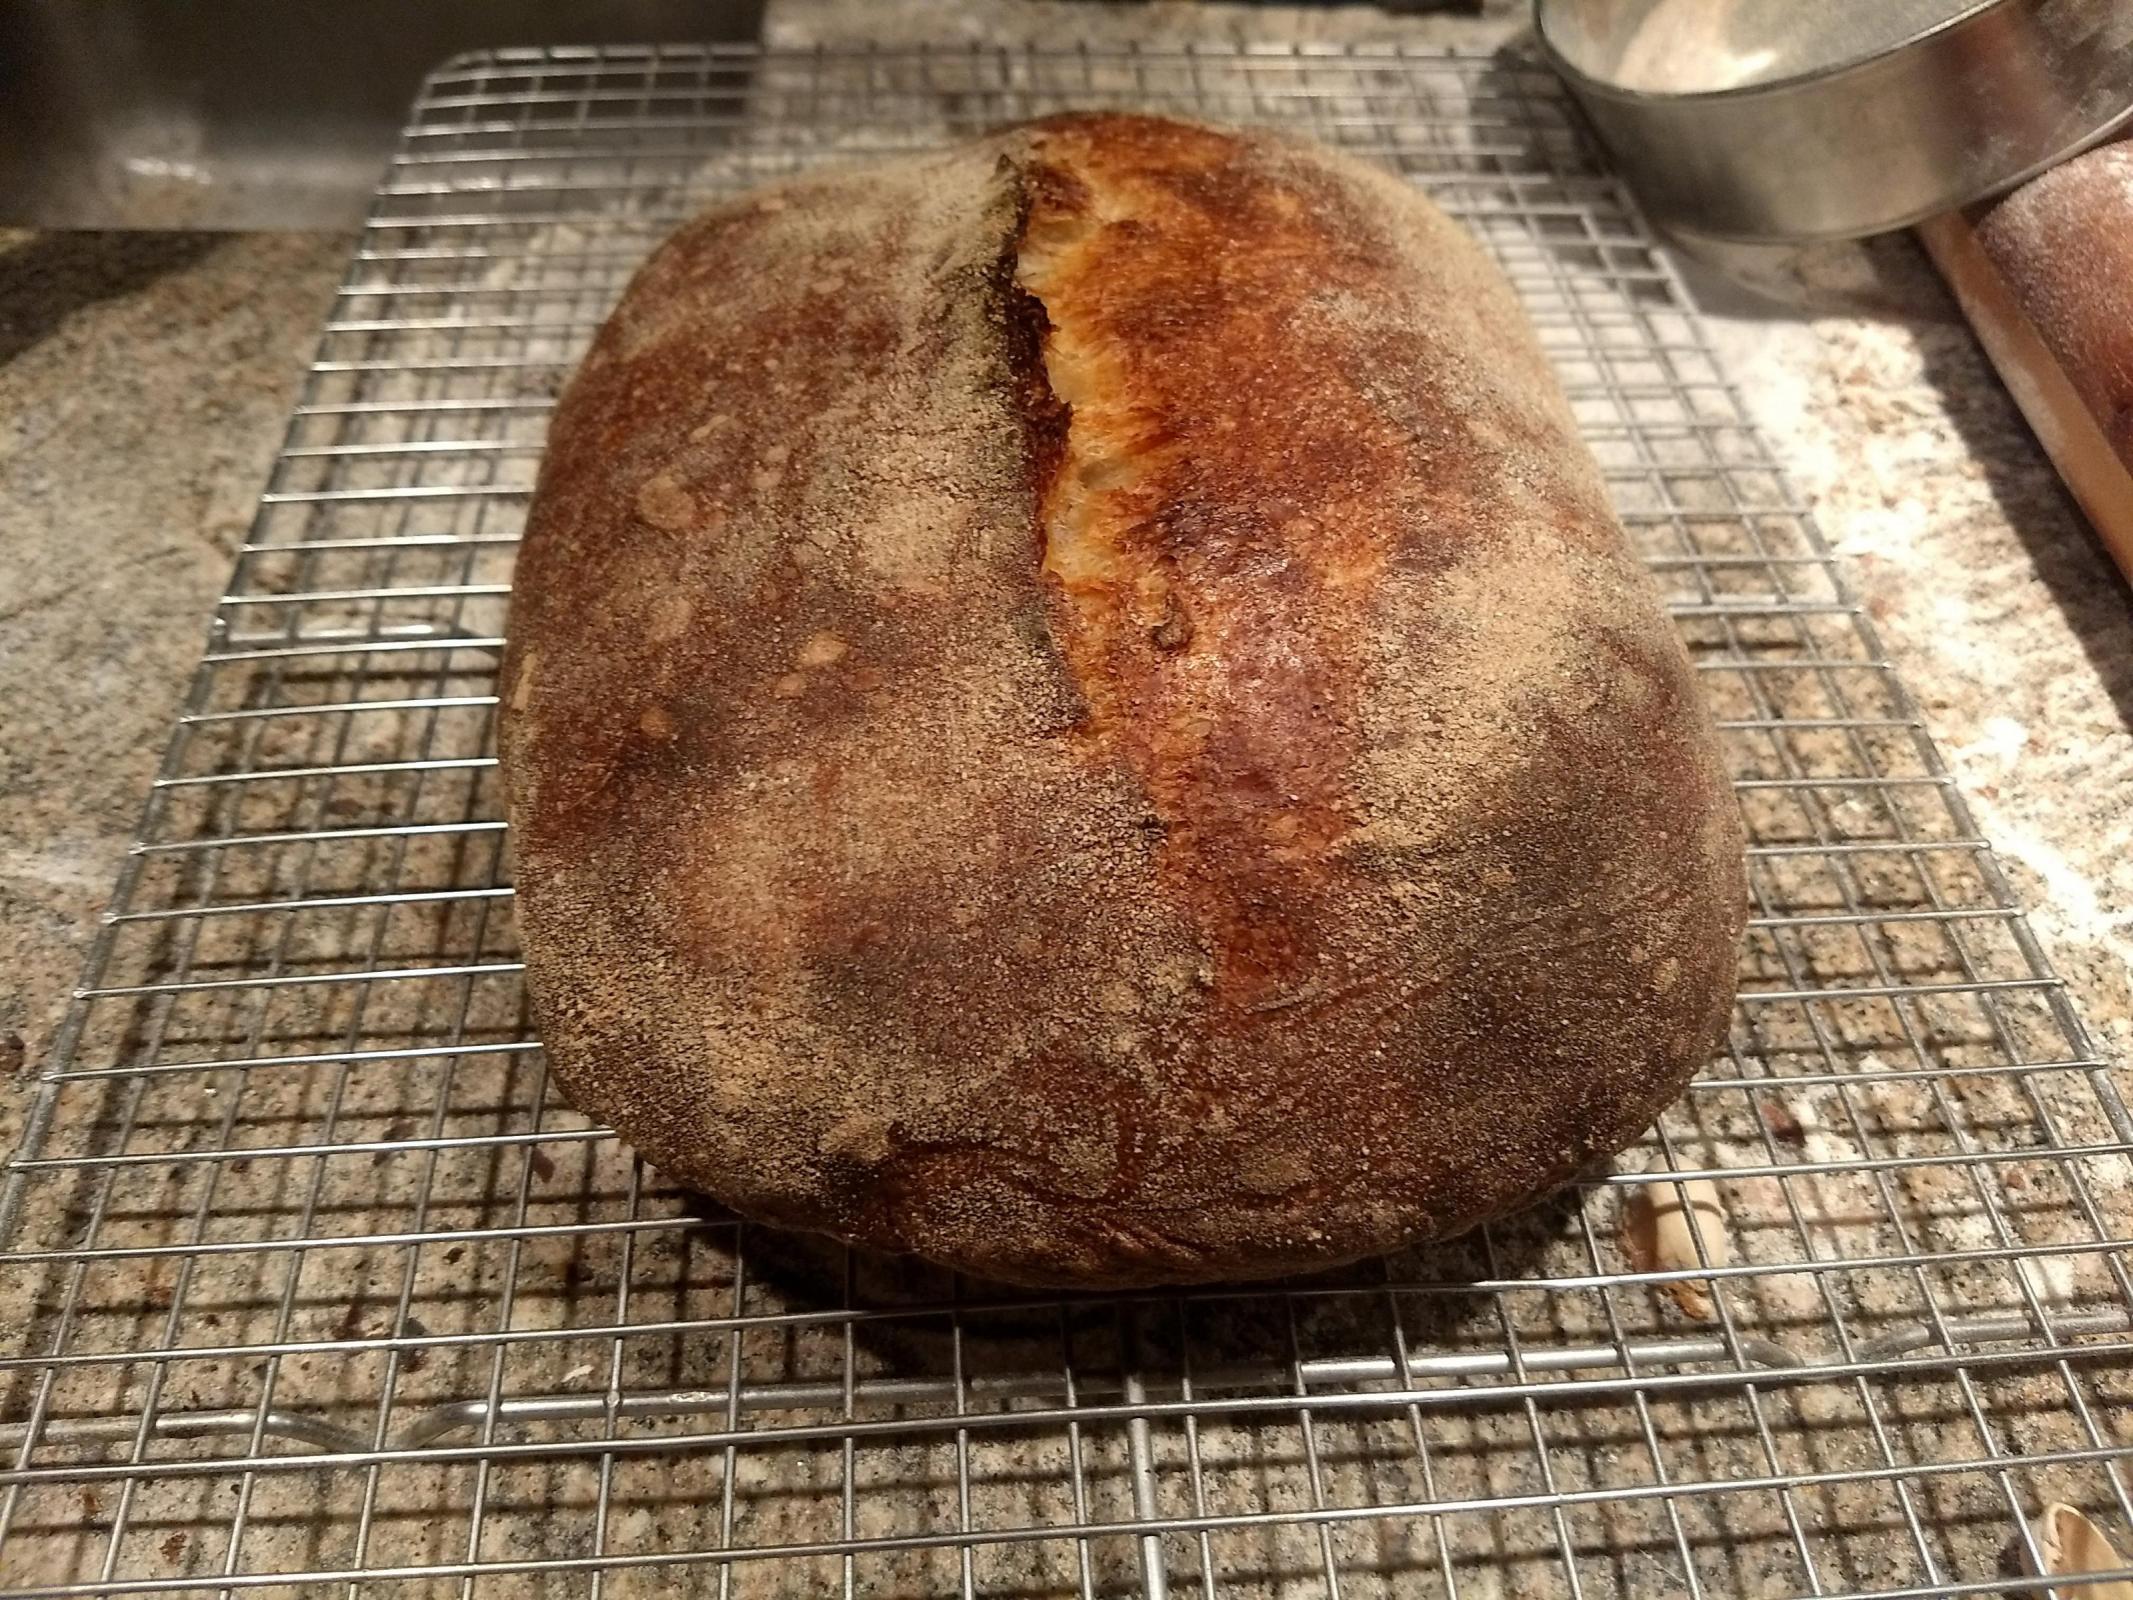
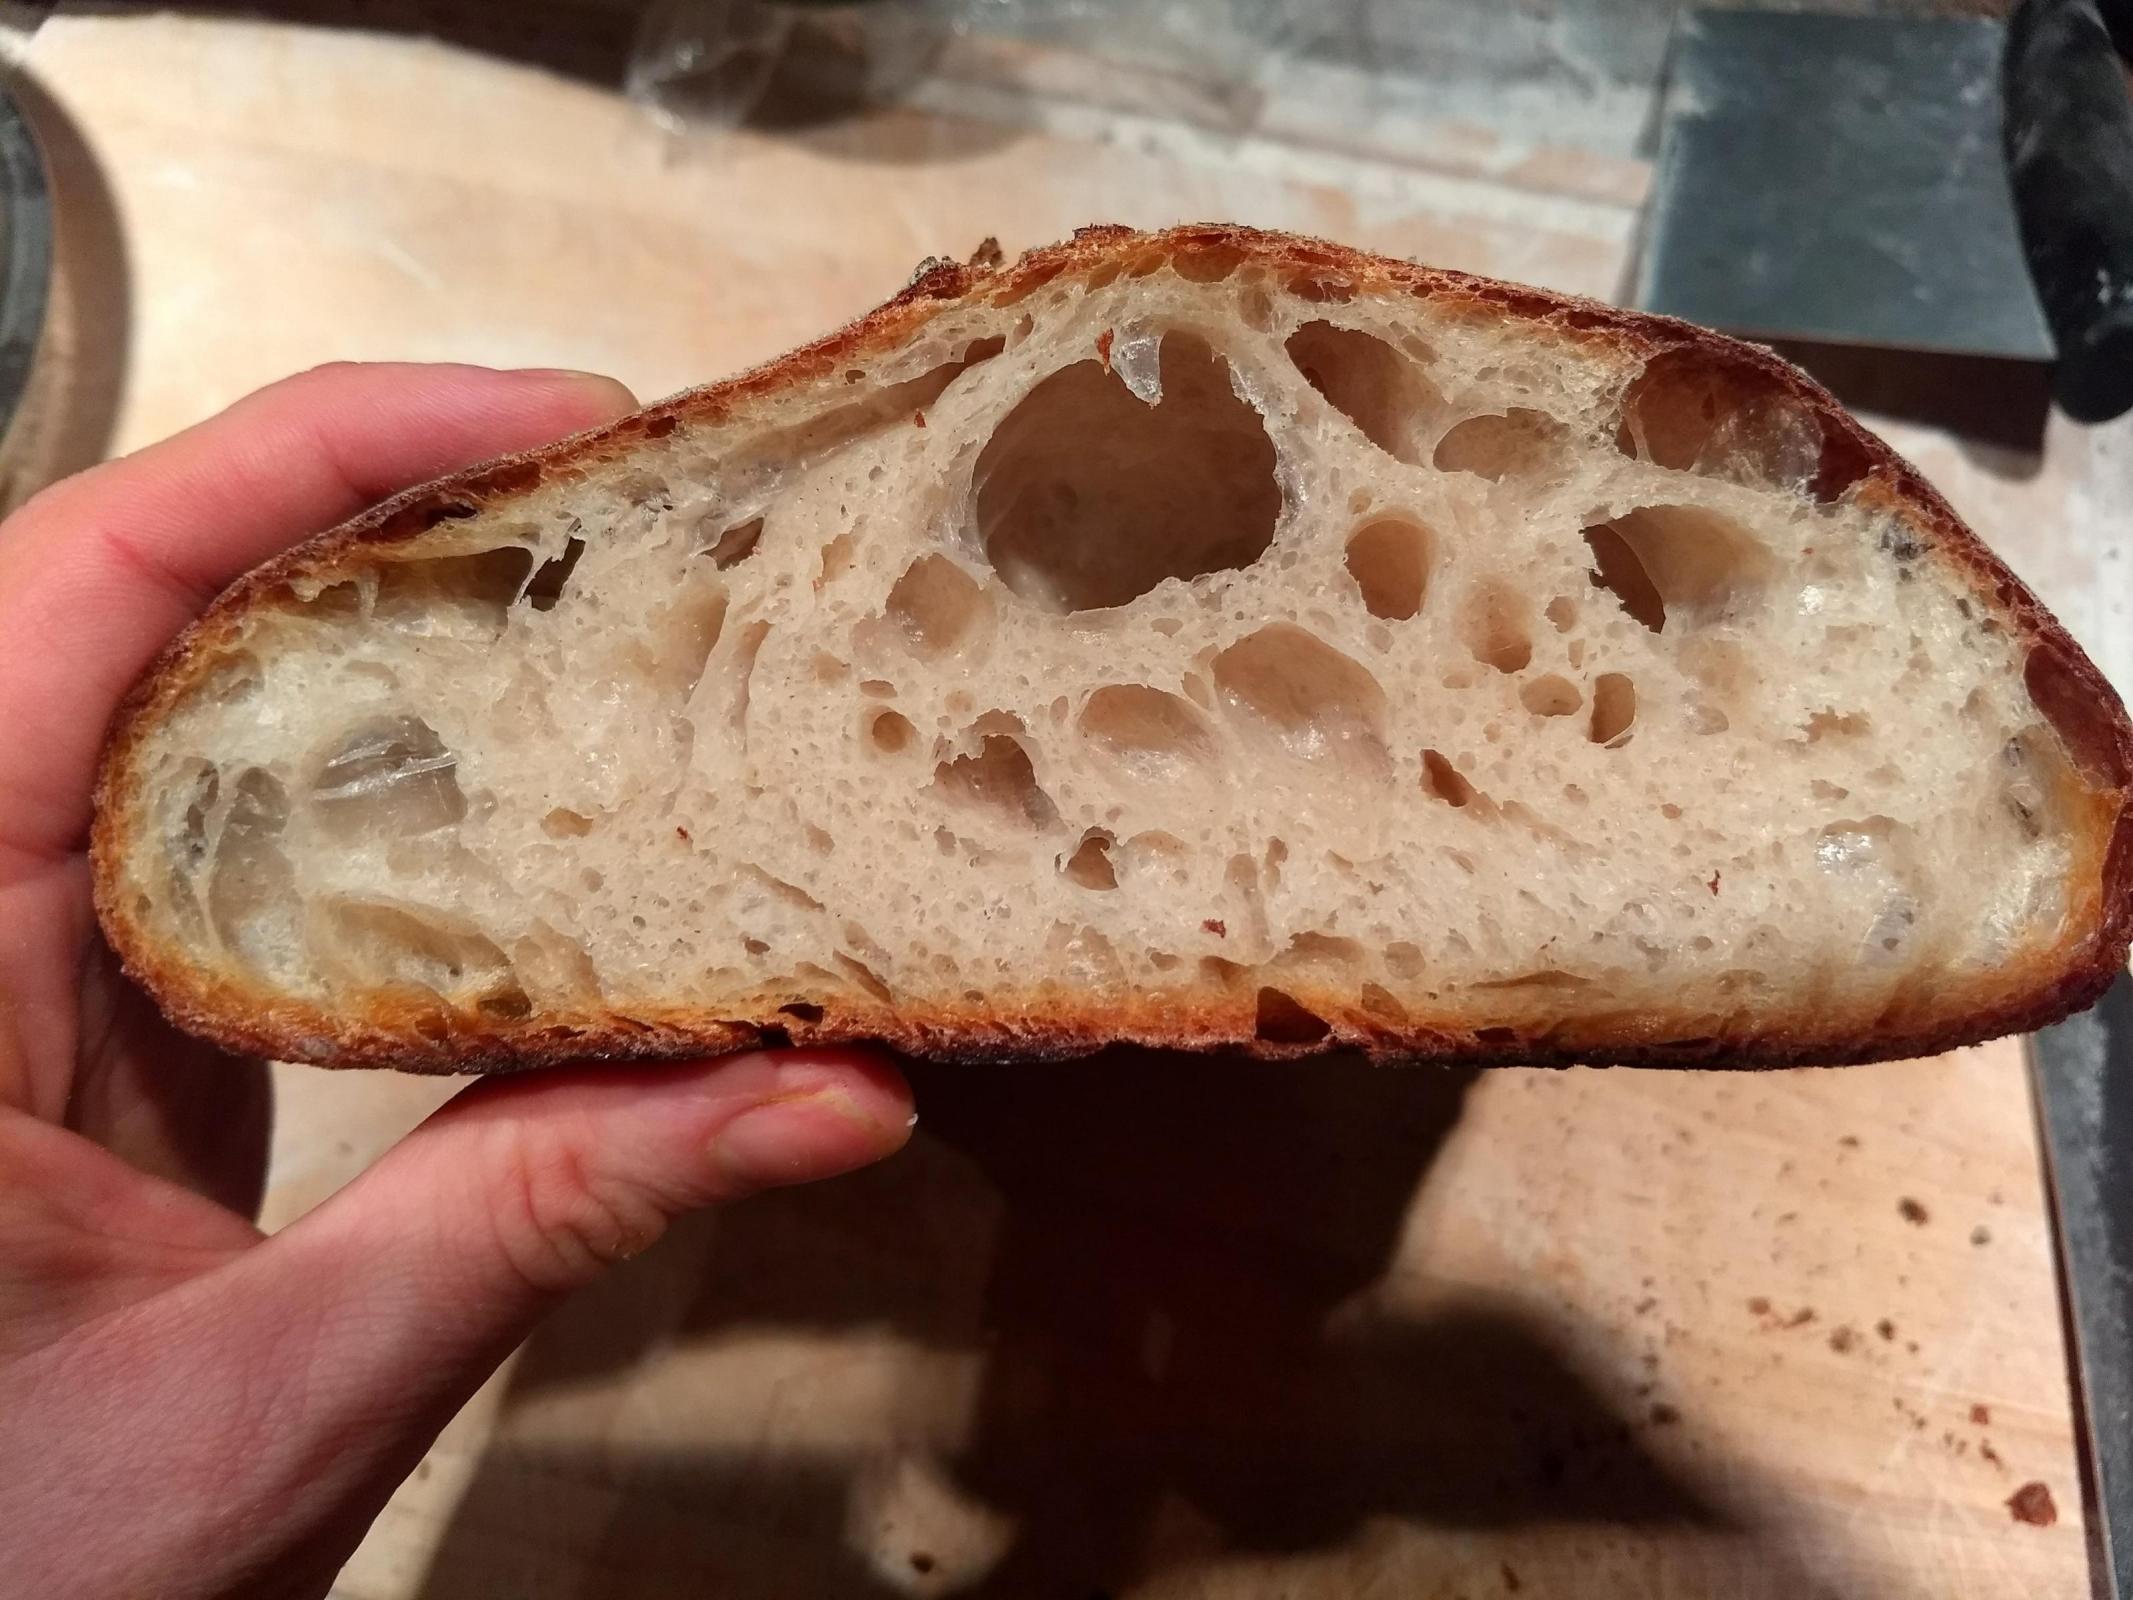
Below are some photos of my most recent bake.

Any thoughts on how to get an open crumb? I've read Trevor's book, as well as many blogs, but can't seem to break through the barrier. Any advice would be greatly appreciated!
Happy Baking!
John
I'm kind of having the same problem as you. I try boules, not batards, but get similar results with this high of a hydration. I will say that taking the hydration down a bit (73-75%), and proofing in the fridge has gotten me a more open crumb than I get with high hydration, but not as open as the big boys get with their high hydration loaves, and that's what you're wanting, I know. I'll keep hacking away, and let you know what I find out.
Banneton looks too big for the amount of dough. Try a smaller one or more dough.
One trick to make an existing fermenting basket smaller is to roll or twist a tea towel into a large donut shape and fill in the gaps between the basket and the cloth holding the dough. See what you can do. :)
Try degassing slightly more before shaping. Pop any large bubbles after shaping to get more uniform sized bubbles throughout. Good pics, the detail has me smelling bread. :)
Thanks for the advice! For this morning's bake, I made a larger loaf (400g flour instead of 320) in the same banneton, and focused on a tighter final shape. Lets see how this effects things.
Seems fine. A good pre-shape. But the batard doesn't seem as well done. That and what Mini said about an underfilled banneton.
4 hours bulk at 80 with an hour of stretch and folds and then more time for the tension folds all before the pre shape, is possibly a lot?
I should have been more clear in my post: The 4 hours of bulk includes all the stretch and folds. The four hours is the time between initial mix and pre-shaping.
I've altered my method according to the comments posted above for this morning's bake. This bake has the same 4 hr bulk @ 80 degrees, followed by a tighter final shape. After the final shape, the dough went straight in to the fridge @ 37 degrees for 13 hours. This is in contrast to my previous post where I final proofed @ 80 degrees.
Baked in a combo cooker @ 515 degrees for 12 minutes, then @475 for 8 minutes, took off the lid, and baked @ 450 degrees for another 15.
This loaf had good oven spring, probably because of the cold proof, but I suspect that the loaf is not as light and airy as it should be to get a nice open crumb. Time will tell. :)
Any ideas on what variables to change to get an open crumb?
Hi, This is a fab looking loaf! Kat
Thanks, Kat!
Hi there,
I think this is a great looking crumb considering that the Champlain is not a super high hydration loaf per se...In his book Trevor refers to more folds and especially strong ones potentially 'damaging and contributing to collapse of ' the bubbles especially later in the bulk fermentation. I started to experiment with tension folds I saw on his IG because (partly I think due to Spelt flour in uk ...) I needed them to create enough tension BUT did you really need the tension folds at the end? Would just the hourly S & F as suggested by Trevor in his recipe have been sufficient for your dough? Just a thought after reading his book - a fine balance between the creation of structure, tension and proof.....I think this is an amazing looking crumb!!!! Kat
Hi,
I misunderstood as I think you baked Champlain in another post....
I still think whether you need the tension pulls as very strong folds towards the end of bulk and potentially decompressing many nice 'bubbles'...just a thought after reading the book and wondering about this in my own bakes... Kat
:)
That crumb shot looks plenty open to me.
Thanks Mini, hreik, and Kat! :)
I've learned learned a few things from this post so far:
1. Crumb photos look better than the real-life versions. I've never photographed one before.
2. You area all really encuraging
3. It's all about dialing in the process.
I guess my crumb's not bad: it's just not what I'm going for. I'd like to have something more along the lines of Tartine or Mauizio's loafs from "The perfect loaf", and some of the others. I'd love to be able to make the nice uniform "honeycomb" crumbs Kat's been producing.
Maybe I need to up the hydration (to perhaps 82-84%) and focus on the right amount of strength with folds and shaping?
Looks lovely. Everything about it looks perfect!
details please
Shaping...first with the folding...how are you folding? Think about the layers of dough being created and coming together during the folding.
Degassing...when are you degassing and how much? Reducing all the bubbles to the same uniform size in a well developed dough with a good yeast population before shaping may be a good place to start with the final proofing. Pinch off a small piece of dough just before shaping to follow the gas building in the dough. Retarding tends to stiffen the dough and saturate it evenly with small bubbles, perhaps skipping a fold or two and retarding sooner is your key. Keeping an eye on the rises and bubble formation in the pinched off piece (crammed in a tall narrow see-thru glass) may help.
Shaping, how is it done?
Thanks for the suggestion about observing a seperate piece of dough in a glass, Mini. I'll have to try it!
I've been doing 4 sets of stretch and folds. They become progressively weaker and more spread out as bulk progresses. Bulk typically lasts for 3.5-4 hours @ 80 degrees.
I try to not degass the dough very much, and aim to be fairly gentle with the pre-shape and shaping process. I try to give it just enough strength, but not too much. For the final shape, I've been using the "clinching" method discussed by Trevor and others (basically an envelope fold + a roll). Sometimes I stitch up the bottom of the dough after I flip it in to the banneton if the seam's not holding well enough.
I'm beginning to think that my problem with these cold retarded loafs is that they aren't getting fully proofed. My fridge might be too cold at 37 degrees. I did two bakes, with one having a 12 hour final proof, and the other having 20 hours, and there was minimal difference. I think at 37 degrees the yeast are significantly hindered.
crumb looks great. it is a huge improvement on the original post. well done!
upping hydration to 82 - 84% will be quite a step up, but nothing ventured, nothing gained. have a go.
Leslie
I think I've made a slight improvement over last time. All the suggestions have been very helpful, both in this thread and the others on this forum. For this loaf, I used a stronger flour, KA bread flour, instead of the all purpose. I reduced the salt to 1.8% since the flour is strong. The dough was 80% hydration, with 15% freshly milled spelt.
The crumb still isn't as open as I'd like. As some have said in other threads, I think one of the keys will be increasing exensibility without compromising structure. For the next loafs, I will try to extend the autolyse and increase hydration to 85%, while keeping the same percentage of spelt.
Hi, What a great crumb! I hope you are ?! Nicely done! Kat
But I will never be happy. Where would the fun be in that? :)
For me, that crumb looks ideal. It’s very open and functional. Your latest breads are beautiful.
Dan
theloaf looks great too, wow! I would be really happy with that!
Leslie
How does it taste? For me that's the key
hester
I'm super happy when my loaves look that good. Whatever you're doing is working. I think you can just keep pushing your limitations until you find the edge.
Goodness, if it was any more open than that, you'd have a crust with nothing but air inside! :) I think it looks fabulous.
One of the things I'm interested in trying is using different hydration in my starter. So, the main dough ends up the same hydration but make the starter stiffer (or runnier) depending on what you are trying to achieve. Stiffer starter means more elasticity; more liquid starter makes for greater extensibility. Interesting to see how that will affect the crumb and taste!
Try letting the business folded and rolled pinched seal rest on the seam for a few minutes before inverting into the banneton.
Definately more open now.
When it gets too open, you will discover that you can no longer slice the bread, it will tear instead. Then stop trying to cut and just crack it open like an egg. :)
I continue to work on the same basic bread recipe, typically >80% hydration and 30-40% freshly milled whole grain. This is my latest attempt with 30% Kamut. I'm fairly happy with the crumb, but the crust should use some work. I would like a thinner, more crispy crust. My crust typically shatters/wafers when cooling down, as shown in the photos, and the bottom of the loaf does as well, causing the cooling/contracting interior to pull the bottom of the loaf in. I would like to obtain a flat bottom with a nice looking, thin crust.
I bake in a combo cooker @510 degrees for 20 minutes, then @450 with the lid off for another 20 minutes. Any ideas on how to alter my bake to get the results I want?
Your breads and crumb are often stellar! Have you tried baking at lower temps. Formerly, I was a huge fan of high (500-550F) heat. After I followed Dab’s advice of 460 and then 425 confection (if you have it) my breads have thinner, less hard crust and less chewy beautiful crumb. Instead of a hard crust that might crack if you squeezed it right out of the oven, it is now more “Charmin like”, squeezable soft. But nothing like commercial sandwich bread.
Maybe that will help, I hope so.
Dan
Every now and again, I get that urge to finally make an open crumb bread that I'm pleased with. This is one of those times. Attempted a Pan de Cristal @ 110% hydration, 90% KABF, 10% Khorasan. Turned out more like a ciabatta. The search goes on. :)
Jim, I watched your pursuit of Extreme Open Crumb. The formula and process that works best for me is Kristen’s Basic Open Crumb Sourdough. http://www.thefreshloaf.com/node/61572/community-bake-featuring-kristen-fullproofbaking
Many bakers have achieved very open crumb using her formula and directions. Also for me, 74% is plenty wet enough.
Try fermenting your dough less than you normally would. Aim for what you think is moderately under proofed. Bulk ferment no more than 30-50%. It worked for me. Focus on developing the large holes in the oven, not the bulk ferment or room temp final proof. Put your faith in the oven spring. This advice goes against everything I used to believe. http://www.thefreshloaf.com/node/61181/tip-have-faith-oven-spring
Once you get the giant holes, you may find that the crumb you are presently producing is pretty darn good. Eating a sandwich on bread with giant holes isn’t most peoples cup of tea... But it sure is pretty!
HTH,
Danny