
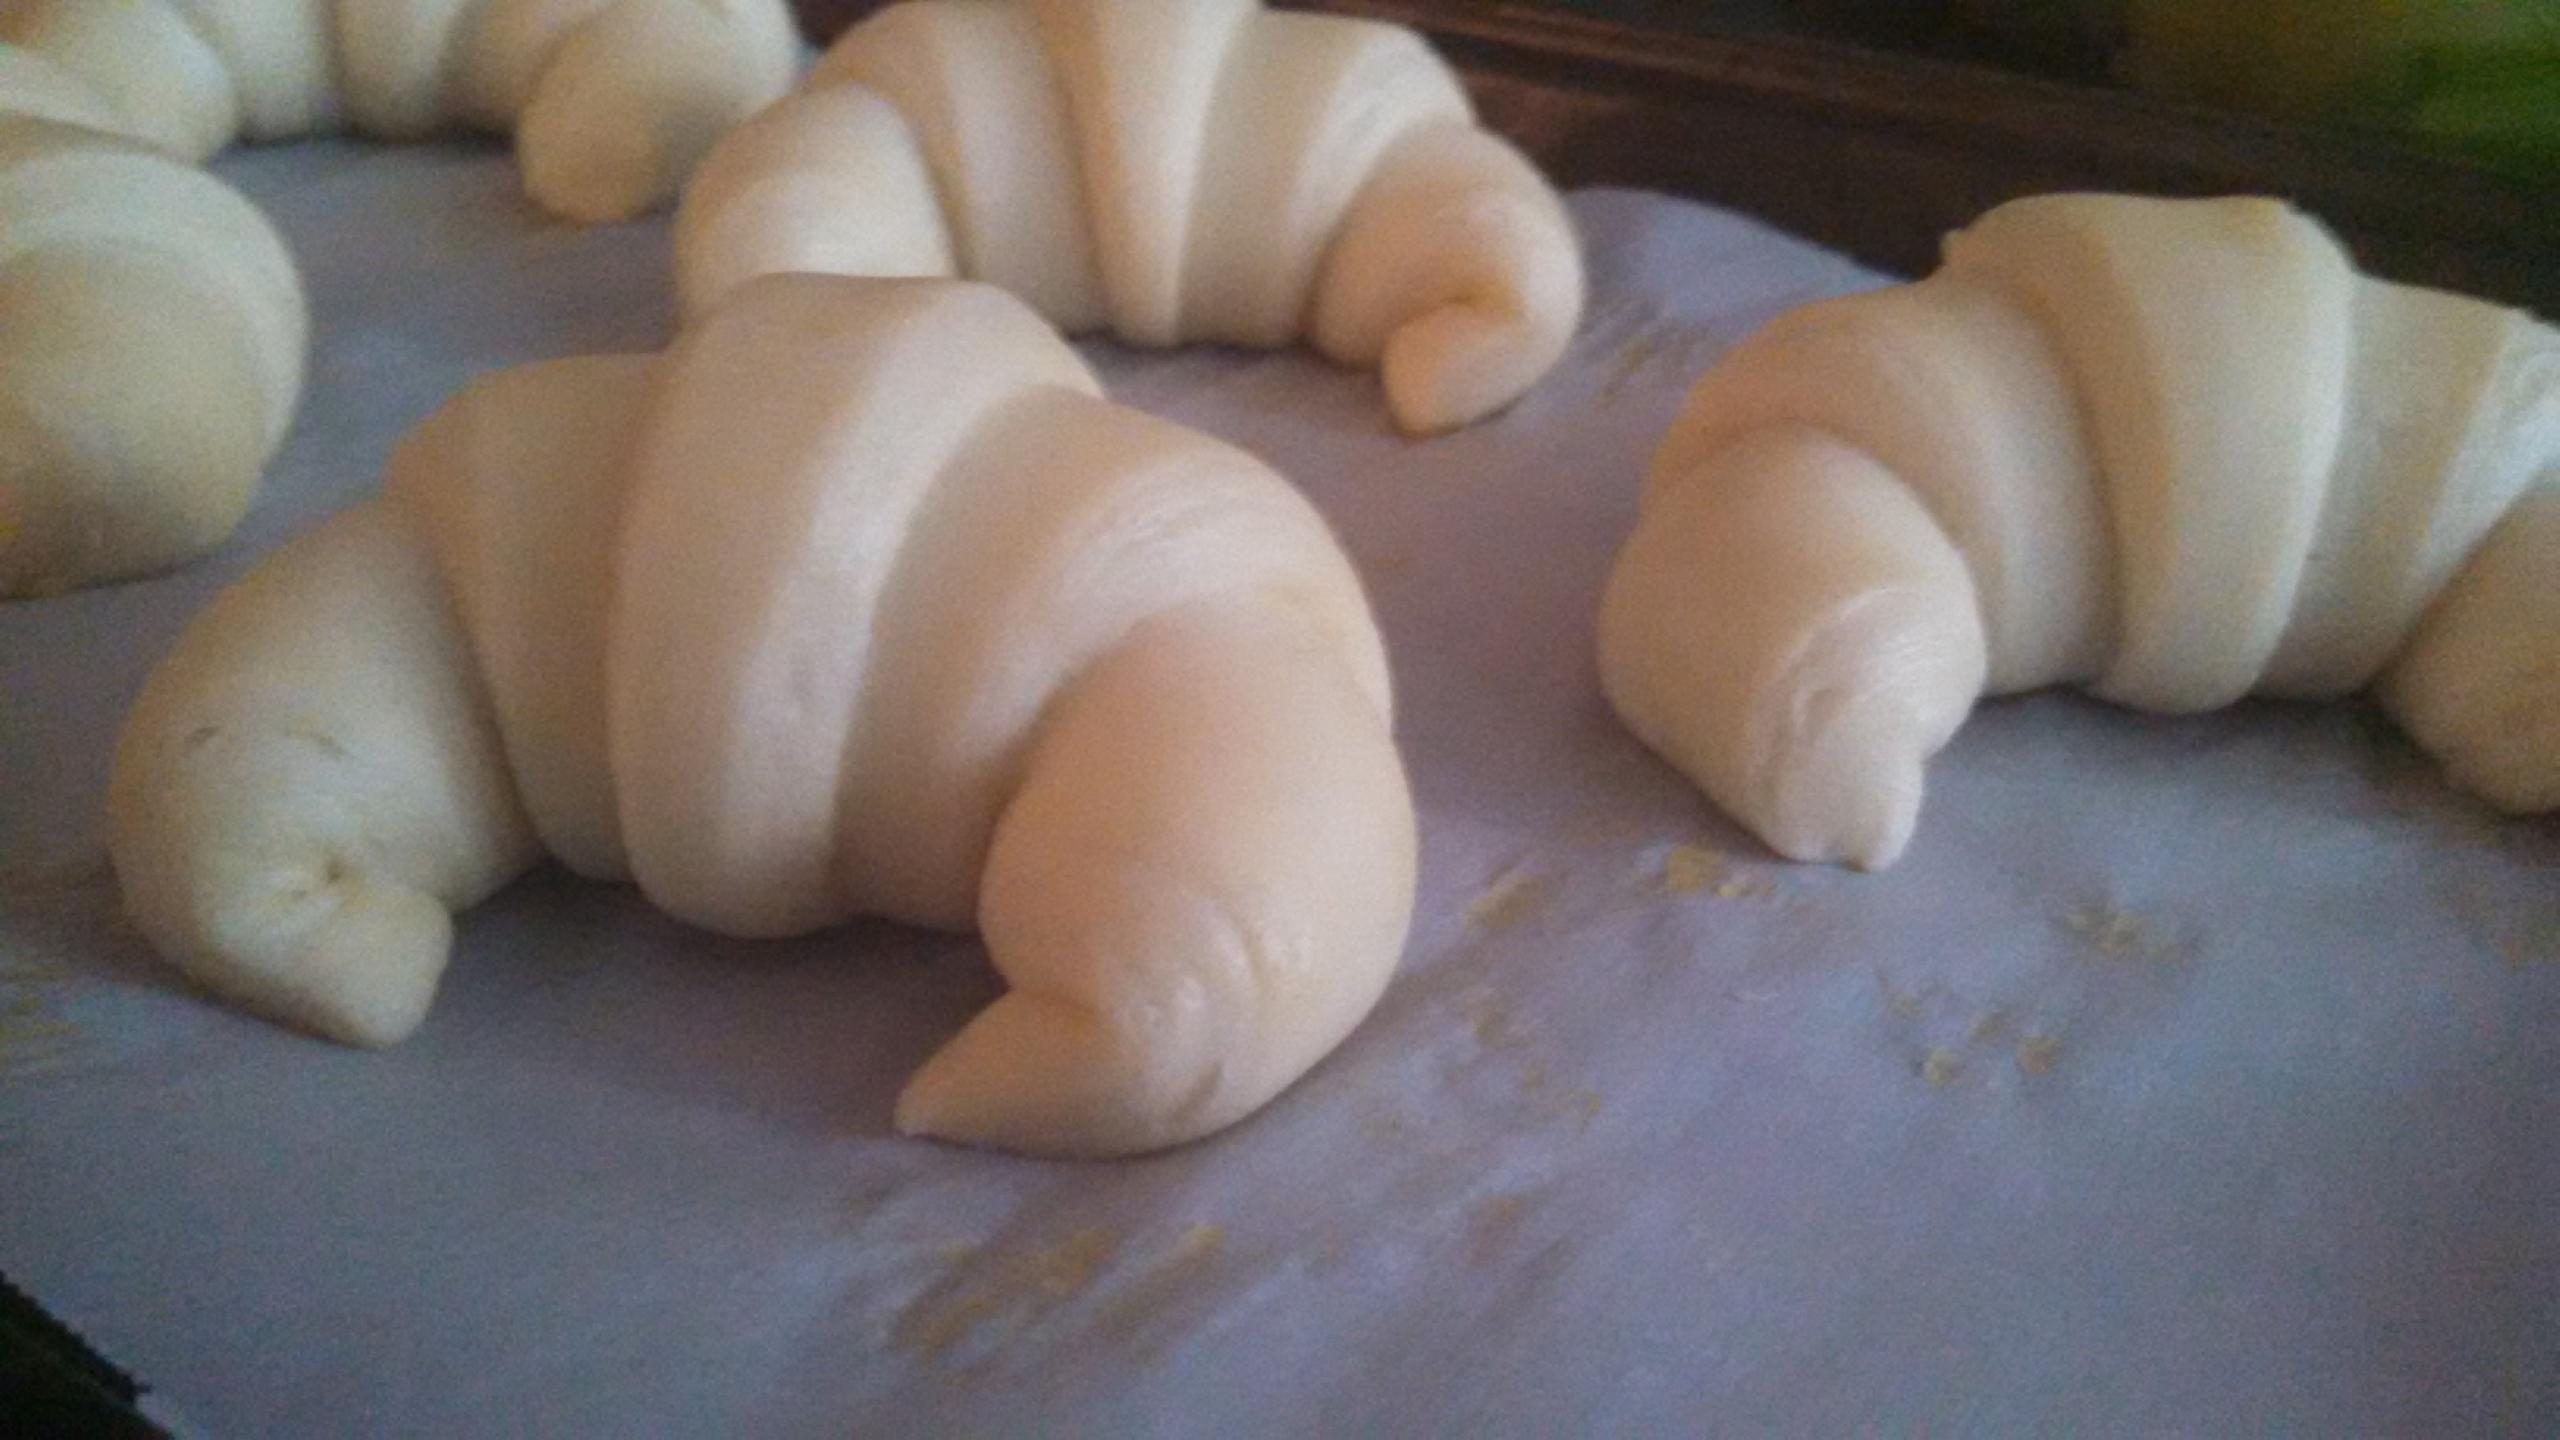
Having learned innumerable useful croissant techniques from folks on The Fresh Loaf, I decided to sign up and share my path to producing open, airy croissant, pain au chocolat and pain aux raisins.
There were four light-bulb moments during this process. The first involved dough hydration; like others have noted here, lower hydration doughs work better with sheeters than they do for home bakers and a rolling pin. The second was yeast amount and selection. Most French recipes call for fresh yeast, which I, a lowly Philadelphian, don't have easy access to; I started by using ADY, but wasn't getting sufficient ovenspring, no matter whether I bulk-fermented before lamination, or delayed fermentation entirely by going straight from mix to fridge/freezer. I switched to instant yeast at a little less than half of the recommended weight of fresh yeast. Third was lamination technique. I switched from three letter folds to one book fold and one letter fold, and I used the French two-thirds up, one third down book fold method, as well as, for lack of a better word, what I'll call the open-ended method for sealing the lamination butter. The fourth and final light-bulb moment was timing, which probably varies such that my exact recipe and timing might not transpose perfectly to a different environment, but I'll provide it all the same.
I started with Rock the Bretzel's CAP recipe: http://rockthebretzel.com/croissants-cap-patisserie/. It's in French; I've provided a translation below.
Ingredients (for 16-18 croissants) For the dough:- 500 g flour
- 115 g milk
- 115 g water
- 75 g butter at room temperature
- 75 g sugar
- 11 g salt
- 20 g fresh baker's yeast
- 250 g "dry" butter (they recommend AOC Poitou-Charentes)
At 46% hydration, this dough was near impossible to roll out without tearing, despite multiple rest periods at the final roll-out, before cutting and shaping.
After multiple attempts at varying the level of gluten development I'd arrive at before the final roll-out, I threw in the towel on this rather low-hydration recipe and started working with the gold-standard, tx_farmer's poolish croissant (after AB&P). I ended up hybridizing these two recipes to arrive at a consistent recipe for my purposes, which was to be able to start my poolish the night before I wanted to bake off the croissant the following afternoon/evening. I make a half-recipe; the poolish is identical to tx_farmer, and the rest resembles CAP's lower hydration method.
2-Day Croissant, with time-table, in a 72F kitchen
Day 1:
Poolish. Mix, 8PM.
80g AP
80g water
1/8 tsp instant yeast (I use Fleischmann's)
Mix with a fork, leave to ferment at room-temperature overnight, or for about 10-12 hours.
Day 2: The rest.
Step 1: Mix, 6AM. (I add the ingredients in this order, which is probably unnecessary!)
60g whole milk
37g sugar
37g room-temperature butter (AA is fine)
4g instant yeast
170g bread flour (I use KA)
The poolish
5.5g salt, reserve
Mix 2 minutes with paddle attachment, first speed. Switch to dough hook, mix 1 minute at first speed. Mix 3 additional minutes with dough hook at second speed. Flatten dough on work surface and sprinkle roughly half of reserved salt over it. Fold and knead a few times, then flatten and sprinkle the rest of the salt. Fold and knead a few times, flatten, cover with plastic wrap, and stick in moderate freezer for 25 minutes.
145g butter for tourage (again, AA is fine)
Step 2: preparing the butter.
Plasticize the butter by beating flat with a rolling pin between two sheets of aluminum foil (or parchment). Once the butter is first flattened, expose the butter and break it into 2 or 3 chunks, stack them on top of one another, and recover with foil/parchment. Beat into a rough square about 3/4in thick. Use the rolling pin to squeeze the sides into a rough rectangle, about 5in by 4in. Beat this rectangle or roll it lightly until it's about 6in by 5in. At this point, grasp the foil at either end and bend the butter square over the edge of the work surface or counter at a sharp right angle, a few times. The goal is to test whether the butter has been well-plasticized: flatten it on the surface and remove the top layer of foil/parchment to make sure that the butter hasn't cracked. If it has, repeat the plasticization steps until you have a homogenous, smooth butter packet.
NOTE: the butter will be cold, but warmer than might be expected at this point. This is good! It will arrive at a similar temperature and texture to that of the dough. Leave it covered in the foil/parchment sheets and place in the fridge for the remainder of the 25 minutes left for the dough to rest and get nice and cold.
Step 3: lamination!
Before I lay out my lamination method, I'd like to assure the first-time croissant baker that there is no substitute for the headache and annoyance of producing several batches of less-than-ideally-laminated dough en route to arriving at the right feel for the pressure and speed of rolling required for even lamination. Some croissant recipe gurus recommend a pair of level steel bars and a long, plain rolling pin to arrive at uniform thickness at each stage of the lamination process. I have resolved to accept a certain amount of variability in the thickness, which is probably even greater due to my use of a French (tapered) rolling pin. That said, whether one chooses the analog-sheeter method or the quirky unevenness of the tapered pin, as long as a final thickness of about 1/8in is reached before shaping, both methods will produce a consistent, airy crumb.
A reminder that, give or take 5 minutes for assembling ingredients and transitioning the workspace, approximately 31 minutes have elapsed since beginning the dough and butter packet preparation. A further reminder that fermentation has been completely delayed by the freezer. In some cases, I've removed the dough to find that the edges are frozen. If that's the case, simply rest it on the counter for a minute or two and work the edges with your hands to assure that it does not crack when you roll out the dough to seal in the butter.
Very lightly flour the work surface - I use a three-fingered pinch of AP and flick my fingers, using 2-3 of these sprinklings to achieve a dusting sufficient for this first step - and place the dough on the surface. Lightly flour (in the same manner) both the dough and the rolling pin, and roll the dough out to about a 12-12.5in long, 5.5-6in wide square. It is very important that the dough be shaped with roughly 90-degree corners at this point, so as to seal the butter perfectly with no overlap.
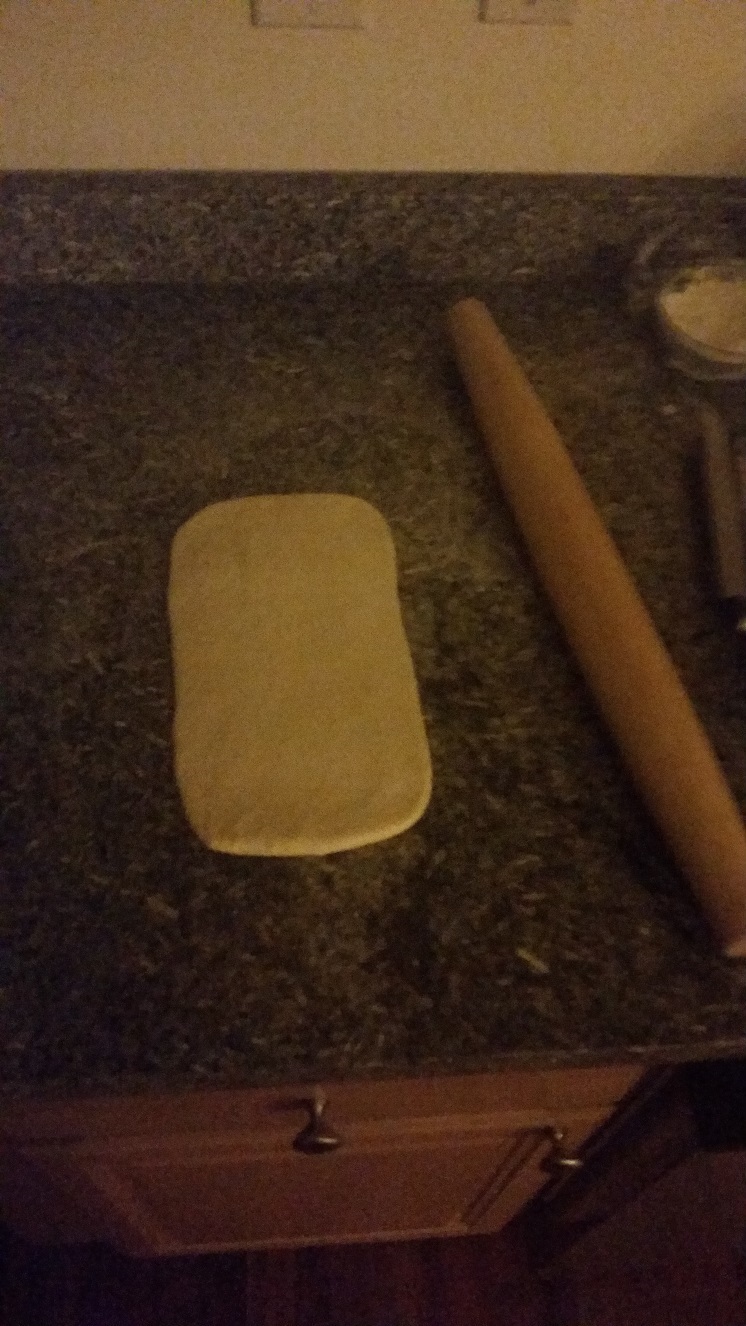
Remove the butter from the fridge, unwrap, and place in the center of the dough so that the longer edge is aligned with the long edge of the dough. The shorter edge of the butter should very nearly meet the long edges of the dough. Fold the top and bottom of the dough lengthwise over the butter packet, and let the folded edges meet in the middle with no overlap. They should just touch.
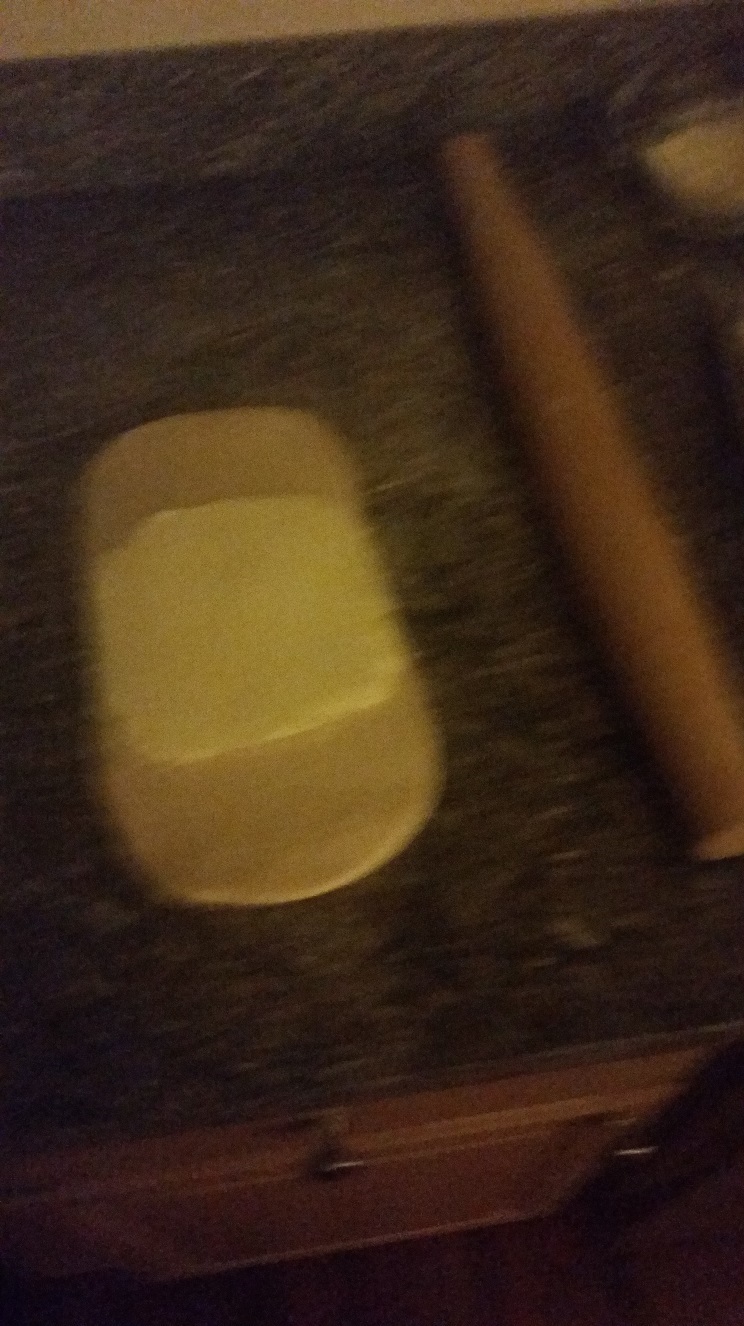
At this point, the croissant dough and butter package will be about the size of the butter packet before sealing, with a horizontal dough seam running from side to side. Attempt to even the corners of the dough, but it is perfectly fine if there is a sort of V-shape at each side, with the butter peeking through.
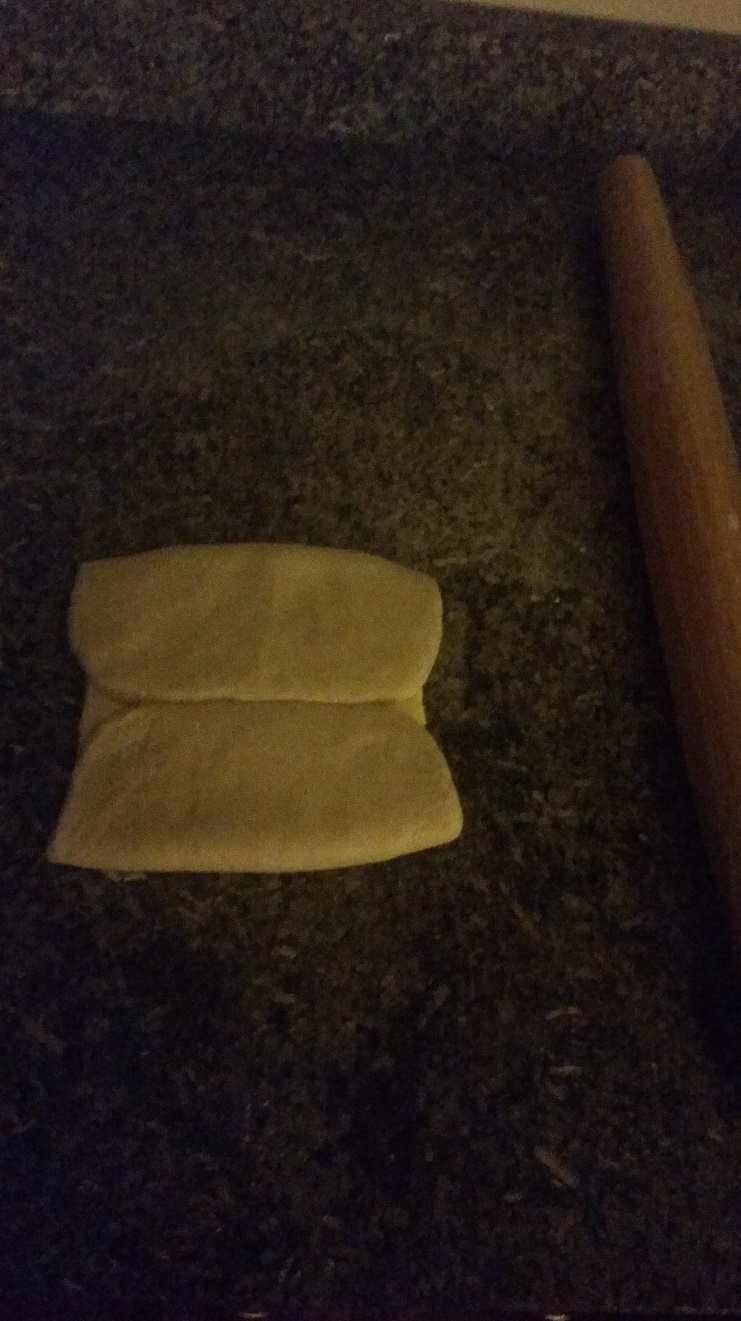
Now, give the dough a quarter-turn, so that the horizontal seam is vertical, and the butter-peeking edges of the dough are at the top and bottom. Gently press and roll back-and-forth a very, very small distance, and very gently, starting from the middle of the dough, working toward the top; then, start from the middle and do the same thing, working down to the bottom. At this point, the butter and dough will feel like one entity; there will be no fragmenting (in fact, it will be hard to tell the difference, under your hand, between the two components).
Roll the croissant dough to about 18 inches length, top to bottom. It may take a few passes; each should cover about 3/4 of the dough, extending to the very top (or bottom). Strive for a uniform thickness of a little more than a 1/4in. Only roll along the length of the dough, not the width. It is tempting, but this is a easy way to catch the vertical seam and end up with a non-uniform layer of dough. It is a good idea to release the dough from the work surface once or twice during this lamination process, and feel free to flour (sparingly) the work surface and dough.
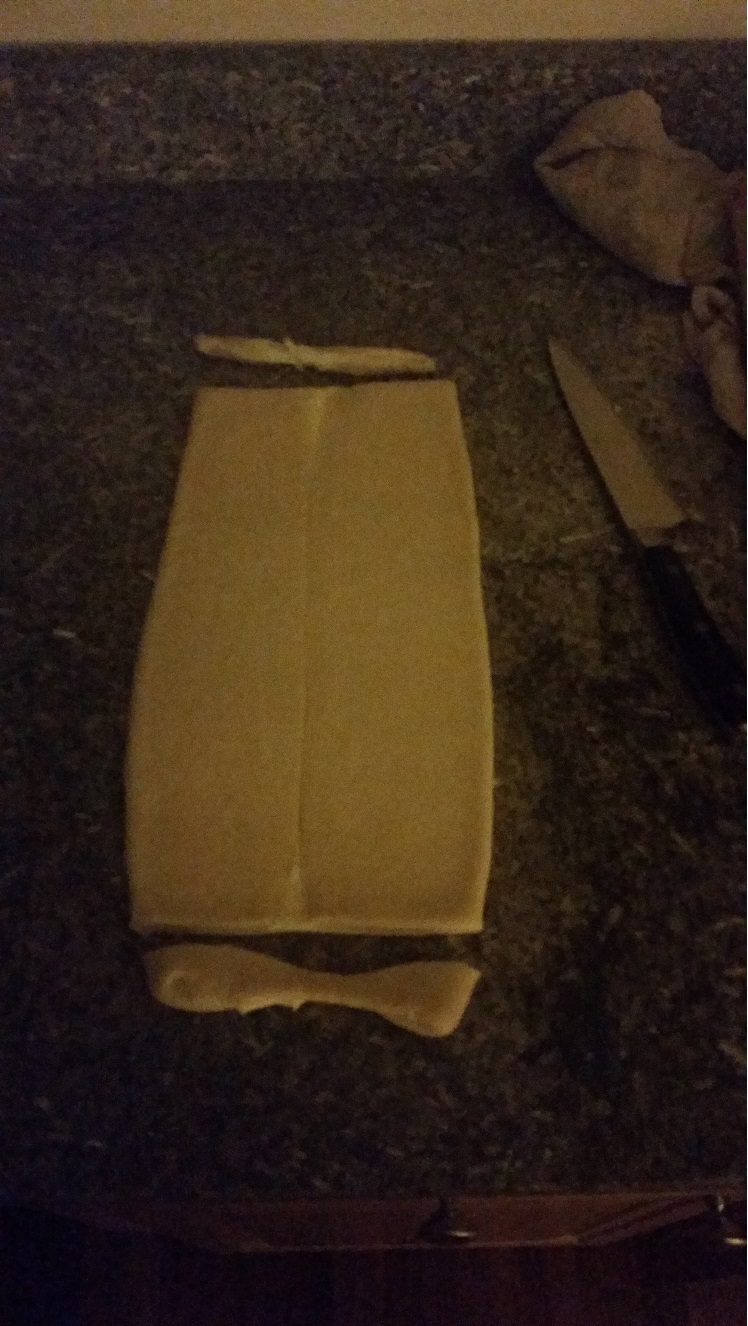
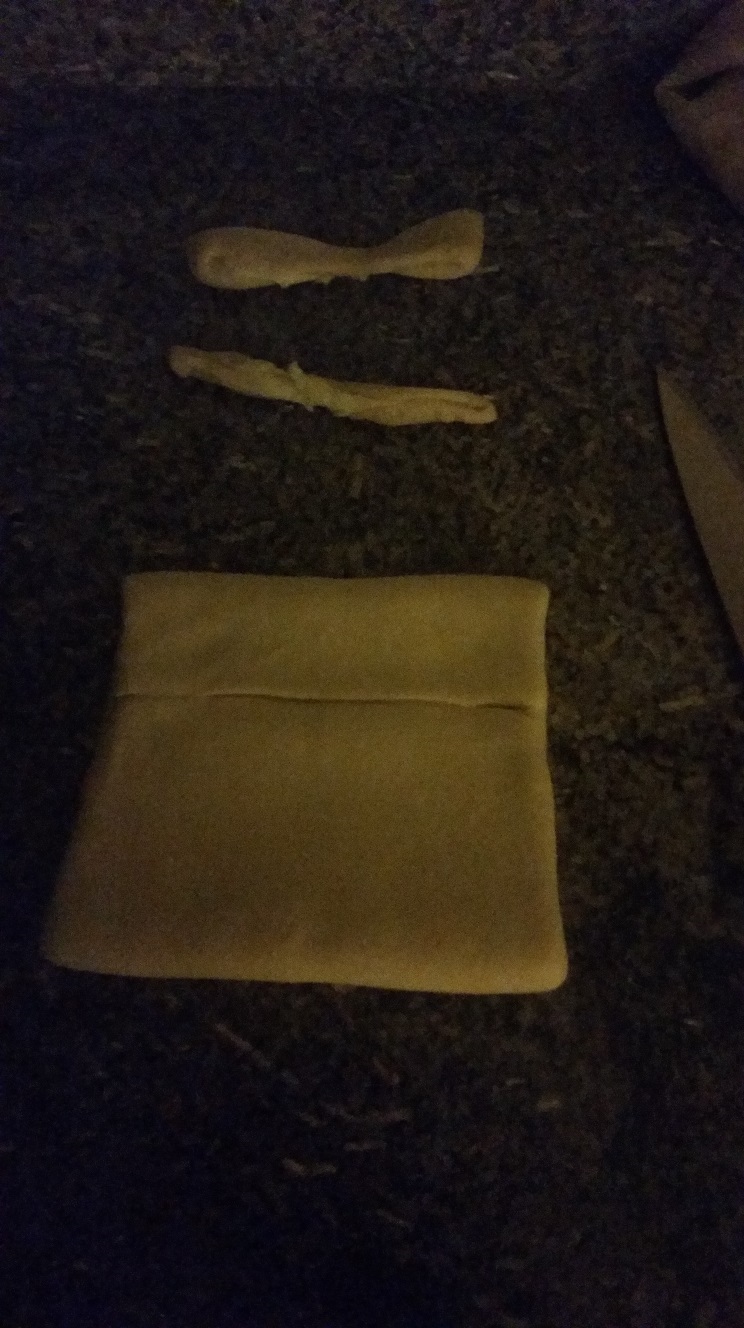
Brush any excess flour from your dough before making the book fold. Then, take a sharp knife and trim the edges so that the inner butter layer is exposed, making sure to square them. Reserve this trimmed dough and butter in plastic wrap, which can be used to make little brioche boules, or as a chef to be added to a future batch of laminated dough.
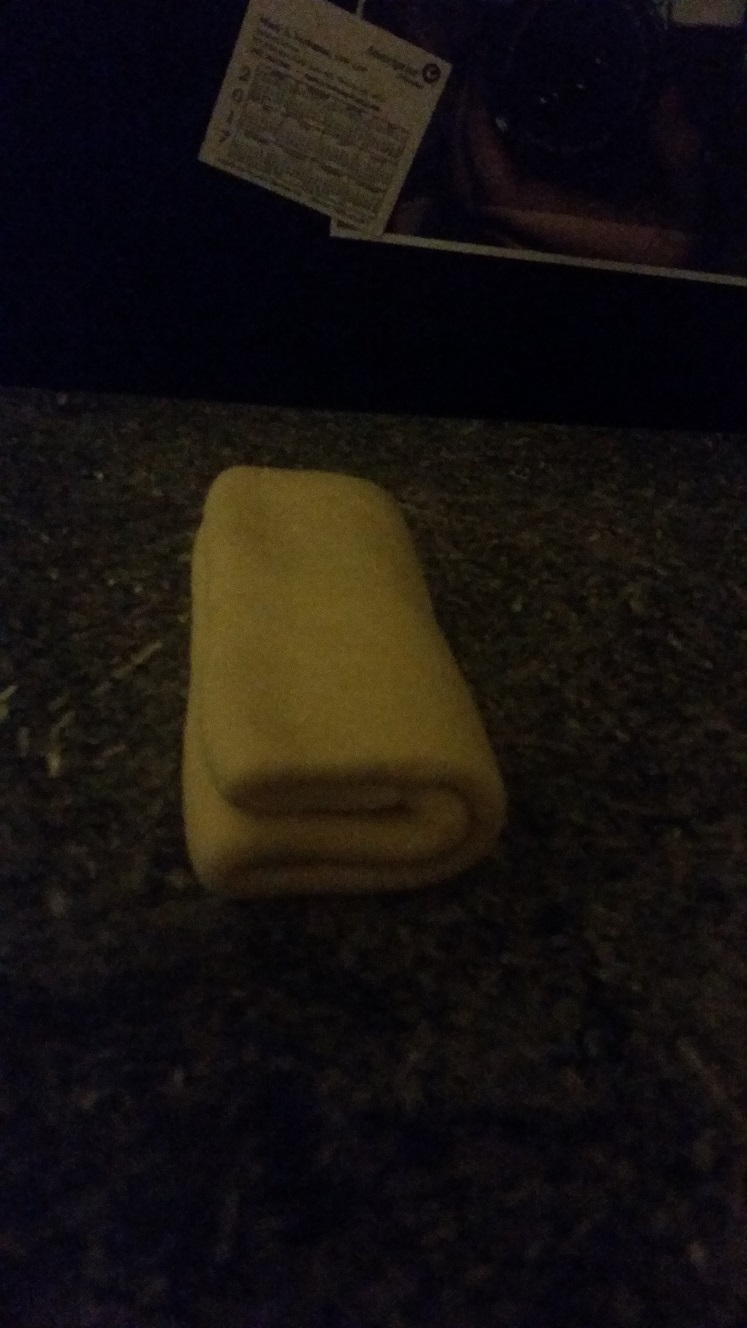
Fold 1 - the book-fold: I found that a 2/3 up, 1/3 down method (whereby the seam of the ends is trapped inside the fold) leads to a uniform thickness and no tearing at the edge during the second letter fold. Fold 2/3 of the dough up, and fold the remaining 1/3 down, letting them meet, then fold from the new top edge of the dough down to the new bottom edge - the seam created by the initial fold will be seen to be in the third big layer of dough from the bottom, in this book fold.
Cover with plastic wrap and reserve in fridge for 15 minutes.
Fold 2 - the letter fold: flour the work surface, place the dough on it, and give the dough a quarter-turn so that the open edges are along the left vertical edge. Lightly pat the dough all over with the rolling pin, and begin to roll out without applying much pressure - the goal is to lengthen it, rather than flatten it. Give the dough another quarter-turn and lightly roll along the short edge to widen it. Flip the dough over, give it a reverse quarter-turn, and lengthen again. Repeat these steps a few times until the dough is roughly the same size it was before the first fold was performed.

Again, trim the edges to square them, and reserve the trimmings with the others. Now, brush any excess flour from the dough and fold the bottom third of the dough up in a letter fold, and fold the top third down over it. Reserve in the fridge for 1 hour. This is the minimum length of time the dough will need to relax. I have left it for a few hours; it will puff up slightly, which is fine. I tend to get to the final roll-out before the dough has undergone a long, cold ferment at this stage, and I am unsure as to whether it would affect the oven-spring if it were left for a longer period (like overnight)...
Step 4: final roll-out and shaping
*Somewhat more liberally flour the work surface,* (this helps avoid tears in the outermost layers of the dough in this final step, which really tests the elasticity of the gluten), remove the dough from the fridge and give it a quarter-turn, again so that the open-edged seam is along the leftmost vertical side. Roll the dough out as far as can be done, releasing it from the work surface a few times, flouring as necessary. I can usually roll it out to the size of a half-sheet pan width, and a few inches shy of either side, length-wise, which is about a 1/4in thickness, before the dough begins to retract on itself. As soon as this retraction begins, stop rolling! Brush as much excess flour from the dough as can be done, and reserve the dough in the fridge on a half-sheet pan, covered in plastic wrap (on both sides) for another 15 minutes, minimum - longer is, of course, fine.
Remove the reserved dough and place it on the work surface. Roll it out to 1/8in thickness, taking care to roughly preserve a rectangular shape. Trim the dough on all sides, minimally, but making sure to expose the lamination at all points; make sure not to leave any part of the dough sealed by itself (by folds from previous steps in the process).
At this point, croissant, pain au chocolat, or pain aux raisins can be produced; in fact, all of these can be had from this single batch. I generally produce 4-5 croissant, 2-3 pain au chocolat, and 4 miniature brioche (from the trimmings) from this recipe.
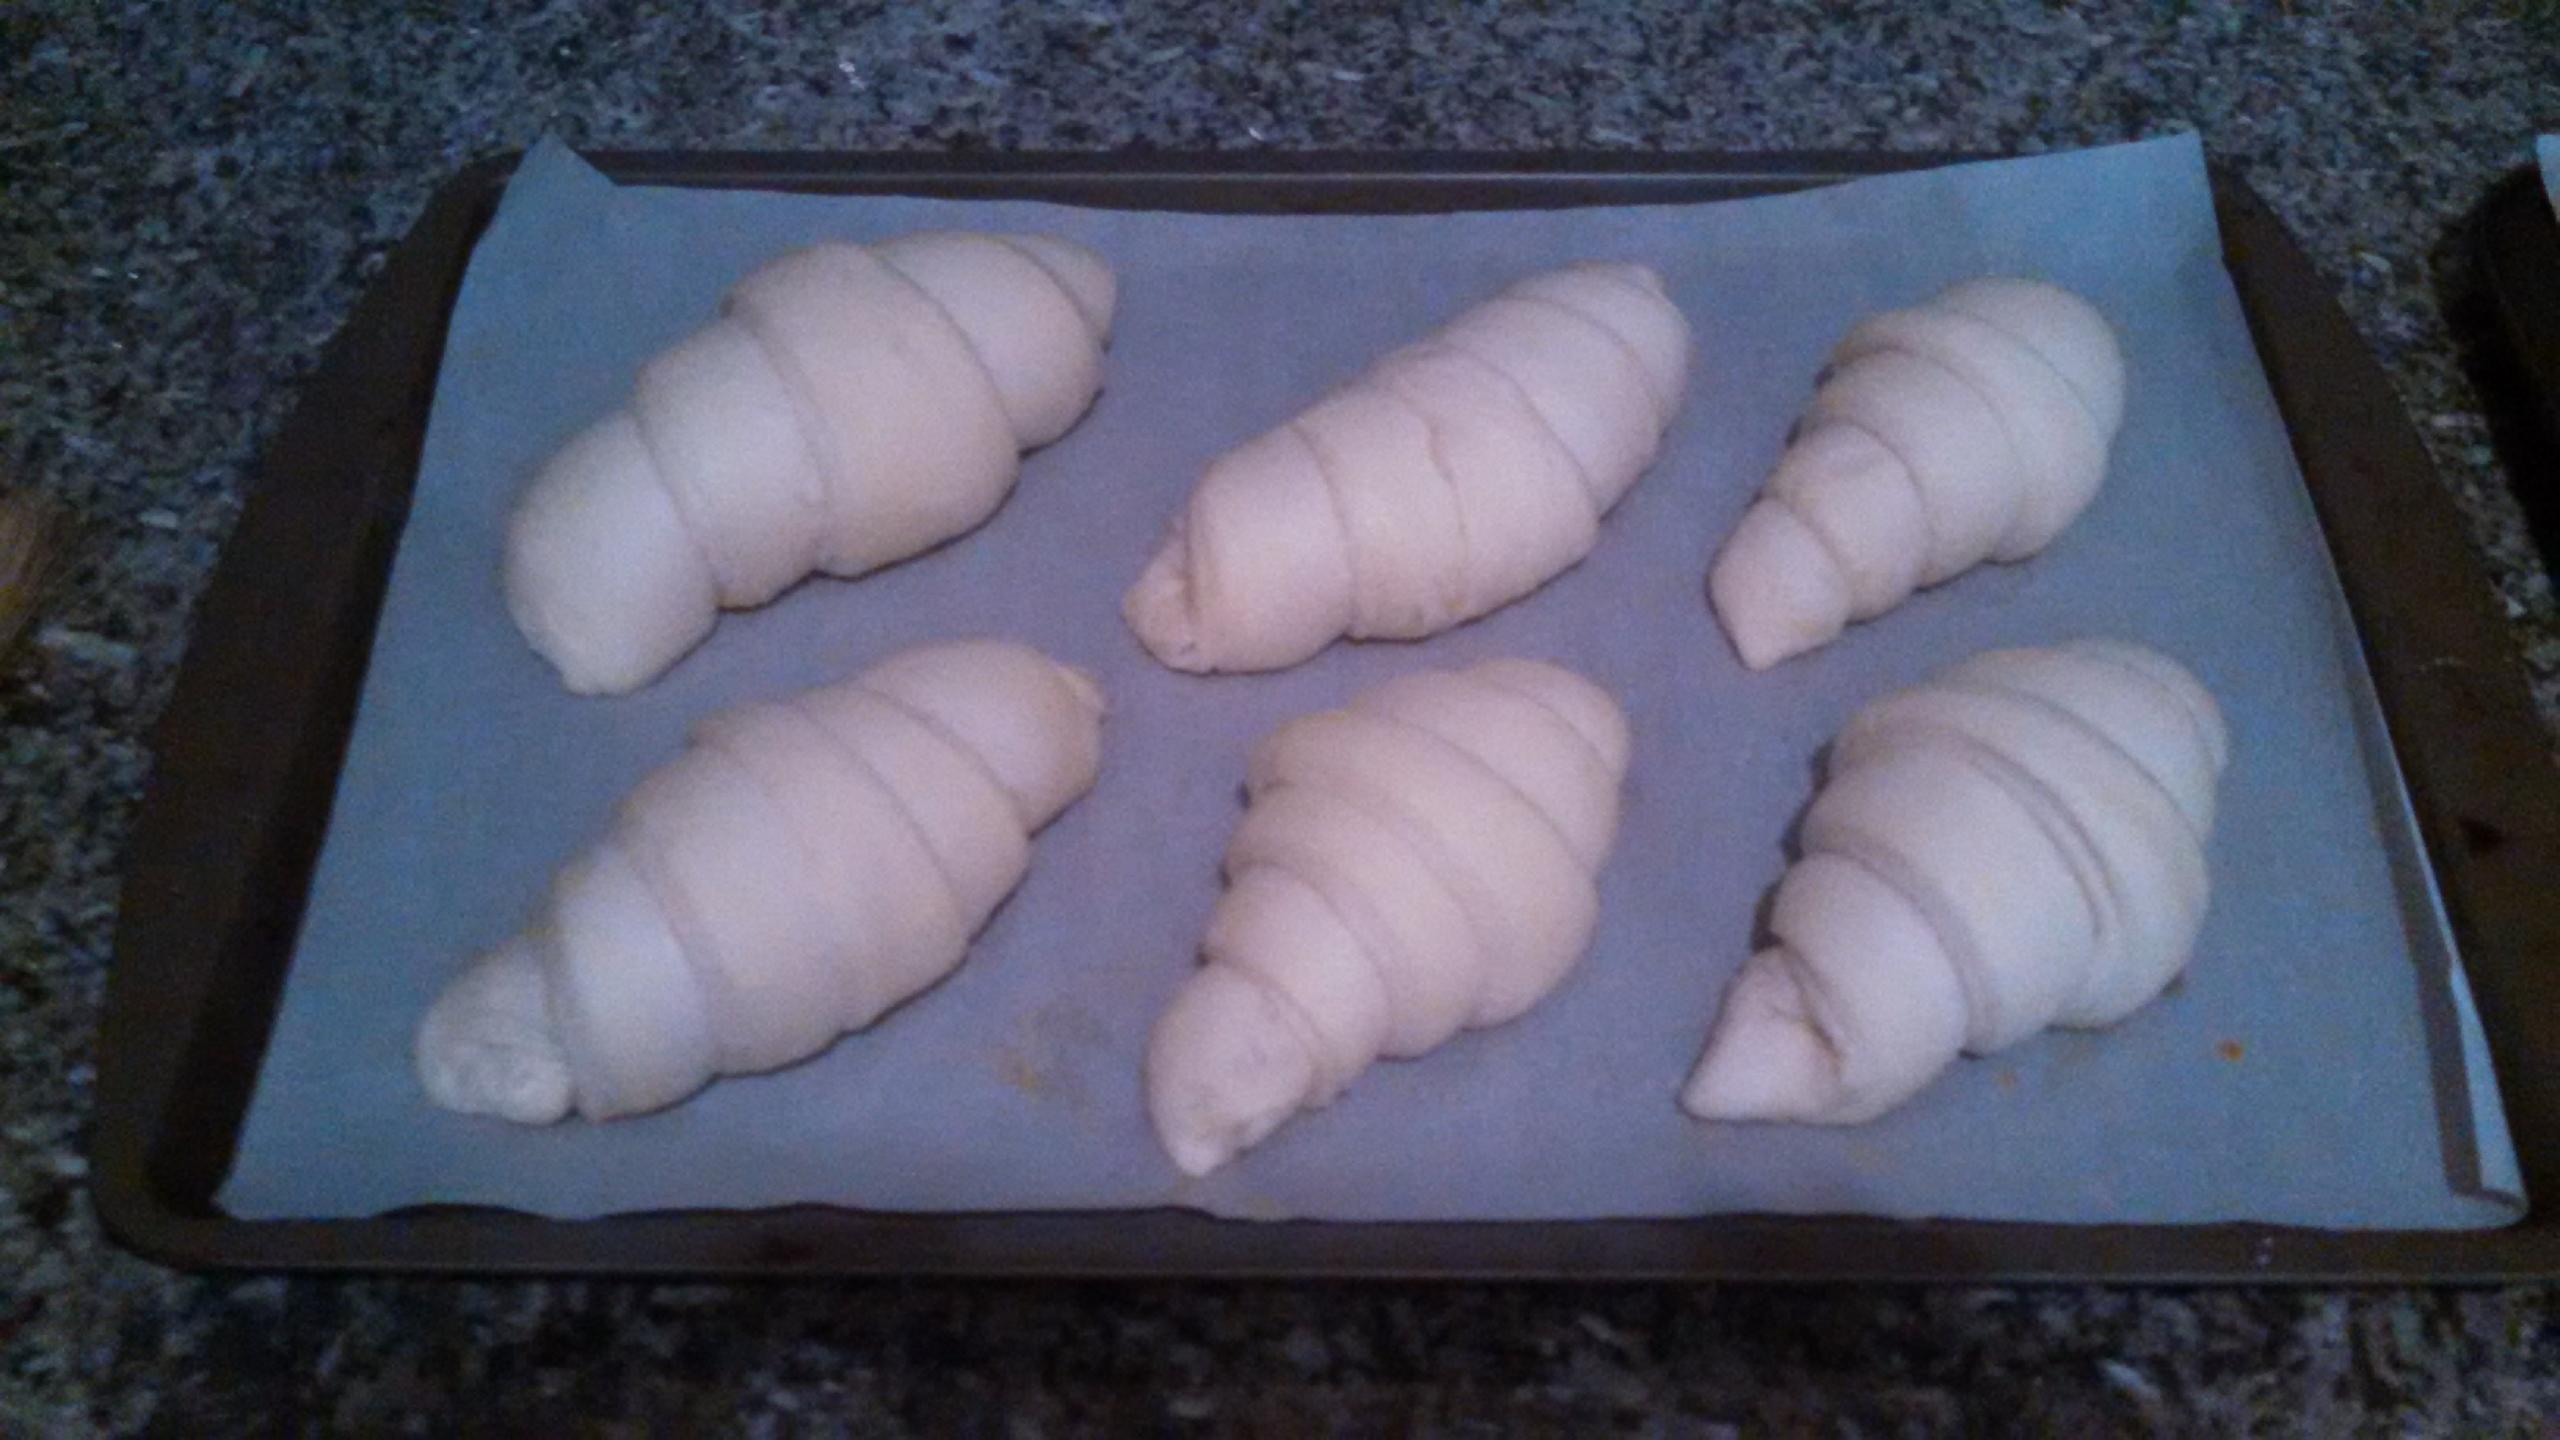
I shape the croissant by cutting 9in or 10in triangles, using the two-croissant-from-a-single-rectangle method, which allows me to avoid the two mini-triangles at either end of the dough that one ends up with by cutting the first edge of the first croissant at an angle. Even though by the laws of trigonometry this 2-in-a-rectangle method always gives the croissant triangle one edge that's slightly longer than the other, when you stretch the final croissant before shaping, it roughly evens out.
A NOTE ON SHAPING: if the lamination has been performed well and the croissant are proofed at room temperature, so that the butter does not melt, any breadiness of the final product will generally be a result of squashing the dough during the shaping. Stretch the final triangles by sliding the fingers gently along the length of the croissant from tail to tip, taking care not to pinch the tip as your fingers reach the end of it. Do not push the dough at the base to stick it to itself in the beginning of the roll; it is fine, and I think, possibly, a very good idea, to have some space in this first roll. I assumed that rolling croissant was like rolling a roulade or Swiss roll, and at first, I had very dense, bready, central crumb. Aiming for a looser roll seems to promote an airier center.
Step 5: Proof and bake
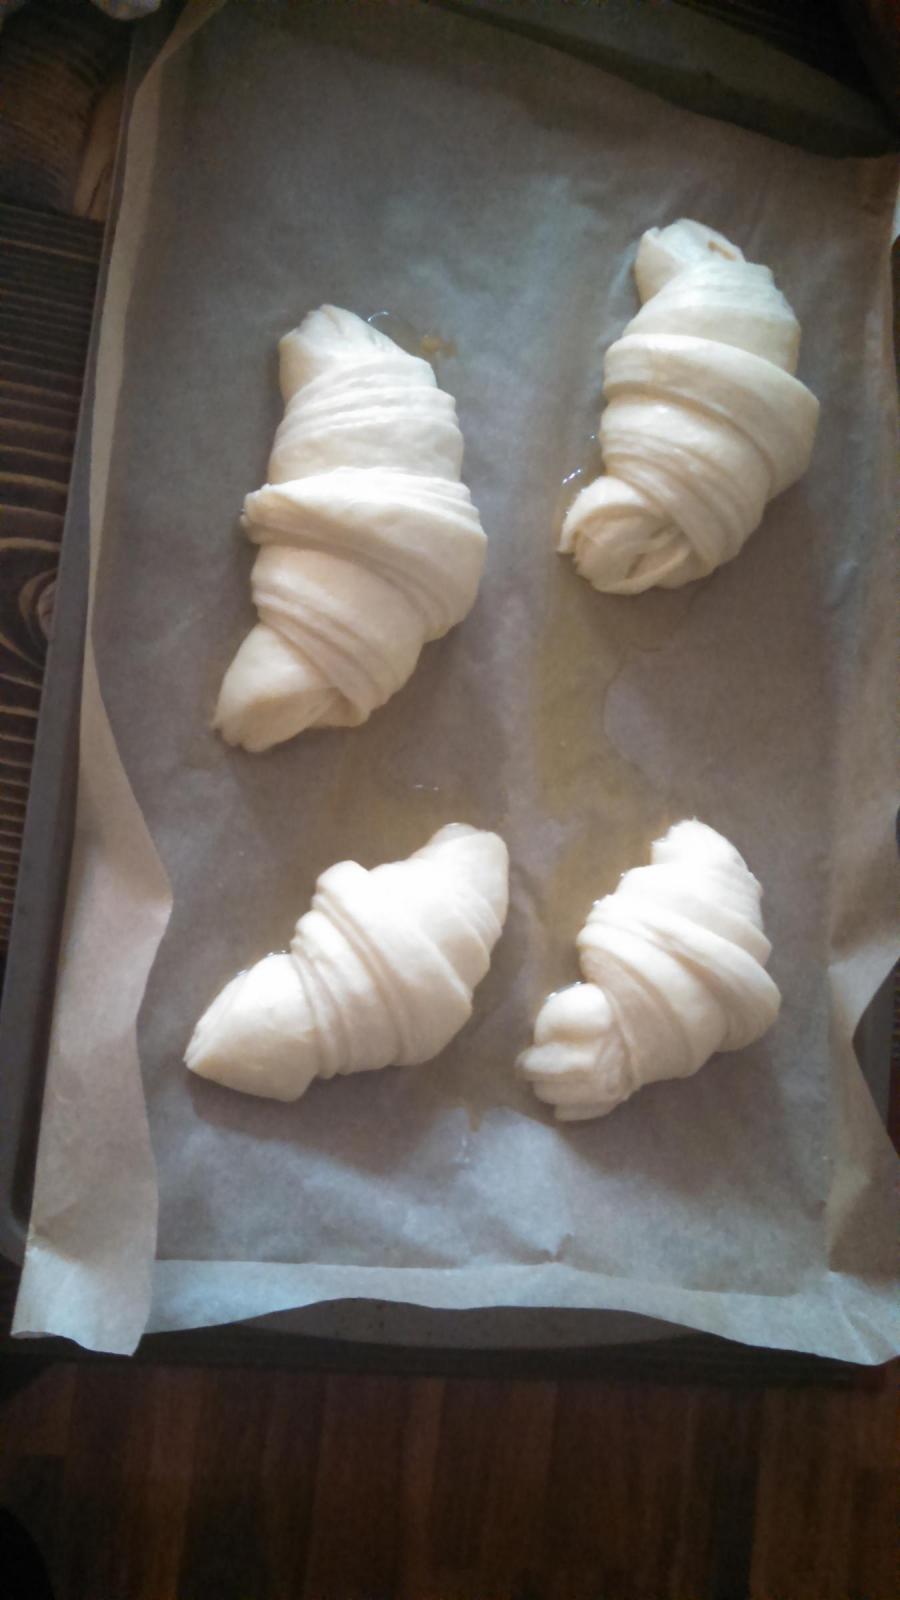
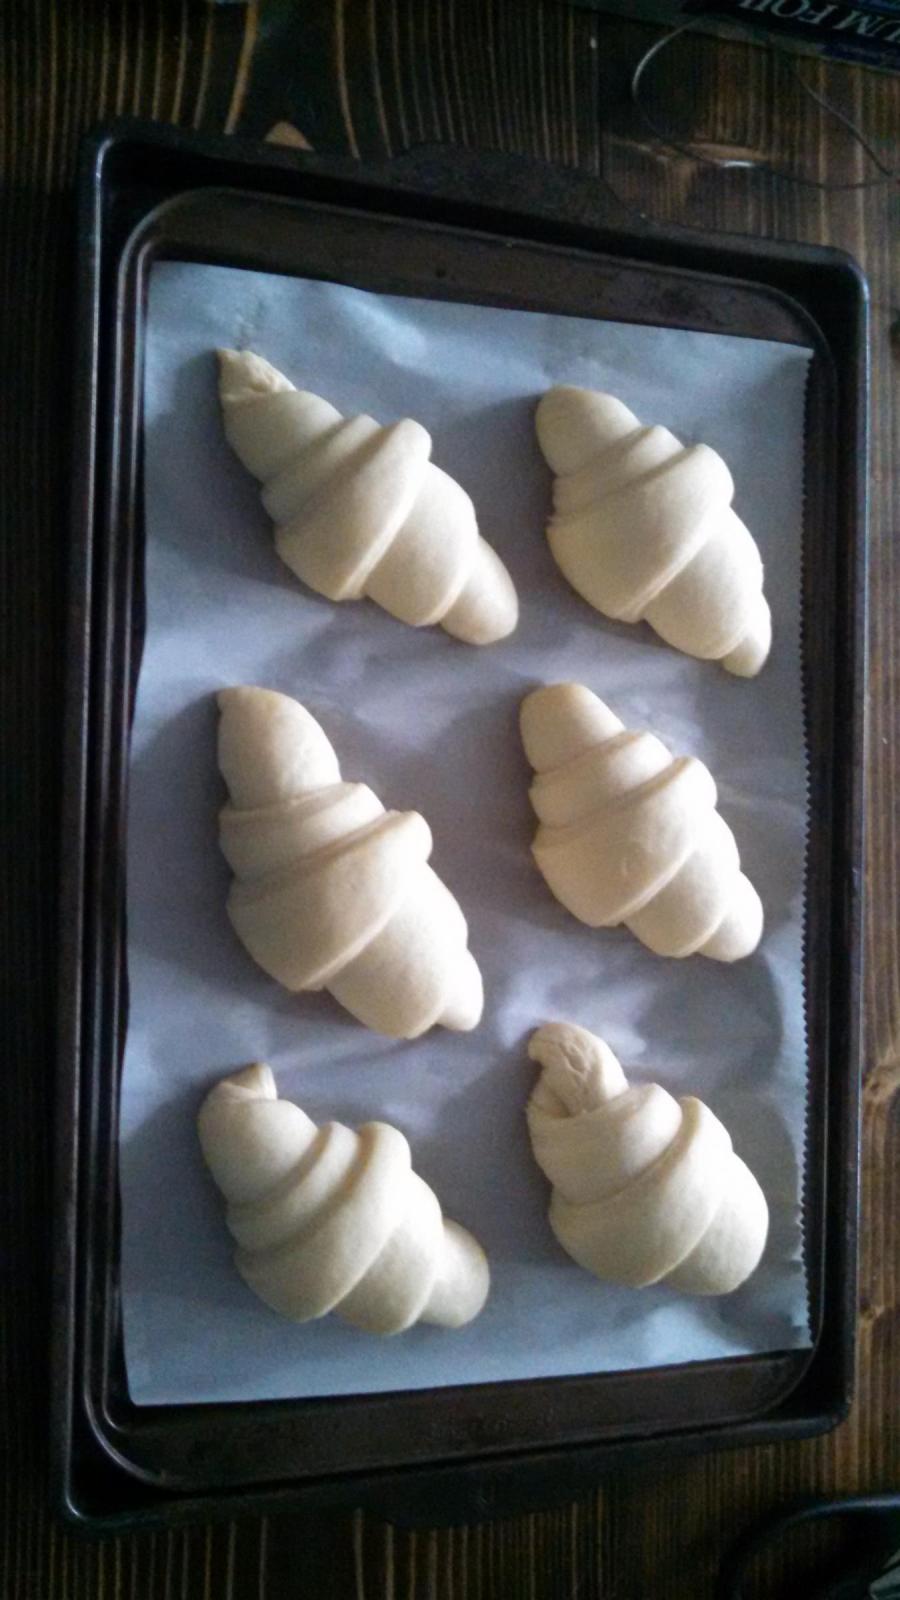
Place each shaped croissant with the tip firmly squashed underneath it on a parchment-lined half-sheet tray. I find that I can fit about 6 if I angle then and line them in a 3 by 2 arrangement, though some may end up touching. If you're a stickler about this, try 4 on a sheet - it seems spacious, but each croissant will really explode in the oven.
Mix 1 egg with about 1 tsp water until completely homogenous. Use a soft, wide brush to glaze the croissants, trying to avoid the laminated layers, which I've read can end up being sealed-in by this initial egg-wash, which impedes the expansion you'll want during proofing. Proof the croissant at room temperature for about 4 hours, at which point, you'll see the layers begin to separate at the sides of the croissant, which will be very puffy and slightly, almost imperceptibly jiggly when the pan is moved.
Preheat the oven to 365F and pour a glass of water and place by the stove. Once the oven is at temperature, give each croissant another glaze of egg wash. Place the croissant half-sheet pan in another half-sheet pan (unnecessary if you've used a silpat rather than parchment), and place in the oven, splash some water on the heating element to create steam (avoiding the oven light and, if you have one, the glass door, as both are liable to explode if water hits them), lower the heat to 355F, and bake without opening and without turning for exactly 30 minutes. This may certainly vary from oven to oven, however, I caution against baking at higher temperatures for shorter periods, as in my limited experience, this caused the butter to run out before the dough layers had sufficiently expanded and absorbed it, leading the bottoms of the croissants to fry and the inner texture to be crispy, dry, bready, and largely inedible.
Meanwhile, heat 100g of water and 50-100g of sugar (dependent on taste) to dissolution, for a mild glaze to be applied to the croissant after removing from the oven. This is an optional, but highly tasty step!
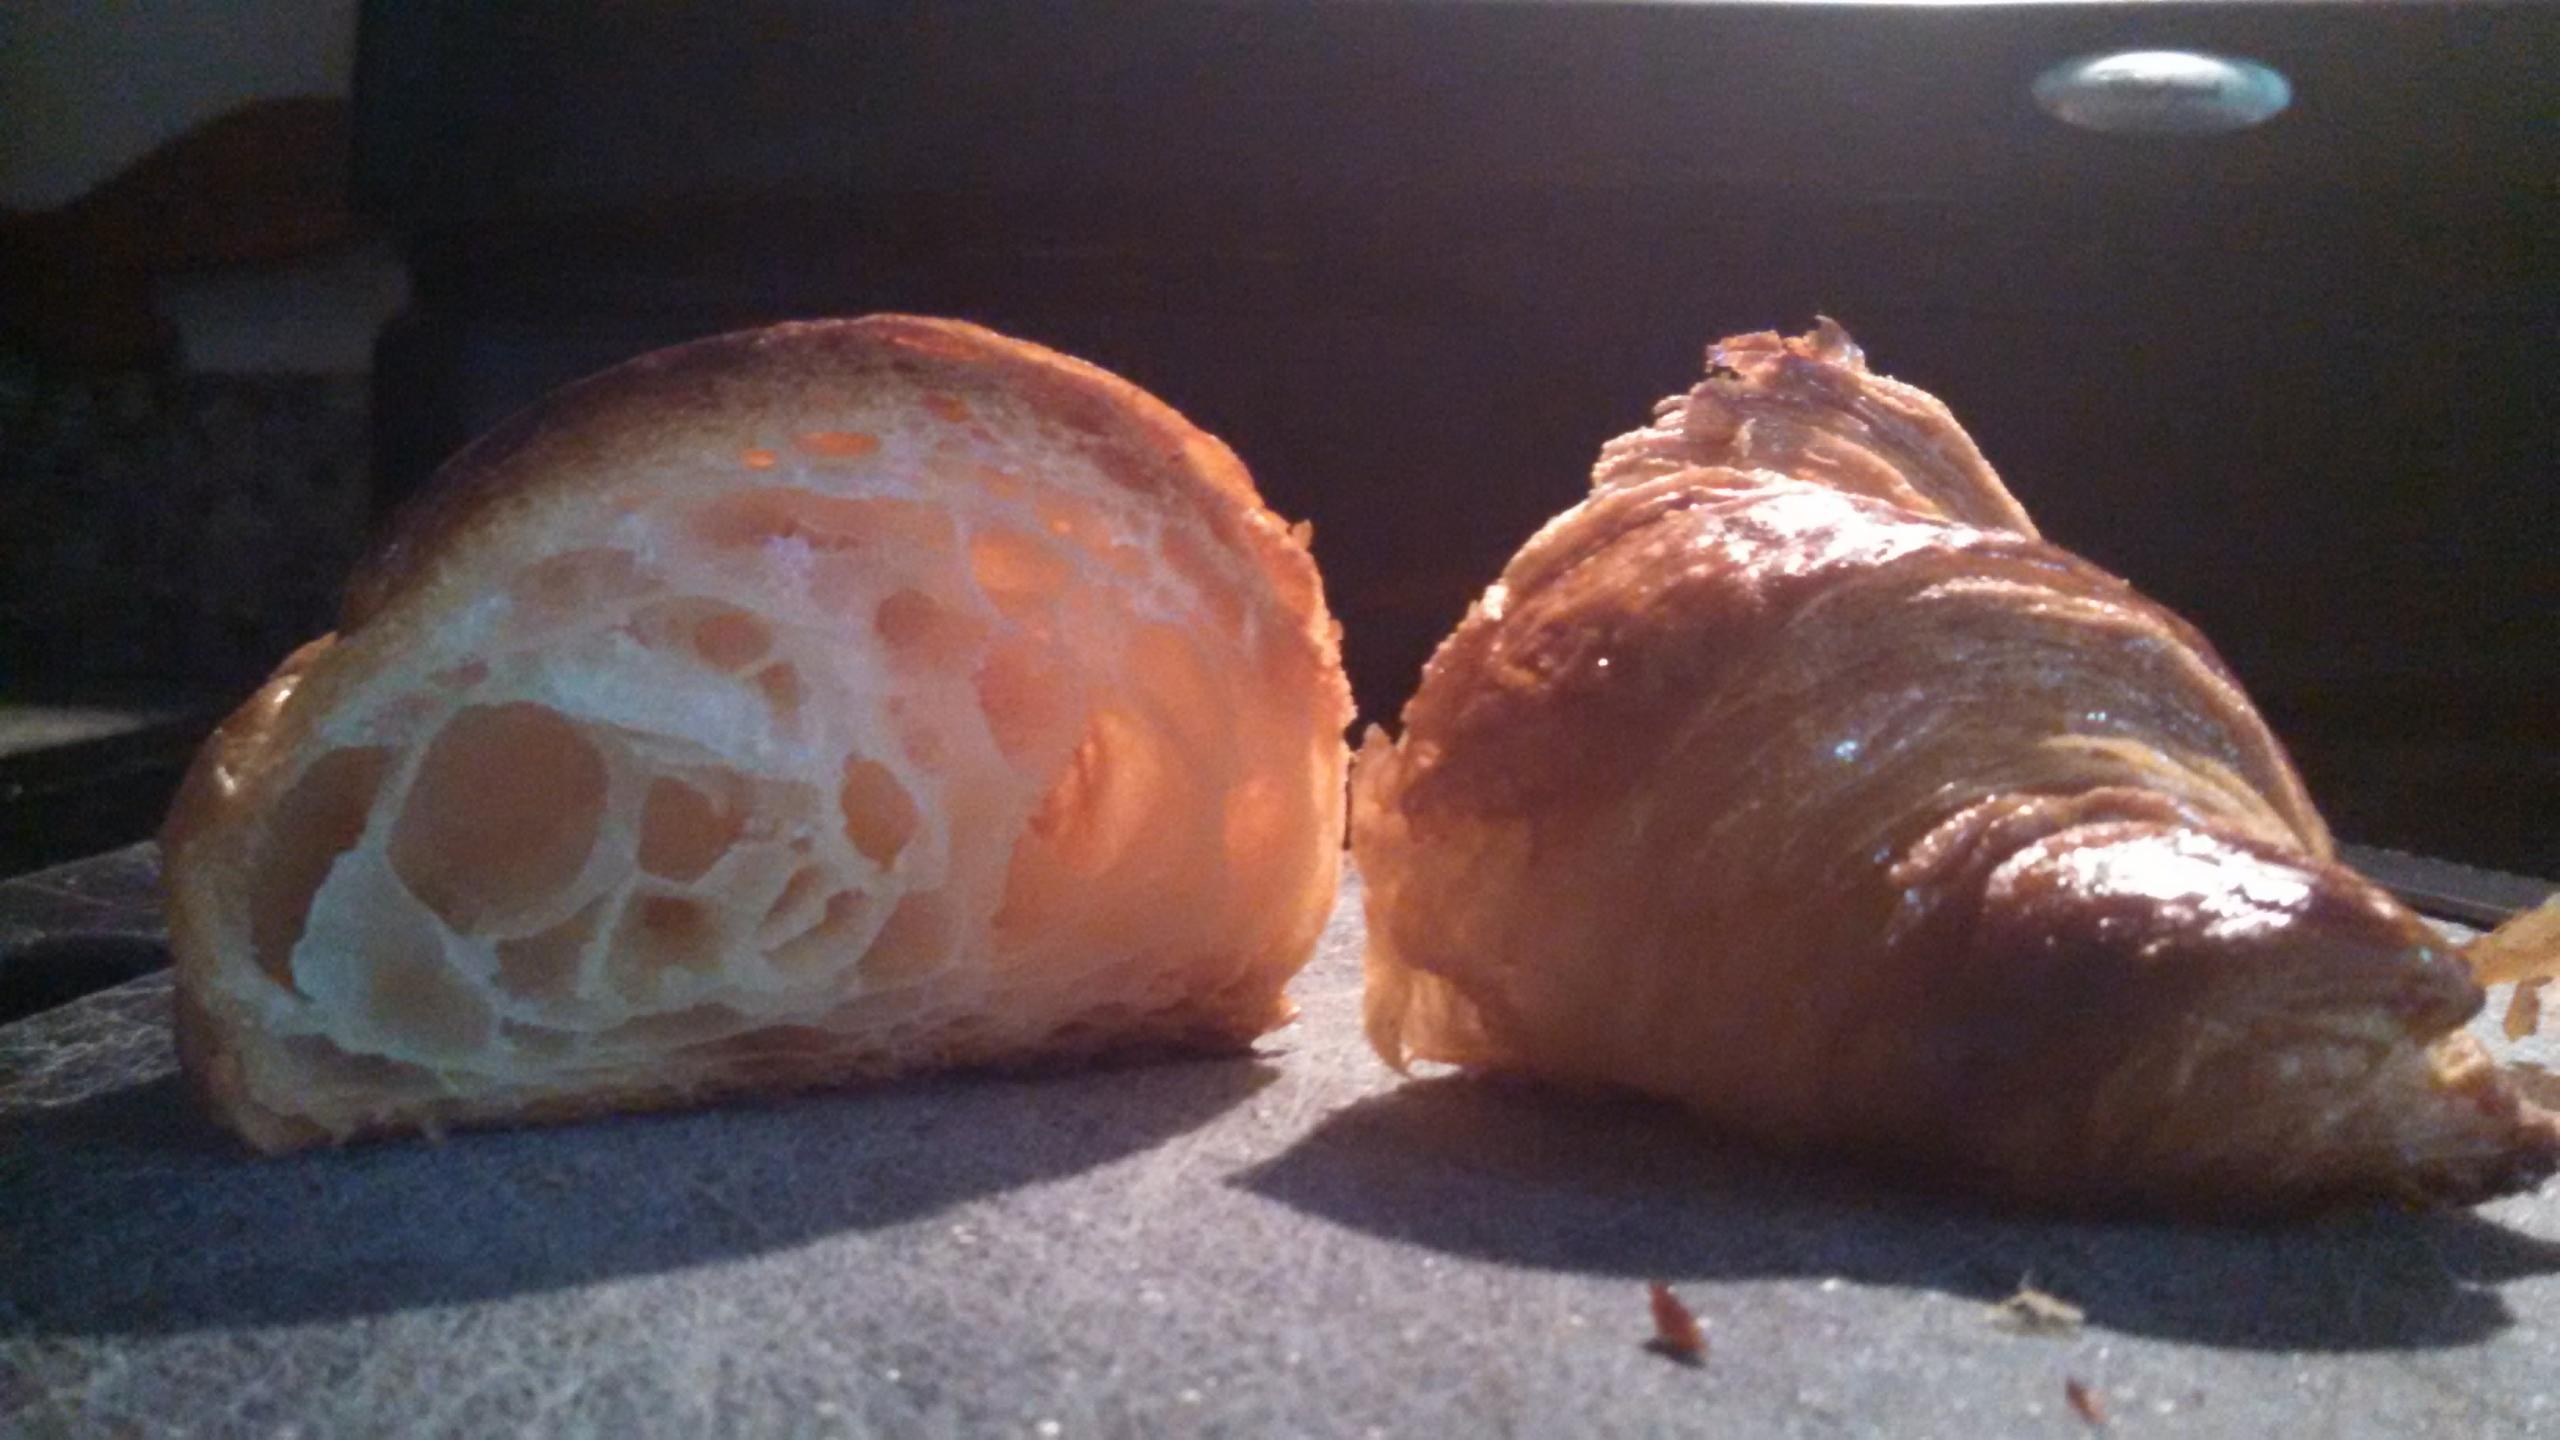
Croissant evolution (right-clicked text descriptions of photos will load externally, via Imgur):
The first batch - laminated, but underproofed and overbaked.

The second batch - proofed in a humid environment at probably +100F. All the butter ran out, leading to a dry, quasi-brioche texture.
The third batch - still using ADY, which may have contributed to the less-than-stellar ovenspring. Also, these were way, way undermixed, with no bulk ferment, and at 46% hydration, this meant a very underdeveloped gluten structure.

The fourth batch - *still* ADY, but switched to a higher hydration, which made roll-out easier. Still a bit of flatness and little ovenspring, which I think was, at this point, partially a function of the type of yeast I was using, and partially over-proofing (this batch was proofed at room temperature for 7 hours).

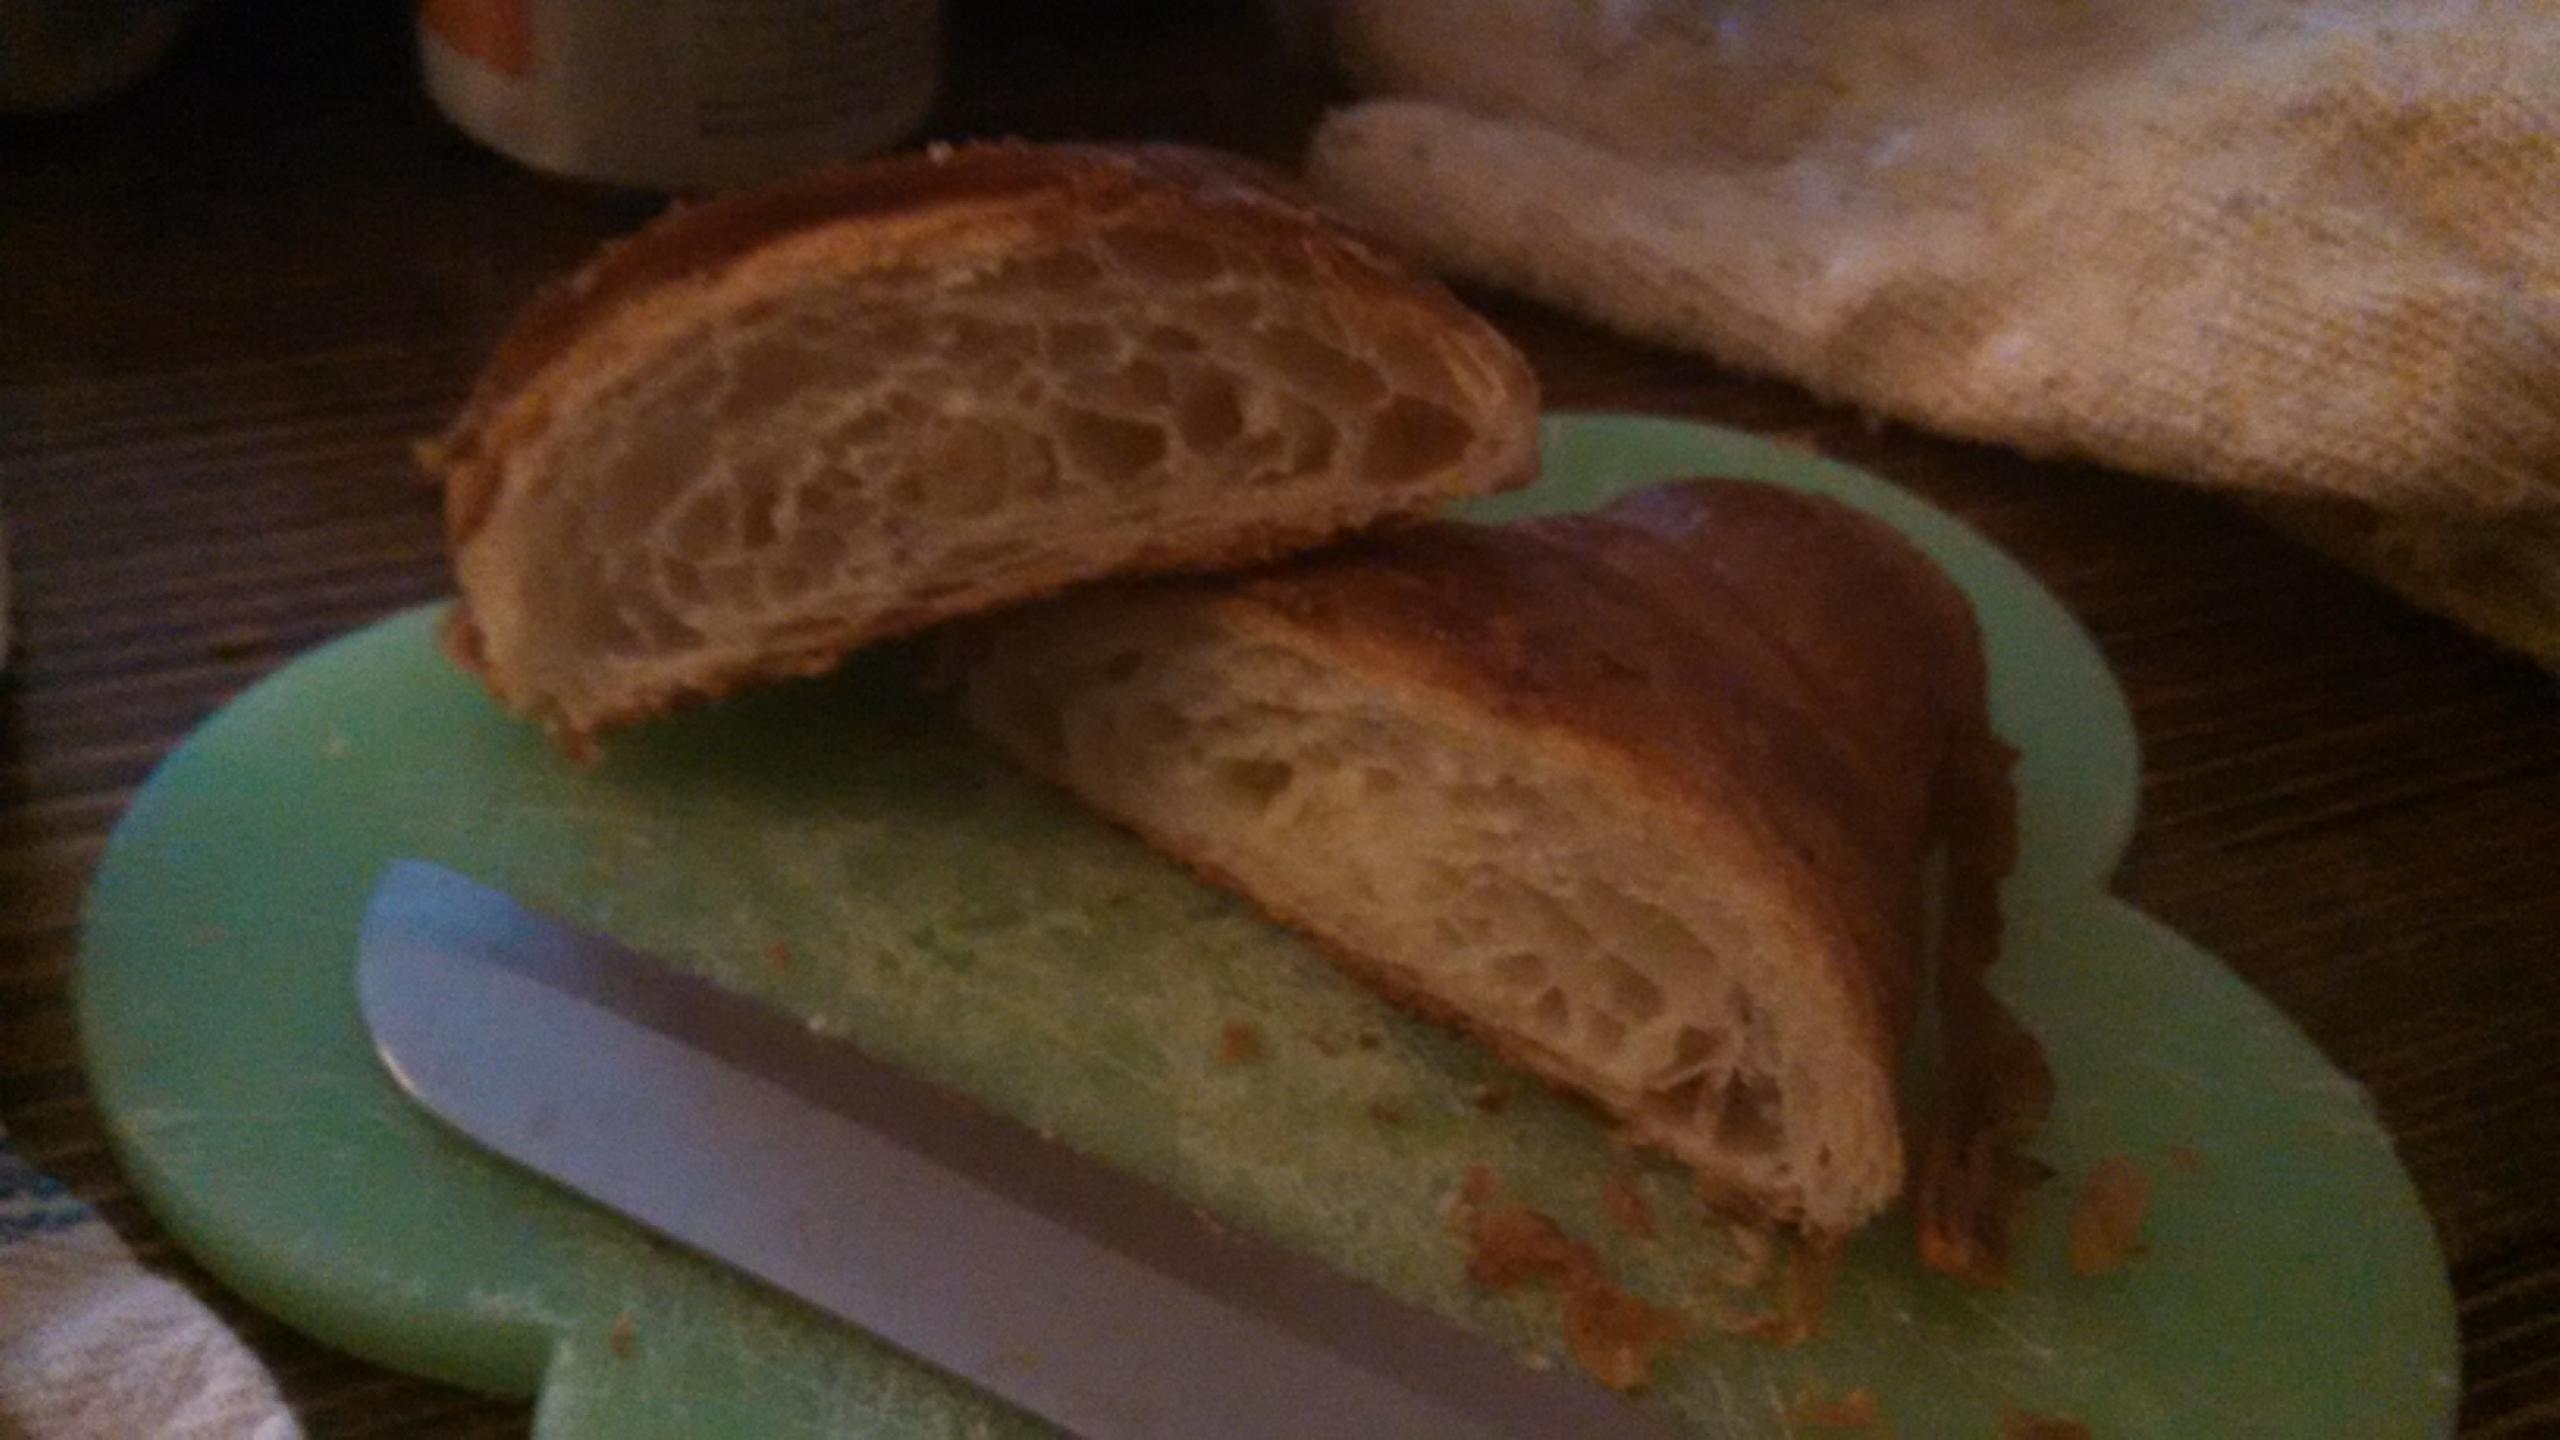
The fifth batch - one last shot at the ADY recipe at a milder hydration, without poolish. This was as close to good as I was going to get from that recipe, with clear lamination, so I chalked it up to the recipe and decided to move on to a poolish. I don't have a crumb photo from these, but it was bready, which was disappointing at this stage!

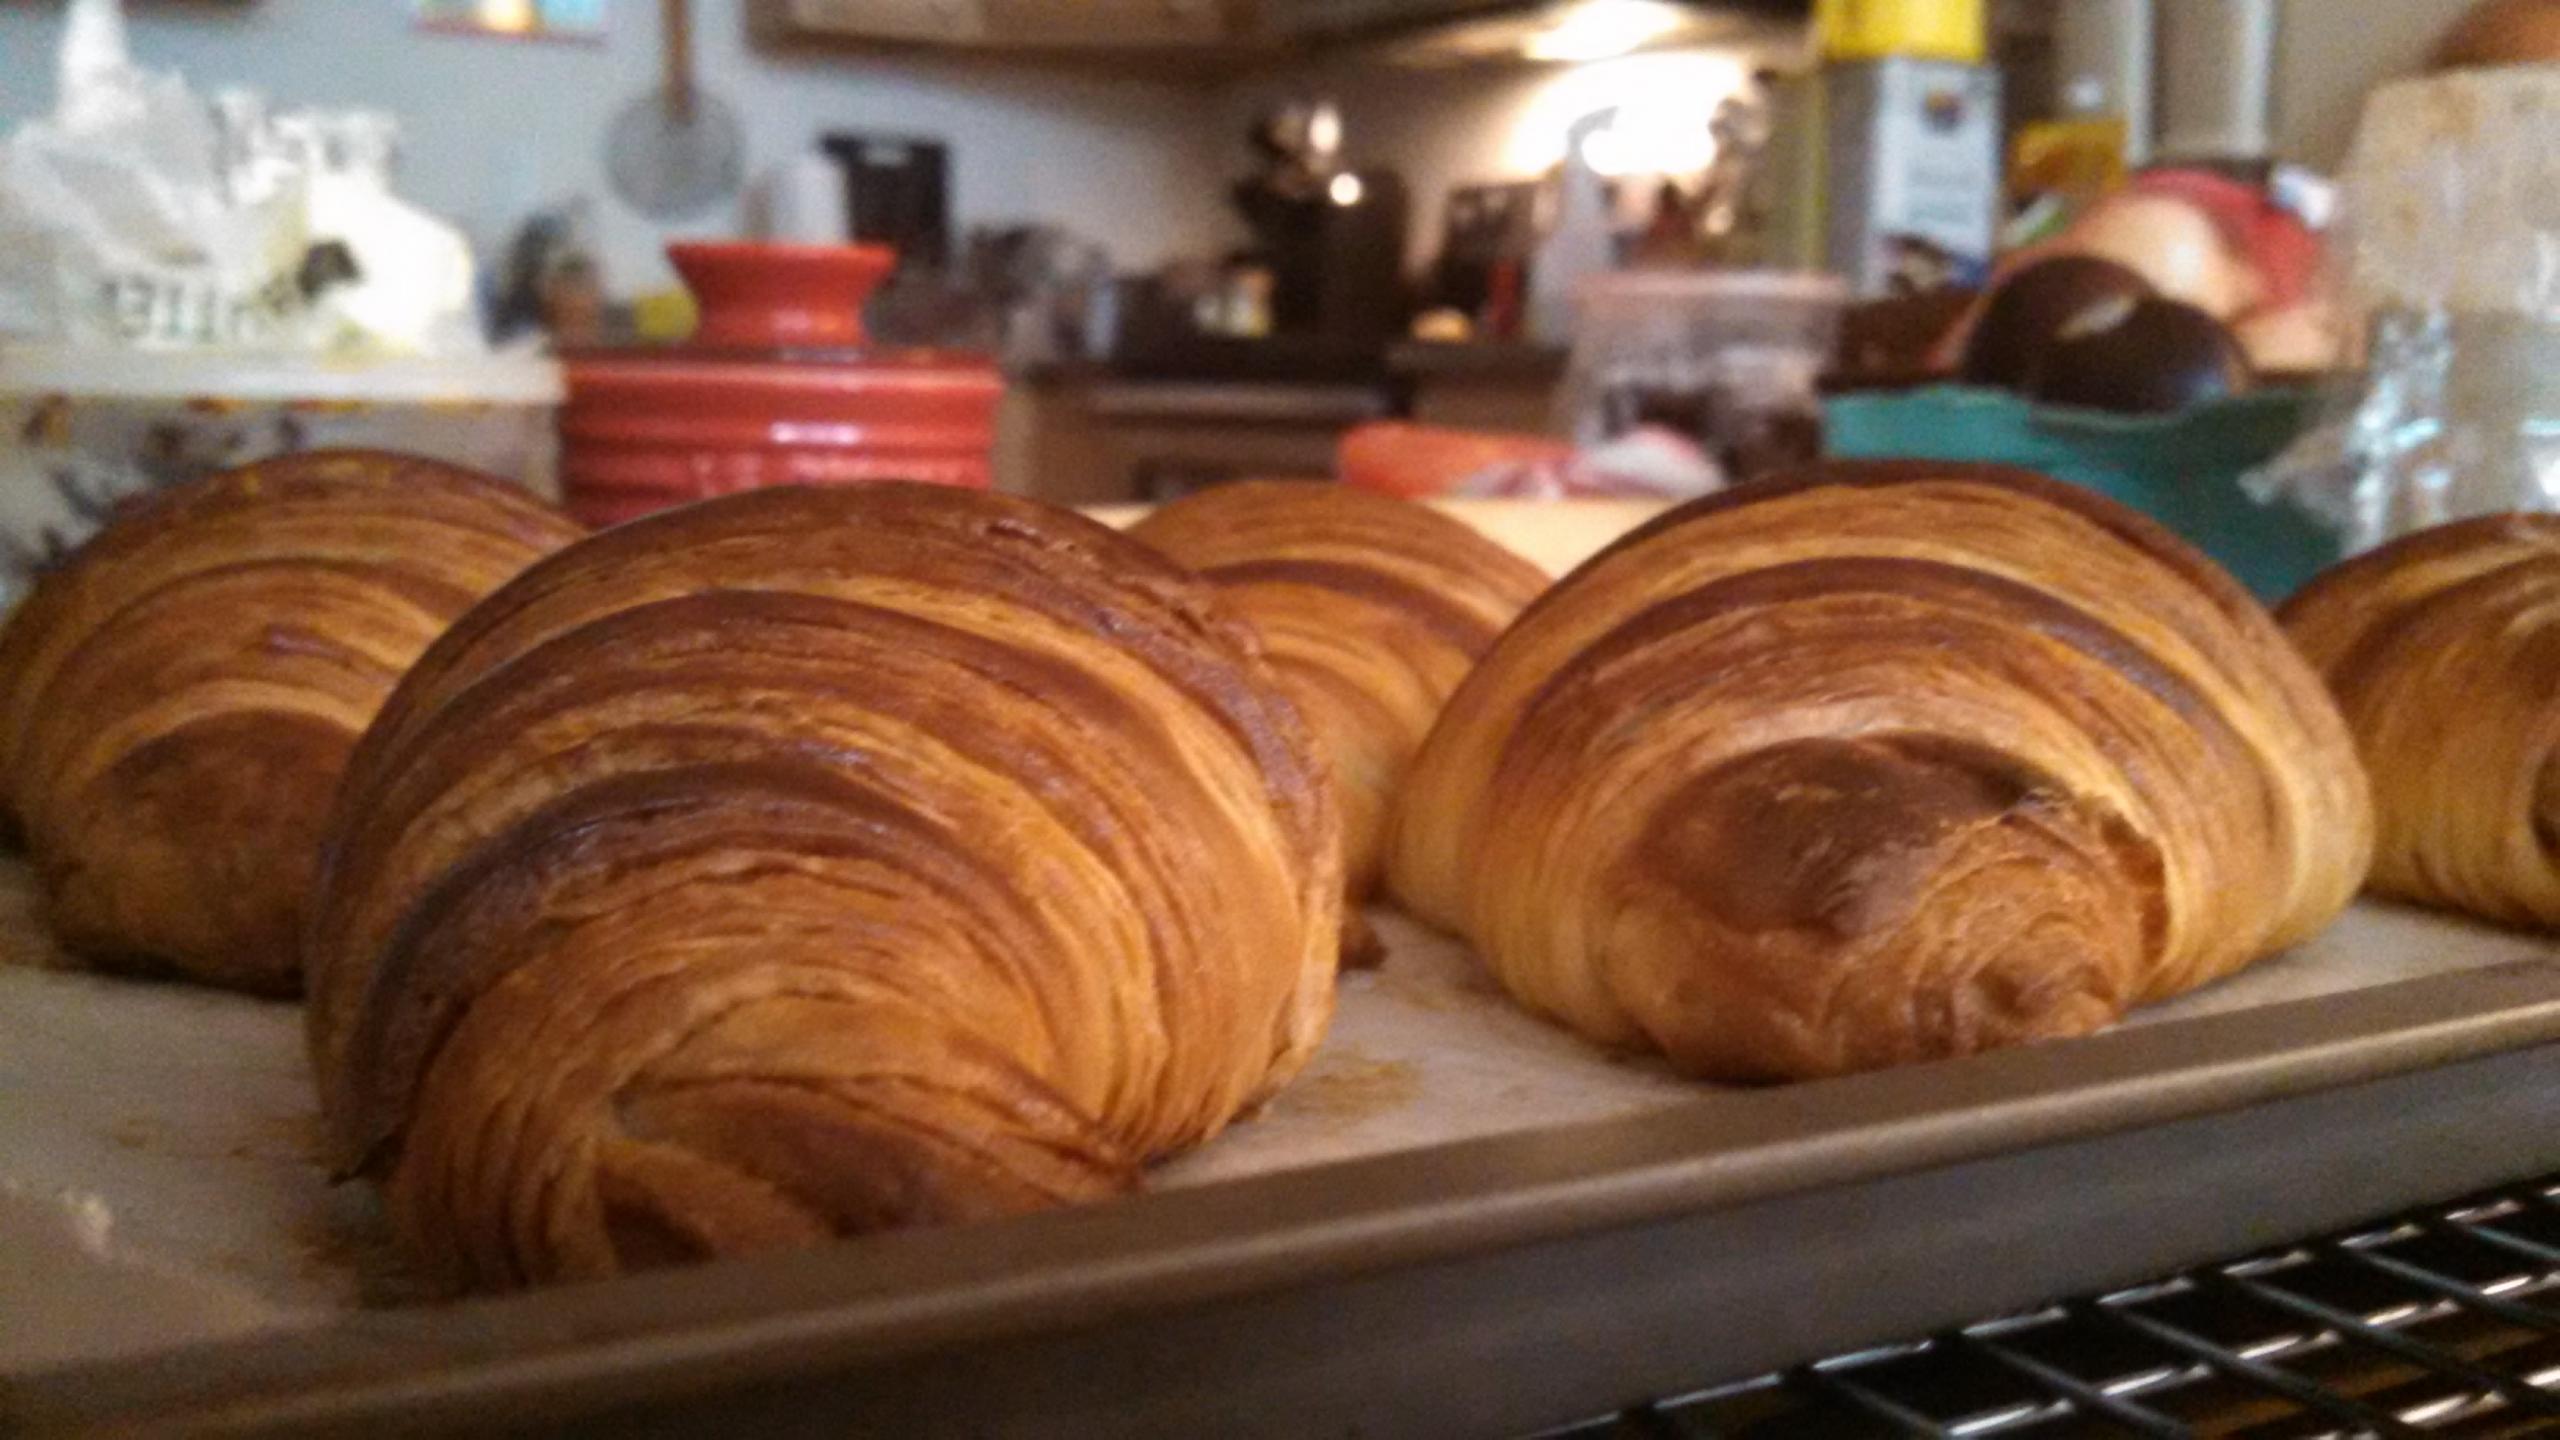
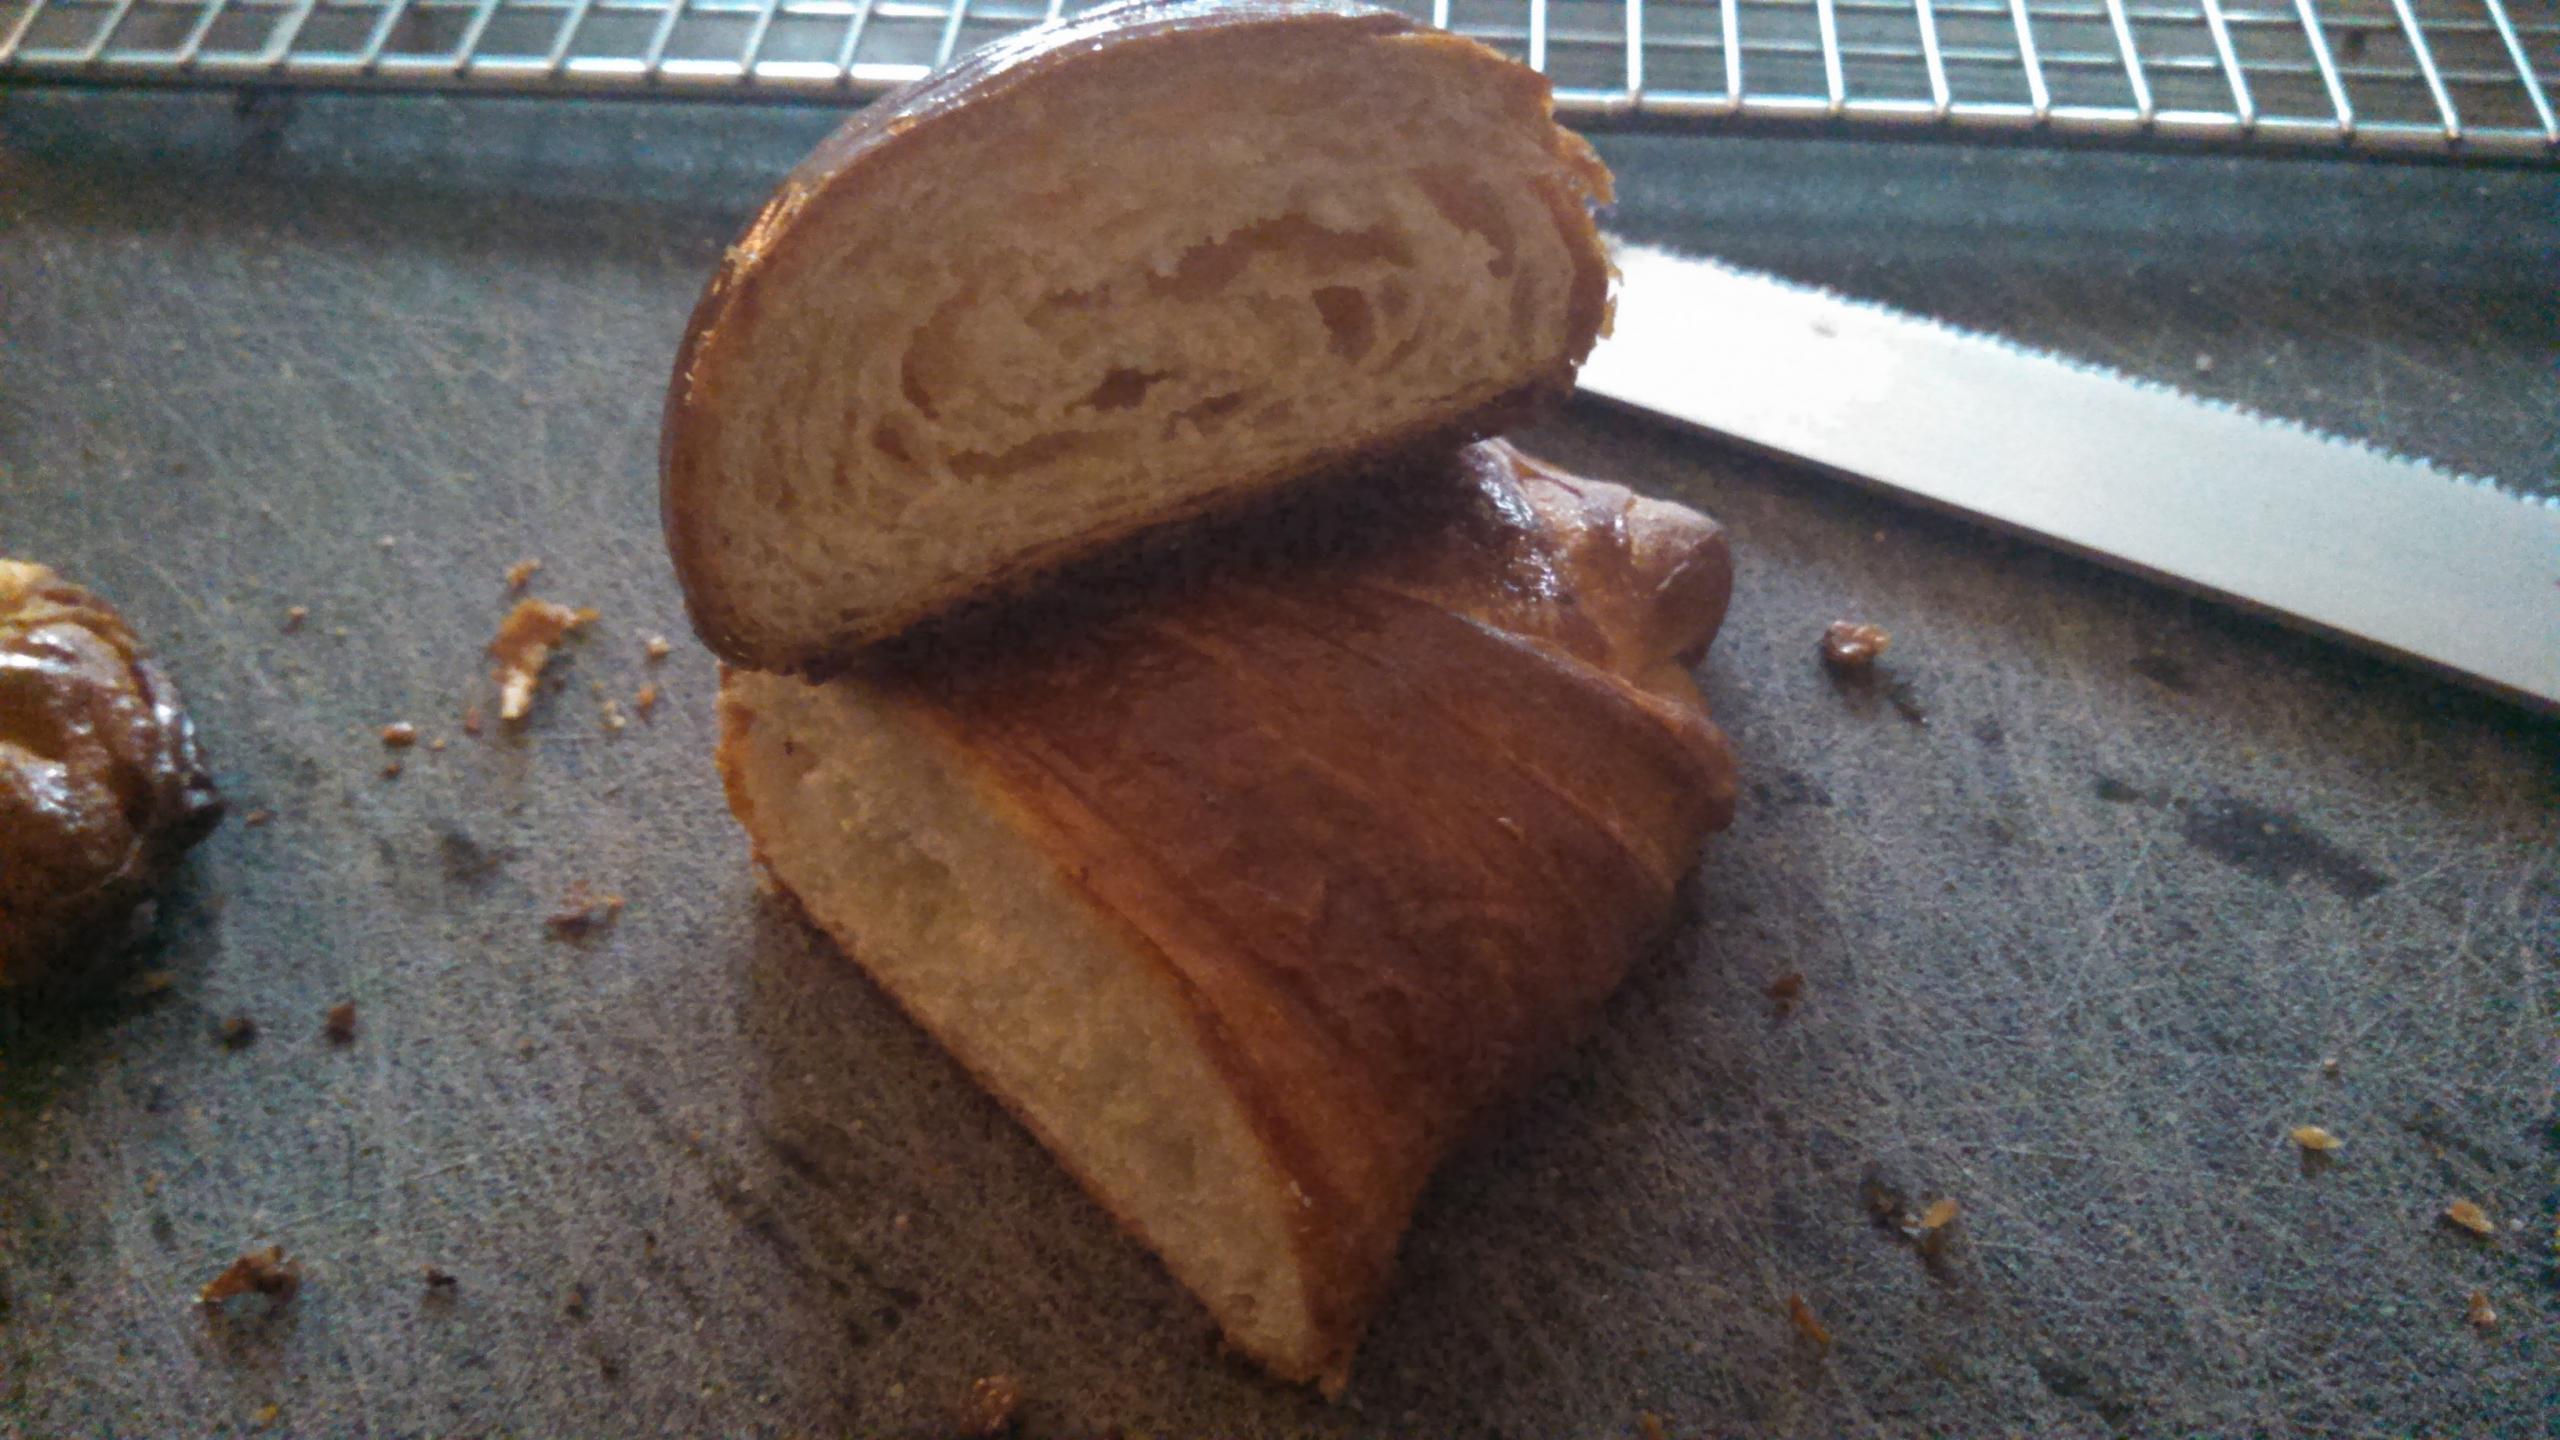
The sixth batch - the poolish hybrid CAP/tx_farmer recipe from above, at the lower oven temperature recommended over a higher temp, shorter bake.

I hope this proves useful to those starting out on their own croissant adventures! Patience, persistence, and a tiny bit of obsession goes a long way :)
-labetsy
Thanks for the tips, I hope to try my hand at croissants again soon. By the way, I can only see your first picture. I would like to see the rest of them.
Thanks, Dwayne
I've added them all properly, now!
Thanks for the pictures they will be a big help when I begin my Croissant Odyssey.
Dwayne
Hi , i have just registered in this site to write for you a thanking comment. I have tried many recipes of croissant which didnt give me that unique flavour of perfect croissant. Until i found a hint about making the dough from poolish, then i found your recipe that i found you put your hard effort to achive. I tried it and i had the most delicious croissant that i could imagen i could make one day. Thank you sooo much. I really appreciate it.
Forgive my English lang.
It is so satisfying when croissants turn out just like you imagine!
Thank you for posting as I am also on my croissant adventure and hopefully one day, I will get a perfect honeycomb texture crumb.
of my new croissant adventures -- this time, in a professional kitchen! i staged and sent photos of work to every bakery in town, and now, with access to very happy levain daily, lower water-content cultured butter, and better quality flours than I could afford to purchase at home, i have a new croissant recipe and a new photo. The method is exactly the same, with the exception of the final egg wash -- try substituting egg yolk and milk for straight egg, if you prefer a darker outer glaze!
(all units in grams)
750 Bread Flour
75 Whole Wheat
75 Spelt
440 Levain (100% hydration, bread flour or AP and water)
240 Milk
100 Water
148 Butter
148 Sugar
24 Salt
12 ADY or 5 Instant Yeast
730 Roll-In Butter (or, 1.5lbs -- I use 1lb and cut another lb in half)
Yields about 32ct of 60g ea croissant
croissant photo (redirects to imgur)
the use of a sheeter -- just rolling pin and elbow grease. i was surprised at how even the lamination came out -- though the croissant may be a bit underproofed, as the structure seems a shade tighter than other attempts.
Is it possible to plasticise the butter the night before and refrigerate it in the rectangle?
Also, I've had problems in the past with the butter within the dough cracking as I roll, how do I avoid this? I've seen that some people roll the butter with flour to flatten it - is this a good strategy?
Thanks in advance for your help, can't wait to master croissants
Hi there KatOstrich, plasticizing the butter the night before is tricky because the butter gets too cold to reliably roll out without cracking, kind of like what pie dough does when you refrigerate it and then try to roll it without pounding it out first. Good luck with your croissants!
Thanks for sharing this recipe, it's my most successful attempt at croissants to date, though I'm sure there's still improvement to be made