Just shy of three weeks ago I made my first attempt at baking bread in a chicken brick. I detailed the attempt HERE. It sort of worked and I really appreciated the feedback I received. Now that my oven's been fixed, I thought I'd put the lessons I'd learnt to the test and have another go.
The recipe stayed the same (I used half a quantity and stuck with the Leckford Estate flour) and the method for making the dough remained the same. Bulk ferment in my relatively cool kitchen took a couple of hours with a stretch & fold halfway through.
After degassing the dough, I took on board the advice regarding shaping. I used the method for shaping a batard that's detailed in the handbook. The shaped dough then went into the greased and floured brick that I'd soaked in cold water for about half an hour.
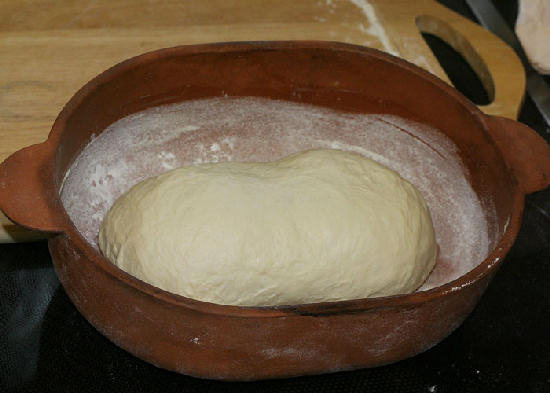
Instead of doing the proof with the lid of the brick on, I left it off and slipped the base and shaped dough inside a large plastic bag instead. The proof took about an hour, after which I scored the dough. Using a better method for shaping made a big difference. Instead of spreading out during the proof, the dough kept its shape, which also made it much easier to score...
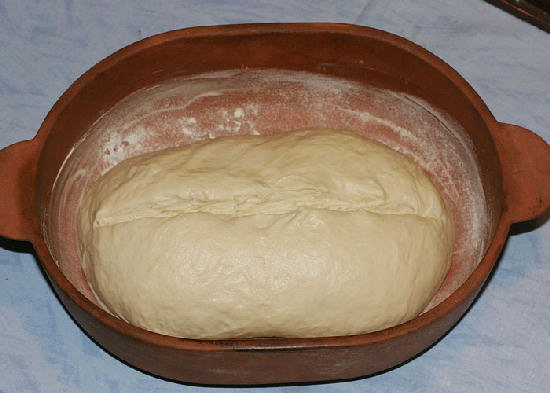
After that, the lid was clapped on, and it went into an oven preheated to 230C (that's as high as my oven goes). I kept the temperature up at 230 for the first 10 minutes of the bake, after which I turned it down to 200. As suggested, I kept the lid on for longer (25 minutes) before removing it, and baking the bread for longer too. Total baking time was 40 minutes. When it came out of the oven, this is what I had...
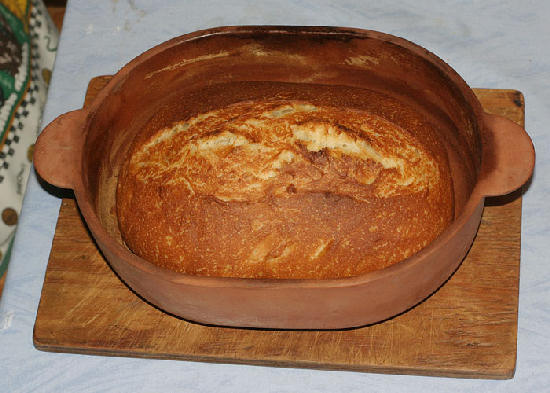
Here's what it looked like on the cooling rack - this time it didn't get stuck in the brick, it just lifted out super easy:
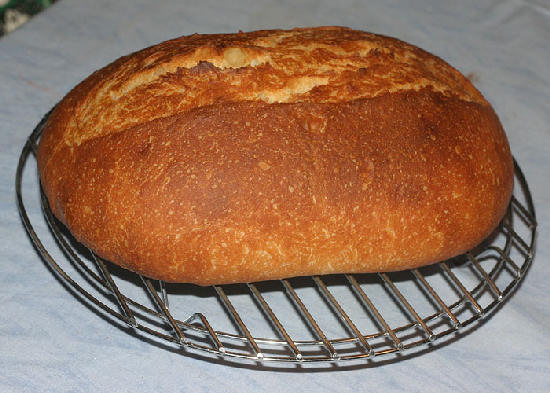
And lastly, the all-important crumb shot:
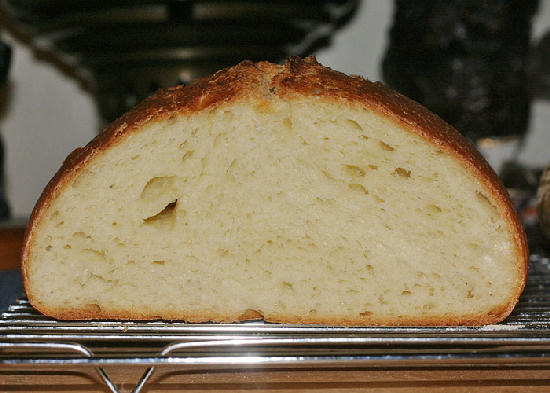
I definitely got a much better loaf than the first time I tried this; smelled wonderful, lovely crisp, glossy crust that was well browned all around, a chewy but soft crumb, a creamy, rich, almost brioche-like flavour. Who thought a plain white yeasted loaf would taste soooooo gooood! There's not much of it left - it went down a treat with fresh roast chicken and a mixed salad... :-)
Thank you *SO* much for all the wonderful tips, everyone. When you compare this to my first attempt, the difference is unreal. Onwards and upwards, there's still a few of the suggestions I haven't explored yet, but either way, I think this is going to become a real favourite here. Hope this will inspire other folks to try this too :-)
I used the brick cold after pre-soaking in water. Not tried it hot yet, though it was one of the suggestions I received on the original thread.
This particular brick is 9.5 x 7 inches and 6 inches tall. It takes a medium-sized loaf (375g flour, 225ml water). Here's what it looks like with the lid on:
That looks spectacular! Great job, and the crumb looks very yummy!
It's truly amazing how a few small changes can make such a huge difference...
Will definitely be trying this with other breads in the future.
Witty.
P.S. Off to finish the last of it for lunch ;-)
A great looking loaf! :)
Crumb looks nice and soft. Works well this chicken brick.
Bon Appetite.
Crumbs are all that's left of it now...
Back down to Earth with today's bake though, two steps forward, one step back. At least I know where I erred with my Pain de Campagne thanks to the great info on this site; US recipe book, 70% hydration and UK flour, resulting in a sticky *phlut* of a dough that couldn't be scored very well prior to baking... :-p
Will take the hydration down 10% next time and gradually work back upwards... Still, it's a tasty enough frisbee, won't be wasted LOL