Baked a loaf this morning following Tom’s instructions. He wrote:
Mix ingredients until flour is hydrated (i.e., no dry flour remains);
Rest 15 minutes;
Knead;
Round up into a ball, cover;
Wait 15 minutes or so, then gently stretch the dough several times and see if it develops some elasticity and strength (i.e., doesn't tend to break so easily);
Ball up the dough again, or put it into a loaf pan;
Wait for the dough to rise and get jiggly;
Bake.
And here’s how I put it together and the result:
Mixed 3-1/2 cups flour and sea salt with 2oz of activated yeast in water
Blend with additional 5oz of water (total of 7oz of liquid), and mixed until flour was incorporated resulting in a dry dough
Correct me if I’m wrong but that’s 25% hydration
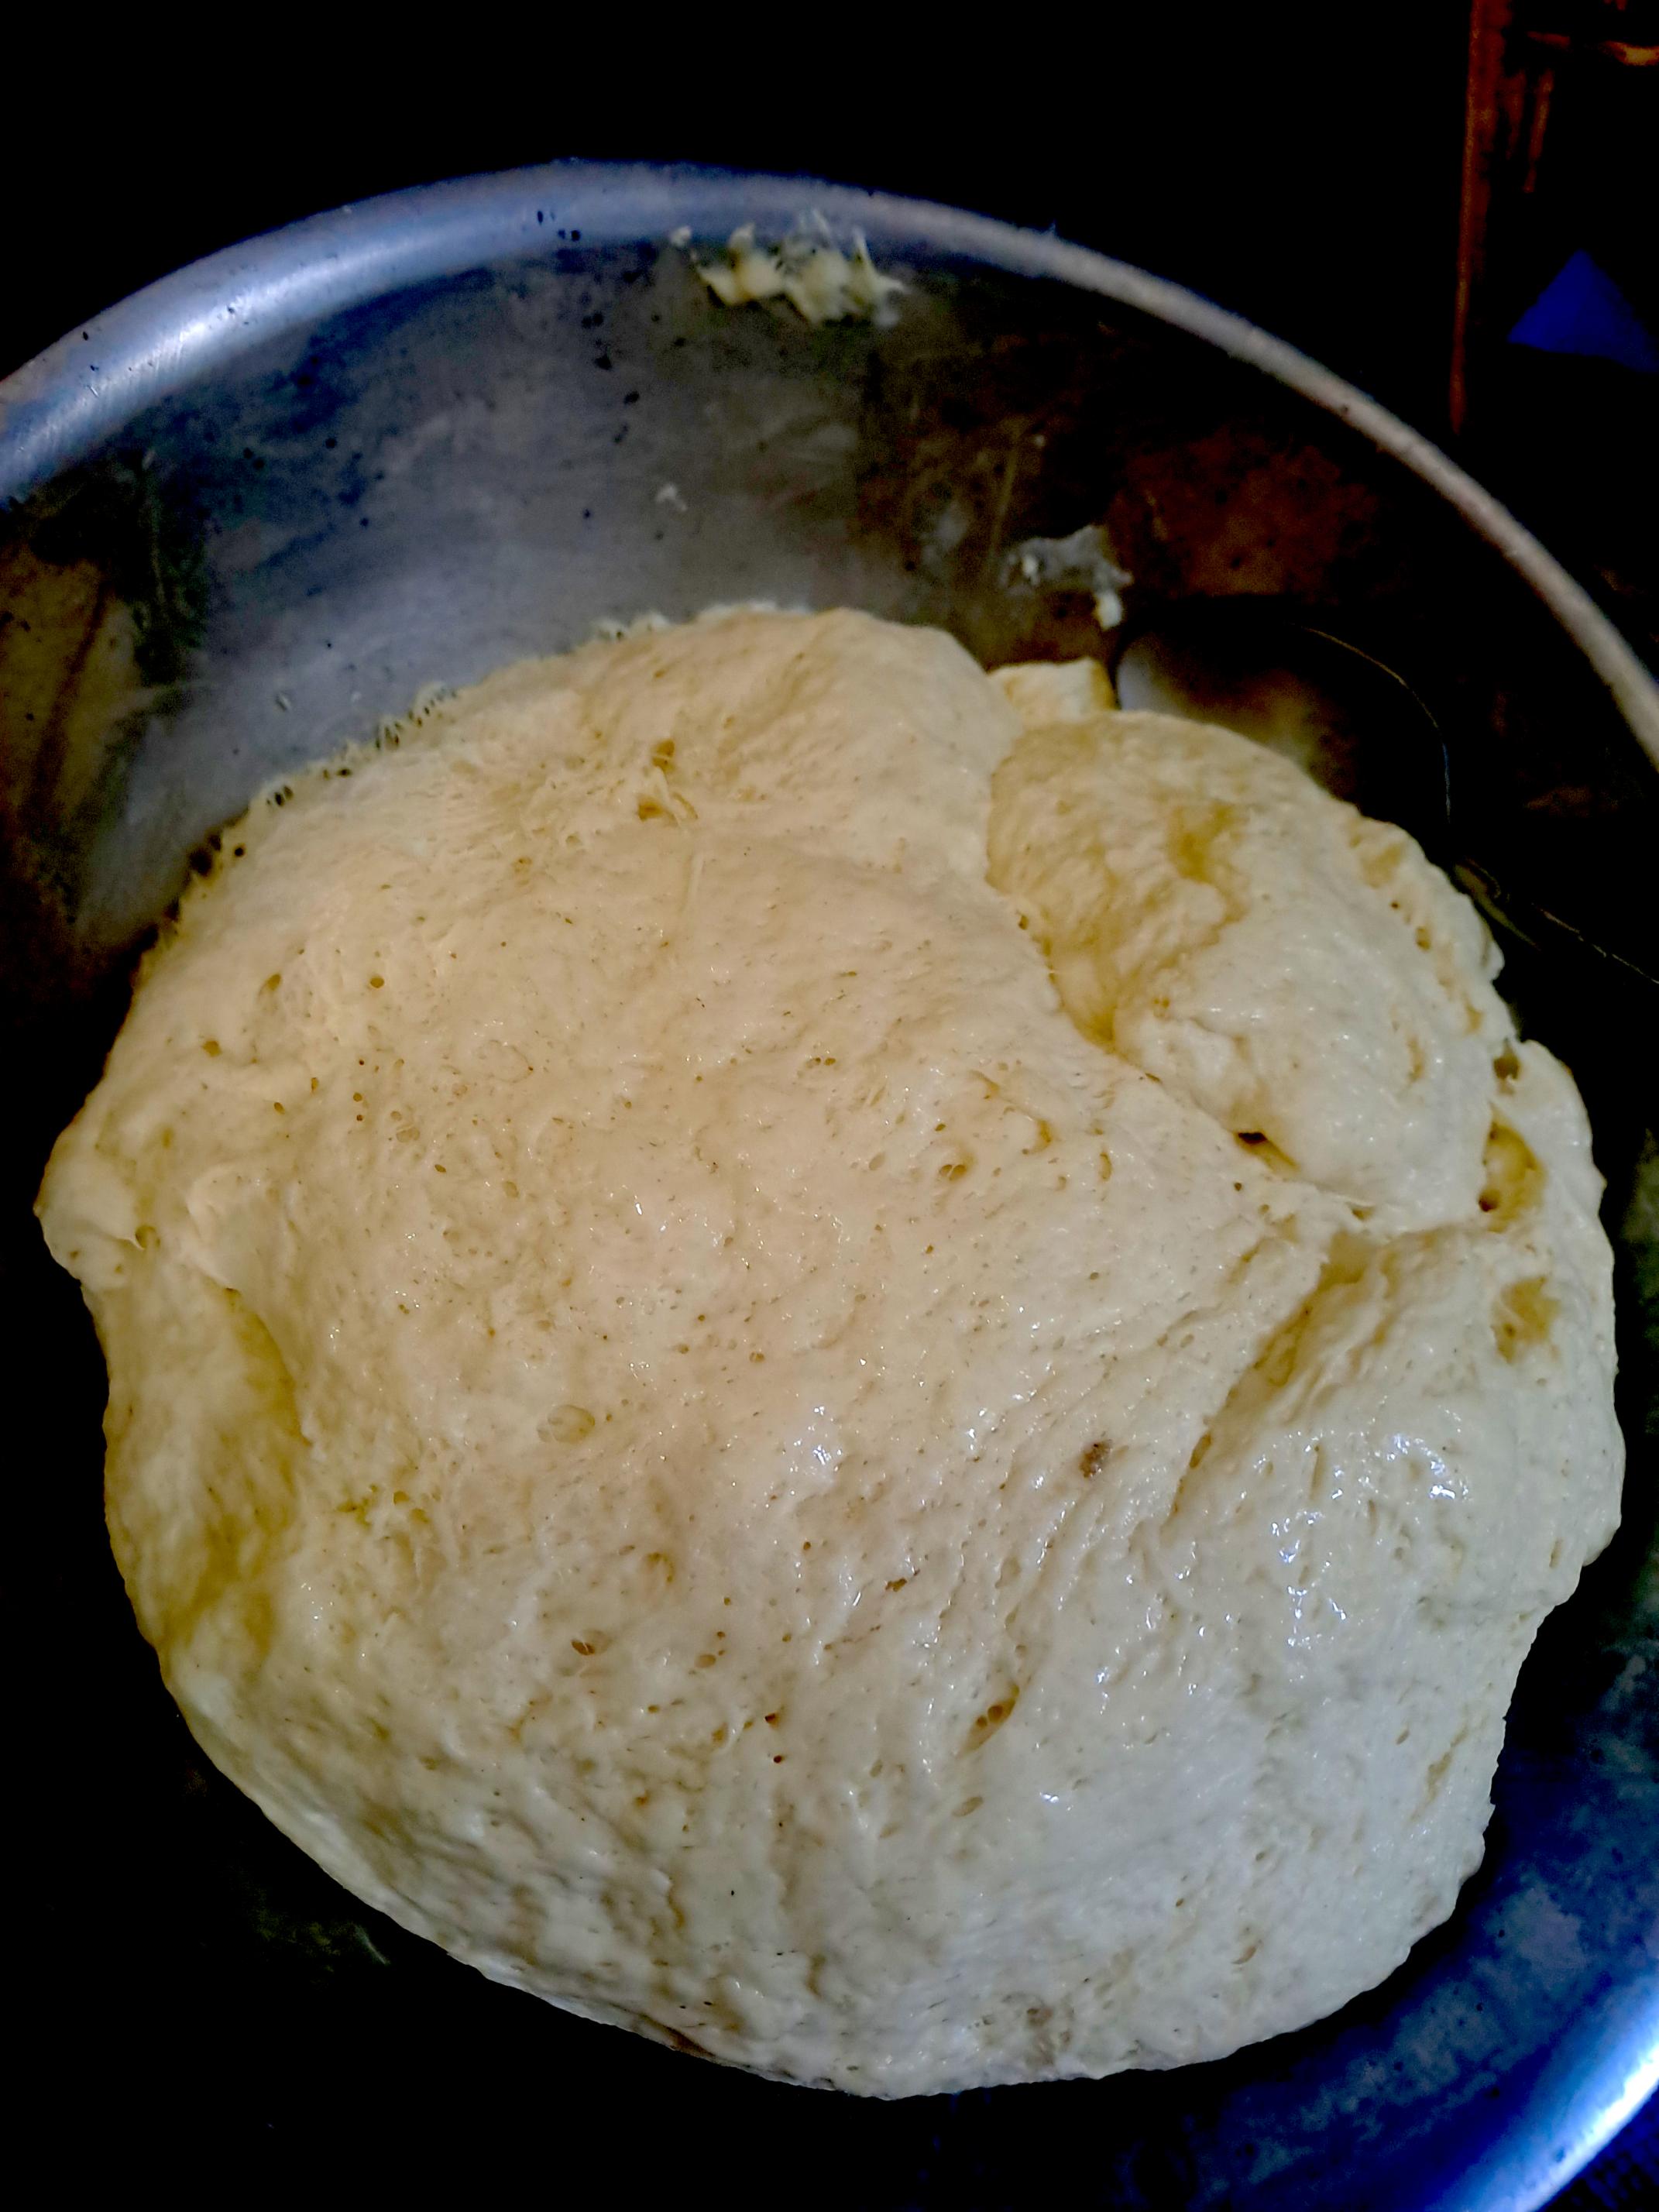
Let rest for 15-minutes (began to see a good rise already)
Knead for 10-minutes by stretching dough out on my counter-top and folding back on itself with plastic scraper
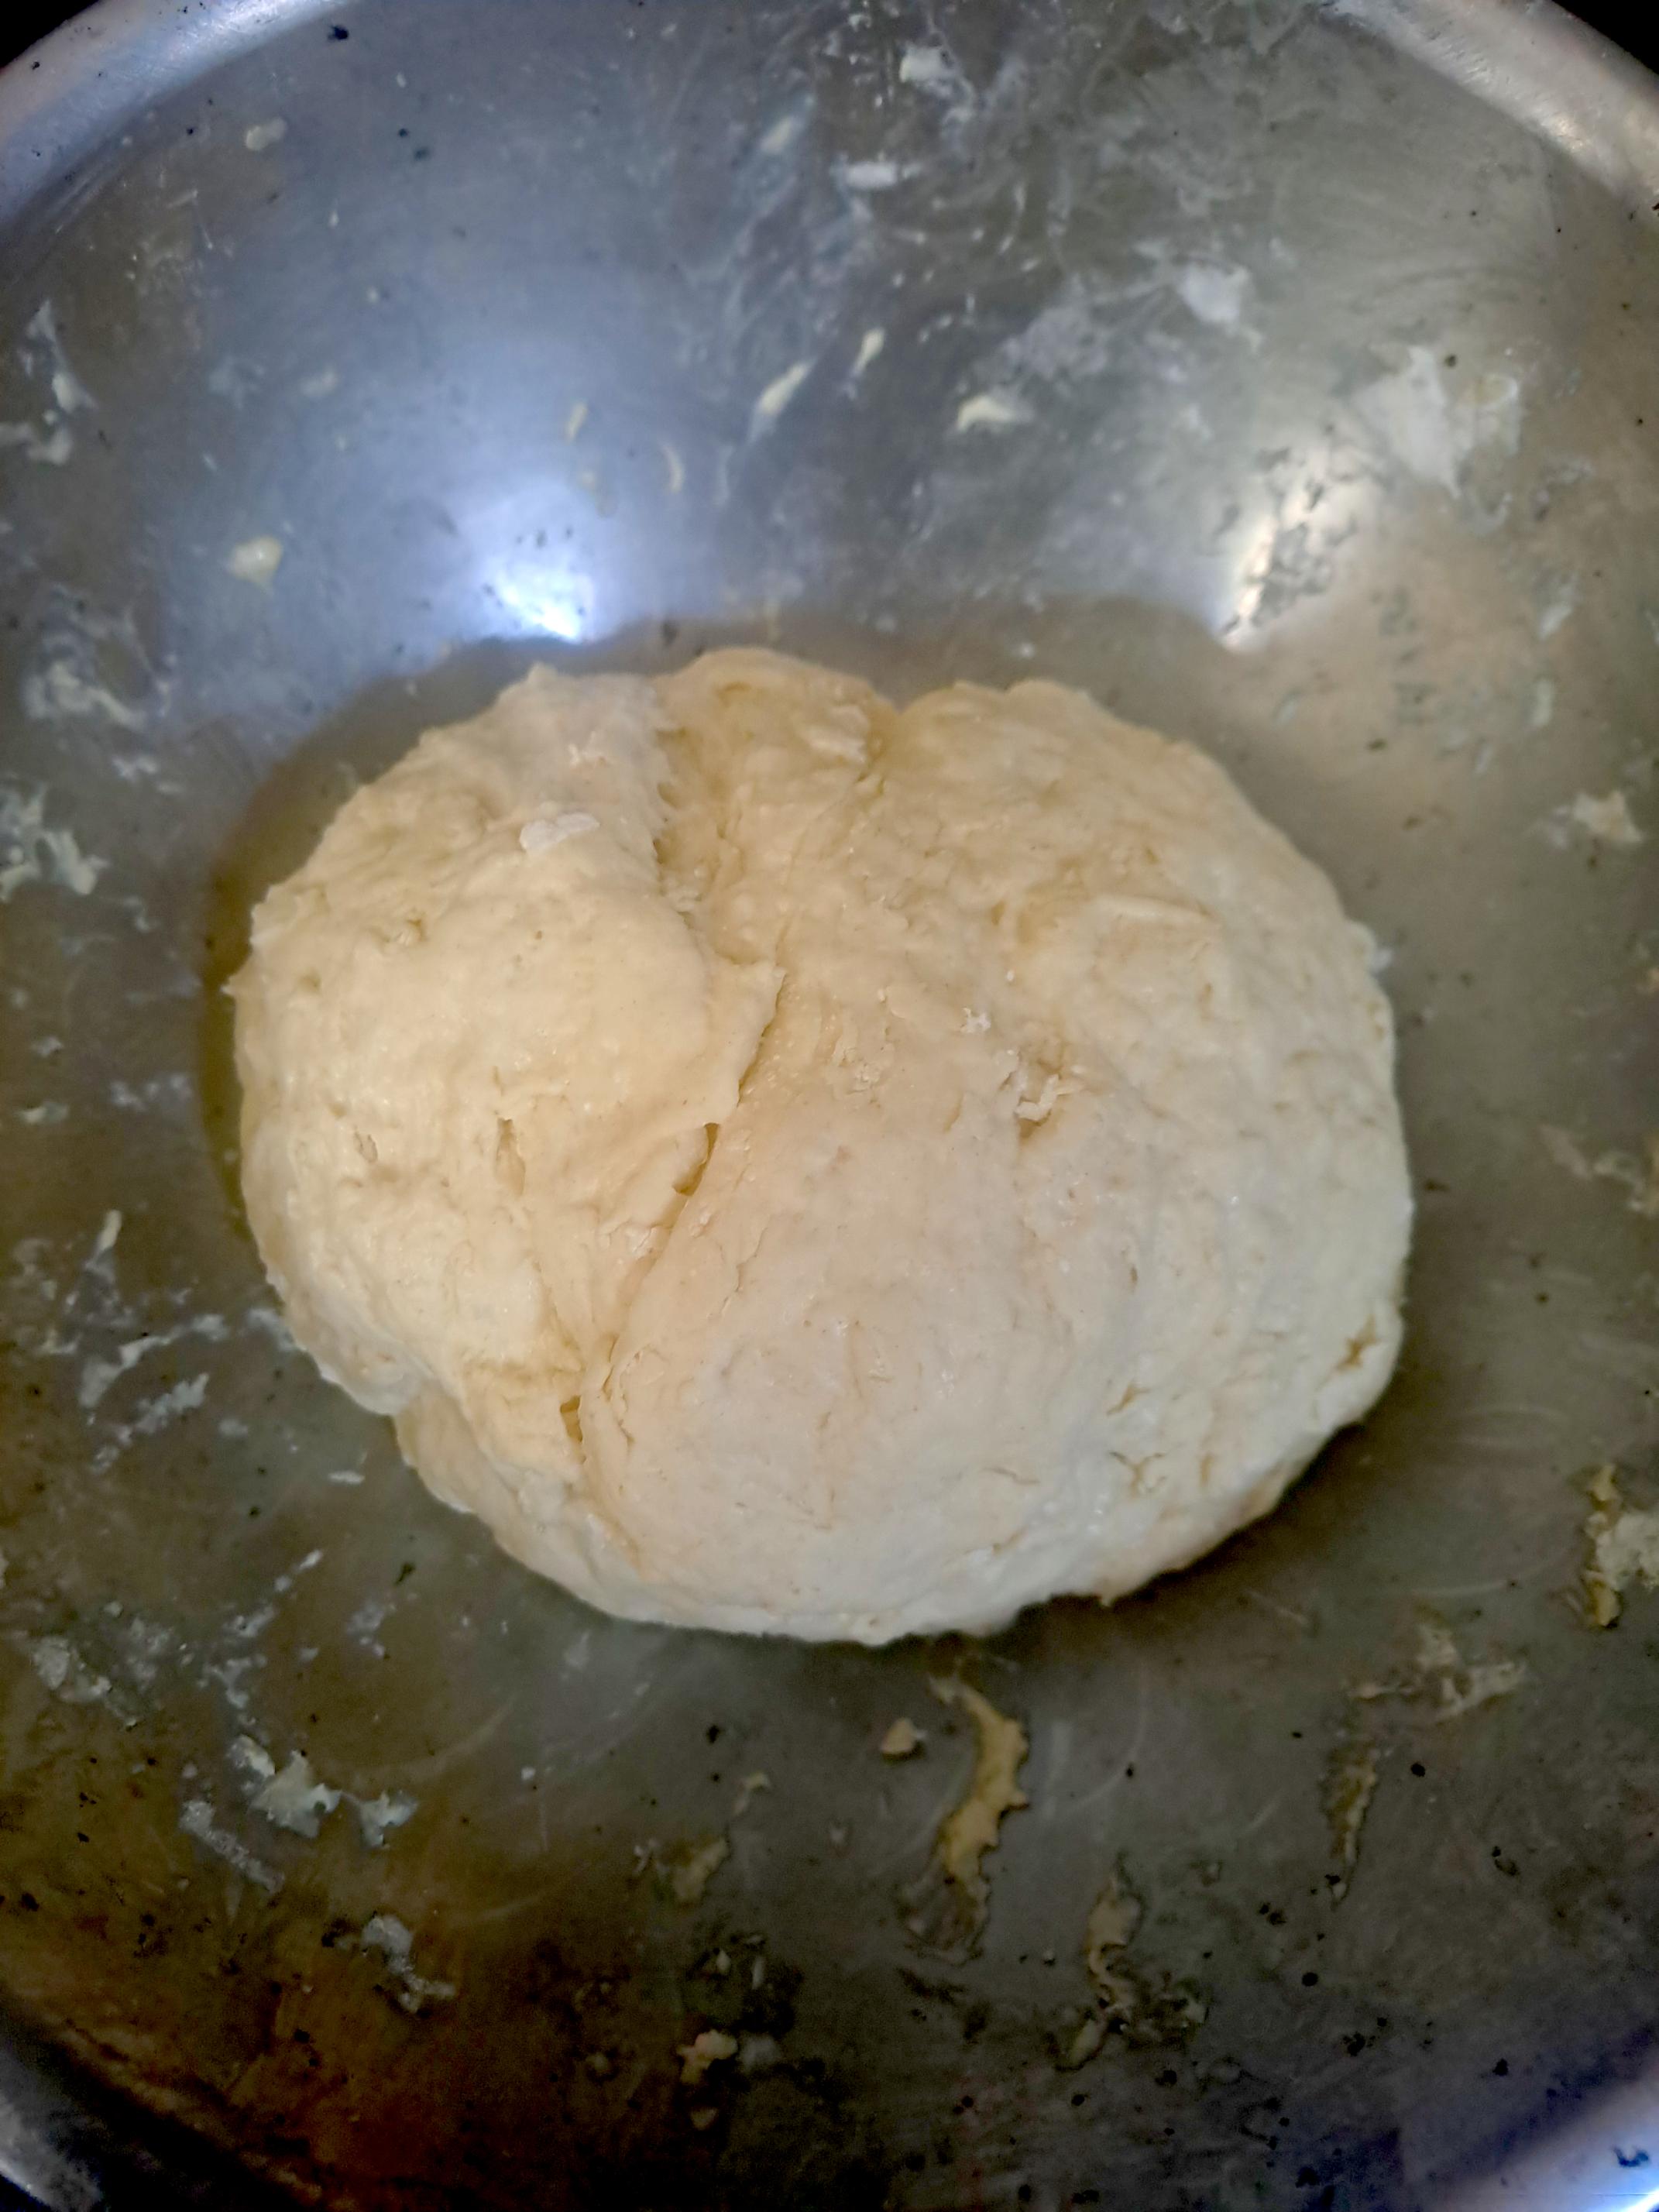
Formed ball, oiled and covered with waxed paper
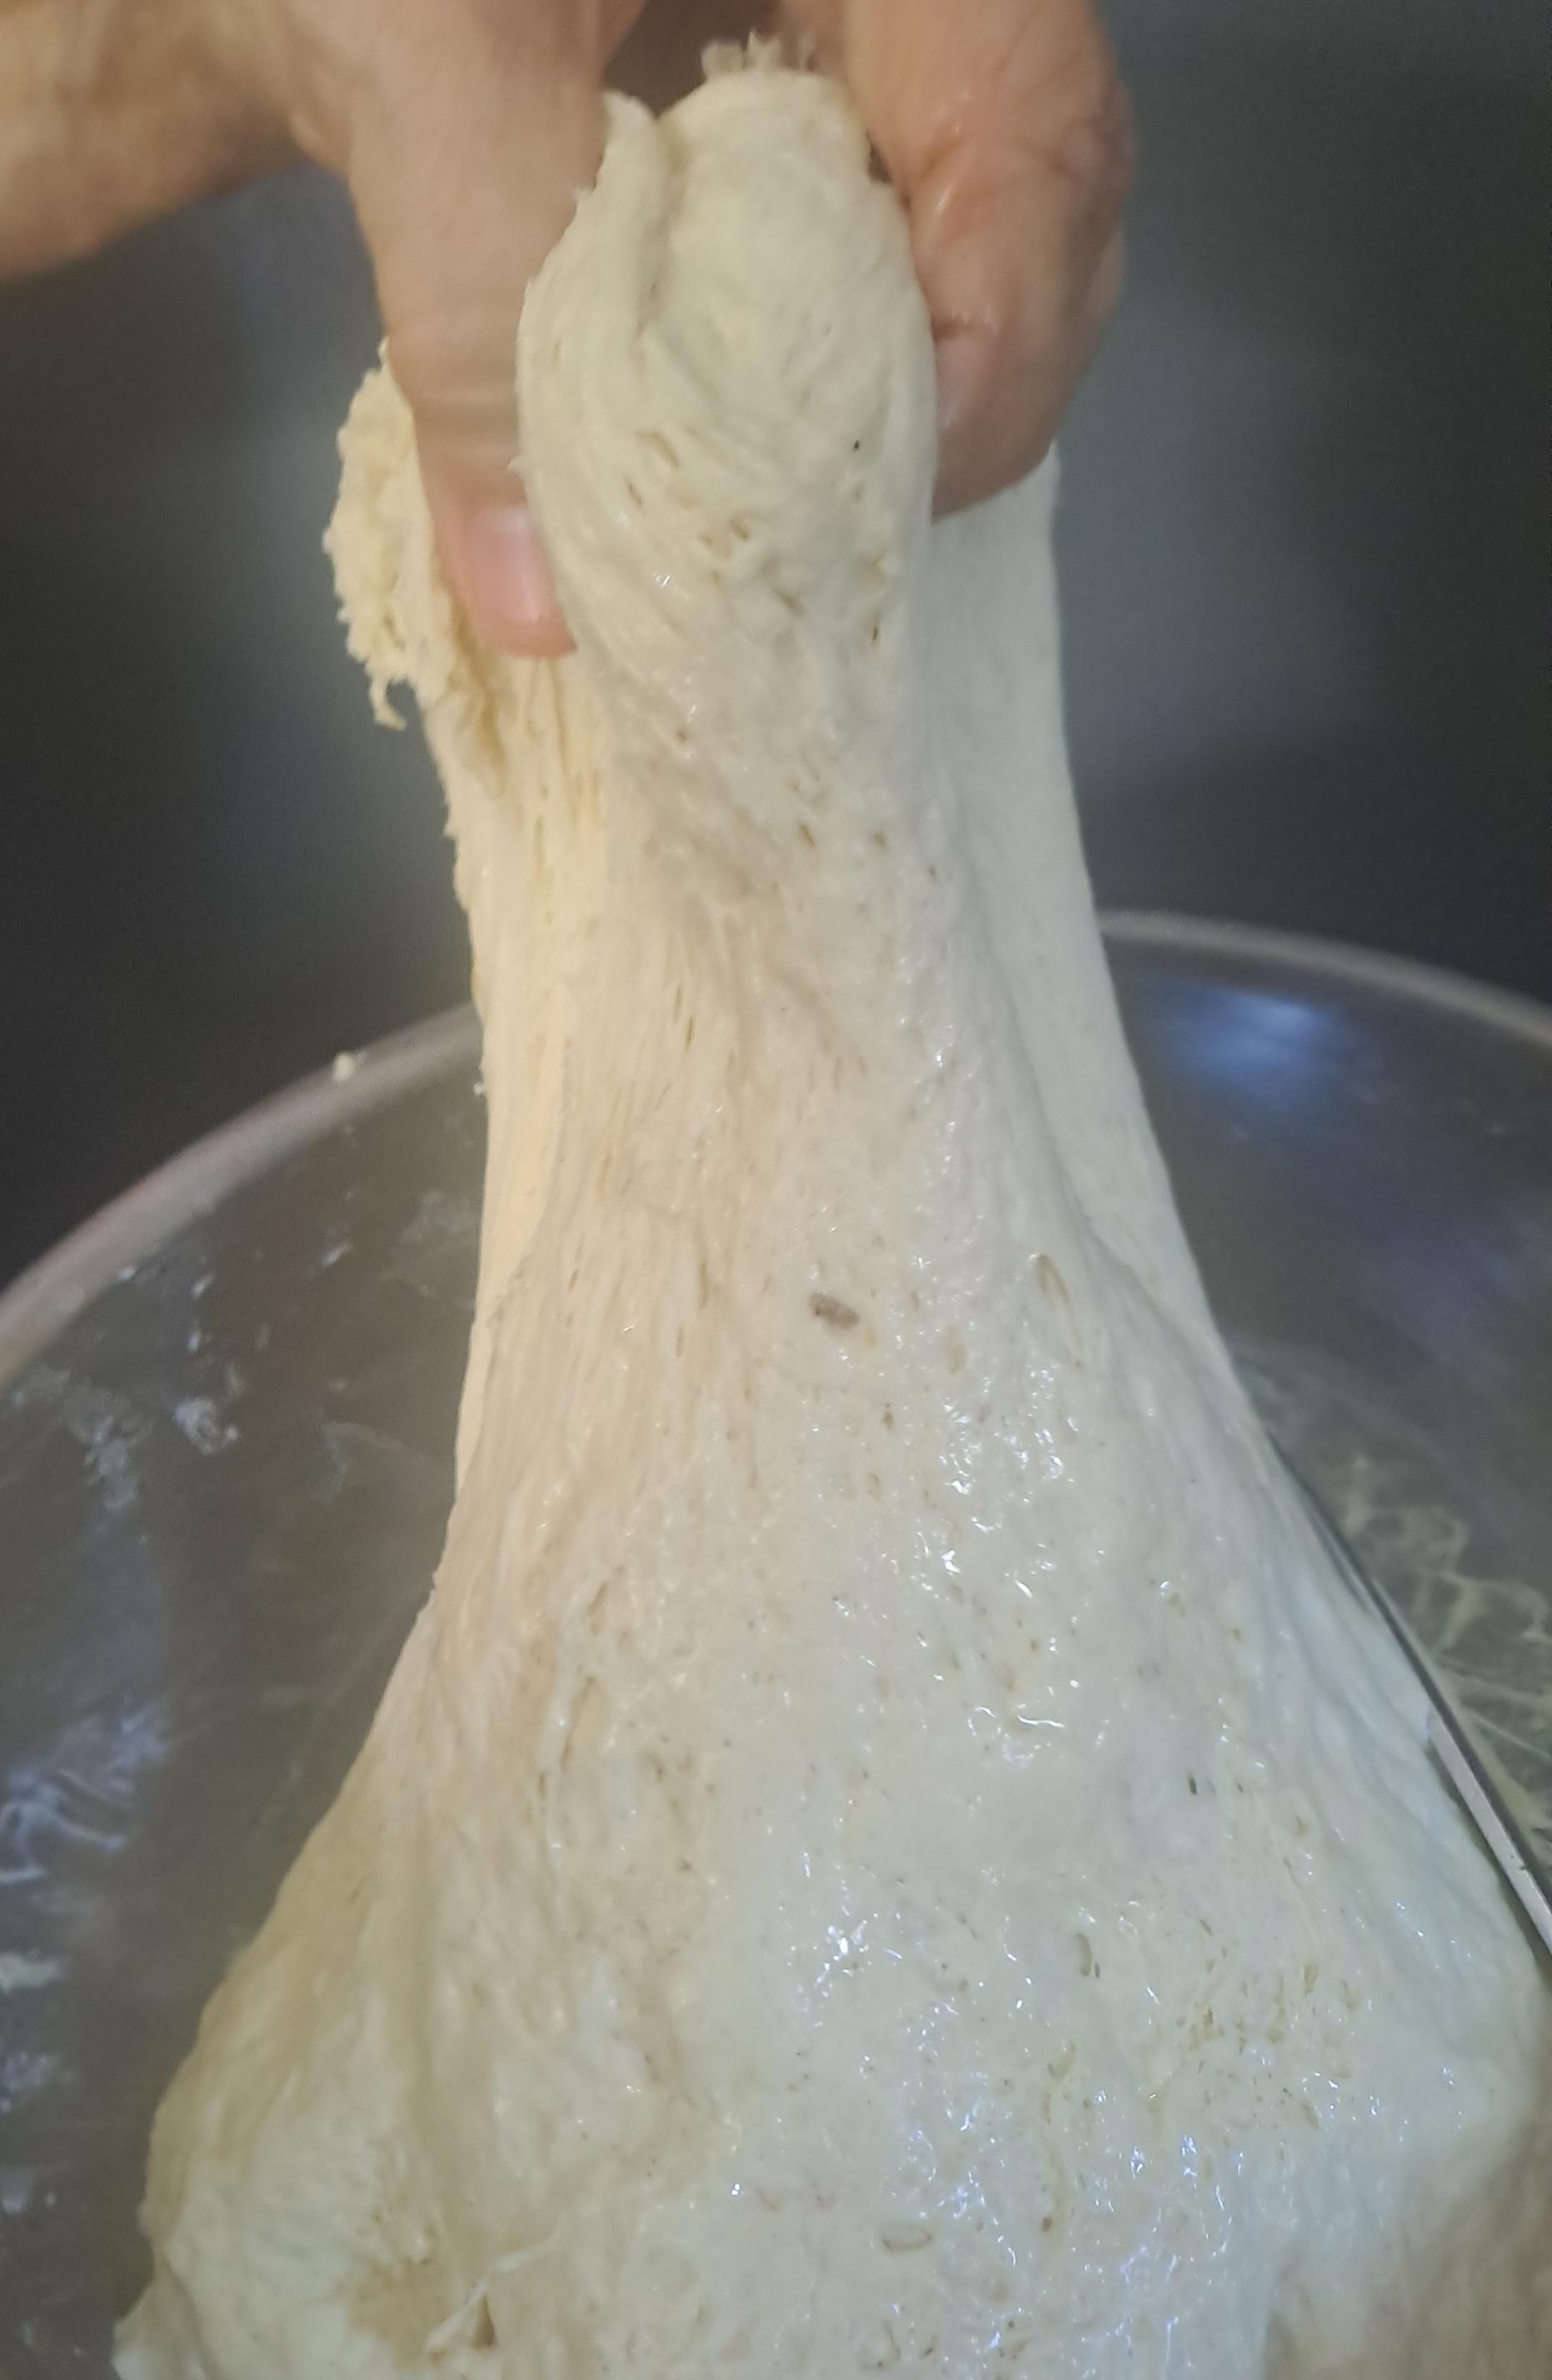
After 15-minutes, stretched the dough to see if it was developing elasticity and strength
Balled up the dough and let rest another 15-minutes, then an additional 15-minutes because the rise wasn’t as noticeable
Gently formed up the ball, dusted with flour and moved the dough to a preheated oven and steel (500F) with water bowl below the rack
Lowered the heat to 450F and baked, covered, for 30-minutes, then uncovered for the final 10-minutes
CONCLUSION is in the next thread.
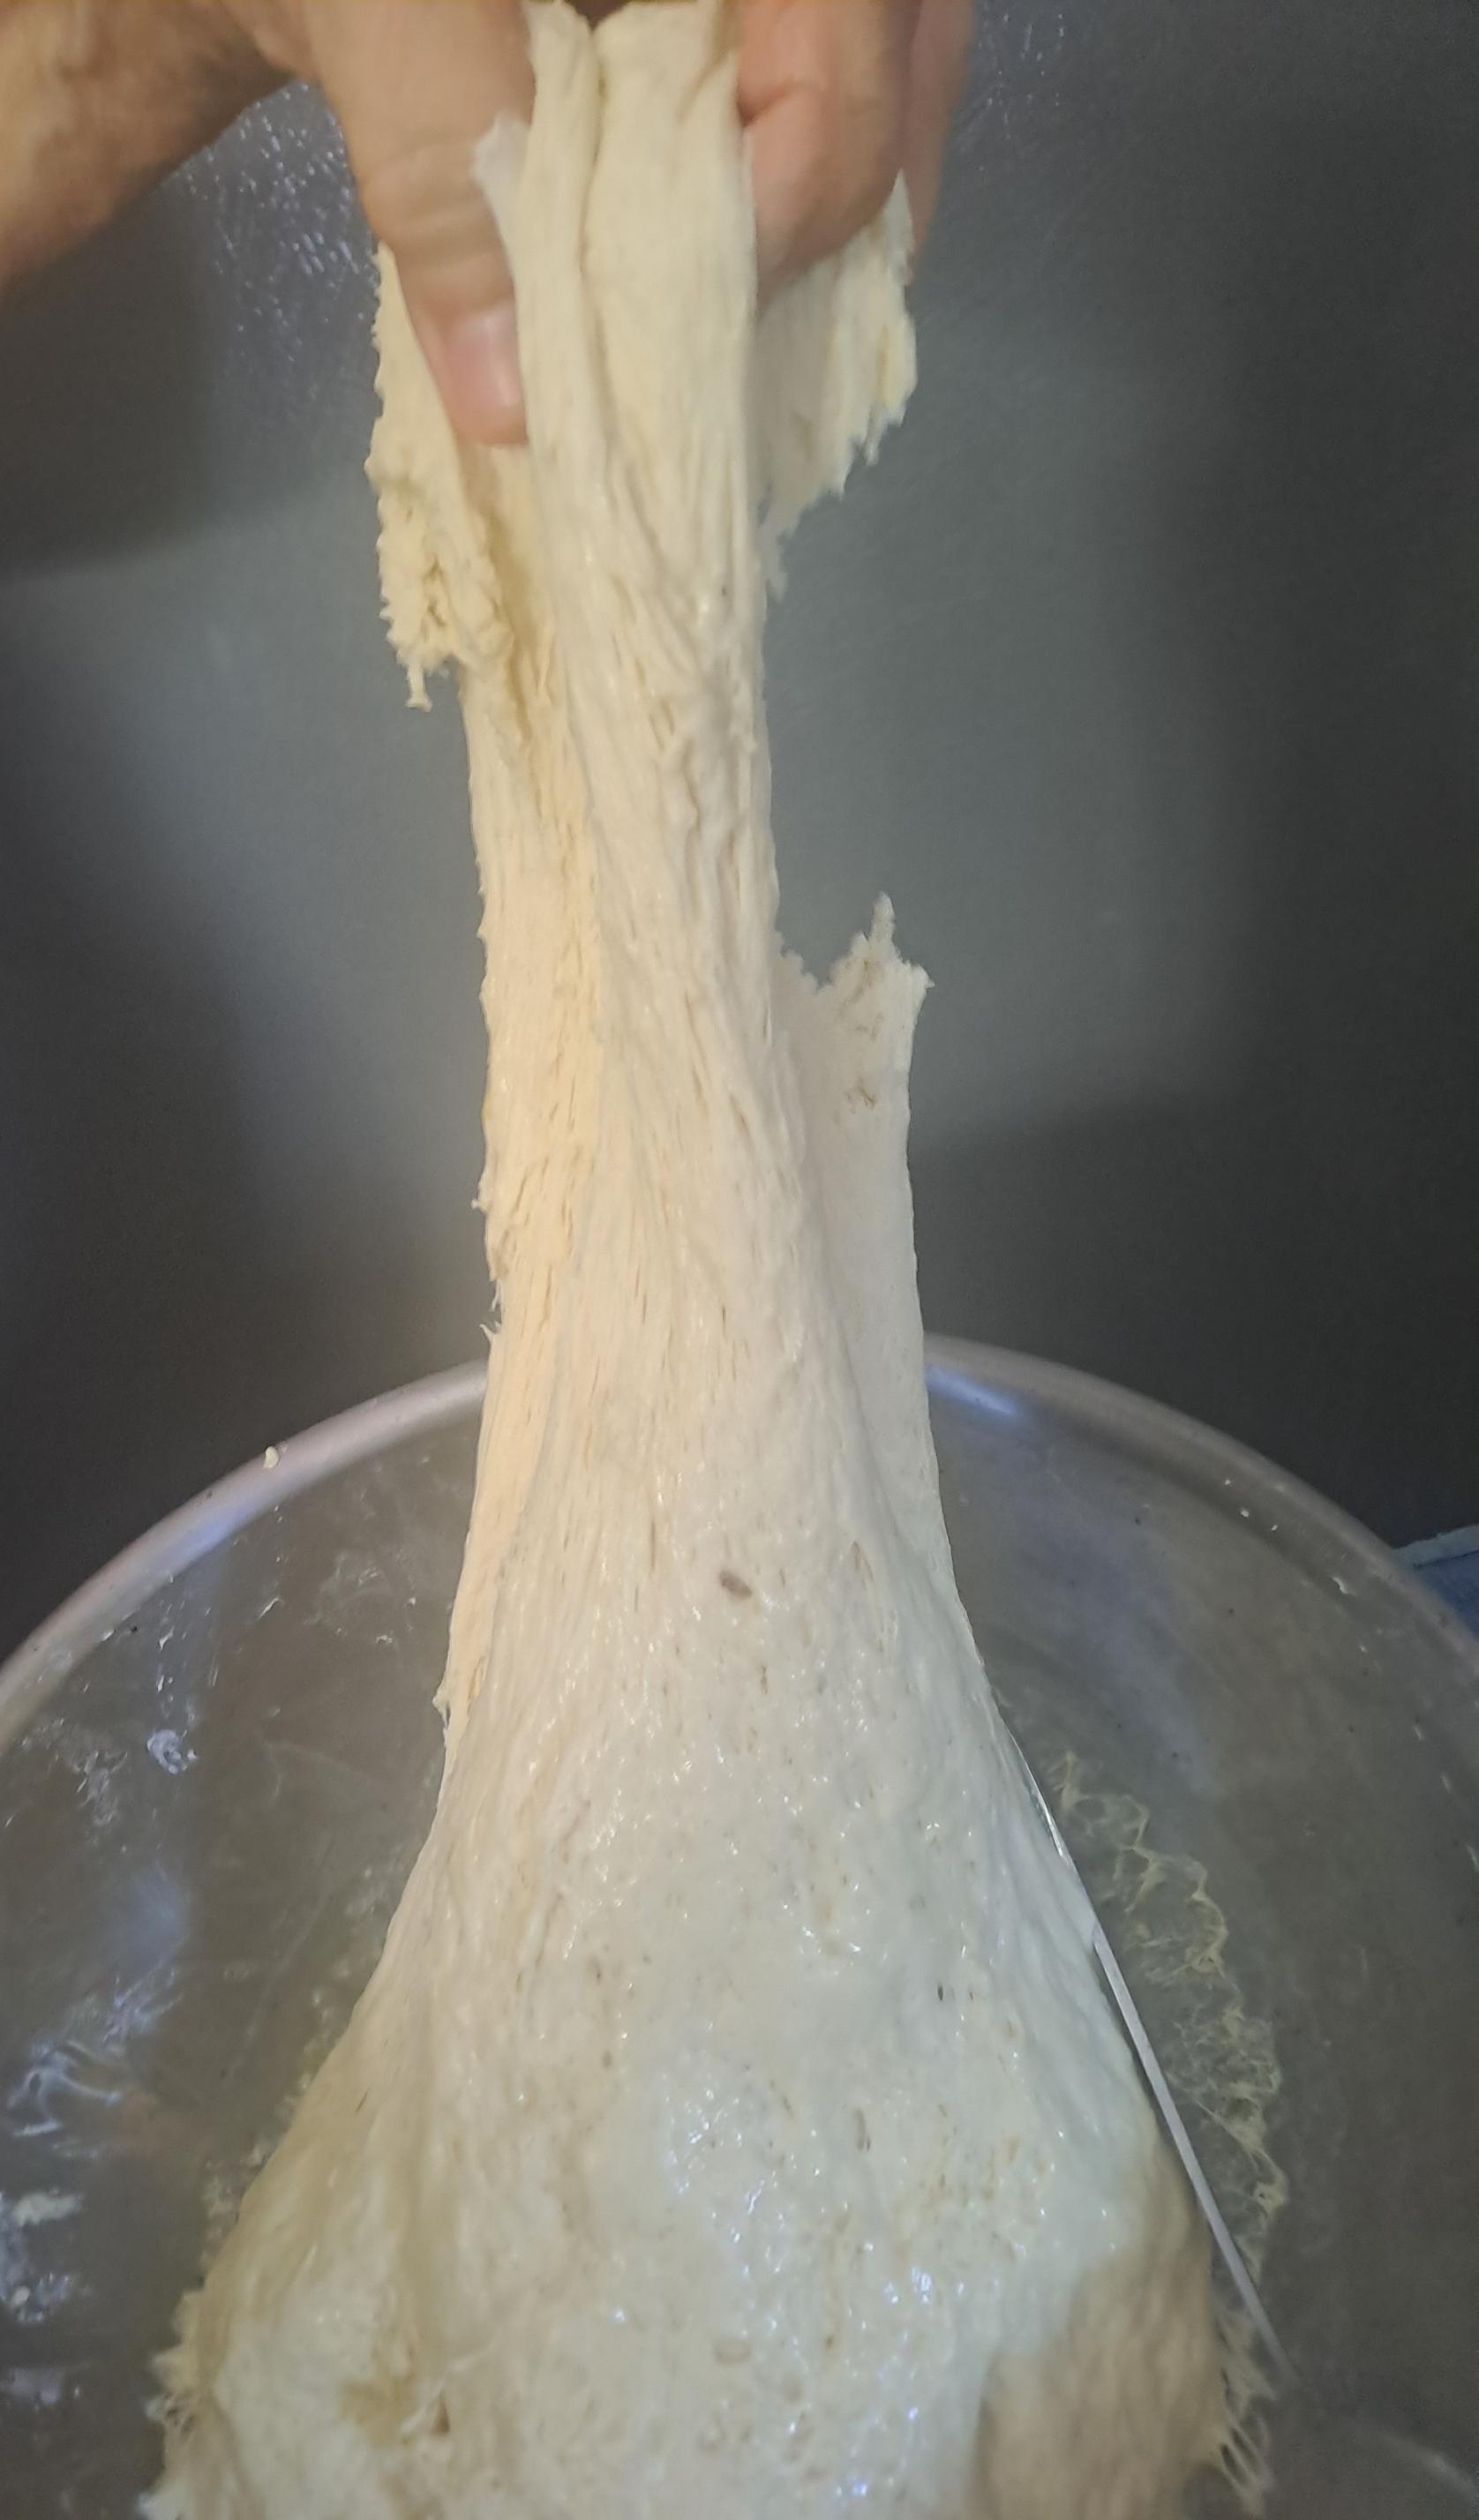
Now that you've stretched the dough and seen how it handles, next try go ahead and stretch-and-fold (S&F) the dough several times at that step in the process. I can see from the pictures that the dough isn't bad but still tends to break earlier than is desirable. Also, it looks a little rough and some S&Fs will help with these qualities.
There are a thousand ways to do a S&F and no one of them is THE RIGHT WAY. Generally speaking grip one side of the dough, pull it out as you do in the pictures, and fold it or let it drape back onto the rest of the dough. Then rotate the bowl, grip another section, and repeat. Work your way around the bowl, or stop if the dough starts to resist too much. The dough body might lift up as you pull a section. If so, move the dough onto your work surface so it will be easier to hold down as you pull.
Usually one would do several (2 - 4) S&F sessions, with a rest in between, say 15 - 30 minutes. But your dough has been fermenting in an hour, so I didn't suggest doing so. If you like, you could reduce the amount of instant yeast. This will slow down the fermentation and let you do more S&Fs. They are bound to improve the bread. But with your flour, I'm not sure if the dough could tolerate this tactic. It's worth trying but if you start getting glop again, go back to the original amount of yeast.
Right, Tom. I’m not getting a silky dough. It’s dry and the easiest way to knead it is to stretch it out on my counter-top. I use my palms to extend the dough about 12-inches then fold it back on itself three times, turn the ball 180-degrees and repeat. When I stretch the dough out, the surface is slightly shingled, alligatored, but I’m not getting any cracking around the edges. After 10-minutes kneading followed by a rest, I can stretch the dough as seen in my photos. I could add a couple of tablespoons of water but run the risk of the dough collapsing, losing its shape before baking and looking like a frisbie.
My greater concern is that crust. The color isn’t appealing and the tough exterior, as you pointed out, inhibits the expansion of the crumb. Covering the dough in the oven for 30-minutes seemed to help. I’m using an inverted aluminum pot. Maybe bake it covered for the whole 40-minutes? Drop the temperature to 400F? Bake without a bowl of water below the rack? So many variables...
Thanks Tom...
Katie
The you have already been doing the S&F sessions I suggested. Good. A light crust, especially thick, probably indicates too low a baking temperature: the crust is drying out without browning. A crust that gets darker than the bottom of the loaf indicates too high a temperature. It's also possible that your flour just doesn't want to brown up. But the tough, thick crust still indicates too low a temperature. Usually one lowers the temperature during the bake if the crust get too brown before the loaf is done (or covers the loaf), and here you have the inverse problem.
Try raising the temperature by 25 deg F/14C at a time, if your oven can do so. You could also add a little sugar to the dough but that might speed up fermentation and your cycle is already so short that it may end up working against you.
Hey, I can live with a pale crust, but it’s brittle, like chewing on glass. Storing in plastic helps (yuck!), or cutting thin slices, but tearing into a big hunk of wholesome bread with abandonment is an act of recklessness :-)
Katie
Brittle? I thought you said thick and tough. To me, brittle is thin, hard, and fragile. If it's thin and hard, try a lower baking temperature and leave it covered for longer.
It's not fragile. You have to saw through it, especially the bottom. As soon as it's cool enough, I place the loaf in a plastic bag. Then it is more chewy after sitting over night. But when it comes out of the oven, it feels heavy and you could use it for a hockey puck.
But thin and hard sounds right. And it doesn't "give" when you squeeze it. It's like a shell and has to be inhibiting the expansion of the crumb. I slice the top of the loaf but it doesn't open up much, to relieve the pressure.
So more steam? Less steam? Cover? Uncover? More heat? Less heat? How would you handle it from here?
Thank you for your patience.
Katie
I'm not sure what to suggest. Probably more steam and lower baking temperature. Possibly baking for a shorter time, too, as long as the inside gets cooked.
Your scoring seemed very deep, I would score less deeply but use more of them. That won't change the crust qualities, though. It will reduce that broad opening whose sides also probably got hard. Here's an example from one of my loaves:
You might use an egg wash to get more browning, too.
That’s beautiful, Tom. Why can’t I do that. It’s exactly what I’m shooting for. I score about 3/4-inch deep and lots of times, the cut fills in on itself before I get to the other end of the dough ball. “Doctor, heal thyself!”
But I must say, this last loaf, following your instructions, was firmer. And I got it into the oven before it slumped and the cut was still open as I closed the oven door.
I’ve taken note of your suggestions and will keep trying.
Katie
Keep trying, that's the only way. Your flour seems to be fighting you so the loaves may never come out quite what you are shooting for, but you are already getting good tasting bread and better at handling the dough.
It might help get more steam to the loaf by spritzing the dough just before it goes into the oven and putting the bowl cover on it. Just plain water from a spray bottle. That gets the steam right where it needs to be and a bit easier than trying to get the whole oven steamy (my oven leaks so badly that's never going to work).
If I want to soften a crust that's too crispy I wrap the loaf in a clean tea towel while it cools.
Definitely looks a better dough and it looks like it has ample gluten, I never doubted the ability of this flour as I have used similar to make bread before.
You've received some great advice, I would add that further gluten development will make a lighter loaf without a hard crust.
Passive techniques (resting, stretch + fold) work better with flours richer in gluten. Weaker euro style flour needs plenty of active development (kneading / machine mixing) to make the best of it, where volume and lightness are concerned.
The only reason I didn't suggest more time and S&Fs is that the flour seems to begin to deteriorate fairly quickly. More work during kneading might be useful.
I think deterioration is a misinterpretation of what's actually happening. Afterall it's a yeasted dough made with a refined 9% protein flour, not sourdough, so the flour will remain in good shape for a same day bake, no problem.
When flour degrades, it will slacken and become less resistant and be unable to hold a shape regardless of how many stretch and folds are done. While tearing is a result of inextensibility and insufficient gluten development or developing too much dough strength (not the case here).
Katie said:
The window pane test is something that has been misused by social media bakers. Pulling a window pane was originally applied during the period of mixing or kneading before fermentation has kicked off. To try to pull a window pane after it has started to ferment and fill with gas makes no sense, as the gas bubbles and by-products will disrupt the extensibility of the gluten network.
Ideally the process should be:
Mix ingredients evenly -> Work dough to the desired level of gluten development (check window pane) -> Allow to rise -> Shape -> Proof.
Trying to mix / knead the dough to window pane after it has filled with gas and is still fermenting will make the job so much harder.
Katie wrote several things that showed deterioration, like these bits:
I suggestions were all intended to get to baking the loaf before it gets to that batter or gooey state.
Sure, a lot of things have been said and we have to try and decipher those statements.
Batter = over hydrated
Gooey = moist, but the inside of most any dough could be described as gooey particularly if risen and inflated with gas.
Things not changing or returning to a particular state are likely because not enough kneading has occurred in the first place. As I mentioned passive techniques are more applicable with flours richer in gluten.
From a technological standpoint the flour is not an issue. I can you assure you that flour will not degrade in the time taken to make the bread. The issues here are all a matter of a skills learning curve. The pictures have been eye opening and it's clear to see this is about insufficient gluten development. But it's difficult to tell someone how to do something.
@Katie - Have a look here for inspiration: Chasing thin, crispy, not thick/tough dough | The Fresh Loaf
I agree that the flour sounds over-hydrated but according to Katie's amounts the hydration for this loaf was only about 45%, and that was after I suggested reducing the water. More kneading could help, and less yeast to give more time for S&Fs.
Thanks everyone. For those following the saga, I started a new thread: LITTLE OVEN'S EGGING
Katie