Well, there’s nothing like taking your dough out of the proofer to do a S&F and then forgetting to put it back in to proof!!
Thanks to my senior moment and the need to go to bed, I put the dough in the fridge overnight to finish bulk. Naturally, it went from a targeted 50% rise to around 90%.
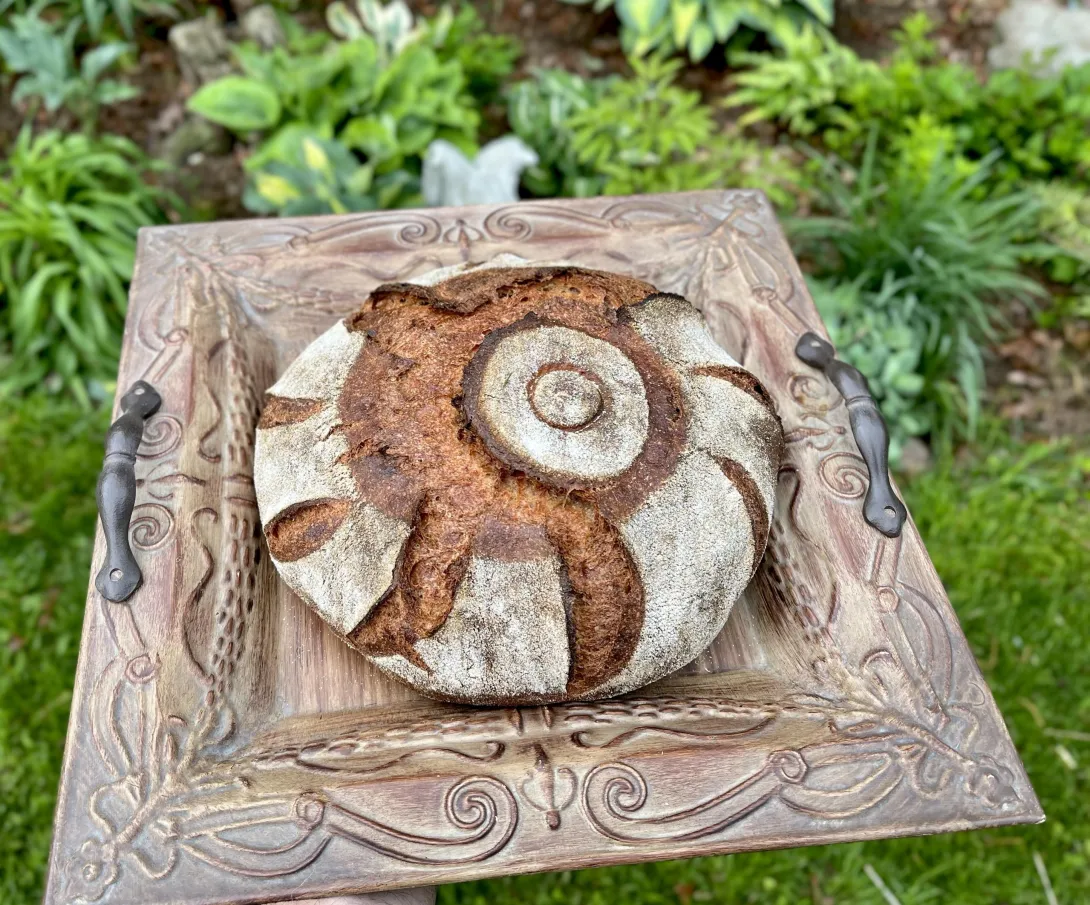
The dough was definitely over-proofed, but after shaping and refrigerating for around 10 hours before baking, it still came out pretty good. I used whole eggs in this one purposely so the crumb was a little drier than with just egg yolks as intended.
I used one of my new favorite grains from Barton Spring Mills called Stardust, which is a hard white winter wheat, which is slightly malty with a mild wheat flavor. This was milled with my Mockmill 200 and sifted once with a #30 drum sieve and remilled at the finest setting. The durum berries were milled the same way but I also sifted with a #40 drum sieve before remilling at the finest setting. I used Hopi Blue corn kernels and milled them on the finest setting and sifted using a #30 sieve.
I used my Ankarsrum to mix up the dough and open baked it on a baking stone with steam.

Formula

Levain Directions
Mix all the levain ingredients together for about 1 minute and cover with plastic wrap.
Let it sit at room temperature for around 6-7 hours or until the starter has almost doubled. Either use in the main dough immediately or refrigerate for up to 1 day before using.
Main Dough Procedure
Note: I use an Ankarsrum Mixer, so my order of mixing is slightly different than if using a Kitchenaid or other mixer. Add all the water to your mixing bowl except the 70 grams of water. Add all your flour to the bowl and mix on low for a minute until it forms a shaggy mass. Cover the mixing bowl and let it rest for 20 – 30 minutes. Next, add the levain, salt, eggs, honey, sour cream, and half the remaining water and mix on medium-low (about speed 3) for a few minutes until the water is absorbed, and turn the speed up a couple of notches for a few minutes until the dough starts to come together. Let it rest for another 20-30 minutes and add the rest of the water only if you feel you need it. Mix for 5-10 minutes more until you have a nice smooth, developed dough.
Remove the dough from your bowl and place it in a lightly oiled bowl, and do several stretch and folds. Make sure the dough is as flat as possible in your bowl/container, and measure the dough in millimeters and take the temperature of the dough as well. Based on the chart from http://www.thesourdoughjourney.com, determine what % rise you need and make a note. If you have a proofer, decide what temperature you want to set it at and what rise you are aiming for. If the dough is fully developed, you don’t need to do any stretch and folds, but if it’s not, do several sets 15-20 minutes apart.
Once the dough reaches the desired bulk rise, pre-shape and let rest for 15-20 minutes. Finish shaping and place in your banneton, bowl, or on your sheet pan, and cover it so it is pretty airtight (note: I just read a post that suggests it is not necessary to cover the dough when refrigerating it. I have not tried this yet, but that is the way most professional bakeries do it, and they do have dedicated retarders for dough). This dough is very sticky, so make sure you use plenty of rice flour in your banneton or bowl to prevent it from sticking. As I mentioned earlier, I messed the bulk ferment up, so it should turn out better if you follow the above directions.
When you are ready to bake, an hour beforehand, preheat your oven to 540°F and prepare for steam. Let your dough sit at room temperature while the oven is warming up. When ready to bake, score as desired. Prepare your oven for steam. I have a heavy-duty baking pan on the bottom rack of my oven with 1 baking stone above the pan and one on the top shelf. I pour 1 cup of boiling water into the pan right after I place the dough in the oven. I then lower the temperature of the oven to 450°F for a miche or 455°F for smaller individual loaves. Bake until they are nice and brown and the internal temperature is at least 205 – 210°F.
Take the bread(s) out of the oven when done and let them cool on a baker’s rack for as long as you can resist.

- Isand66's Blog
- Log in or register to post comments
Gotta say, Ian, even your mistakes are home runs. -- Rob
Appreciate your kind words. It was a tasty bake for sure and a happy mistake!
Best regards,
Ian
I agree with Rob, this loaf still looks great despite the fermenting for longer than you’d intended Ian.
Benny
Thank you, Benny. It's always nice when a mistake still turns out pretty good. It was a very tasty bake and made great grilled bread as well.
Happy Baking!
Ian
One of your coolest-looking loaves yet! The slashes opened up well, so maybe not really over-proofed. Great work!.
TomP
You’re correct about the way the slashes opened. It was almost like it was under but it was obvious when I shaped the dough after the extra long bulk that it was slightly over, but I’ll take it 😆.
Thanks for your comments.
Best regards,
Ian
Nice looking loaf you have there Ian,
I like the flavor combos and the crust and crumb look great despite your protestations!
Tony
Appreciate your kind words Tony.
Best,
Ian
What a great collection of flours in this one, Stardust, durum and corn too. Actually a little surprised the crumb isn't more yellow in colour. Nice bake, Ian!
-Jon
I used Blue Hopi corn so that gave the crumb a darker color.
Appreciate your comments!
Happy baking.
Ian
As you know I’ve been making errors and still managing to get a great bake. You are officially in the club!
I still have a bag of the Oaxaca green dent corn from Barton , no one carries it anymore so I’m stingy with it. I found one mill that sells it already ground. I use it in my corn muffins.
Is your blue from Barton? I love the Stardust and use it now every bake.
Very beautiful loaf and I bet the flavor profile was exceptional. 🙏 c
Yes, the blue Hopi is from Barton. I recently finished the green also and didn’t realize it’s now hard to get. Definitely try the blue as I’m sure you will love it.
Even with the mistakes this one tasted great. Appreciate your comments as always.
Best regards,
Ian
It’s a flint corn not dent so it’s like popcorn in hardness . Also higher in nutrients than the other colors. Did you note any difficulty grinding? I have one unopened Green. I’ve been stingy with it. lol!
As I bought it from Barton Springs Mill I assumed it was dent. That’s very surprising. No issues with grinding at all. Certainly worth trying.
There’s information on it but nothing about grinding/ hardness like there is with popcorn. Varieties make the difference.
I have enough Green for a good while now more than the two of us can eat. It’s interesting that the blue is the most nutritious. I’ve had blue masa . I can’t tell the difference when making tortillas.
I got into a discussion with tom about tortillas and how to make them. In my mistakes post. I used room temp water not hot/ boiling and they were much better! I think the hot/ boiling water was originally for flour tortillas to melt the lard.
Anyway it’s a game changer and made them thicker and cooked 60 sec each side with 2 flips so the last side gets pressed hard and boy do they puff! Makes a pocket! Very nice. I’m using 60g for each up from 30g.
I can’t remember if you make them. c
I’ve been meaning to make them for years and just never get around to it. One of these days I’ll finally use my press 🫣.
The homemade are so incredibly good. I buy the Masa Harina from Masienda. There product is fantastic and so flavorful. I have every color! And I got their metal HEAVY press. What a game changer. Barely close it and voila perfect.
Do try . Use room temp. Pack the measuring cup like with brown sugar then add the same amt water and pinch of salt. Will need drops more of water as you mix/ start to knead adding drips of water but not too much. It really does feel like the best playdo. Let rest covered room temp a couple hours. 60g golf balls make them very very smooth.Cut a Plastic bag place dough between. Press lightly flip press again . Peel off plastic toss on medium hot comal . Cook 60 sec a side flip 60 sec and then flip last time on that 3rd side press HARD will puff. Don’t use really really hot, they are better if not browned .
Too much info but I’ve learned the videos are mostly all wrong. 😑 🙏
I will save for the near future!
Really nice crumb for the combination of flours you have there. Love the addition of sour cream as well. Your signature, artistic scoring really shines here!
Appreciate your kind words. This was a tasty loaf. I like the added little tang and softness adding sour cream provides.
Best regards,
Ian