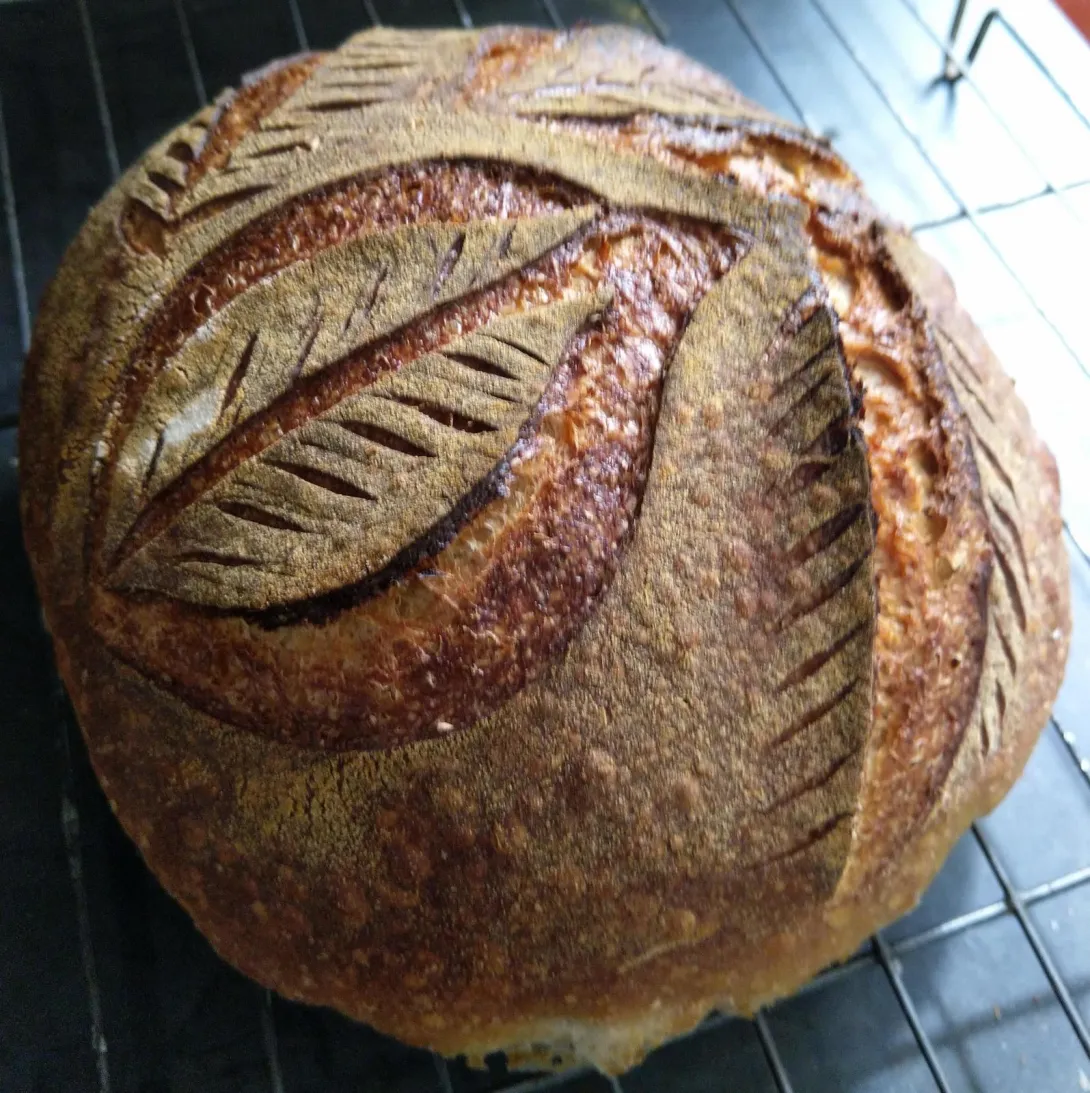
The sourdough fridge ferment method doesn't seem to get enough love on the internet, so I thought it might be of interest to everyone to describe a fridge ferment bread that I've just made. Additonally, there are two things that make today's bread further unique - the use of 'almond milk', and the main flour is a white bread flour that also contains some bran and wheat germ.
My friend Laura is the one who taught me about the fridge ferment method, and this recipe is based on one of hers. She deserves all the kudos. What I like about the technique is that it is fairly low effort, and the low temperature ferment means it is easier to not overferment, giving you greater leeway for timing when to bake.
In total, this bread spent around 2.5 hours out of the fridge during making, with the majority of the bulking and final proof taking place in the fridge at a temperature of around 5°C.
Recipe:
- 290g almond milk (unfortunately sweetened, try and find less sweet, or use milk)
- 350g coarse white flour
- 100g wholewheat flour
- 100g levain (young, at 100% hydration from a mix of 50% Indian atta flour and 50% white bread flour)
- 10g salt
Used an all-in-one mix, no separate autolyse but the dough did get an hour's rest after mixing. Firstly mixed the almond milk and levain in a separate bowl, and used an electric egg beater to ensure the levain was fully distributed in the liquid and the almond milk [1] was not separated. Added all the dry ingredients together in another bowl and stirred the dry ingredients together. Then formed a cavity in the dry ingredients into which was poured the levain/almond milk mixture. Stirred with the handle of a wooden spoon and had to mix a little by hand for at most two minutes, then left the shaggy mixture to rest for one hour. After this hour the next 45 minutes were spent doing 3 sets of stretch and folds 15 minutes apart and it passed a simple window pane test.
The fairly stiff dough was then placed in a plastic tub in the fridge. Around 24 hours later the tub was removed, and final shaping was done immediately. It was left to rest covered (with a pot) for 45 minutes, then placed directly into a 'banneton' which consisted of a tea towel heavily floured with rice flour covering a ceramic bowl. The tea towel was folded gently over the top of the dough, and the bowl was placed in the fridge for a further 4 nights with baking the following morning.
4 nights is too long and I knew it, but life grew too busy to bake on the originally planned day which would have been after 3 nights which is what the recipe calls for. This method is forgiving and is known to work with 2-4 nights, and the true range is almost certainly wider than that! It does depend on the fridge temperature, my fridge is set to 5°C, and the bowl was placed on a middle shelf of the fridge pushed to the back away from the door. A few weeks ago I attempted measuring my fridge temperature and can tell you that it fluctuates wildly, sometimes as low as 3.5°C and as high as 7°C when the door was open to remove food. Unfortunately, I didn't measure dough temperature which would have been more accurate.
After the dough was removed from the fridge it was scored cold and baked immediately in the dutch oven at 260°C for 30 minutes covered followed by 230°C for a further 10 minutes or so until the desired colour was reached. It was immediately removed for cooling on a wire rack and cut after an hour and a half.
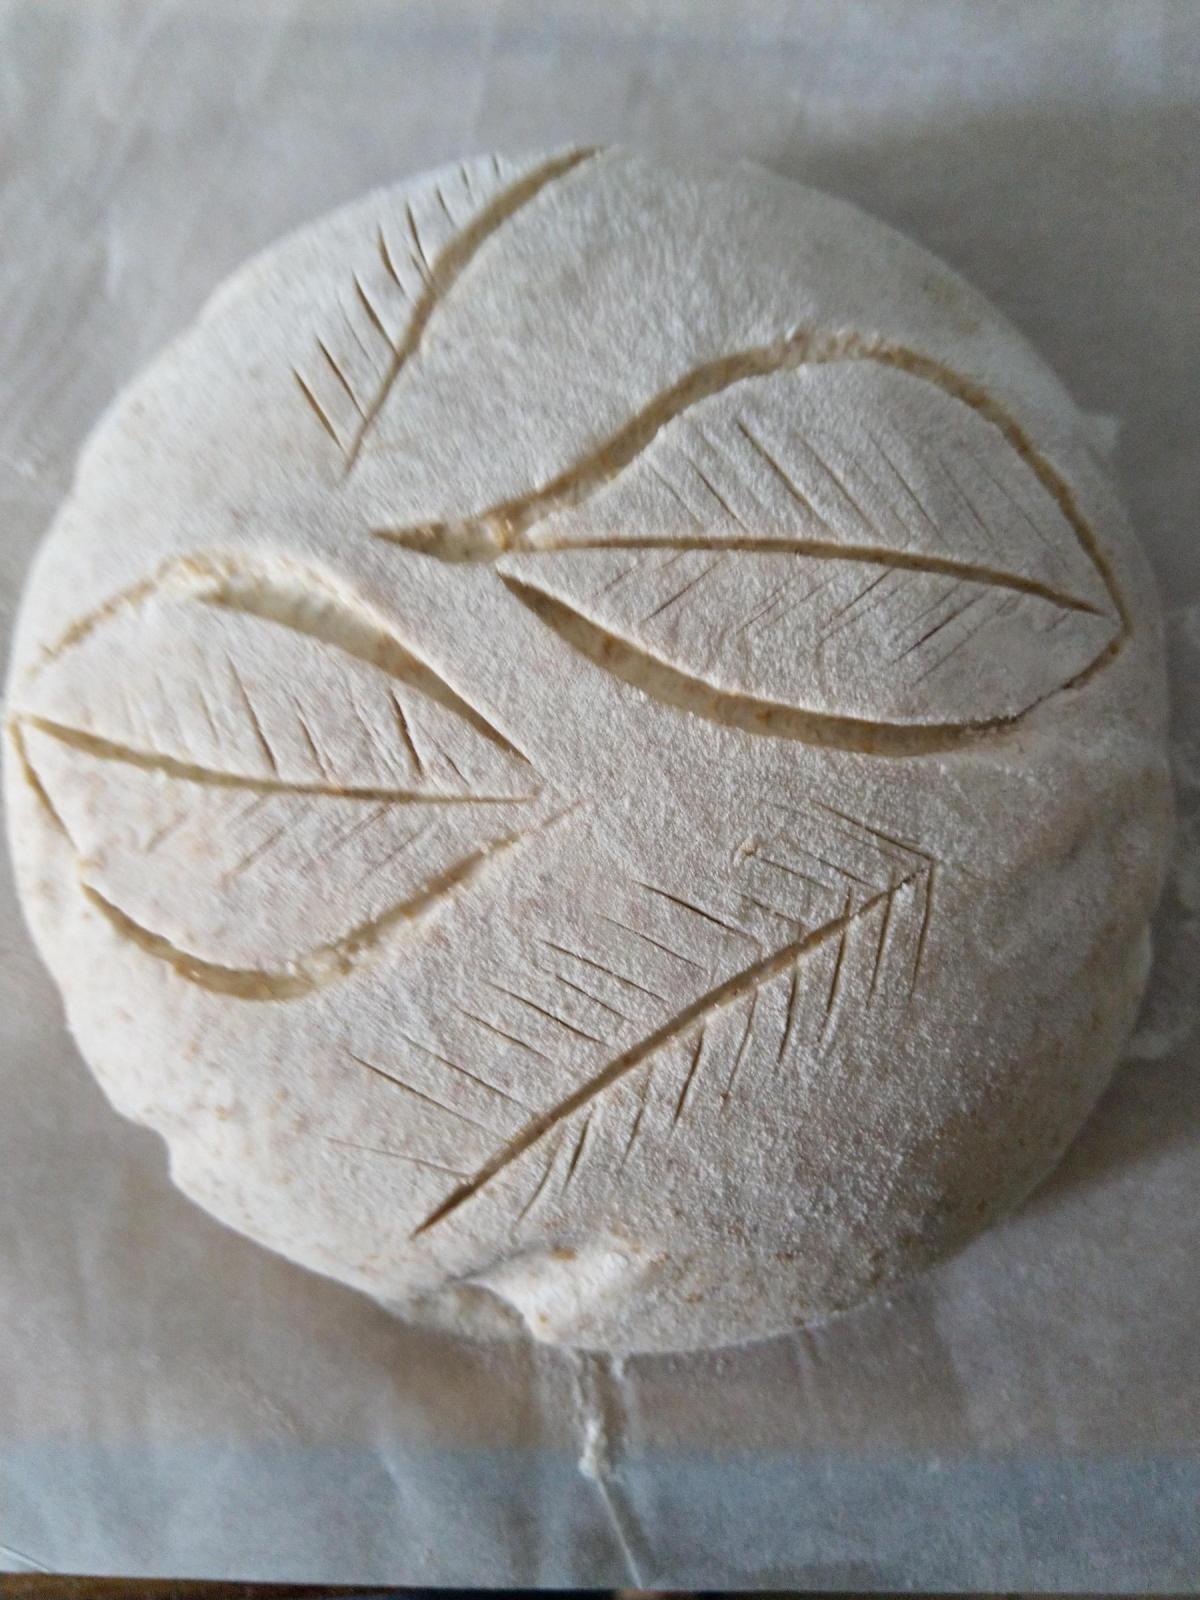
Scoring was my interpretation of the scoring used by Nikolai Meling. Didn't expect any ear with the decorative scoring, but as you'll see got one where the scoring from the 'wheat sheaf' ran into the one leaf.
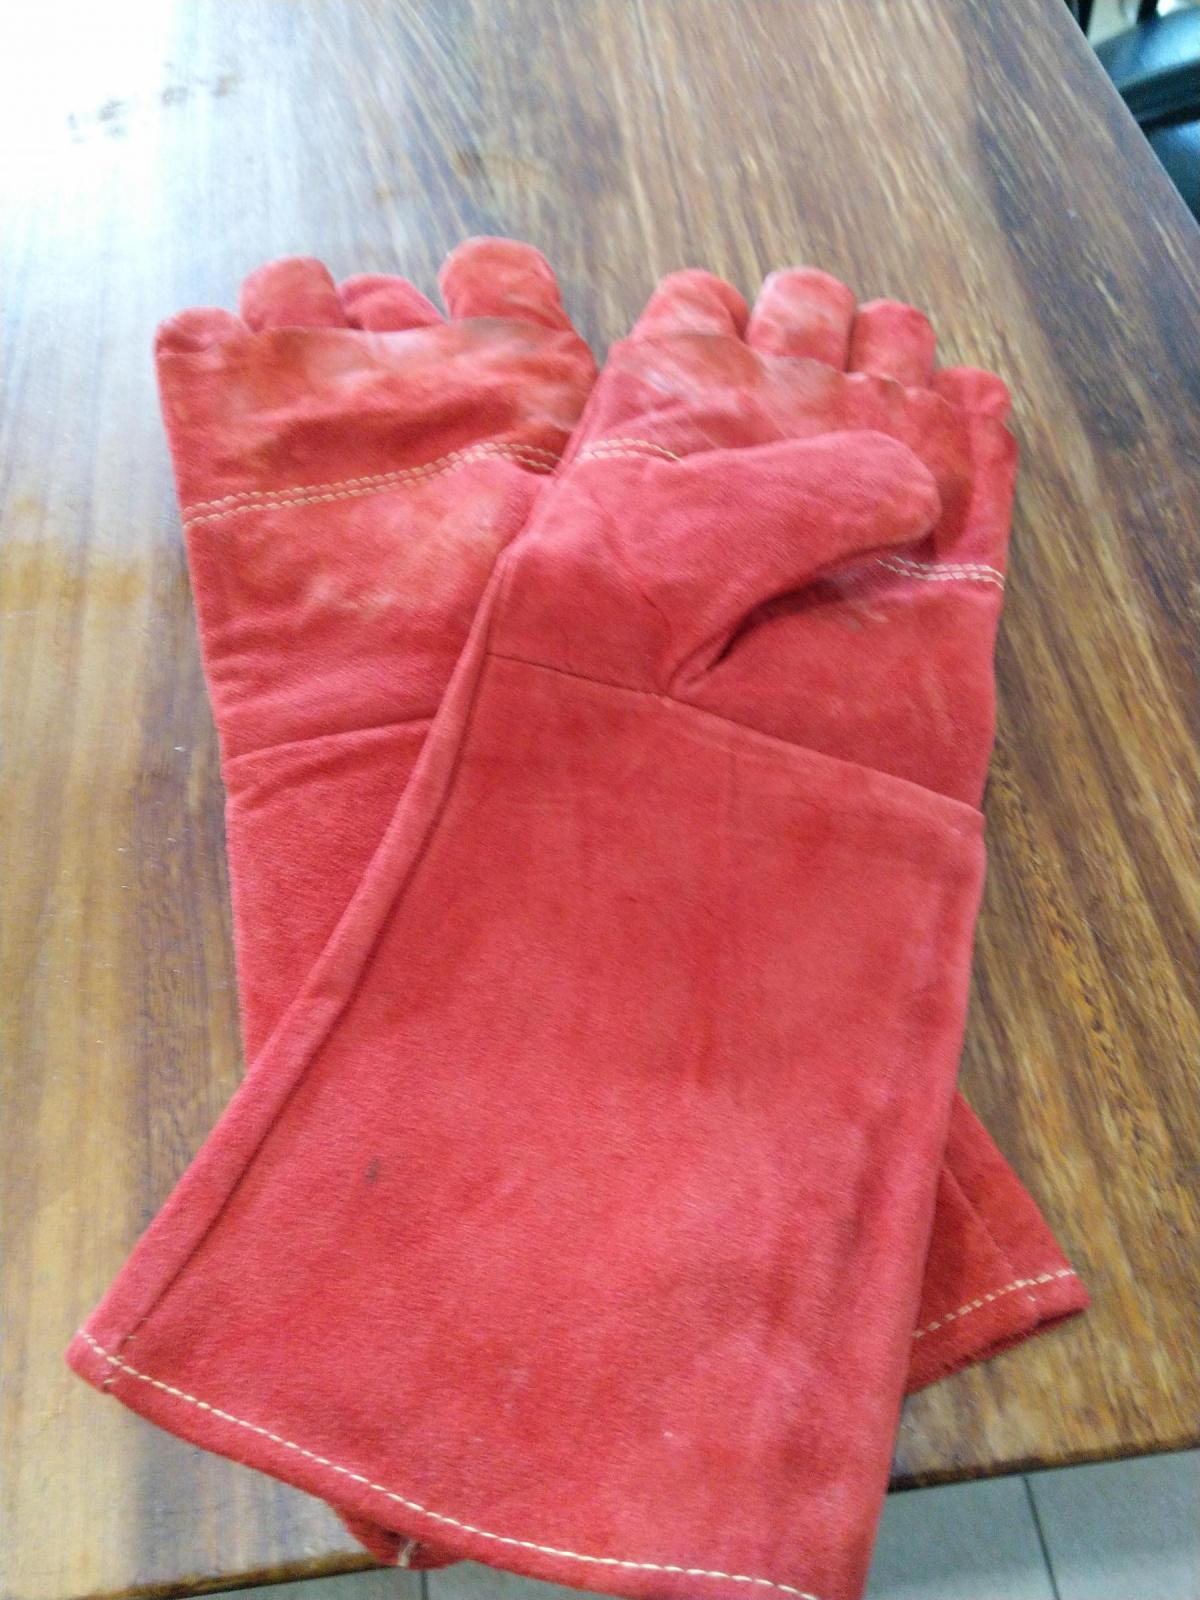
Got it in the oven, and then I threw down my gauntlets! Recently bought a pair of welders gloves to use as oven gloves when handling the cast iron dutch oven, and what a difference they make! Baked at 260°C for 30 minutes covered and then 230°C for around 10 minutes plus. To be fair I normally bake for 20 minutes covered at the higher temperature followed by a slightly longer time uncovered, but lost track of the time today.
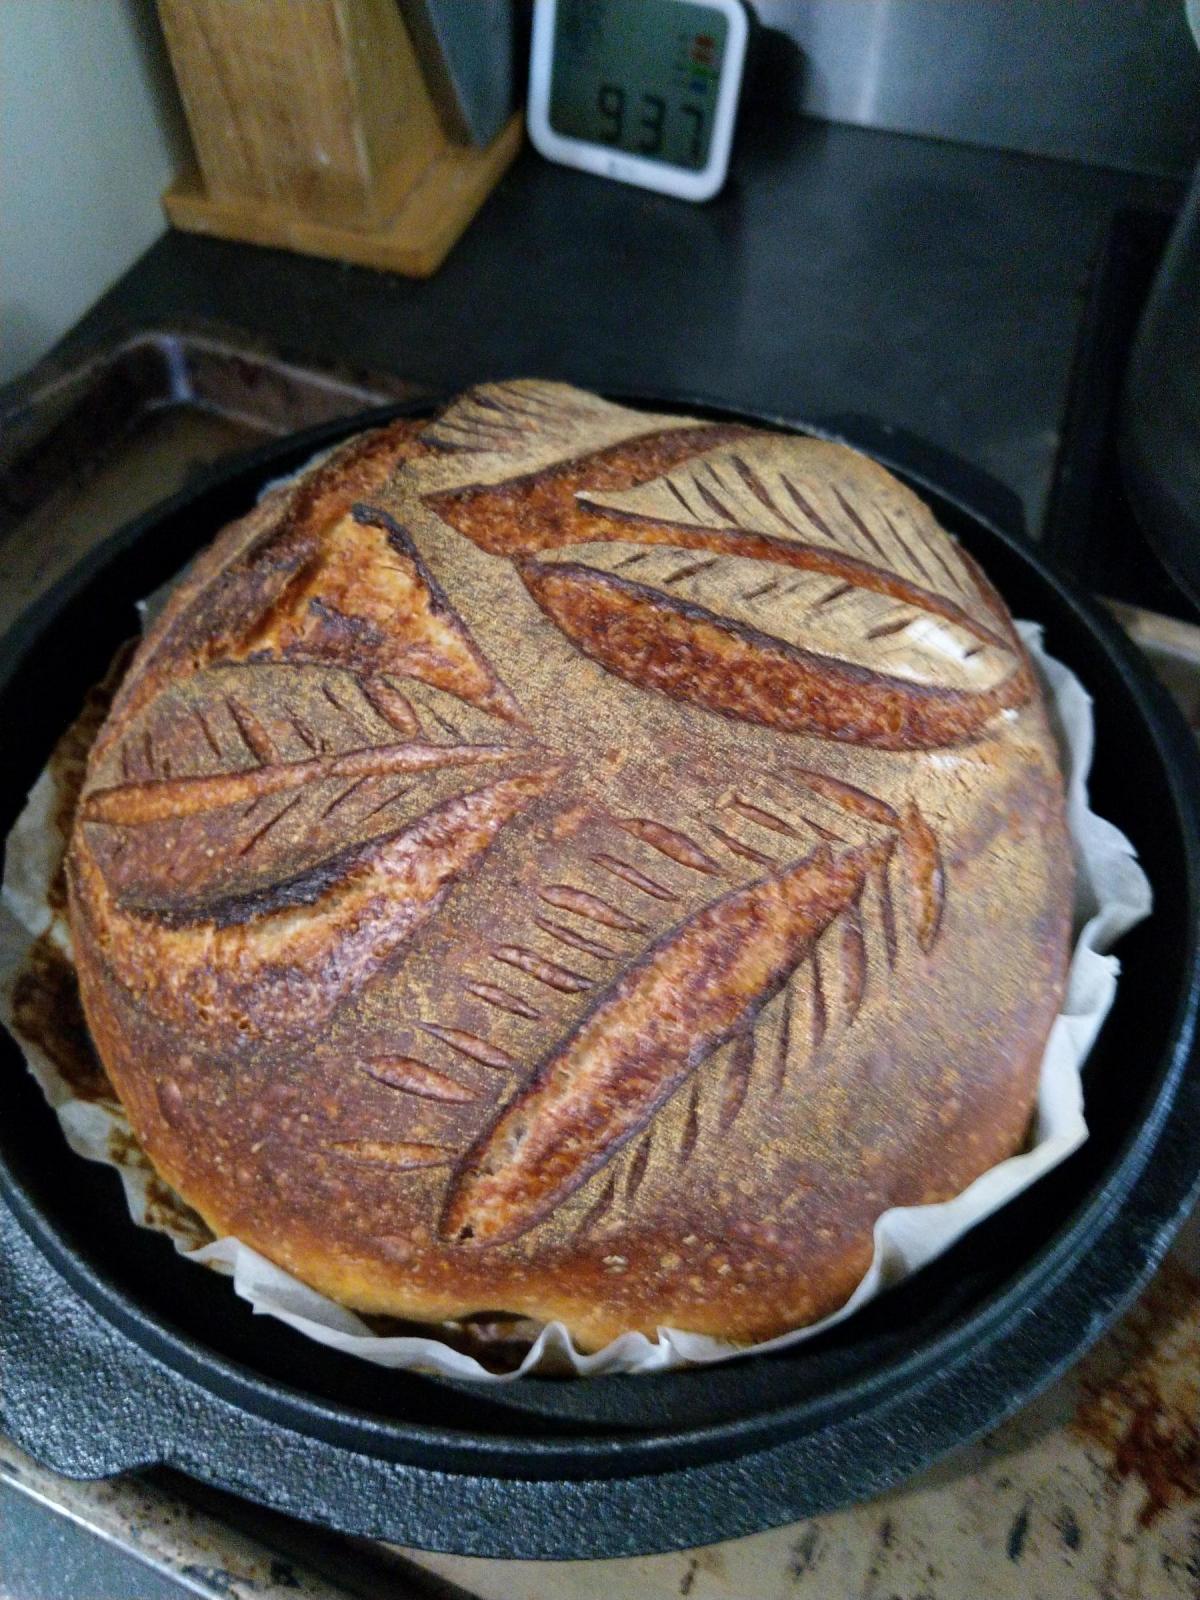
Sitting on the lid of the dutch oven after coming out of the oven. The parchment at the bottom is probably why I get the pale band at the bottom too, and now I understand why folks use corn grits on the base of their breads, but still haven't got my head around the trick of lifting the bread onto the hot dutch oven directly. Interestingly, I don't get the band when I bake in the body of the dutch oven rather than on the lid as was done today.
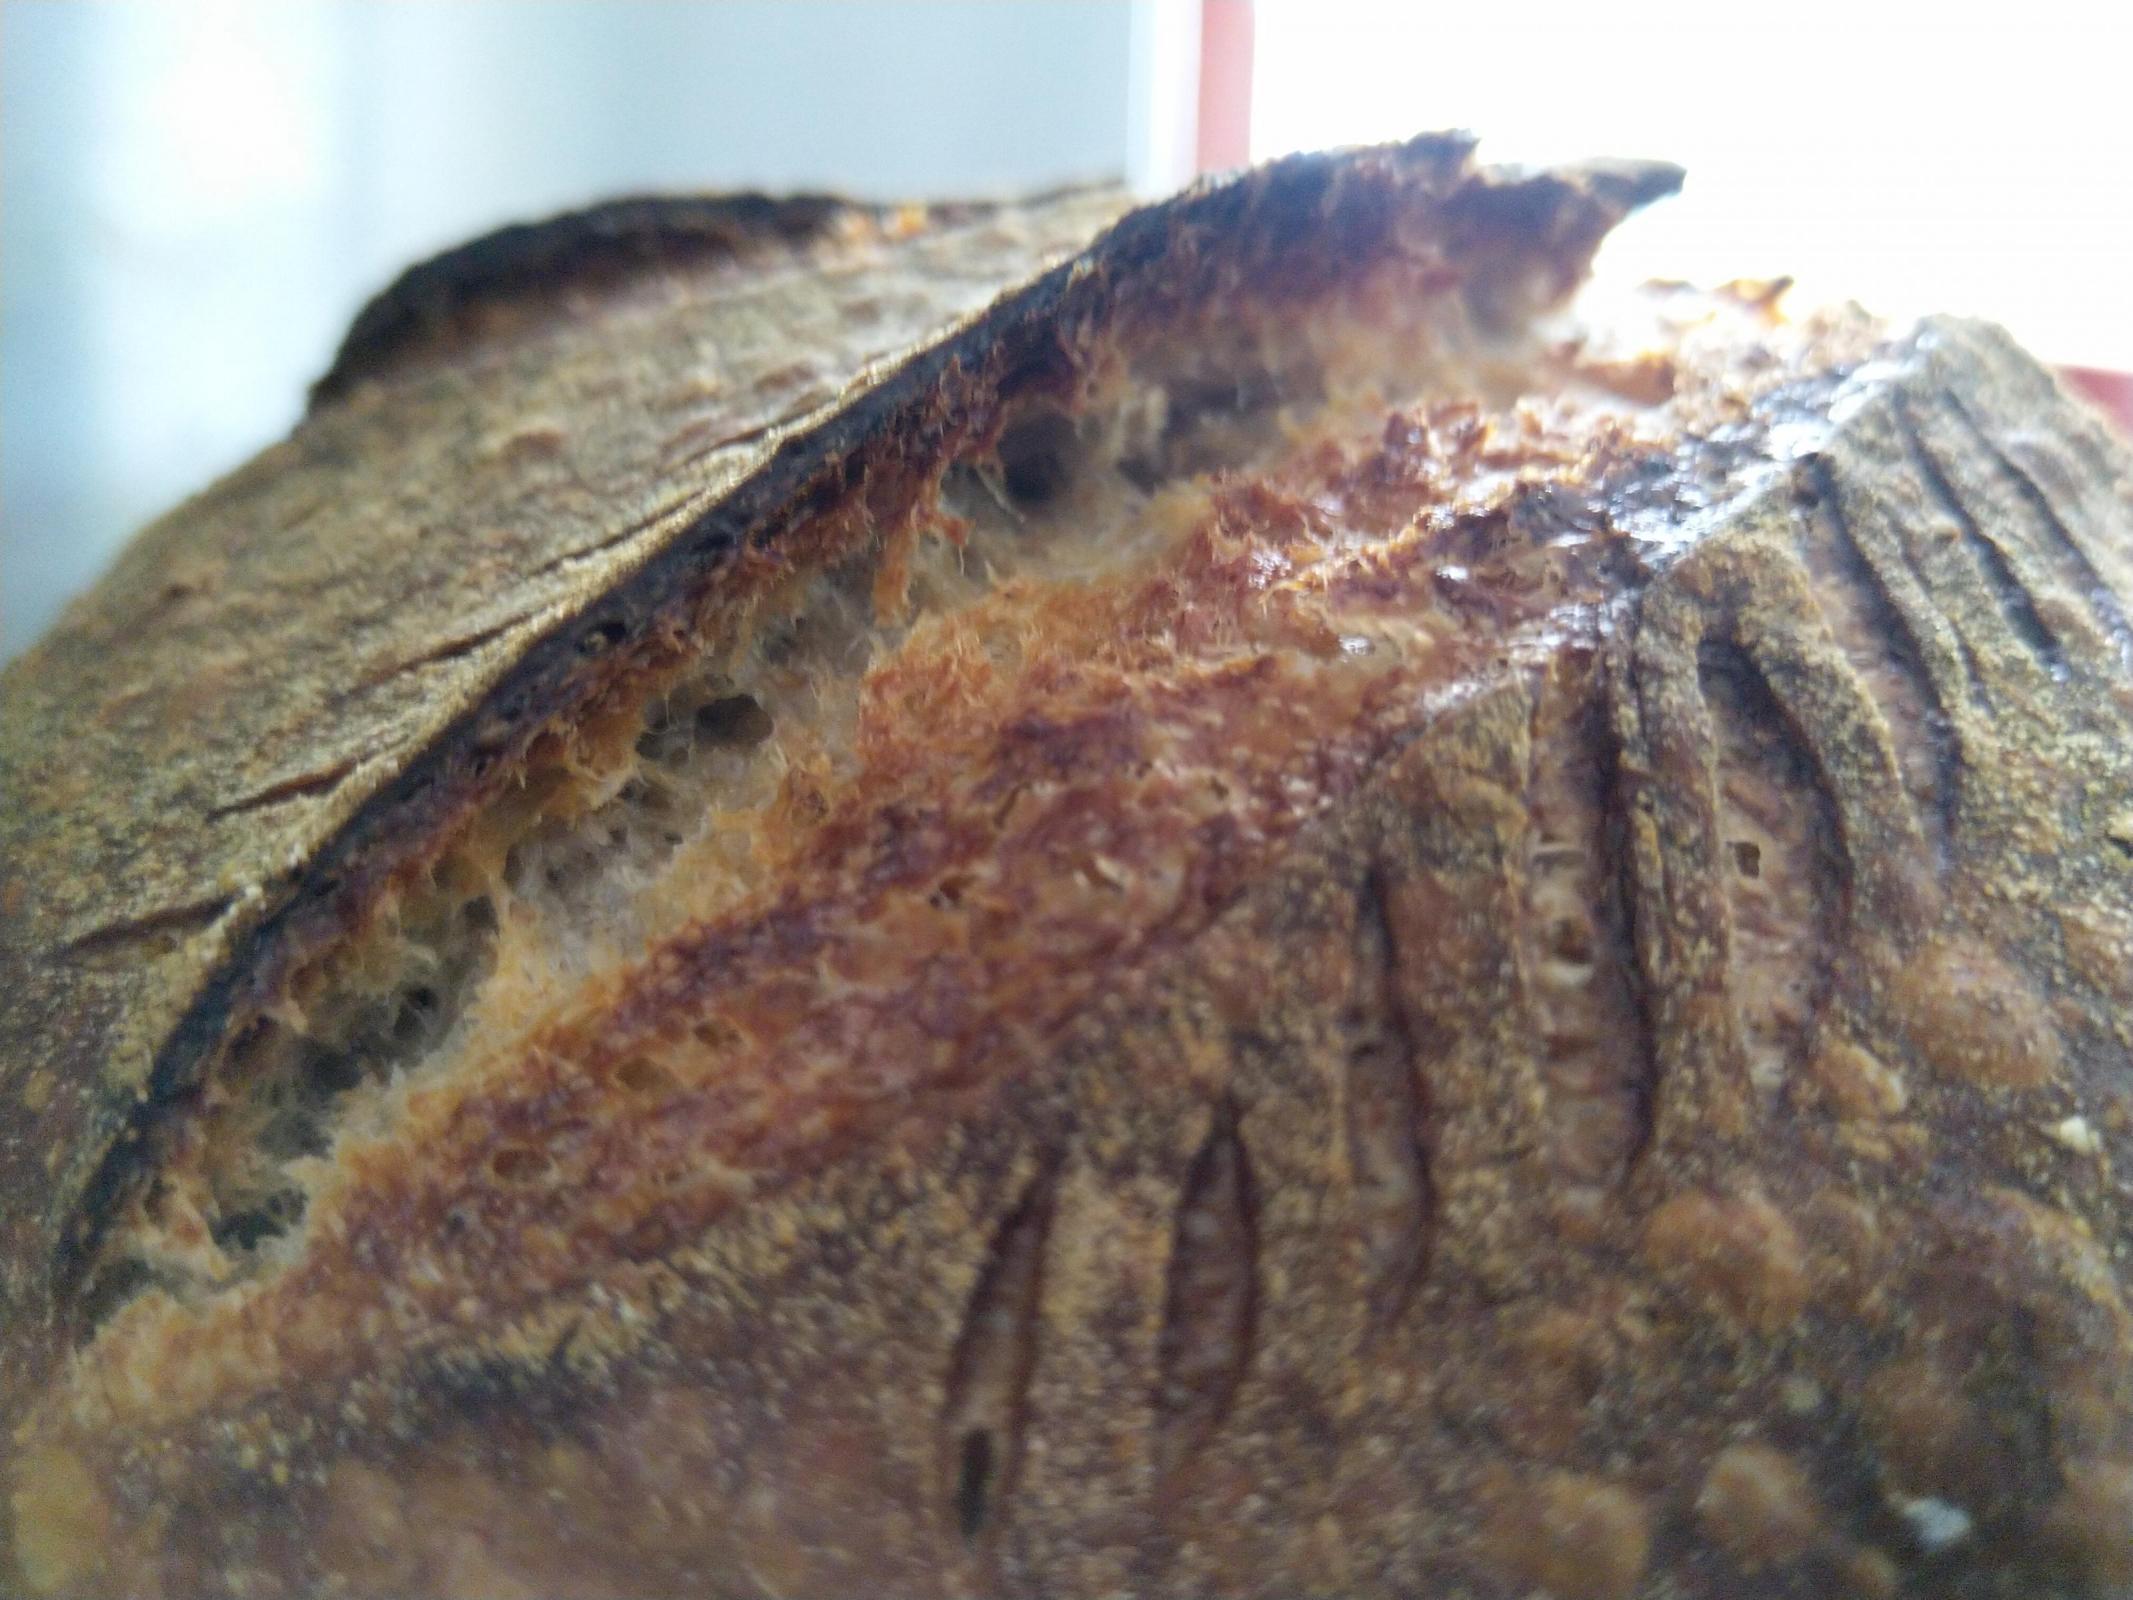
Ooh la la - la petite grignette est vraiment croustillant!

Texture and fluffiness is similar to what I would call a "brown bread". Was a little disappointed that it didn't have more open crumb than this, which is what I had with the milk variant. Soft and fluffy, however at the same time this is not the same soft texture you get with full cream milk either. Thought this bread would be sour from the long ferment, but it wasn't sour. Unfortunately sweeter than I would like, definitely don't buy sweetened almond milk next time. The same milk was used in making Maurizio's sandwhich bread with preferment though and for that recipe you can't tell it apart from his bread made with milk, probably because the sweetness is hidden by the sweetness of the honey. But, the texture is still quite nice and pleasant to eat and I'm not finished with experimenting with nut milks either.
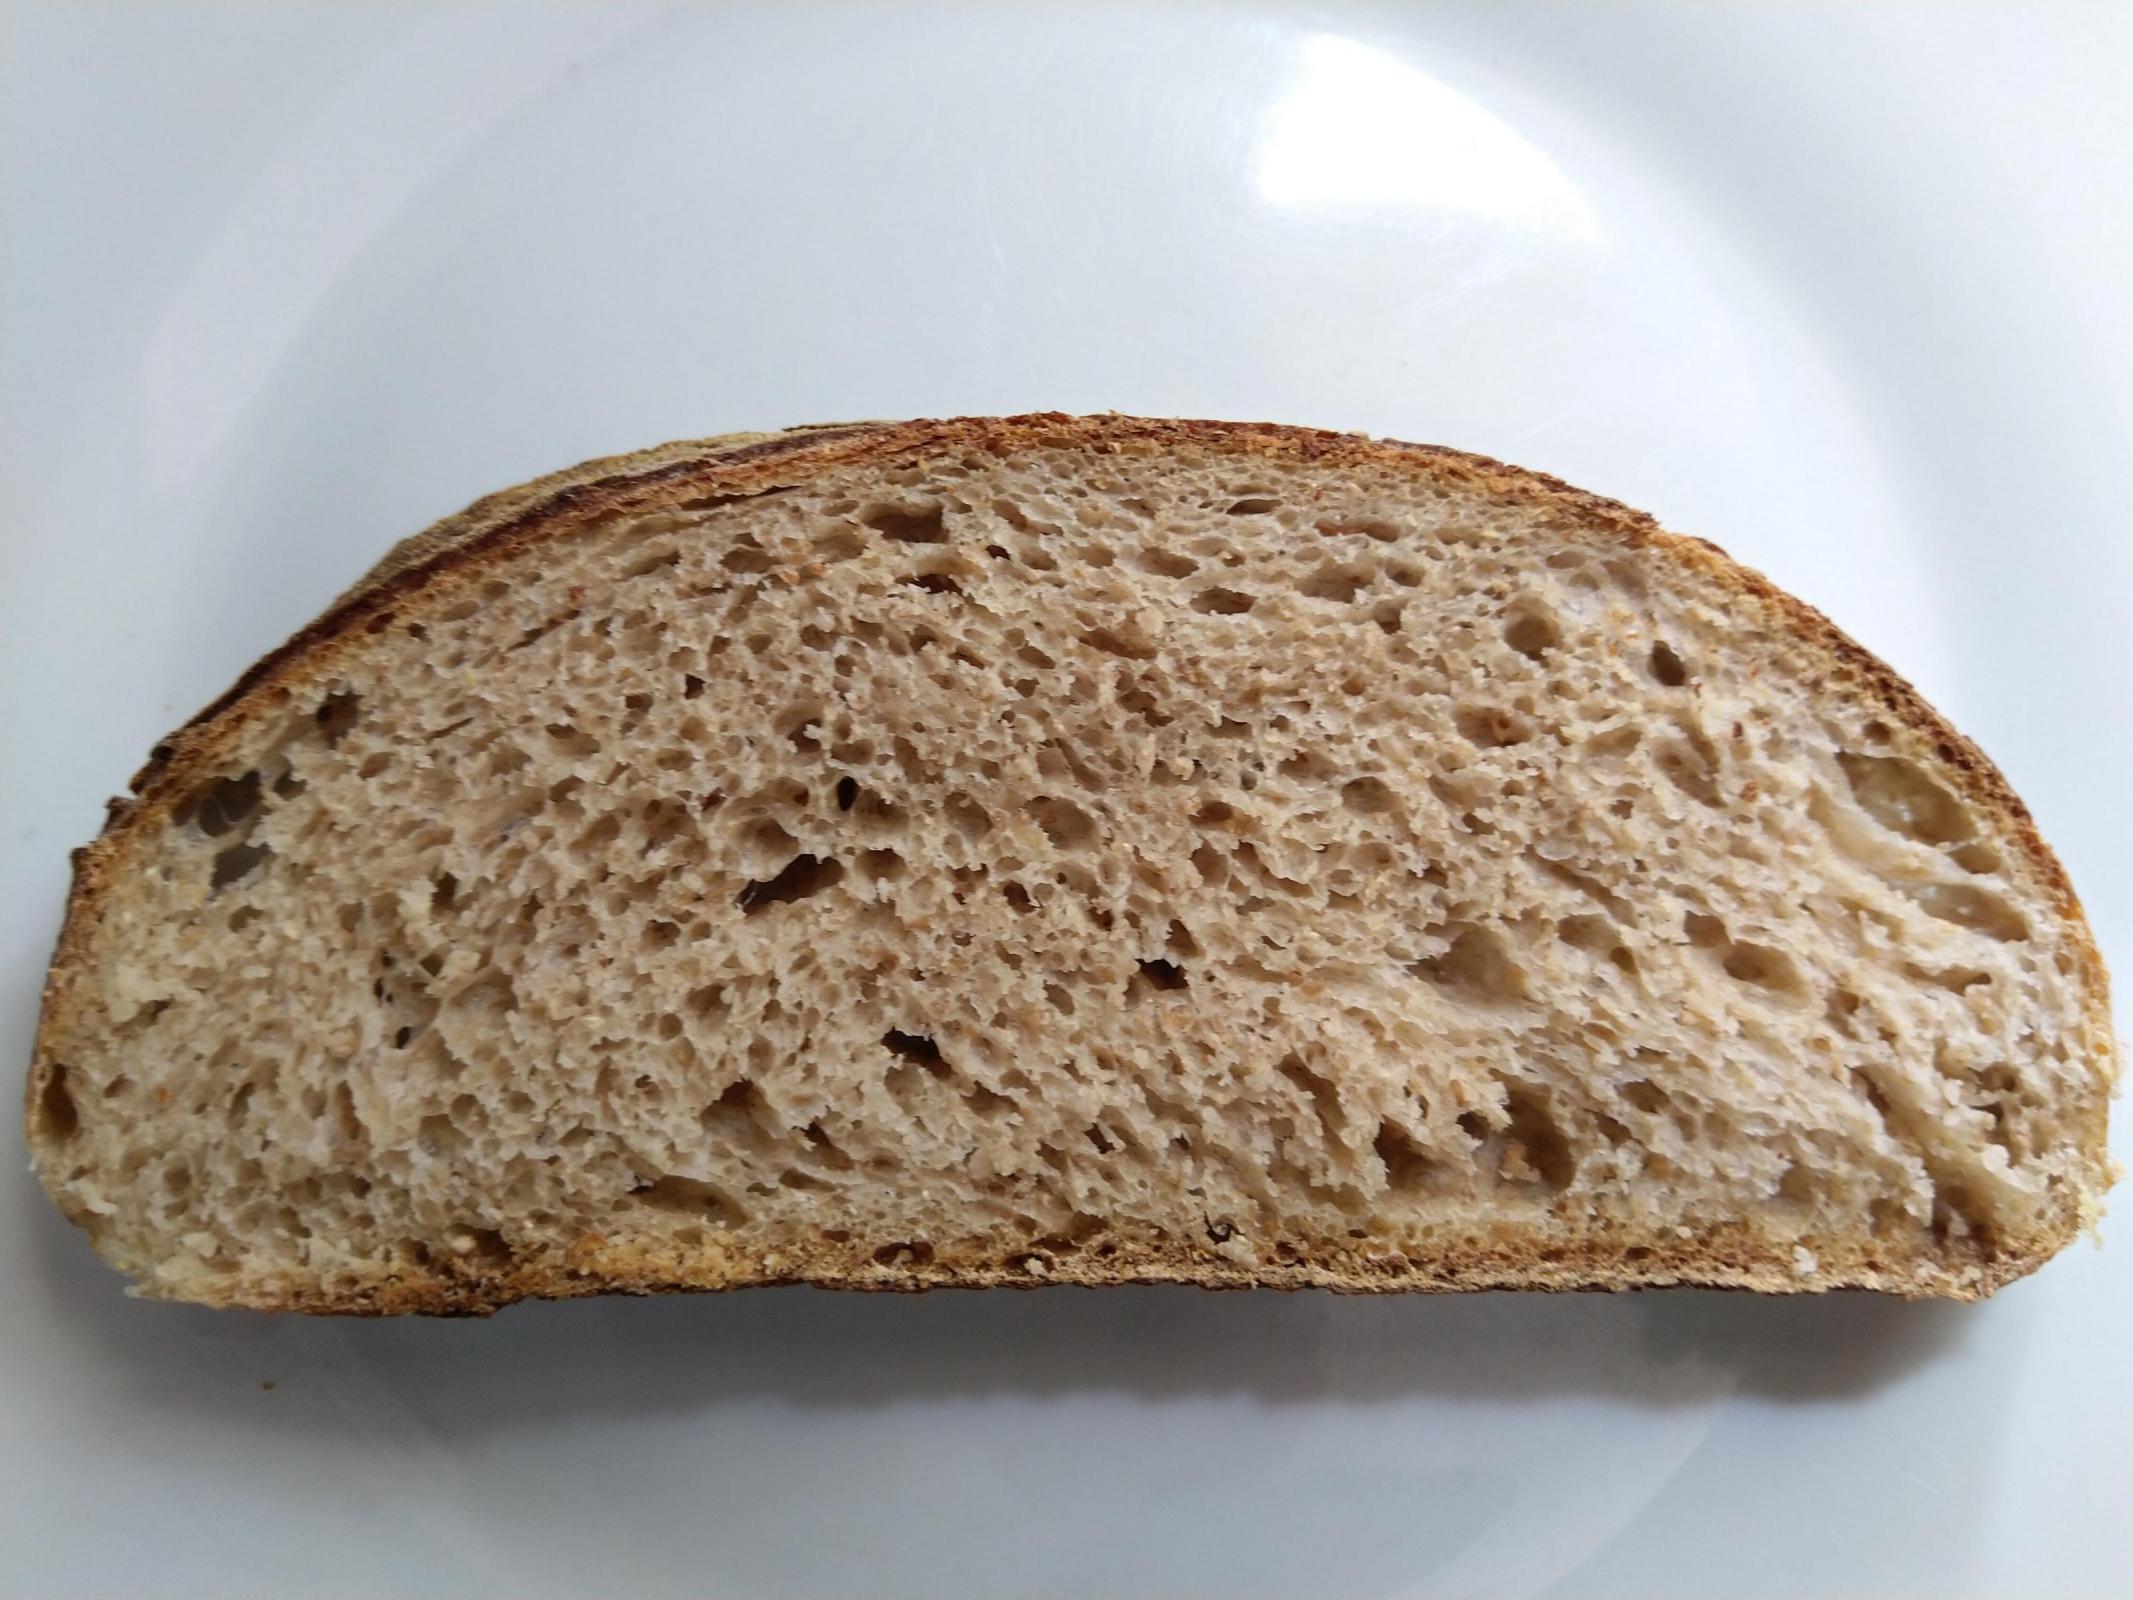
After baking, I took the time to read the packaging for the flour used. Probably would have made sense to read it before baking, eh? What I didn't realize is my flour is "Coarse White flour has a granulated texture, with wheat germ and bran in small pieces, in addition to the endosperm." [2] Oh dear, thought it was like a normal bread flour and didn't "keep refrigerated", for the last month or more that I've had the bag. Luckily not rancid. No idea of protein content. Thinking now that the smallness and tighter crumb were because this is more like a bread with higher amounts of wholewheat.
Notes:
[1] The almond milk I used has these ingredients: water, sugar, 4% almond, sunflower lecithin and sea salt and is marked as sweetened and suitable for cooking, product of Spain!
[2] The coarse white flour is this one.
- JonJ's Blog
- Log in or register to post comments
Forgot to add that the tea towel covered the bowl and the whole thing was in a closed plastic bag for the 3/4 nights of banneton time. Important to not let it dry out!
Beautiful result inside and out, thanks for sharing this method with us, I haven’t seen many bakers posting using this method before. Your excellent results speak for themselves.
Benny
What tool are you using for scoring?
Scored using a home made lame - https://imgur.com/a/U81wm1J
Think this is my favourite design yet for a home made lame (have made several) - was inspired by the UFO lame concept.