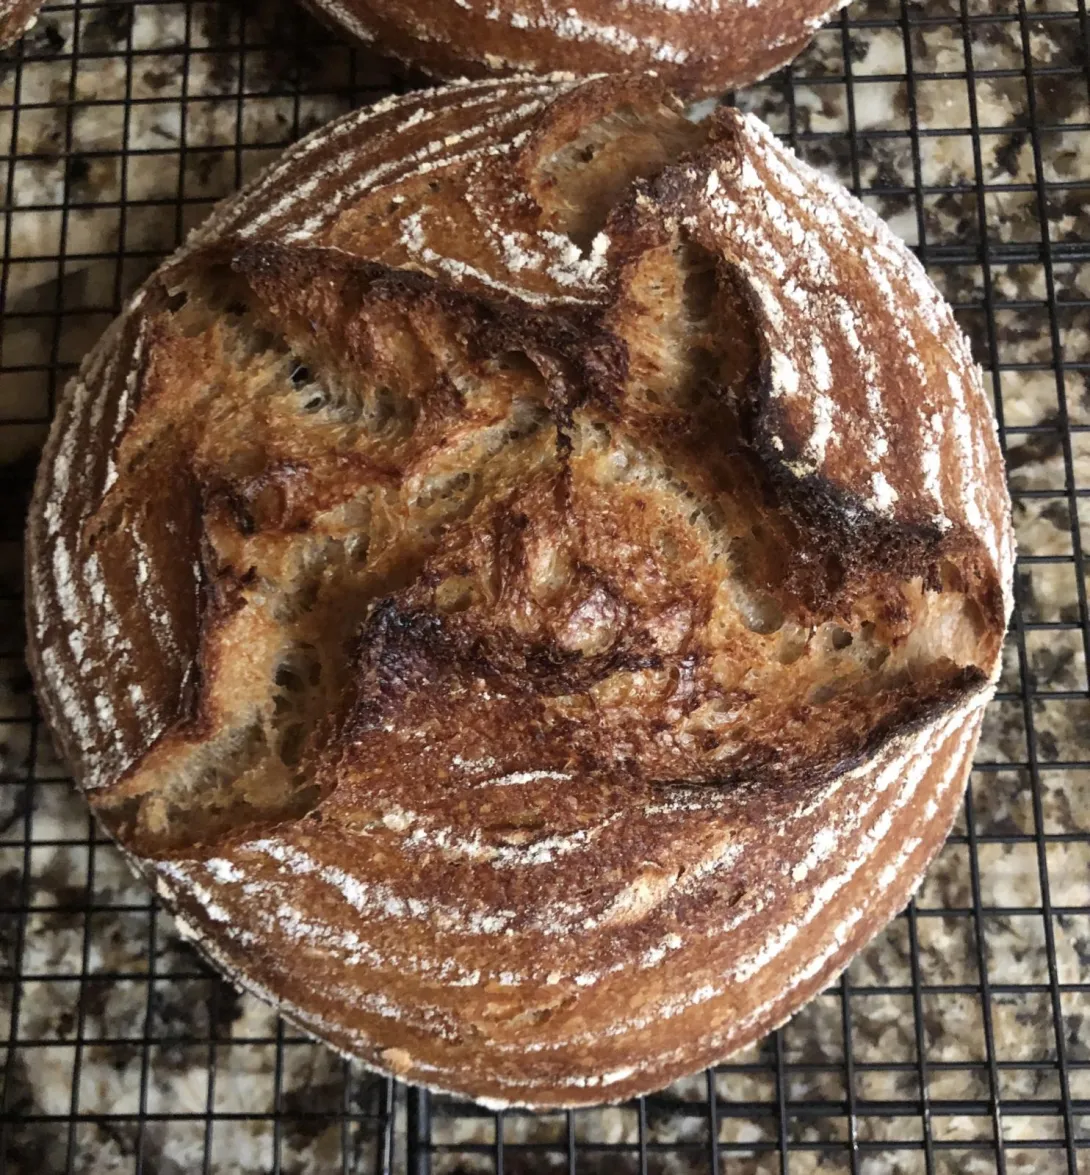
I liked everything about these boules the last time except for their size. They were on the small side so I increased the dough by 10% this time and it did seem a bit better. I think I would go another 10% next time.
By the way, Selkirk wheat is an old wheat from the 50s. I get it at Daybreak Mills. It’s their hard spring wheat.
Recipe
Makes 3 loaves
Ingredients
350 g of freshly milled Selkirk Wheat flour
725 g strong bakers unbleached flour
725 g filtered water
30 g yogurt
23 g pink Himalayan salt
265 g levain (procedure in recipe)
Procedure
Two mornings begore:
1. Feed 2 g of starter, 4 g water and 8 g Selkirk wheat flour.
Two nights before:
1. Feed the levain 20 g of water and 20 g of Selkirk wheat flour. Let that rise at cool room temperature for the night.
The morning before:
1. Feed the levain 100 g of filtered water and 100 g of Selkirk wheat flour. Let rise until doubled (about 6 hours).
2. Place into fridge until the next morning.
The night before:
1. Place the required amount of each freshly milled flour in a tub and add the unbleached flour to it.
2. Cover and set aside.
Dough making day:
1. When ready to make the dough, take the levain out of the fridge to warm up before being used in the dough.
2. Using a stand mixer, mix the water with the flour, and mix on speed 1 until all the flour has been hydrated. Let this autolyse for a couple of hours.
3. Once the autolyse is done, add the salt, the yogurt, and the levain to the bowl. Mix on speed one for a minute to integrate everything, then mix on speed 2 for 9 minutes.
4. Remove the dough from the mixing bowl and place in a lightly oiled covered tub. Let rest 30 minutes in a warm spot (oven with light on).
5. Do 2 sets of stretches and folds at 30 minute intervals, and then 2 sets of sleepy ferret folds (coil folds) at 45 minute intervals. Then let the dough rise to about 50%. It should have irregular bubbles visible through the sides of the container and bubbles on top as well.
6. Tip the dough out on a bare counter, sprinkle the top with flour and divide into portions of ~710 g. Round out the portions into rounds with a dough scraper and let rest 30 minutes on the counter.
7. Do a final shape by flouring the top of the rounds and flipping the rounds over on a lightly floured counter. Gently stretch the dough out into a circle. Pull and fold the third of the dough closest to you over the middle. Pull the right side and fold over the middle and do the same to the left. Fold the top end to the center patting out any cavities. Finally stretch the two top corners and fold over each other in the middle. Roll the bottom of the dough away from you until the seam is underneath the dough. Cup your hands around the dough and pull towards you, doing this on all sides of the dough to round it off. Finally spin the dough to make a nice tight boule.
8. Sprinkle a mix of rice and all purpose flour in the bannetons. Place the dough seam side down in the bannetons. Let rest for a few minutes on the counter and then put to bed in a cold (38F) fridge overnight.
Baking Day
1. The next morning, heat the oven to 475F with the Dutch ovens inside for 45 minutes to an hour. Turn out the dough seam side up onto a cornmeal sprinkled counter. Place rounds of parchment paper in the bottom of the pots, and carefully but quickly place the dough seam side up inside.
2. Cover the pots and bake the loaves at 450 F for 25 minutes, remove the lids, and bake for another 22 minutes at 425 F. Internal temperature should be 205 F or more.
- Danni3ll3's Blog
- Log in or register to post comments
They look picture perfect Danni. One day I hope to be more like you, so consistent. I think I overproofed the dough I have baking at the moment and of course one of the two is a gift for someone, go figure.
Glad you’re back to baking, I’ve always looked forward to your posts.
Benny
I think the fridge proofing is probably what makes my loaves so consistent. I’m getting slightly better oven spring since I started back so I’m wondering if it’s the tighter shaping I’m working on. Same method as in recipe but pulling the dough out more and overlapping more during final shaping.
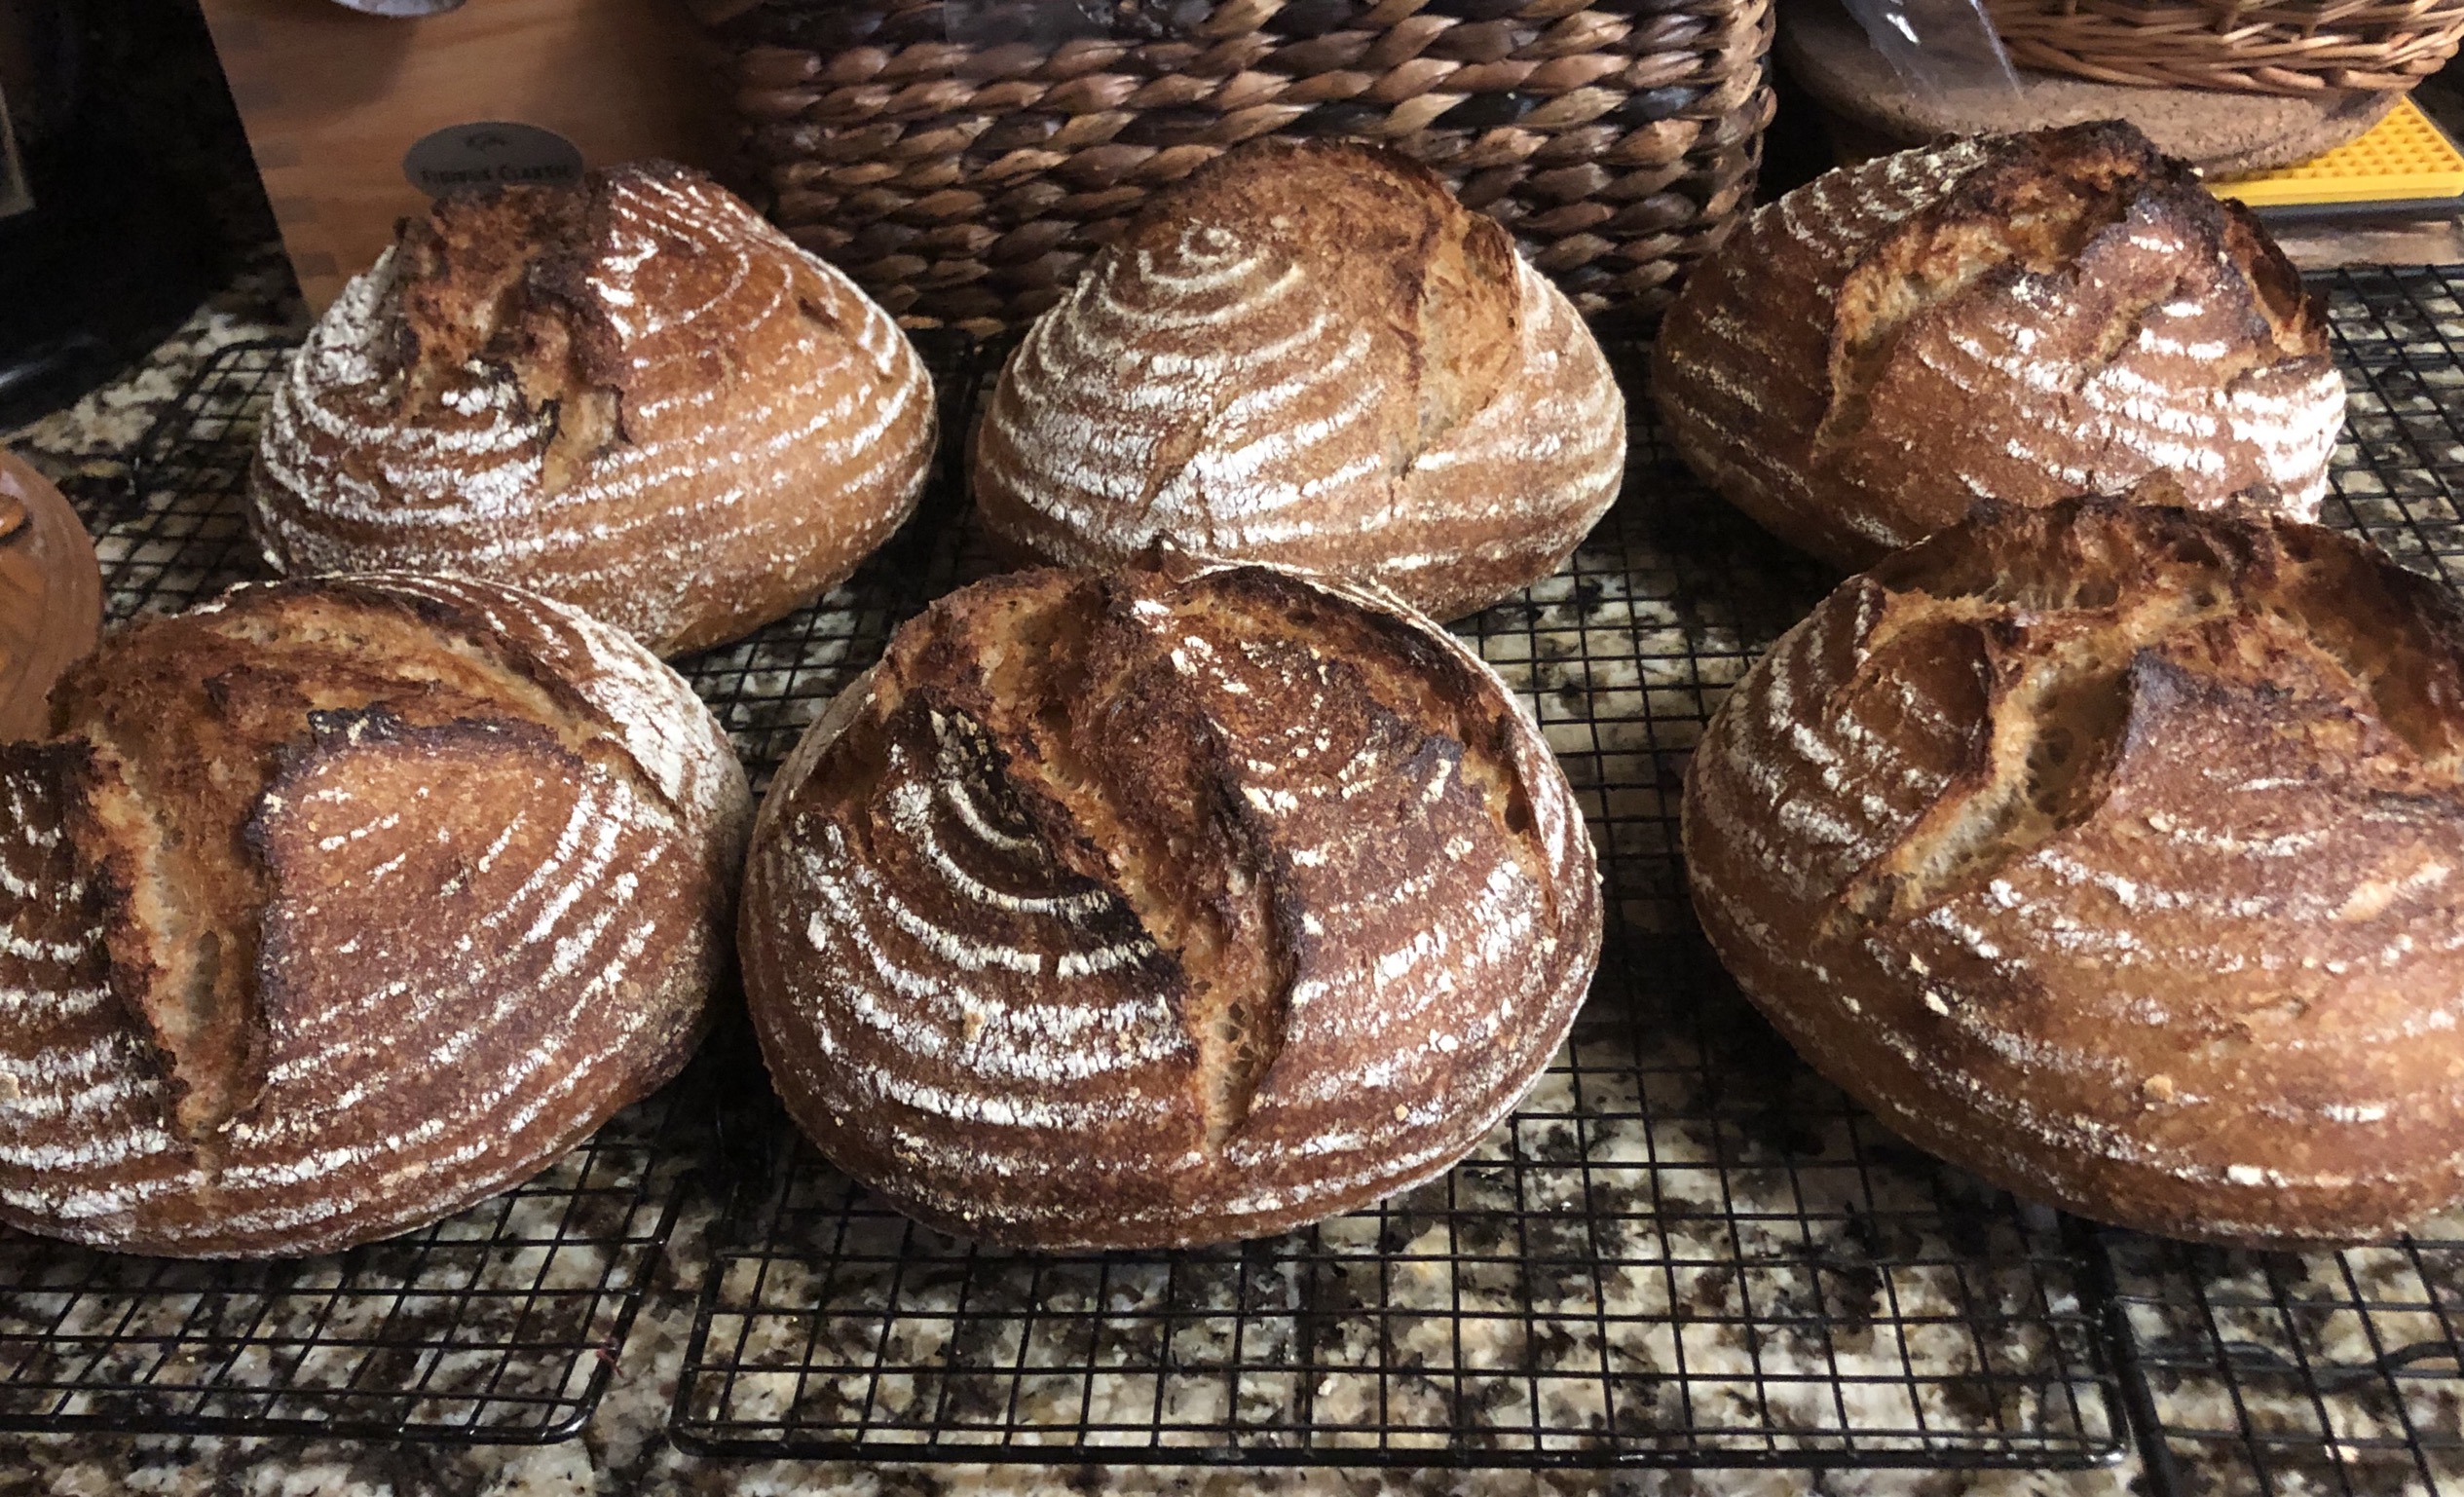
I only made 9 this weekend instead of 12.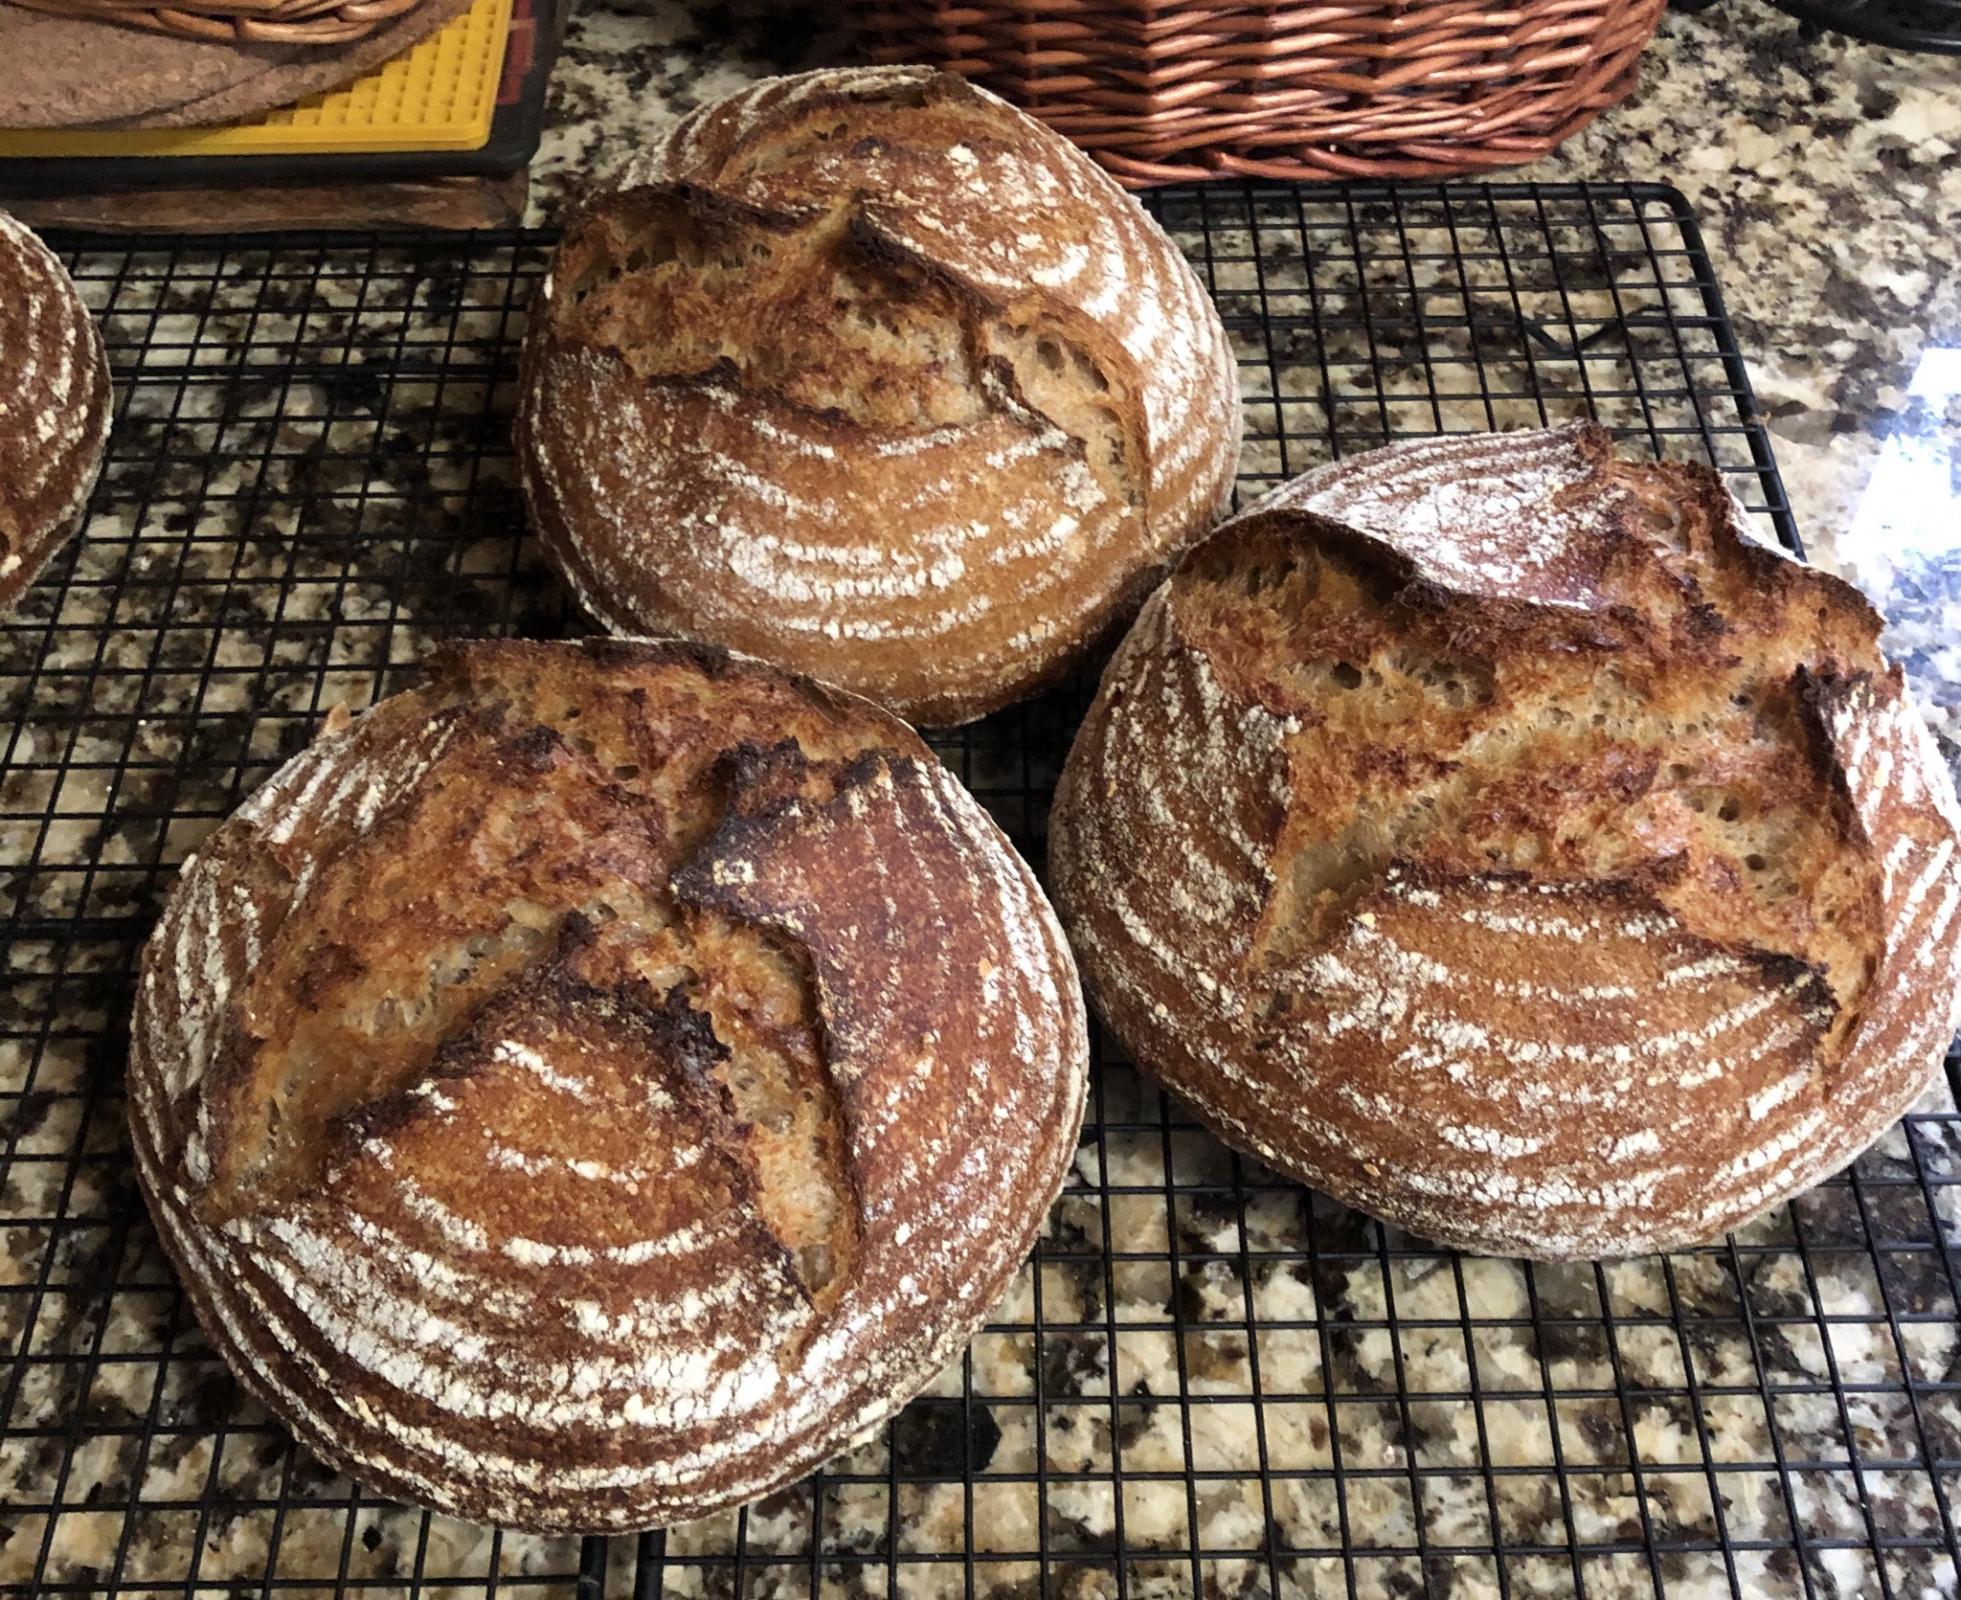
ONLY 9, I stress about baking two!
Each batch makes 3 loaves so it’s only 3 batches. It’s actually good practice making that many as you develop muscle memory so much faster. And remember that I use a mixer. I used to do it all by hand but using a mixer is so much easier.
Those are some gorgeous loaves! I'm always impressed by how much your loaves bloom without scoring. I've tried baking seam side up a few times, but my loaves never come out look like yours!
Ilene
Between shaping and proofing, I think. I’m shaping my loaves a bit tighter than I did and I proof them in a very cold fridge. Mind you, I have 9-12 loaves in there so it takes longer for all the loaves to cool down than if I had only one or two. When I only make one batch, I leave the loaves on the counter for a bit like I say in the recipe to give them a bit of a start for final proofing. Then I bake directly out of the fridge. Hope this helps.