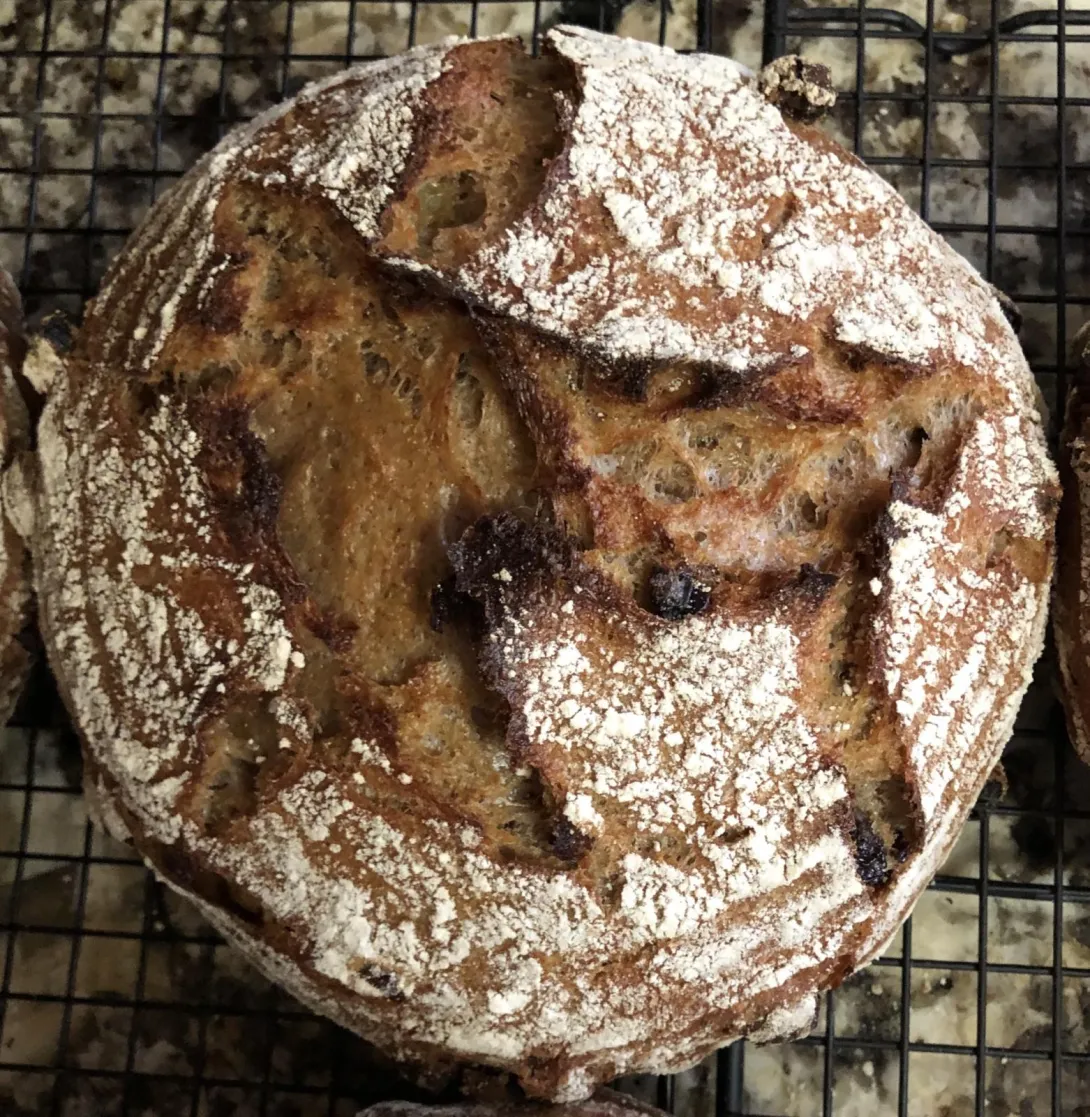
Everyone loves cinnamon raisin bread but I was leery of making some because of the negative effects of cinnamon on yeast. This is a shot at it adapting the recipe from Bourke’s Bakery Spiced Fruit loaf.
Makes 3 loaves of about 845 g raw weight
INGREDIENTS
700 g unbleached flour
200 g high extraction Durum flour (Mill 230 g Durum berries and sift. Save the bran for the levain.)
650 g filtered water
180 g golden raisins (or sultanas)
180 g Thompson raisins
40 g plain yogurt
50 g honey
16 g ground cinnamon
20 g salt
465 g of 3 stage levain (100% hydration)(Procedure in recipe)
Extra bran and AP flour to feed the levain.
The afternoon before:
- To 32 g of your starter, feed 32 g of bran/wholewheat flour and 32 g of filtered water.
The night before:
- Mill the durum berries and sift out the bran. Save the bran for another use. I usually save it for the following week’s levain.
- Place the unbleached flour and the high extraction flour in a tub, cover and reserve.
- Before going to bed, feed the levain 64 g of water and 64 g of unbleached flour/leftover sifted durum flour.
Dough day:
- Feed the levain 128 g each of flour and water. Let rise in a warm spot till very bubbly. This should take about 6 hours.
- Two hours before the levain is ready, mix the flours and the water in a stand mixer to a shaggy dough with no dry spots. Autolyse for 2 hours.
- Rinse and drain the raisins. Reserve.
- Once the Levain is ready, add the salt, yogurt, honey, cinnamon and the levain to the mixing bowl. Mix on speed 1 for 2 minutes. Then mix on speed 2 for another 5 minutes.
- Add the raisins and mix another minute or two until integrated and well distributed. Let rest for a half hour in a warm spot.
- On 30 minute intervals, do 4 sets of stretches and folds in the tub. An hour later, do two more sets of folds, each an hour apart.
- Place the dough into the refrigerator for about 2 and a half hours to complete the bulk rise. The dough rose about 20-25%.
- Tip the dough out on a bare counter, sprinkle the top with flour and divide into portions of ~845 g. Round out the portions into rounds with a dough scraper and let rest one hour on the counter.
- Do a final shape by flouring the rounds and flipping the rounds over on a lightly floured counter. Gently stretch the dough out into a circle. Pull and fold the third of the dough closest to you over the middle. Pull the right side and fold over the middle and do the same to the left. Fold the top end to the center patting out any cavities. Finally stretch the two top corners and fold over each other in the middle. Roll the bottom of the dough away from you until the seam is underneath the dough. Cup your hands around the dough and pull towards you, doing this on all sides of the dough to round it off. Finally spin the dough to make a nice tight boule.
- Sprinkle rice flour in the bannetons. Place the dough seam side down in the bannetons, cover, let rest for a few minutes on the counter and then put to bed in a cold (38F) fridge for 9-10 hours.
Baking Day
- Take the loaves out to warm for 60 to 90 minutes before going into the oven. I normally bake right out of the fridge but these really didn’t look ready so I gave them a bit more proofing time on the counter.
- The next morning, heat the oven to 475F with the Dutch ovens inside for 45 minutes to an hour.
- Turn out the dough seam side up onto a cornmeal sprinkled counter. Place rounds of parchment paper in the bottom of the pots, and carefully place the dough seam side up inside.
- Cover the pots and bake the loaves at 450 F for 30 minutes, remove the lids, drop the temperature to 425F, and bake for another 17 minutes. Internal temperature should be 205F or more.
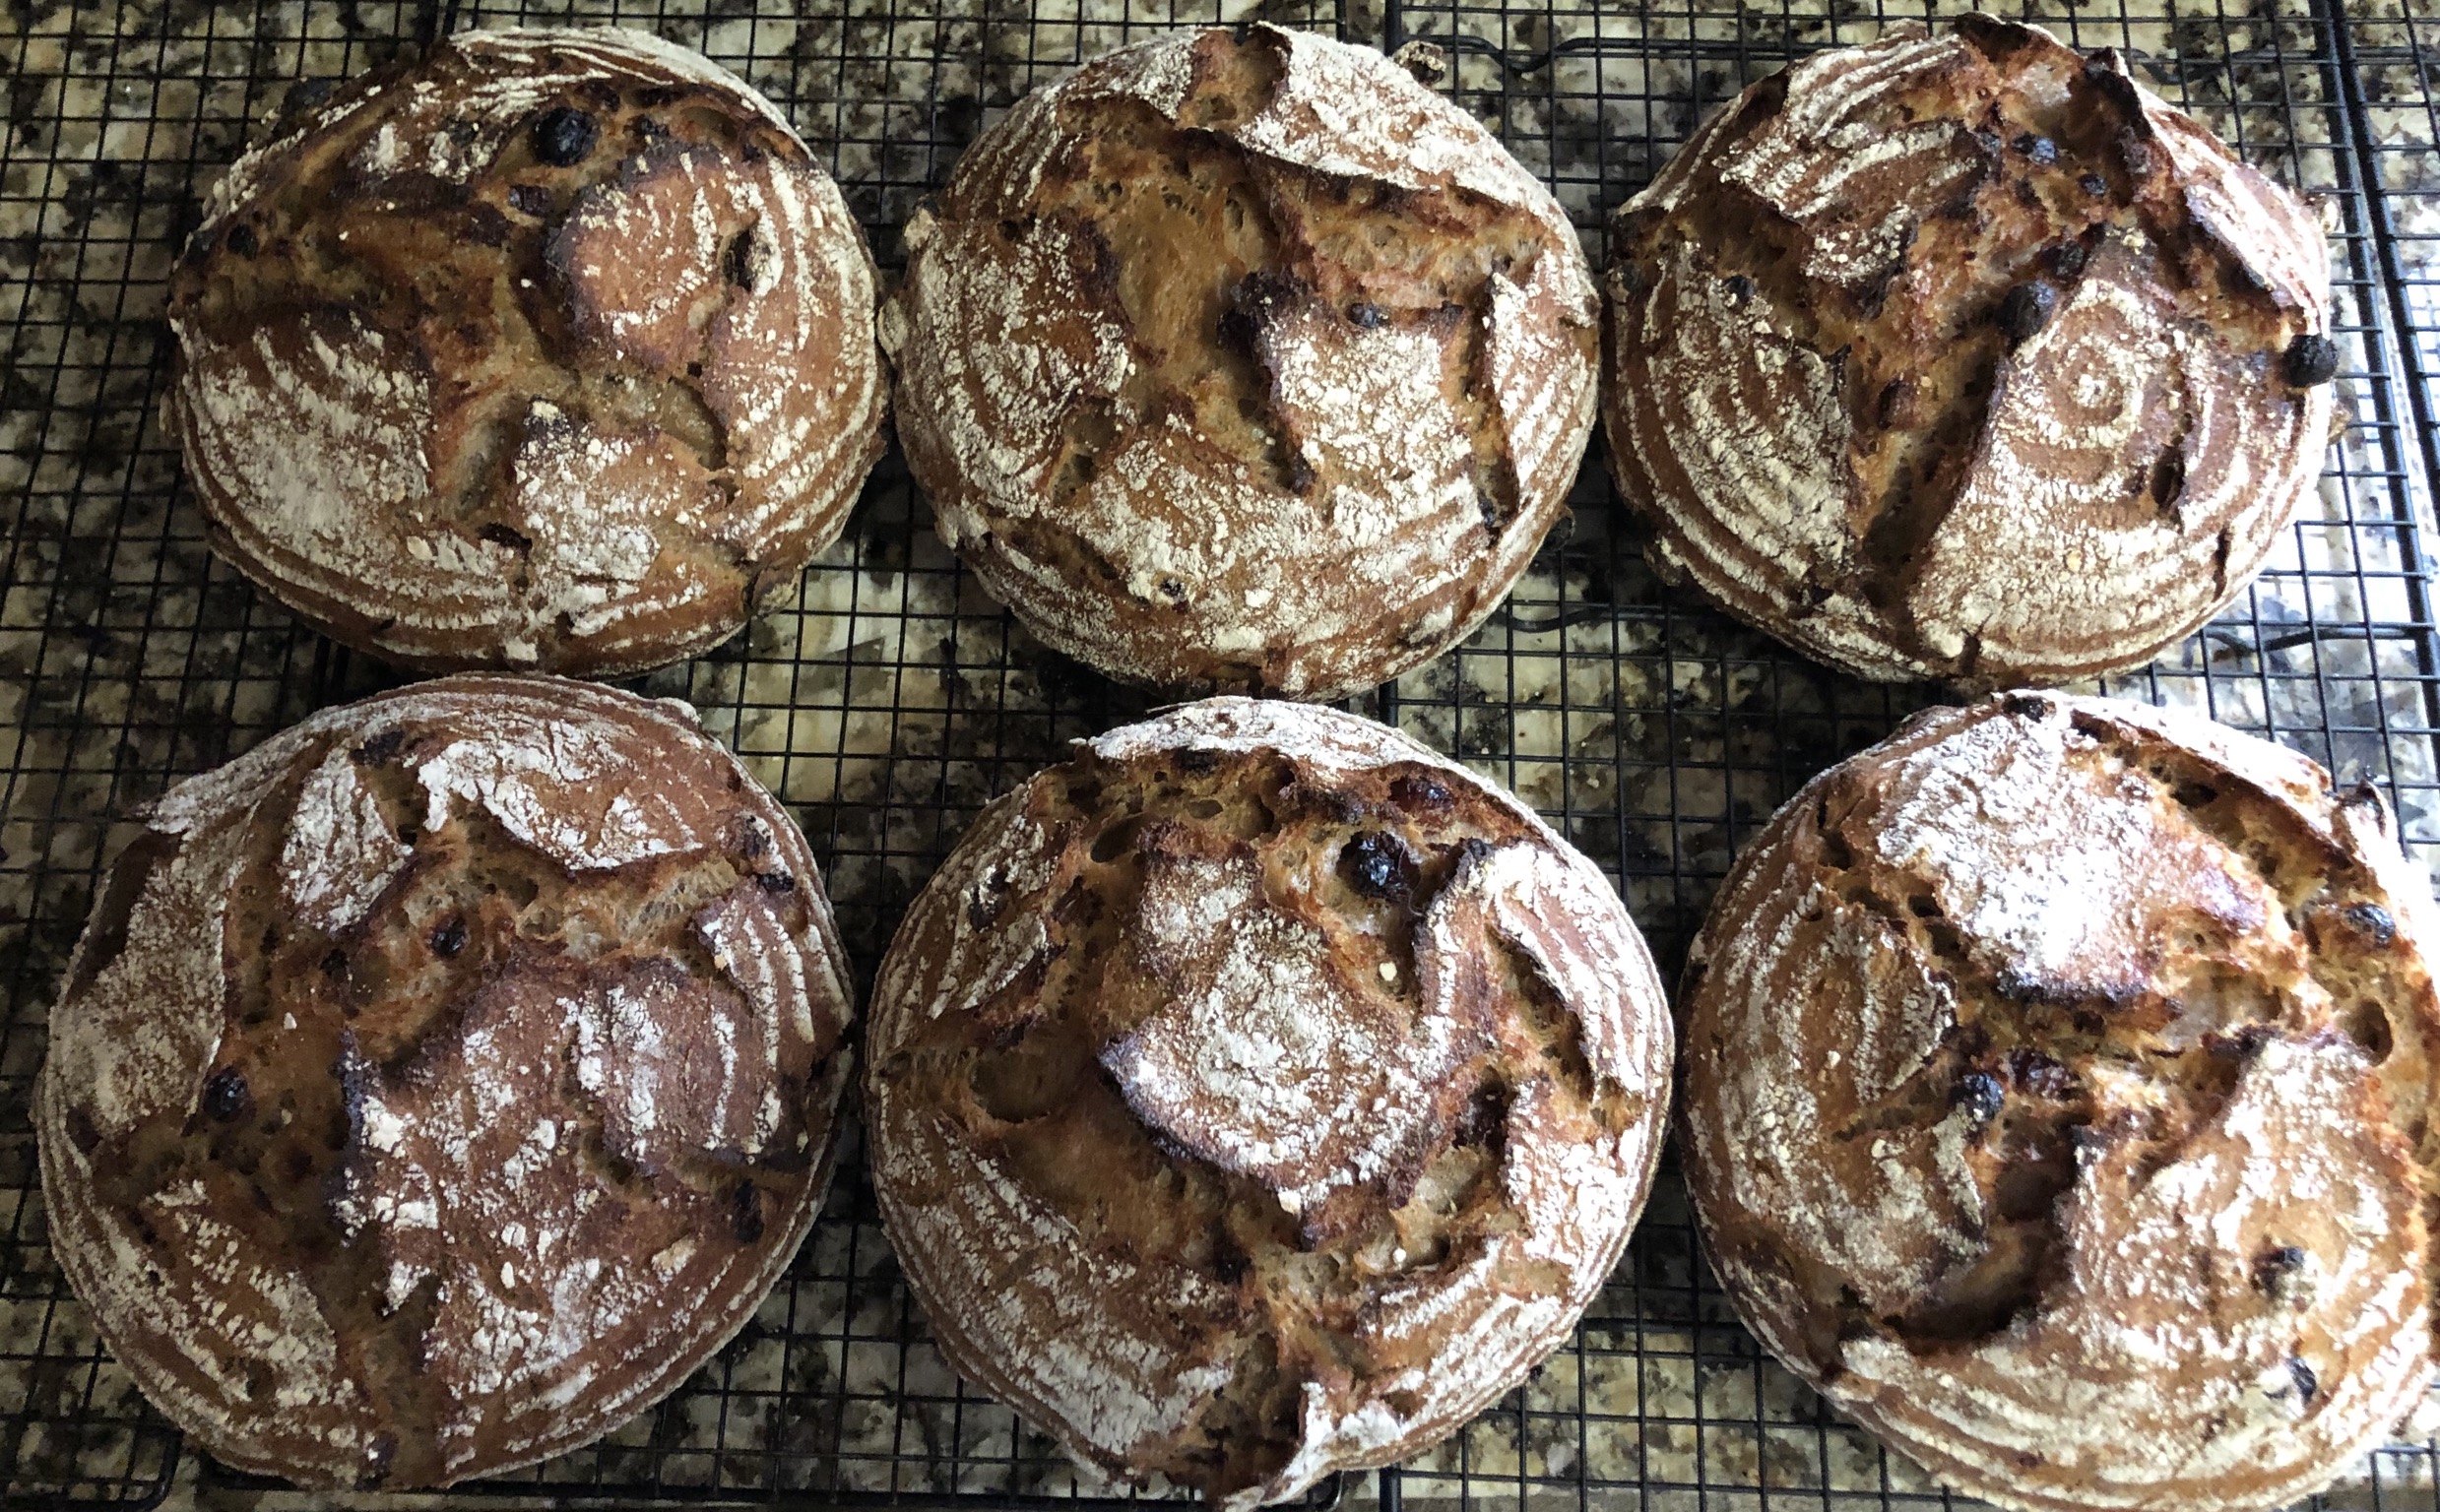
This first batch was done with the shaping method described above. I have a second batch about to go into the oven where I shaped doing the “cinching” method to see if there are any differences in the result.
- Danni3ll3's Blog
- Log in or register to post comments
Wow, these look amazing. I think I will try these for my next bake, I am obsessed with everything cinnamon raisin. Are they very sweet? I don't usually bake with honey.
They are still cooling on the counter. The second batch is in the oven still.
Really not a lot of difference.
I remember your experience with the slow levain action due to cinnamon. I wonder if YW would speed it up some for you...not that you need to change anything as those loaves are perfect ! I love all things with fruit and spice.
Why didn’t I remember to use some! I make a note for next time! Thanks for the idea!
So, it was a cinch making the second batch Danni? I am in awe of your enterprise and energy, that is a lot of baking you've done this weekend and a whole lot of really delicious looking bread!
Making 12 loaves each weekend isn’t too bad since I got my routine mostly down. I just know that Saturday is an at home day. I usually just stay in my pajamas and make dough.... the bread kind! ?
your boules never cease to amaze me Danni...that oven spring with all those ingredients....l can only imagine the smell in your kitchen. Love to see whether you can see a difference with the cinching or not... Kat
in oven spring but I liked that it was a bit easier than what I have been doing. I did feel that the boules seemed tighter initially. I just might switch over to this!
The oven spring in these wasn’t huge but good enough considering the amount of fruit in there.
You amaze me, week in and week out. And every loaf as perfectly shaped as its neighbor. You must have calibrated hands!
Forgive me if I missed a step, but where is the cinnamon in the procedure? I see it listed in the ingredients, but not in the method. It's one spice I've been too afraid to use. Looks like it didn't affect your loaves in the least!
Keep on baking,
Carole
Thanks for your eagle eyes! The cinnamon went in with the salt. I’ll fix my post!
Looking at the small bubbles beside the bigger ones, I think I could have bulk fermented at bit longer. Maybe it needed more time on the counter and none in the fridge. What do the gurus think?
and very festive-looking!
You got me thinking: I seem to get this kind of crumb whenever the bread has an abundance of add-ins...No sure if that's related.
do you mix in first speed without the ingredients and get the gluten really well developed? As I handmix I don't really know mechanical mixing at all but I try to get the gluten development ahead of adding bits and in case of my walnut bread and porridge breads this has worked well...It is a lovely, lacy crumb anyway and looks sooo good! Kat
so I try to carry it over to the machine. The first speed after the autolyse is to try to get the salt, yogurt and levain somewhat mixed in before I switch to the second speed for gluten development. I am basing the 5 minutes on the second speed on what I have read here since I have been using a mixer only since Xmas. I have read that you want only a medium stage of development to get a lacier crumb. Full gluten development will give you a tight uniform crumb. Then it is near the end or after that that I added my fruit. I wanted the fruit to stay intact and not get pulverized.
Mind you, with seeds (Hamelman’s 5hrain), I added them with the levain, and with soaked oats (Honeyed Spelt Oat), I added those with the autolyse and got a nice crumb both ways. I am doing a seeded bread next weekend. I should try adding the seeds at the autolyse stage... would solve my problem of trying to juggle enough water for the autolyse and enough for the soaker and not end up with a too wet dough or sometimes too dry. Something to think about.
and at the moment reading a lot especially about preferments and I feel a bit like my brain is in the state of one of those shakers where I wait a bit for the snow to settle...
It would be interesting to understand why some formulas suggest to only mix to 'medium gluten development' and others to full? I seem to remember that in a post from Trevor on IG or in his book he talks about to get close to full gluten development during mix and then to develop structure during bulk...sorry, I do not want to cause any confusion and shall explore more....
development by hand is similar to medium development by machine? It is certainly easier to develop gluten in a machine than by hand. Even so, you really need the folds to get that strength in the dough. My dough is very loose when I remove from the machine, almost like muffin dough but it all comes together with the folds. Amazing really!
which I did find very useful from Trevor's post: https://www.instagram.com/p/Bt8hmuwn0HC/ I am always worried to misrepresent what people have said and glad to have found the original source... Kat