
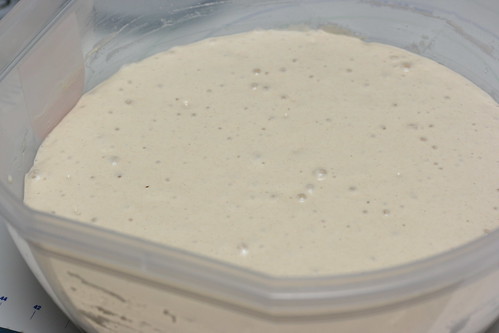
I've never been a big fan of bagels, which is part of why I skipped this recipe at first, but I know a lot of people who like them so I finally decided the time was right. First step of the recipe is easy, making a sponge, just water, flour and yeast left to expand for a few hours.
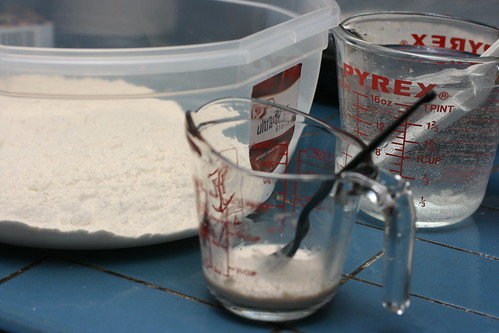
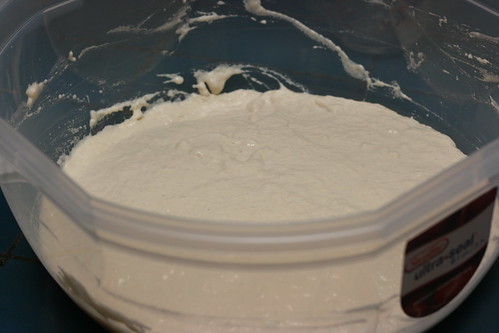
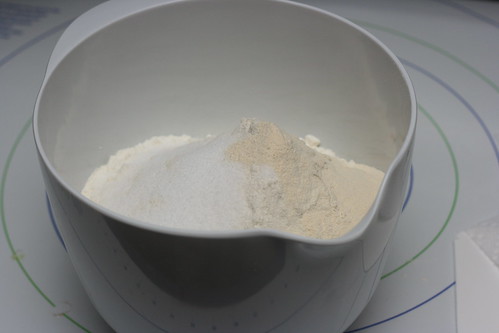
Once the sponge is ready, time to (attempt) to mix in the rest of the flour, the yeast, and malt powder. I say try, because bagel dough is really low hydration so I ended up needing to add a fair portion of the flour during the kneading. There was just no point in adding more to the dough while it was still in the bowl. And boy did it require a lot of kneading...
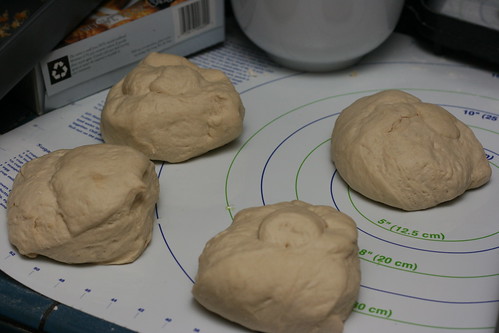
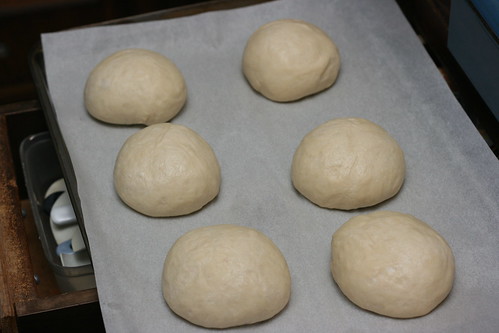
Once kneaded I let the dough rest for a bit and started dividing it into roughly equal balls. Followed by a bit more resting, and shaping into bagels (I used the thumb punch shaping method shown in the book, it worked really well). Then the shaped bagels took a trip to the fridge for retardation overnight.
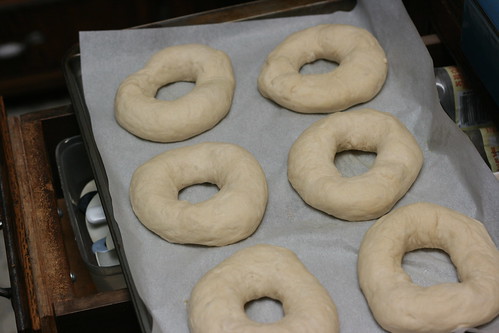
I wasn't really sure of the taste in bagels of the people I was making these for, so I stuck with plain, poppy seed, sesame seed and cinnamon raisin (trying to make 1/4 of the dough cinnamon raisin after the dough is already mixed is VERY tricky, I do not recommend it, but it was the only way I could see to easily divide it so). The boiling process before topping the bagels was easy, a little bit of baking soda and malt powder added to the water (they really make it foam up!) and away they went. I didn't notice I had no cornmeal or semolina left before I started, and the semolina flour worked less than perfectly when placing the boiled bagels back on the sheet pan, which definitely reminded me to pick up cornmeal the next time I was at the store.

I followed the suggestion in the book to top the cinnamon raisin bagels with brushed on butter and a cinnamon sugar topping, looked delicious! As did the rest of the bagels. Note, I say looked, I made this first batch to take in to people at school and since I only made the single batch of 12 I didn't actually get to try any(I did the next time I made them though)! One thing I was surprised by during the baking process was the blast of steam/water vapor when you open the oven to turn them around, I'm not sure if it is because of all the water in the crust from the boiling or the baking soda... But when I opened the oven to turn them around it felt like some sort of chemical weapon assault! Never experienced that when baking bread before.


Another post submitted to YeastSpotting , having that available to submit posts to really keeps me inspired to bake, and I love seeing what other people have made each week, thanks so much Susan! Bread Baker's Apprentice Challenge
- SumisuYoshi's Blog
- Log in or register to post comments
Those are great looking and nicely photographed.
Thanks! I got rave reviews from the people at school the first time I made them, and at work the second time. And I actually got to try some the second time, for not being much of a bagel fan I thought they were really good.
Your Bagels look perfect. Glad you had a chance to try one the second time around. And as Floyd said your photography is beautiful also. Nice post!
Eric
Nice to read your post since I have been (slowly) working my way through the BBA and this is one of the recipes that I'll be trying next.
Do you have any tips on how I can get my pictures to come out like yours? They're great!
Summer
I don't know what type of camera you have, but one of the most important things is lighting. I use a Canon EOS Digital Rebel XTI, but for all of my bread photos I just use the really cheap 50mm lens I got for it. This lens is great in low light and even though the depth of field (the part in focus) isn't huge, the part that is out of focus gets a nice blur to it. However, as I said, lighting. For all of these photos I use a flash, but the flash is aimed at the ceiling not the bread. The reflection of the light of the ceiling gives you a fuller, smoother, softer lighting as opposed to aiming the flash directly at your subject. Direct flash is fairly harsh lighting, and isn't really likely to make anything look better!
If you just have a small digital point and shoot camera you can try using a small piece of milky plastic over the flash, that will diffuse it some so the light isn't quite as harsh.
Noel
Thank you so much for the tips! Yes, I have a small digital camera where you can't "move" the flash and I hate the glossy harsh look of it, but it's really hard to get clear pictures at night without it. I'll try the plastic film suggestion. Diffusing it never occurred to me. It's good to know that I should concentrate on managing the lighting. I might try lamps from different angles so that I can avoid the flash. You've got me thinking!
Summer