The Fresh Loaf

A Community of Amateur Bakers and Artisan Bread Enthusiasts.

em120392's blog

em120392's picture
em120392

Hey guys! it's been a while! i've been posting a lot on my blog, but not much on here!

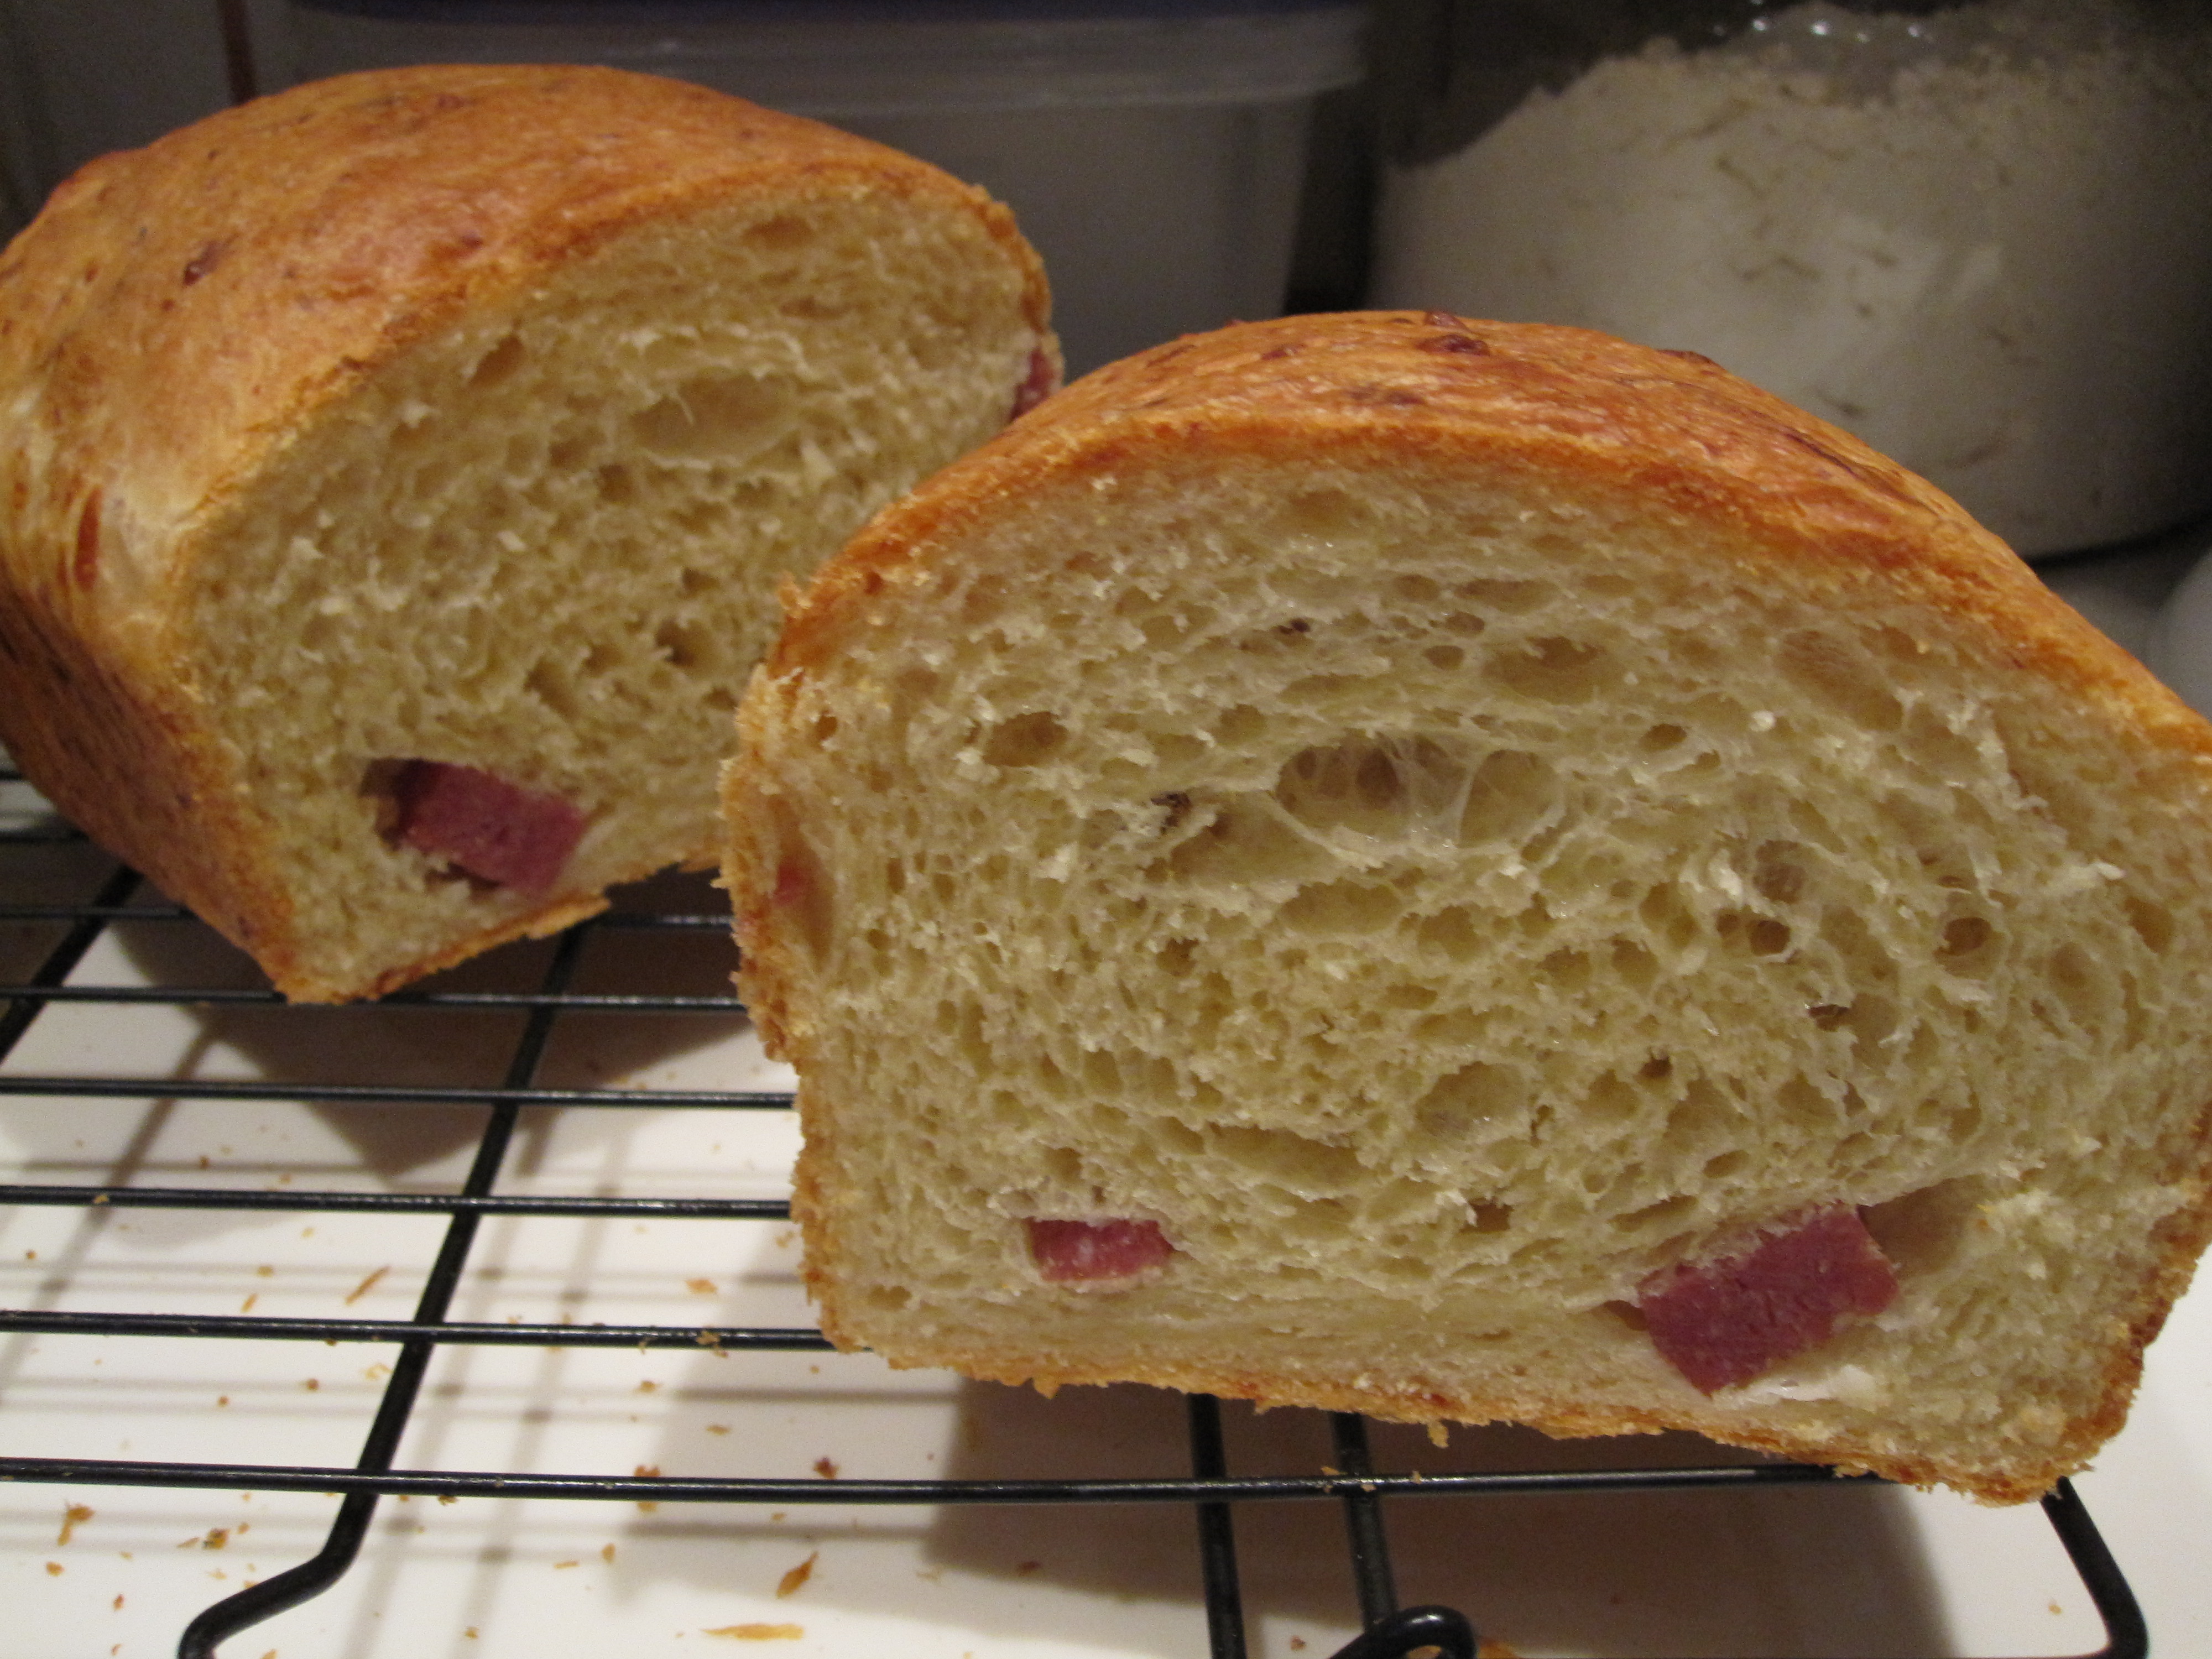
anyway, my brother and i made english muffins, which happened to be one of the most fun breads i've made so far. i hope you guys enjoy my post on them!

you can read all the posts on our blog, http://bakingacrosscountry.wordpress.com/ i've been interning at a bread bakery as well as a bagel shop! this project has definitely been the highlight of my high school career.

__________________________________________________________________________________________________________________________________________________________


My brother, Evan, came home from his trip to Antarctica and New Zealand a few days ago. We had a lot of family events that filled the entirety of the weekend, and we had no time to really even see each other. Even though I had school today, I took the morning off to bake bread and hang out with my brother before he flew back to California. English muffins were the next on deck-and I couldn't have asked for a more interesting bread to make with Evan.

English muffins, despite their name, are not like the typical muffins we are familiar with. Yeast-risen, English muffins are cooked atop a griddle, giving it its classic, flattened shape. Once browned on the outside, the muffins are baked fully in the oven. English muffins are usually eaten for breakfast, or for sandwiches. However, to retain the texture of the crumb, English muffins are split open with a fork, revealing the trademarked "nooks and crannies" inside.

English muffins are very similar to crumpets, which are yeasted breads baked in a mould on a griddle. However, crumpets have their defining holes on the top of the bread, while English muffins have holes on the inside.

Cooking yeasted breads on a griddle was nothing new- it has been documented that in 10th century Wales breads were made like this. In the 19th century England, yeasted griddle-breads were sold door to door by a muffin man. He would come around every day, and deliver fresh breads.

English muffins were popularized by Samuel Bath Thomas, who marketed them in New York City in the late 1800s. English muffins gained their identifying trademark "nooks and crannies" in the mid-1920s.

The English muffins that I've unfortunately been exposed to are rubbery, store bought Thomas' ones. The only positives about these are that when their split with a fork, toasted, and buttered, they do not taste half bad. However, I'm sure English muffins have the potential to be a delicious breakfast and sandwich bread.

English muffins are enriched bread, with butter and milk. They are a direct bread, meaning they do not have a preferment or retardation. However, I believe that these would be great using a sourdough starter, adding a more complex flavor. Evan and I decided that we would make two batches because it only makes six at a time. If we doubled it, we would have enough to feed our bread-hungry brother, Will, and freeze some for future breakfasts.

Evan and I began mixing the dry ingredients- flour, sugar, salt and yeast- together. Since we didn't have any buttermilk, we clabbered milk with vinegar to make a buttermilk substitute. We added the "buttermilk" and butter to the dough, and kneaded it until it made a soft, tender dough.

We let the dough proof until doubled, for about two hours. The dough was so soft and supple; It was surprised that it would be used for English muffins. We scaled it into 3 ounce portions, and shaped them into balls. We sprinkled them with a really coarse cornmeal, and a finer one. Then, we let them proof for about 2 hours until they puffed up significantly.

We originally were going to use a cast-iron skillet, but the one we own is only about 8 inches in diameter. We settled on our electric-griddle which we use for pancakes. They cooked on the first side for about 5 minutes, or until they were very dark brown, but not burnt. Then, we flipped them, and baked them on the last side.

Once cooked on both sides on the griddle, we baked them in the oven for about 5 minutes, or until they were fully cooked.

They were on the big side, and a little thicker than the ones were used to. Evan and I split one open (with a fork!) and tried it. They tasted real, and delicious. Unlike store bought ones, they didn't taste chemically or rubbery, but were soft with a crunchy corn crust.

Next time (and I promise there will be a next time), I think I'll scale them into about 2.5 ounce balls rather than 3 ounce ones. It might have been Evan's presence in the kitchen, but English muffins were probably the most fun and most interesting bread I've baked so far.


em120392's picture
em120392

Challah Bread

Hey Guys! I've been baking my way through The Bread Baker's Apprentice for a high school project. Here's my entry for Challah from a blog about bread which my brother and I share!  http://bakingacrosscountry.wordpress.com/

There are two Hebrew words for bread: lichem is an everyday bread and challah is the bread eaten on Sabbath, the day of rest. Challah is an enriched bread with oil, sugar and eggs, while Lichem is a basic lean dough. Before the bread is baked, the baker sacrifices a piece of the dough to the Gods. At any event, two challahs are two challahs must be blessed to prevent the breads from being shamed. To do so, the bread is placed under a challah Cover while the wine is being blessed. At Sabbath dinner, before the bread can be broken, the family must say in Hebrew, "Blessed are you, Lord Our God, king of the universe, who brings forth bread from the earth."

Traditionally, challah is braided into a long loaf and lacquered with egg wash on the Sabbath. On Rosh Hashanah, the Jewish New Year, challah is circularly shaped to represent the coming year and long life. Sometimes it is shaped like a ladder, to symbolize the ascent to God after death. In comparison to the regular Sabbath Challah, the holiday bread is sometimes enriched with raisins or saffron, which were considered prized ingredients.

In comparison to his other recipes, Reinhart does not use a preferment in his challah recipe. Since it's an enriched bread, most of the flavor and texture comes from the eggs and sugar.

I began by mixing together the dry ingredients: flour, sugar, salt and yeast. In another bowl, I mixed together eggs, egg yolks, water and oil. Using my new dough whisk, I stirred the wet into the dry until it made a shaggy dough. I added more flour so the dough was not sticky, and kneaded it for about 6 minutes, until it passed the windowpane test.

I let the dough rise for the first time for about an hour. At this point, Reinhart suggests to punch down the dough and knead for a few moments. Then, I let the dough rise for another two hours, until it doubled in size. Then, divided the dough in six equal pieces (making two loaves), shaped them into balls, and let the gluten relax for about 20 minutes.

With a dough ball in hand, I pressed the dough against the counter, slightly elongating it. Next, with two hands, I pushed the dough outwards in order to make it into a long strand. When I thought I reached my desired length, the dough shrank back slightly. So, I let the dough relax for a few minutes, and then stretched each section into a foot and a half length strand.

Next, I began braiding the strands. I opted to make two 3-strand braids so I wouldn't have one gigantic loaf that we'd never be able to finish. Beginning at the midpoint of the strands, I laid the three strands next to each other, and placed the right strand over the middle strand. Then, I placed the left strand over the middle strand, and continued braiding like I would hair. When I reached the end, I turned the loaf around 180 degrees, and braded the other side. Then, I rolled the ends together by pushing the dough against the counter with the heel of my hands. I tucked the ends underneath the loaf so it would have a finished look.

When I looked at the time, I realized it would be past midnight by the time the challahs proofed and baked. I was silly and didn't think ahead, and egg-washed the dough before refrigerating it (it was late!). I let the dough proof in the fridge until the next afternoon. After resting on the counter for about 2 hours so it warmed up, I baked the bread loaves in a 350 oven for about 40 minutes. As it was cooling, I realized that I forgot the second egg wash. This resulted with the loaf having an uneven, semi-shiny, semi-crackly surface. The braids looked nice, but it didn't have the lacquered crust.

When I ate a piece, I remembered how much I love challah. I love the tender, almost cake-like texture of the crumb, and the soft crust. Like the brioche, challah with raspberry jam made breakfast (and dessert!) delicious. I brought a loaf to my mentor, Mr. Esteban. I explained to him that I was disappointed in the crust, but I don't think he minded all that much. It's still bread, right? I also brought a half loaf to my Jewish grandparents. We always have challah on Rosh Hashanah, and it reminded me of the holidays. Nothing beats a good loaf of challah bread.


em120392's picture
em120392

Hey guys! Here's my post about Casatiello, an enriched bread with cheese and meat. I'm doing the BBA Challenge for a project in my high school. My brother and I share a blog (he's going to start writing soon) where we document our journey through the Bread Baker's Apprentice. Here's the link: http://bakingacrosscountry.wordpress.com/


Casatiello, a Neapolitan Easter bread, is also known as Tortano in other parts of Italy. The word casatiello is derived from the Neapolitan word for "cheese." Casatiello is enriched bread, much like brioche, with the addition of cured meat and cheeses. Traditionally, Italians add salami and pecorino-romano and/or provolone cheeses.

Like many other breads, casatiello has religious significance. The rising dough represents the resurrection of Christ on Easter. The traditional circular shape represents Christ's crown, and the eggs on top signify His rebirth.

To incorporate the meat and cheese, Reinhart kneads in these additions. However, while researching other recipes, they call for the dough to be rolled out flat, sprinkled with meat and cheese, and rolled up like a sandwich loaf. The traditional casatiello is topped with raw eggs, covered with dough crosses. When baked, the eggs atop the casatiello are similar to hard-boiled eggs. Reinhart bakes his bread in tall mold, like a coffee can, lined with a paper bag. However, many traditional recipes call for the dough being shaped in ring and baked in a tube pan.

In comparison to many of Reinhart's recipes, this bread can be made in one day, rather than retarding overnight. However, he does use a sponge to add more flavor to his bread. I began by mixing flour and yeast, which I added warm milk to. I let this ferment for about an hour, until it collapsed when tapped the bowl.

Meanwhile, I shredded some provolone cheese, and diced some salami. I sautéed the salami for a few minutes, and it rendered some fat and became slightly crispy.


Next, I mixed flour, salt, and sugar in the bowl of my Kitchen Aid. Next, I added eggs and the sponge to the flour mixture, and mixed until it became a ball. After resting a few minutes, (known as autolyse), I added ¾ cup of room temperature butter in 4 additions. The dough was sticky and soft, and I kneaded it for about 5 minutes until it became slightly tacky and smooth.

I sprinkled the meat over the dough, and tried to knead it in the mixer. However, the salami just whizzed around the bowl, so I decided to knead by hand. After the meat was incorporated, I added the cheese, which mixed in much easier than the meat. I let the mixed dough rest for about an hour and a half, for the first rise.

Since I didn't have coffee tins, and I didn't want to stray from Reinhart's recipe, I chose to bake the casatiello in two loaf pans. I shaped it like I would sandwich bread- I flattened it into a rectangle and rolled it into a tight cylinder. Remembering my mishap while shaping the brioche, I made sure to seal these loaves extra tight. After being shaped, I let the dough rise for the final time for about 90 minutes.

The loaves baked in a 350 degree oven until they were golden brown, and the insides reached about 190 degrees. Unlike the brioche, they were not glazed, but the top was speckled with dark bits of cheese.


When I cut into the loaf, I could see the bits of melted cheese, which made this cool, web-like structure in the bread. Maybe because I'm not a fan of cured meats is the reason that I didn't really find this bread to my liking. Although I liked the rich and soft texture of the bread, I didn't like the bits of salami. I probably should have cubed the meat finer, so it was more evenly distributed. I made this bread with my mentor, Mr. Esteban, in mind. He does not like sweet breads and casatiello is the epitome of the savory kind he would enjoy.

Esposito, Mary Ann. "Neapolitan Stuffed Easter Bread/Neopolitan Casatiello." Ciao Italia. PBS, 2011. Web. 18 Jan 2011. <http://www.ciaoitalia.com/>.

Reinhart, Peter. The Bread Baker's Apprentice. 1st ed. . New York, New York: Ten Speed Press, 2001.129-132. Print.


em120392's picture
em120392

Today, I made Peter Reinhart's Rich Man's Brioche from BBA. I've never made such a rich, buttey bread, but it was delicious. I could only eat one slice, but with raspberry jam, it made the best breakfast.

I posted this on the blog my brother and I share ( http://bakingacrosscountry.wordpress.com/ ) We're both trying to complete the Bread Baker's Apprentice challenge, and also, I'm completing a high school project about artisan breads.

Anyway, here's the post!

Nowadays, we know brioche as a rich bread, enriched with enormous amounts of butter and eggs. The name brioche is derived from the Norman verb, "to pound." The Norman region of France was well known for the butter which they produced, and excessive kneading was required to incorporate all the butter into the dough.

Brioche came to Paris in the 1600s as a much heavier and far less rich bread than the one we know today. Supposedly brioche became well known with Marie Antoinette's famous quote, "qu'ils manget de al brioche" during the 1700s, which translates to "let them eat cake." This referred to the peasants who rioted because there was a lack of bread. The different butter contents of bread were baked for different classes-even the food reflected the social-class divides in 18th century France.

In the Bread Baker's Apprentice, Peter Reinhart provides three different recipes which vary in the butter content. Rich Man's Brioche has about 88% butter to flour ratio, Middle-Class Brioche has about 50%, and Poor Man's Brioche has about 20%. Since I had never made brioche, I splurged and made Rich Man's-why not? The recipe makes three loaves- In my head, the idea of three loaves somehow justified the pound (?!) of butter in the bread.

Traditionally, brioche is baked in molds as brioche a tete, which are formed with two balls of dough. Served with jam, brioche makes a perfect breakfast, and topped with meats and cheese, it can be served for lunch or dinner, thus making brioche a truly versatile bread.

I began the brioche with a sponge of flour, yeast, and milk. After the sponge rose and collapsed, I added five eggs. Next, incorporated the dry ingredients (flour, salt, and sugar), and mixed until the flour was hydrated.

After a few minutes, I mixed in a stick of butter at a time, making sure they were fully incorporated before the next addition. The dough looked smooth, and almost icing-like, because of the butter. I had never worked with such a fluffy, light bread dough, so I felt kind of intimidated in new waters.

After all the butter was added, I mixed for a few more minutes until the dough was soft, and tacky, but not sticky. I spread the dough onto a cookie sheet and put it in the refrigerator to firm up and retard overnight.

Since I don't have brioche molds, I used three loaf pans. I cut the dough into three even pieces, and with a rolling pin, I formed a rectangle. Like sandwich bread, I rolled the dough up, and placed them seam-down in the pan, and let it rise for about two hours. After it had risen for the second time, I brushed it an egg wash, to form a shiny crust.

In a 350 degree oven, I baked the bread until it was golden brown, and the internal temperature reached 190 degrees. However, when I tried to take the bread out of the pan, it kind of stuck to my not-nonstick pans, which I didn't grease. With some slight prying, I got the bread out, but slightly crushed and deflated a loaf. Also, when forming the loaves, I didn't seal the seam well, and when baked, it split on the sides.

Once cooled, I cut the bread, which flaked like a croissant, and tasted so rich and delicious. Since there is so much butter, one slice is more than enough, but every bite was so delicate and smooth. I'm glad I splurged for Rich Man's brioche, but I'm not sure how often I'll make it because of it's richness. With raspberry jam, it honestly made the best breakfast.


em120392's picture
em120392

Hey guys! I just wanted to thank you again for your encouraging comments on my bread-baking-project for school. I appreciate your thoughts very much! =]

I made bagels the other day, and wanted to share my post with you guys.

Here it is!

(my brother and i share a blog: http://bakingacrosscountry.wordpress.com/ )Originating in Poland in the 1600s, Bagels came along with Jewish immigrants to Ellis Island. Since many people of Jewish descent settled in New York, bagels have since been a tradition in the City.

The word bagel is derived from the German word for "to bend," symbolizing the round shape of the bread. Bagels were thought to bring good luck to the receiver of the bread. Usually, women who just gave birth received them for good luck as well as a symbol representing the cycle of life due to their circular shape.

The bagel gains its distinct chewiness from being first boiled, and then baked at a rather high temperature. A prolonged, cool second rise contributes to the bagels developed flavor, as well as the "fish eyes" on the crust. "Fish eyes" are raised bumps on the surface of the bread.

The first time I made bagels a few years ago, I was foolish and used whole wheat, no-knead dough from Artisan Bread in Five Minutes a Day. Although this dough made fine boules, the bagels dissolved in the boiling water, leaving broken lumps of chewy dough. Nevertheless, I was determined to find the perfect bagel recipe.

My brother, Evan, has been baking his own bagels weekly for about a year now. Out in California, each bagel costs over a buck, and they're spongy rolls. Out here in New Jersey, we sometimes get good bagels-but mostly, they're doughy and the size of your face.

Reinhart begins his recipe with a sponge, combining water, yeast, and flour into a thick-pancake like batter. After about two hours, I added more yeast, flour, salt and honey. I tried to mix the ingredients together, but flour flew out everywhere, making a giant mess. I tried to knead the dough in the Kitchen Aid, but the dough was so stiff, I could smell the motor straining.

That's why we have hands, I guess. For about ten minutes, I kneaded the stiff dough until my arms hurt, and the dough passed the window pane test. I measured out the dough into twelve even pieces (thank goodness for a scale). However, 4.5 ounce bagels were a bit too large for breakfast, and I think making about 16 would be a better portion.

After letting the dough rest for a little bit, I shaped them into bagels. I tried both ways, by sticking my finger through the dough and stretching the hole out, and also by forming them from a coil. I found that by poking my finger through, the shape of the bagel was more consistent, but I'm sure with more practice, I could get better at the coil-method.

I let the bagels rest again for about twenty minutes. Reinhart suggests a test for readiness: I placed one piece of shaped bagel dough in a bowl of water and saw it immediately floated.

After the test, I placed them on baking sheets, covered them with plastic wrap, and put them in the fridge for two nights.

On the second night, I brought a pot of water to a boil with an added tablespoon of baking soda. I didn't want to crowd my pot, so I only boiled four bagels at a time, for about a minute per each side. Immediately after boiling, I put them on a cooling-rack to drain, and sprinkled over a combination of sesame and poppy seeds, as well as some sea salt.

After boiling all 12 bagels, I baked them in a 500 degree oven for 5 minutes, rotated the pans, and baked them about 7 minutes more at 450, or until they were deep golden brown.

The next morning, I had a bagel with cream cheese for breakfast. Wow. They beat any one of the partially-cooked ones I get from the bakeries in my town. Since there are only three of us living in my house right now, we froze half of the bagels for future use. I also gave my mentor, Mr. Esteban a handful of bagels to share with his family. I hope he enjoyed them!

Besides my finicky mixer, this recipe was super simple and didn't require all that much effort (but more utensils than normal to clean). Rather than spending 12 bucks for 12 bagels on Sunday, I can bake these (better) bagels for a fraction of the cost. Next time, I'll try to find malt barley to make more authentic bagels, but for now, these are awesome!

Olver, Lynne. "Breads." Food Timeline (2011): n. pag. Web. 14 Jan 2011. <http://www.foodtimeline.org>.


em120392's picture
em120392

Hey guys! I'm taking a high school internship course called W.I.S.E. which allows a student to study about and to work in their desired trade. For my W.I.S.E. project, I chose Artisan Bread Baking as my topic.

I have been baking bread since I was thirteen, and I wanted to take this course to further my knowlege and gain work experience in a bakery. Next year for college, I plan to attend Johnson and Wales University, which specializes in the Culinary Arts. I thought that this project will prepare me for my future career, for I am going to be working in an Artisan Bread Bakery.  Also, I found that during this project, I can challenge myself to comlete the BBA Challenge. Starting in January, and ending in May, I hope to bake my way through The Bread Baker's Apprentice.

My brother, Evan, who's 24, and I decided that we would begin a blog to chronical both of our experiences through BBA. Evan lives in California, and I live in New Jersey, and we thought it would be interesting to note the different challenges and sucesses of the recipes.

Anyway, I hope that our blog will interest some fellow bakers, or fellow BBA challenge participants! We'd love to have your commentary, suggestions, or recommendations for new recipes to try!

http://bakingacrosscountry.wordpress.com/

Thank you for taking the time to read!

-Emily (18)


ps. Here is my post for French Bread.

(It might make more sense if you read my W.I.S.E. Project Proposal, as well as previous entries.)


This is my blog entry for Reinhart's French Bread:

I skipped ahead on the BBA challenge. I wanted to go through the book in order, but I didn't have time to bake bagels this weekend. They take two days to make, and I wasn't home enough to bake them. This is a difficulty in bread baking at home-although bread is easy to make, one must tend to the dough according to the starter, risings, and baking, which can be time consuming and inconvenient.

My mentor, Mr. Esteban, enjoys savory breads rather than enriched, sweet breads. I could have moved on to brioche, but I thought he would have appreciated a crusty, slightly sour French loaf more, and I have been itching to try French bread. Also, I felt like I was teasing him about my bread baking- telling him about it, but not making anything for him. I hope he enjoys the baguettes!

Reinhart begins with a pate fermente, an overnight starter which lends the final dough more flavor. It is simple- it combines flour, water, salt, and yeast into a rather stiff dough. I let the dough rise for about an hour, and then refrigerated overnight.

The next morning, I let the pate fermete warm up, and cut it into smaller pieces so I could incorporate it into the final dough. Like the pate fermente, the bread contained the same proportions of ingredients. After mixing with flour, salt, yeast, water and pate fermente into a ball, I kneaded it for about 6 minutes, or until I could easily use the windowpane test. Out of pure laziness, I kneaded the dough in the machine, rather than by hand. I feel more connected to the dough when I knead by hand, but, I was tired and didn't want to dirty the counters.

After the dough is kneaded, it rests for about two hours, to rise for the first time. Then I shaped the baguettes like I thought I should. I spread the dough out, and folded it into thirds like letters. I proceeded to elongate them into their proper shape. However, after making them I went on Youtube (great idea, huh?) and watched the proper way. After folding in thirds, you're supposed to create tension on the outside of the bread by rolling it up in two separate "folding/rollings." Afterwards, you gently seal the bread with the heel of your palm and then proceed elongating. Next time, I guess.

I let the dough rise for the last time for two hours. I do not have a lame yet, so I cut the slits with a pairing knife. On two of the loaves, I cut rather perpendicular, leaving the slashes not very attractive. However, on the third, the slashes were much more pronounced because I used a 45 degree angle.

After I took them out of the oven, I could hear the crusts crackling. I was so excited-they looked promising. After they had cooled, I sliced a piece. The crumb was rather dense, not holey and airy like I imagine a true baguette. I was rather disappointed, but the flavor made up for it-it had true bread flavor.

So, I don't know- maybe I'll make these again. I really like the use of the pate fermente and it was very cool to shape baguettes. However, the crumb was really disappointing, and for taking two days and substantial hands on time, I felt cheapened.


Subscribe to RSS - em120392's blog