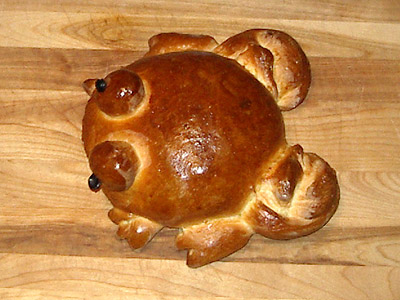
This evening I intended to bake the the bread for Bread Baking Lesson Two for this site. But I forgot to add one of the ingredients that I intended to write about in the lesson. This left me with a perfectly viable dough, just not the dough I wanted to use for my lesson. So I had to come up with another use for all of the dough I had made.
When I was little, we lived in the Mission District in San Francisco. There was a Mexican bakery there that used to bake a beautiful alligator-shaped loaf of bread. My wife and I were recently discussing this and came up with the idea of trying some animal shaped loaves ourselves. Since she runs a popular Frog Website, the first animal that came to mind was a frog.
Click the "Read More" link below for the dough recipe and information on shaping and baking Frog Bread.
The Dough
Below if the dough I used, but there is nothing special about it. If you have a bread recipe your prefer that produces a sturdy dough, by all means, use it.
6 cups unbleached flour
2 teaspoons salt
2 teaspoons yeast
1/4 cup sugar
2 cups lukewarm milk
1/4 - 1/2 cup water
Mix together all of the dry ingredients. Mix in the milk and enough water to make everything form a doughy ball. Turn the ball out onto a flat surface and knead for approximately 10 minutes. Return it into a greased bowl, cover with plastic wrap, and let rise for approximately 90 minutes until the dough has doubled in size.
Shaping the Frog
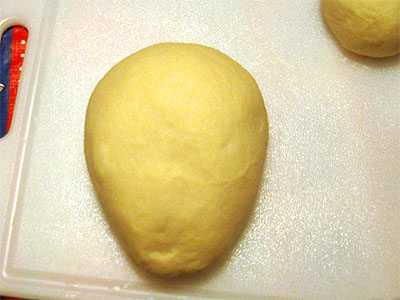
I first took a large chunk of the dough and formed it into a ball. I then squished one end of it to make it a bit oblong. This formed the body of the frog.
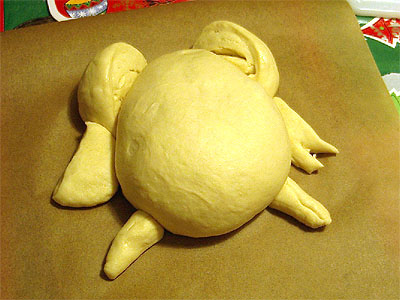
Next we added the legs. I made a smaller ball of dough, cut it in half, and set each half behind the toad to form the rear legs. I made a small disc of dough and cut it in half and cut out some toe wedges to form the rear feet. Front feet, as you can see, were just little tubes of dough that we slit to create toes.
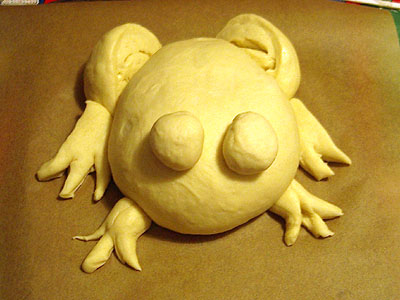
Eyes are just two small balls of dough. We pushed a couple of raisins into them to make them "googly eyes" at our son's request.
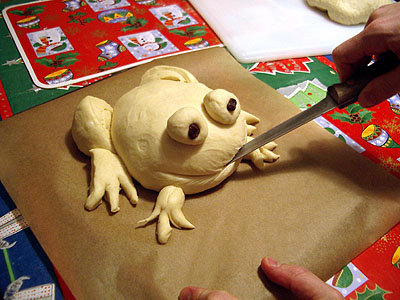
A slit across the front makes the mouth.
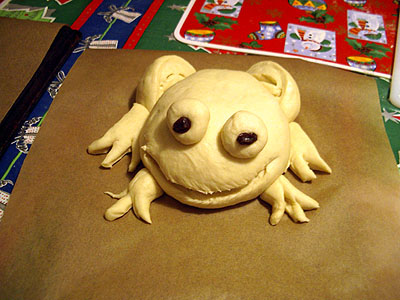
All set. I covered it loosely with a towel and let it rise for an hour.
Baking
After an hour I preheated the oven to 350. Right before throwing the frog in the oven I coated it with an egg wash. This was just a raw egg I scrambled up and then brushed over the dough. Doing this gives the finished bread a beautiful, shiny coating.
I baked it at 350 for 45 minutes.
Finished Product
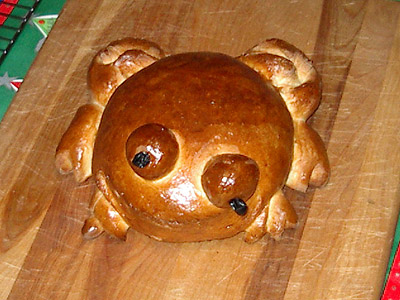
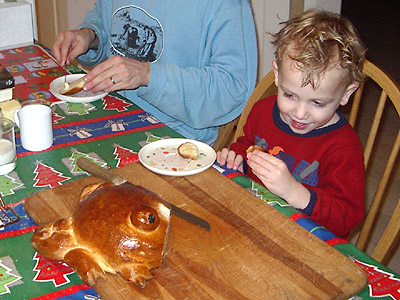
It came out looking great I think. Our two year old son loved getting to eat a frog eyeball after dinner, and he is dying to have "frog butt toast" for breakfast.
Related Link: Rattlesnake Bread
Comments
That is so cute! It will be my next project with my niece. Thanks!