
Lately, I have been fiddling with a new sourdough. I finally got the ingredients and amounts fixed around a month ago, but still wasn't entirely satisfied. Then I made a little tweak and kazam! Suddenly it all fell together. The tweak wasn't either ingredients or amounts, as those have stayed constant.
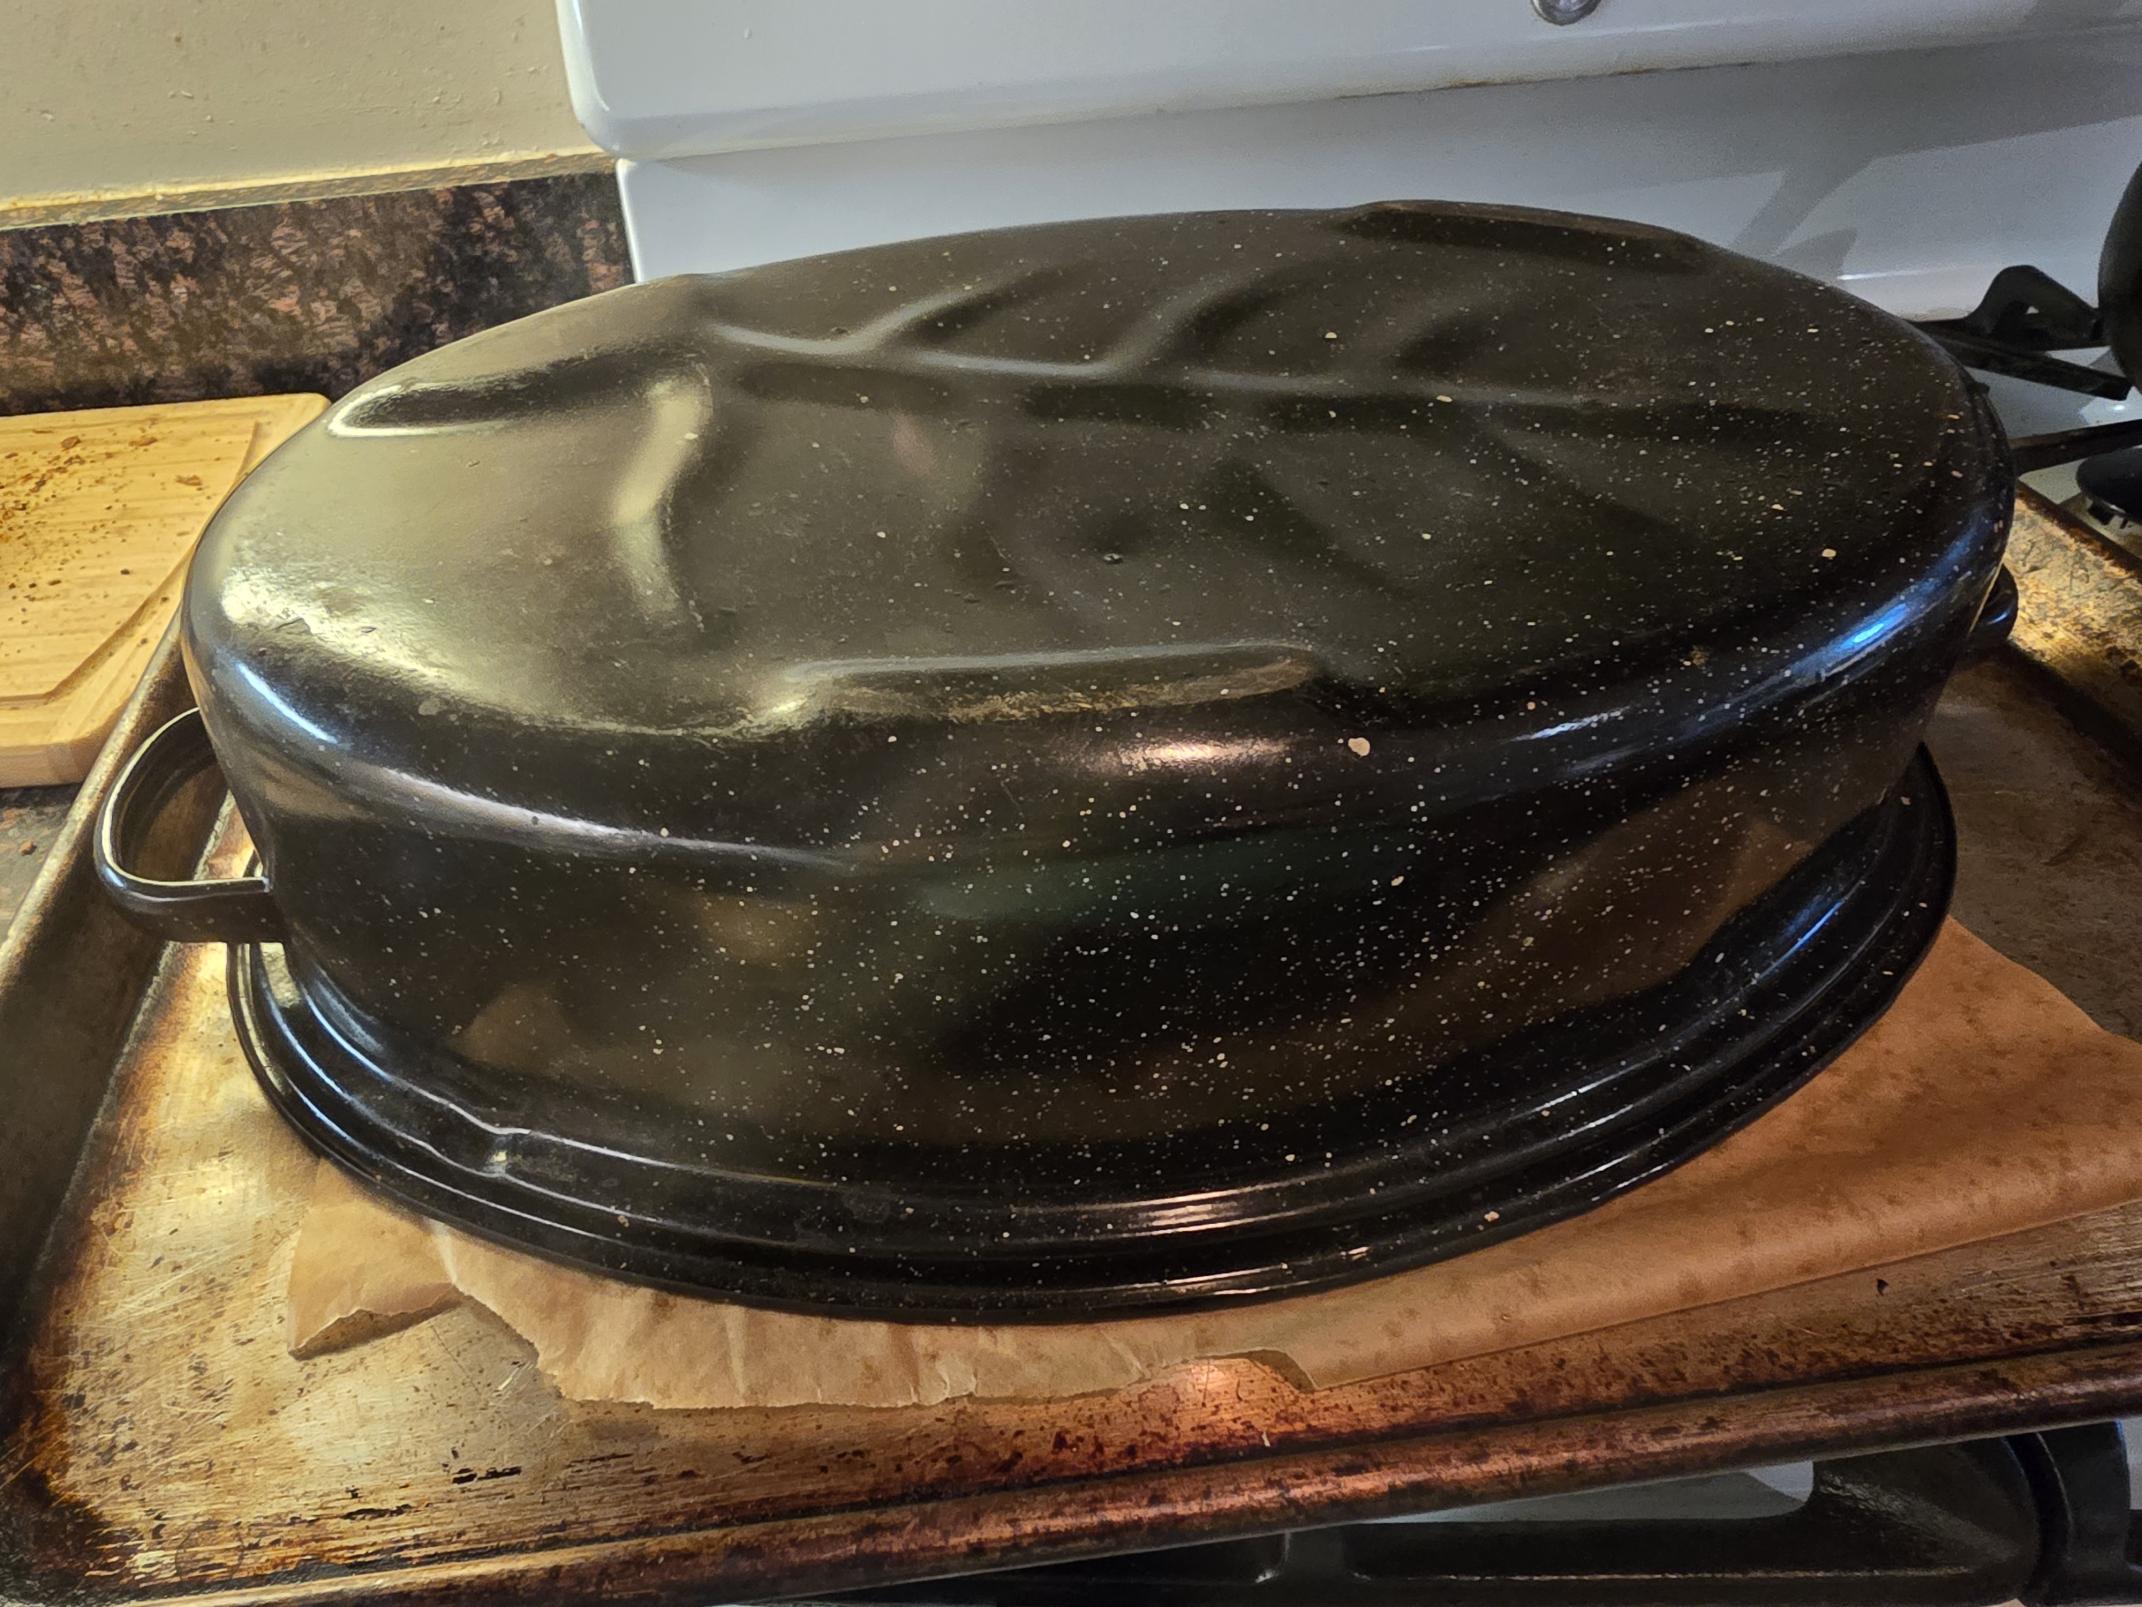
I have been doing covered baking as a way of generating steam. Here is my set-up in all its simplicity. This is a small turkey roaster. It is upside down covering the shaped loaf on a half sheet during proof. When the bread is ready the whole thing goes into the oven: sheet, loaf, and roasting pan.
Because I listen to WHAT THEY SAY, I have been removing the roasting pan after 15 minutes, and then doing the rest of the baking uncovered for around 23 minutes. On a whim, I decided to try longer on the covered baking, so instead of 15 minutes, I covered for twice as long. The results were dramatic. The crust is dense and crunchy and so sweet! I don't know how to take a proper picture of crust, but here is a photo of the inside of the loaf.

Whole Grain Sourdough
High Extraction Flour 150
Whole Rye 150
Whole Wheat 150
Water 340
Salt 9
Diastatic Malt 5
Starter 110
Total 915
Total flour 514
Total water 387
Hydration 74%
Salt % 1.8%
Starter% 12%
Whole Grains 83%
Mix all
Stretch and fold twice in 1 hour
Bulk ferment for two more hours
Shape round and proof for 2 hour
Bake at 450 for 30 minutes covered
and 15 minutes uncovered
The flour is all sourced from Ground Up Mills in Western Massachusetts. For people in the area, I can't praise these guys enough. They are a small operation, but they produce quality flours. We used / still use them for their whole wheat at my bakery, and I realized I could just keep using them at home.
Now here is the bonus question. How do I keep my cover photos from being rotated? I tried everything I could think of but the picture above is rotated 90 degrees counterclockwise!
- varda's Blog
- Log in or register to post comments
That loaf looks great! Thanks for the interesting post. I've been thinking of trying to get a roaster like that and this gives me more motivation.
As for the pictures, one way is to rotate them before uploading to TFL. I don't have a smart phone (if that's what you are using) but it ought to be able to do a rotation. Otherwise any basic image viewing or editing program will be able to rotate a picture - Paint or IrfanView on Windows are two I use.
TomP
I am amazed by how covering the loaf with a relatively thin roasting pan just works. And there is no need for icecubes or preheated cast iron pans or steam cleaners or anything. I bought a bigger fancier roasting pan, thinking that I would use that, but for one loaf, you really don't need a lot. So I ended up using the new one for a big turkey at Thanksgiving. Go figure!
Unfortunately, I rotated the image before loading but that didn't work. Maybe it expects landscape orientation, and since my original photo is portrait, it just rotates it onto its side no matter what.
wow! Thanks for posting. Sounds like one I might try once I rebuild my starter. A couple of related questions, though: what was your thought on increasing the 'lid on' time? What moved you to try it? What did you expect to achieve? Why do you think it worked? Thanks!
Rob
So here's what happened. I had some dough that I had retarded overnight. I wanted to warm it up the next day before shaping it, so I put the covered bowl of dough on the back of the stove with the oven on which is a pretty toasty environment. Then things happened and I forgot about it, so it was there for at least two hours. When I got back to it, the dough was un-shapeable, so I kind of coaxed it unshaped into a dutch oven and baked it covered. After 15 minutes I took off the cover but it was still raw on top so I left on the cover for around 20 more minutes, and then removed it, and baked it for awhile longer. That bread was ugly as sin, but had delicious sweet crust. That got me thinking about how long to bake covered.
Thinking about it after the fact, I realized that in the bakery when we were making baguettes, or bread on the whiter side, where we wanted a thin crisp crust, we would steam the oven. Then after 2 minutes, we would pull the oven vent and open the oven door to release the steam. When we were baking whole grains or ryes and didn't care about a thin crispy crust, we wouldn't vent the oven. The steam would still dissipate eventually.
So I think that translates here. Although I am not sure why the crust is so sweet in this treatment, and not when the cover is removed earlier. And I don't think the breads we were making in the bakery without venting the oven had sweet crust. So I guess I'm not sure about that part.
...