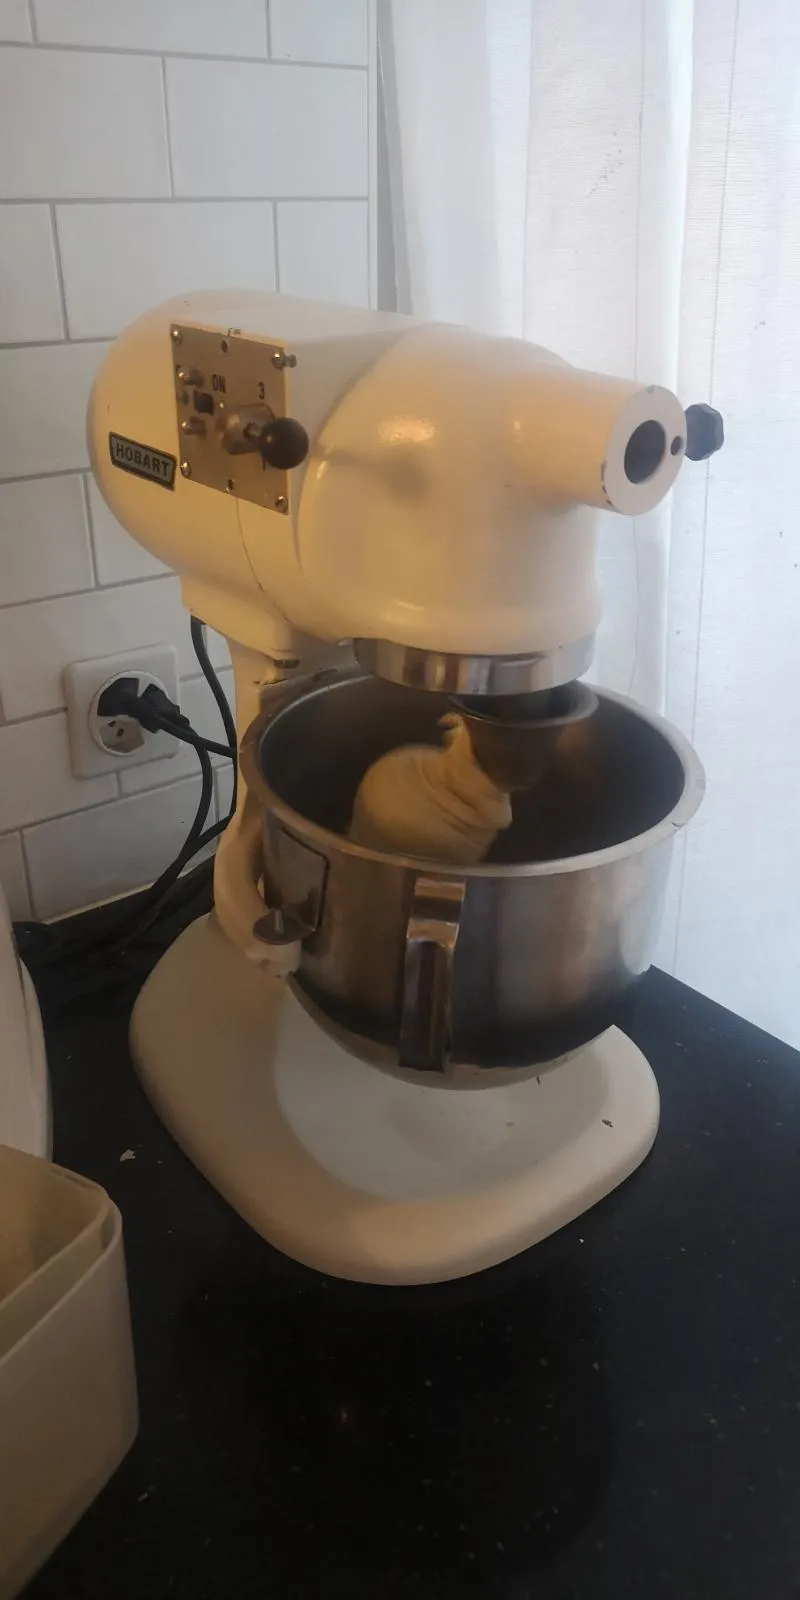
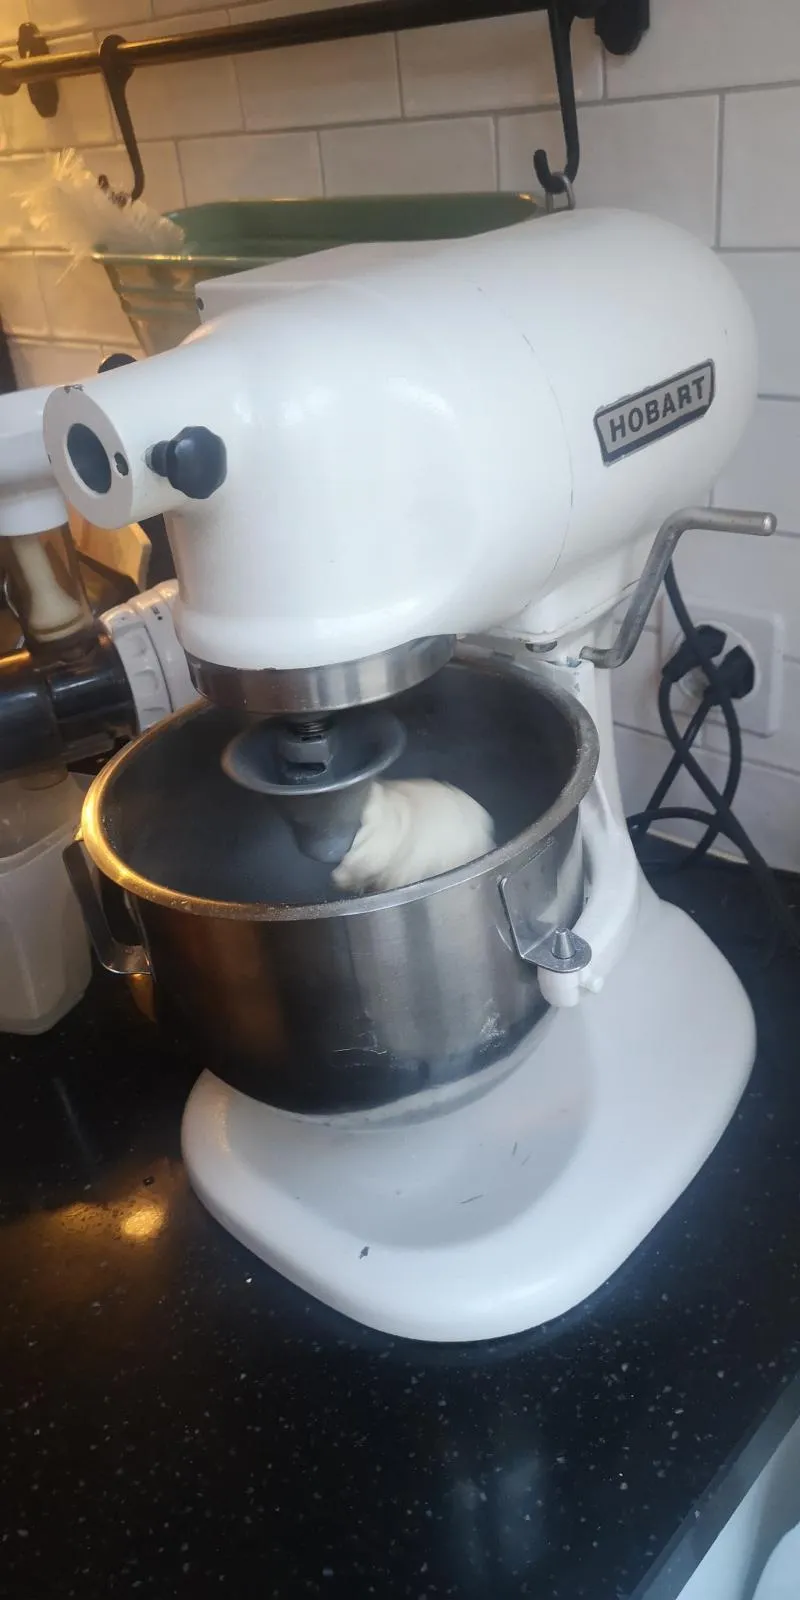
Hello Everybody,
So after buying a hobart N50 I realized that 2nd and 3rd gear were a bit noisy, uppon inspection I saw that the grease was super old, so after some reaserch I found some good tutorials here abd on utube. So Taking it apart, painting it and reassembling it was quite eazy. The problem that I have now is that when I turn it on after about 10-15 seconds of running it starts smoking and it smells almost lllike burn plastic. The case also gets quite hot, to compare even after 15 min of making pasta dough it never got that hot. To test it I didnt install the transmission part, so its just the motor part and thats the part getting hot. I`m 99.9% sure that I put the right wires together as I marked them with a permanent marker. I did try to pulll out the motor but wasent able to so I ended up covering it with painter tape and some plastic. To my knowledge no debie or stuff when in the motor. my first though was that some paint ships fell in but after trying to run it 3 times and it always smoking i discarted that though. I know its going to be something super stupid, but I cant put my mind around what it could be. If anyone can help please do
Hello Gandalf,
Have you performed an insulation test (using a megohmmeter) before powering again the motor for the 1st time ?
Are-you able to locate from where the smoke exactly begins ?
Have you checked the centrifugal switch (on the rear bracket) disconnects the start windings when the motor is rotating fast enough ?
Please share some picture of the stator's visible windind ends if possible.
Hi Flormont,
Thanks for the quick reply, no I havent tried a insulation test, I do have a voltometer but have no idea how to use it or do what you asked :(
Cant really tell were the smoke comes from, it just pours out the back part, it seems to be comming from the thing that spins but im not 100% sure.
The centrifugal switch seems fine, I dont understand if I have to check something else?
Stator is the back piece thats held on by the 4 bolts right? what do you want pictures of as I dont understand what you mean with "share some picture of the stator's visible windind ends if possible"
Soryy if I wasnt much help, I am new to this stuff. That said I am pretty handy with my hands and usually fix more things than I break and honestly I dont know what could have happened as it was working perfectly before I took it apart and now it does this...
Whats the best way to share photos here? would you want a video?
thanks for your interest and help,
hope to hear from you soon
Hello,
A voltmeter is not able to perform an insulation test, only a device called "megohmmeter" can do this. The insulation test is warmly recommended before powering on again a serviced motor : it insures that all electrical parts have been put together correctly and that no leakage current nor short-circuit will occur. Anyway...
Sorry, but as per your description, it's not yet possible to determine if you are facing a mechanical or electrical issue.
- mechanical problem would likely be a bad rotor centring, which rubs the stator and causing harmful friction (or else a rear motor bearing too tightened, with no play allowed to the rotor which can't turn freely)
- electrical problem is often a worn or locked centrifugal switch, which can't switch off the start windings : these one are not designed to be continuously powered, and quickly overheat until the copper enamel is destroyed.
Stator is the back piece thats held on by the 4 bolts right?
Formally not, because you have exactly two pieces which meet your assertion : the first visible part is the rear bearing and when this one is removed, then you can face the stator indeed.
what do you want pictures of as I dont understand what you mean with "share some picture of the stator's visible windind ends if possible"
A picture showing the appearance of the windings should be fine. Windings are made of several copper coils arranged in grooves within the stator frame, so only their ends are visible (sorry but I'm not a native english speaker, I don't exactly know the right word to indicate this part of the motor ... in french this is called "chignon de stator" but attempting to translate it just means nothing !). To carefully take a look to this part is important because if will tell you many things about the motor's health. More easier, take a look at this example and you will instantly notice that there are two burned windings : https://www.econologie.com/fichiers/partager3/1437162132qCeR22.jpg
You may share picture or videos as you want, please contact the administrator in case of support. You may also send me a private message.
The first thing to do is to check the rotor turns freely, and then to validate that the centrifugal switch is operating well and is perfectly reliable.
Regards
Hi Flormont,
So I think I got to the problem but still not able to get it working correctly.
When I took it apart I touched and mover the black piece of plastic that goes to press against the centrifugal switch. Today looking at it I realized that when I put in place the metal piece that holds the centrifugal switch it would right away press against the switch.
I placed the black plastic thing in a different way and it worked and didn't smoke, only thing is it turn on 2-3 times and then it would just make some noise as if it didn't have enough "juice" to turn it on. So I guess I didn't put it on the right way. Do you know we're I can find a diagram of how to properly set up the thing on the motor that when it turns it pushes the black plastic thing away from it?
I'll try to add a picture but earlier it wouldn't upload.
Don't worry about Ur English I can understand everything u have said, by the way we are neighbors, I live in Switzerland.
The centrifugal switch (you pictured here) is obviously the weak spot of any N50.
Sorry but for now I can't share picture showing how a correctly fitted centrifugal switch should look at (I'm working outside Europe and I don't have my N50 with me). I'm shure you got that this centrifugal switch is composed of two main assemblies : 1 mobile part on the rotor + 1 stationnary on the rear bracket.
You may do basic tests as follows (motor unplugged of course) :
- With the back motor bracket removed : When you push the black governor towards the rotor with your fingers, then both rollers should move aside, and then pulled back by the springs when you release them. It's essential to have a governor able to slide smoothly and rollers/springs able to move freely. And your photo confirms you have a 50Hz version indeed, according to the yellow painting of the calibrated springs.
Please note that this centrifugal assembly don't need to be taken apart when a N50 is serviced : the rotor shall be removed "in its entirety", including all this stuff intact.
- With the rear bracket reinstalled, and motor off : the black governor should press the metal strip of the fixed part, so that the two electrical contacts are joined and will allow AC to flow trough the start windings ; then, if you manually get the rotor spinning fast enough, then the springs will trig and release the black governor which must take away the metal strip, and finally have the switch opened. All this must be validated by viewing and listening the mechanism.
Now your question will probably be : how to get the rotor spinning by hand without powering it ? I do this by installing the flat beater on its shaft, 1st speed selected, and by doing one quick pull on the tool by hand ; if done correctly this operation will drive all gears in a reverse way, up to the rotor. Several tries may be necessary (and both directions tested) before getting the expected reaction.
PM me if you want more details, or if you need the right Service Manual able to help you about how to service all these motor parts.
Hello,
I'd forato lik to thank flormont for all the help you ha e given me, your help was essential to solving my problem.
So the repair guy was able to repair just the starter phase which I am really glad for as it would have been twice as expensive to have it completely redone. The bad side is he took forever😂😂😂 I left the machine with him for about 2 months so that was a long wait but now it works perfectly.
I did paint it but I did damage some of the paint as when I was assembling it it kind of slipped.my hand and chipped the paint in a coupe of places.
I used a 2 compound base 1 nice layer and then a 2 compound paint 2-3 layer(some parts didn't come out nicely so I did an extra layer)
Her she is with her new look.
It's a custom colour that kind of gives it that vintage look. I personally love it.
Image

Image

Hi Gandalf...
I'm wondering if you took any photos of the gears laid out before you greased it up...
I'm putting mine back together and I'm confused about what goes where.
thanks.
Hi, have you seen the pictures from the manual https://www.manualslib.com/manual/1005013/Hobart-N-50.html?page=8#manual
I don't have too many pictures but I do have some, I don't know if you will see more than in the Manual linked above but if you want I will gladly post them for you. I just have to resize them as they are bigger than 2mb.
Gandalf
I got the photo I needed, and now I'm putting it all back together
what a great group this is. I appreciate you.
Awesome, yes indeed this is a great group.
Just curious how much it cost to have the stater coil rewound? I have one that is starting to get weak.
Thanks
Sorry, haven't logged in here in forever. I live in Switzerland and found a guy that did it for around 240$.
Hope that helps