Eva, of Bake Street has got an effusively charming recipe for a sourdough coconut bread that includes both coconut water and fresh (or rehydrated) coconut in the dough. It makes an excellent, and interesting bread. Having just made it, I can see why she says it is a bread to return to again and again.
The original recipe was modified for my circumstances. Circumstances being that I didn't have any fine semolina (rimacinata) flour to hand but did have a bag of Italian pasta flour! Yes, both can be used for making pasta, but the one is soft wheat and the other semolina and the gluten contained in them is quite different - but nevertheless figured it could only help to make a softer bread and it turned out quite nice too. So, this is my version of Eva's recipe:
- 400g stoneground white bread flour (the one I used had 11.7% protein)
- 100g pasta flour (Molino Dallagiovanna 000 in this case)
- 10g vital wheat gluten (only added to compensate for the original 110g of fine semolina that was substituted for by pasta flour)
- 90g young levain (100% hydration; 80% white bread flour & 20% rye)
- 185g coconut water (100% coconut water, in a bottle, from Thailand, no extra sugars added, but fairly sweet by nature)
- 115g water
- 10g salt
- 30g rehydrated coconut (from desiccated)
I prepared the bread using a fridge ferment (because that is what I like to do, and also we're entering summer now in the southern hemisphere, so it helps with the timing!) I'm fairly certain the bread would work just as well and be fairly similar if it was prepared using Eva's more conventional method, but if you've never done a fridge ferment you might find the method that was used interesting:
- In the morning of day 1, the dough was prepared for a long approximately 12h fermentolyse (for further processing that night). The fridge water and coconut water used were added cold, directly from the fridge, and the fermentolyse took place in the fridge. Theoretically there should be less fermentation because we'll be in the fridge and start with cold liquids, but it seems like there is still some, perhaps because the other ingredients were at room temperature. All of the dry ingredients were mixed together, and in a seperate bowl the levain was whisked into the water and coconut water mixture. This was then combined into the dry ingredients and mixed by hand for a few minutes until the shaggy stage, thereafter it was placed in a tub in the fridge until the evening. The rehydrated coconut was not added at this step, as it will be incorporated into the dough in the evening by means of a lamination.
- In the evening of day 1, the tub was removed from the fridge and in my case I did about 5 or 6 minutes of stretch and folds and general hand mixing to make sure the dough was no longer shaggy. The long fermentolyse meant the dough was smooth and easy to work with, but it was fairly stiff from being cold. After the initial stretch and fold, the dough was left for about 30 minutes, and then spread out on the work surface for lamination. The 30g of rehydrated coconut was added between the layers of the lamination. It was then left for around another 30 minutes, and a coil fold was performed on the dough, straight after which it was returned to a tub and into the fridge. The total time out of the fridge for this step was therefore around 1 hour.
- During the course of day 2, the tub was removed 3 times from the fridge for additional stretch and folds. The method of "txfarmer" was followed - with lightly oiled hands the dough was removed from the tub, in both hands it was gently stretched in one direction and folded back on itself, and this action was repeated at right angles to the first stretch. The dough was then placed back into the tub and back into the fridge, until the dough had relaxed sufficiently to repeat the process, about every 2 hours.
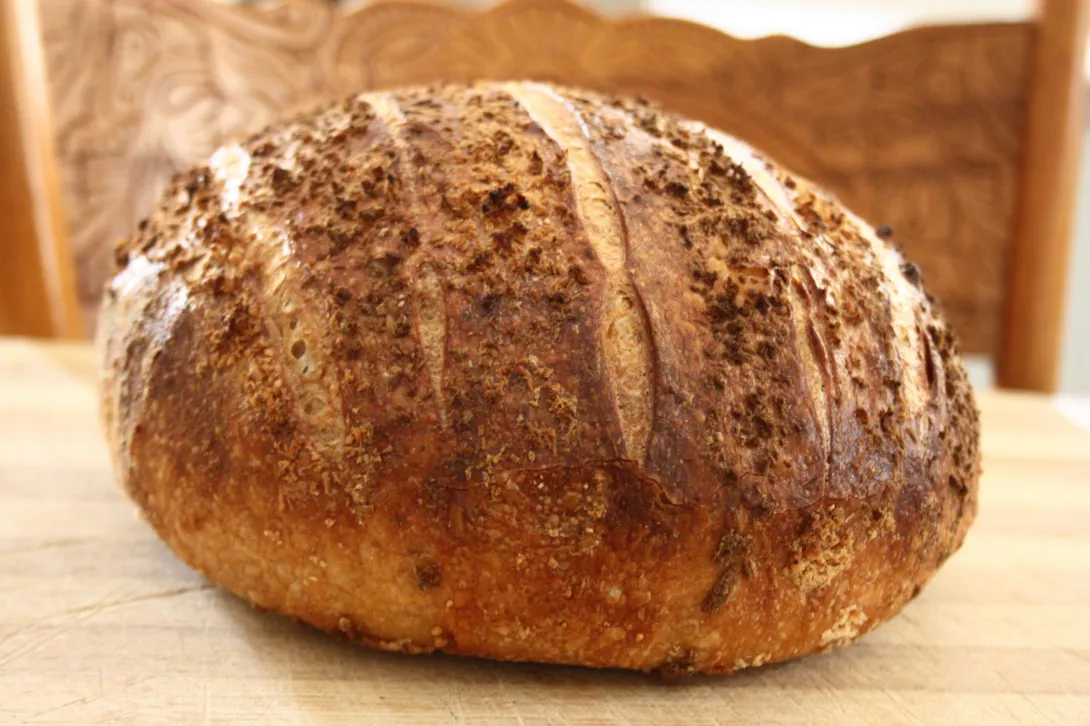
- By the evening of day 2, the dough had increased in volume by around 40 to 50%. Looking through the bottom of the plastic tub some bubbles in the dough were evident. The tub was removed from the fridge, the dough was immediately pre-shaped and left covered for 30-40 minutes. It had slumped a little at the end of that interval and then a final shaping was performed. The top of the dough was rolled in some rehydrated coconut to provide a topping to the bread. (I naively attempted to use different coloured rehydrated coconut for this, some plain and some that had been soaked in coffee, but this exercise was ultimately futile - all of the coconut used for the topping eventually came out with the same dark colour after baking!) After shaping the dough was placed in a banneton (in this case a tea towel coated with brown rice flour with a bowl for support, so not a traditional cane banneton). The entire banneton was wrapped in a large plastic bag, was sealed and returned to the fridge.
- On the morning of day 3 the bread was baked. Bake temperature was at 230°C for 20 minutes covered and 20 minutes uncovered. The uncovered period was extended for a few minutes to get a darker colour (I went 3 minutes longer). The oven was switched off and the bread was left in the oven with the door cracked open for an additional 20 minutes to get a crispier crust, and then the bread was removed and cooled on a cooling rack for at least 1 hour before the first slice was made.
What is surprising with this method is how little time the dough spent out of the fridge. During the entire preparation, the total time the dough spent out at room temperature was around 2 hours and 15 minutes, taking into account the various stretch and folds. Although the dough was kept in a middle fridge shelf at around 5°C, it is known that the fridge temperature fluctuates as the door is opened and closed, and it is assumed that all of the handling with warm hands also had an effect on the fermentation process.
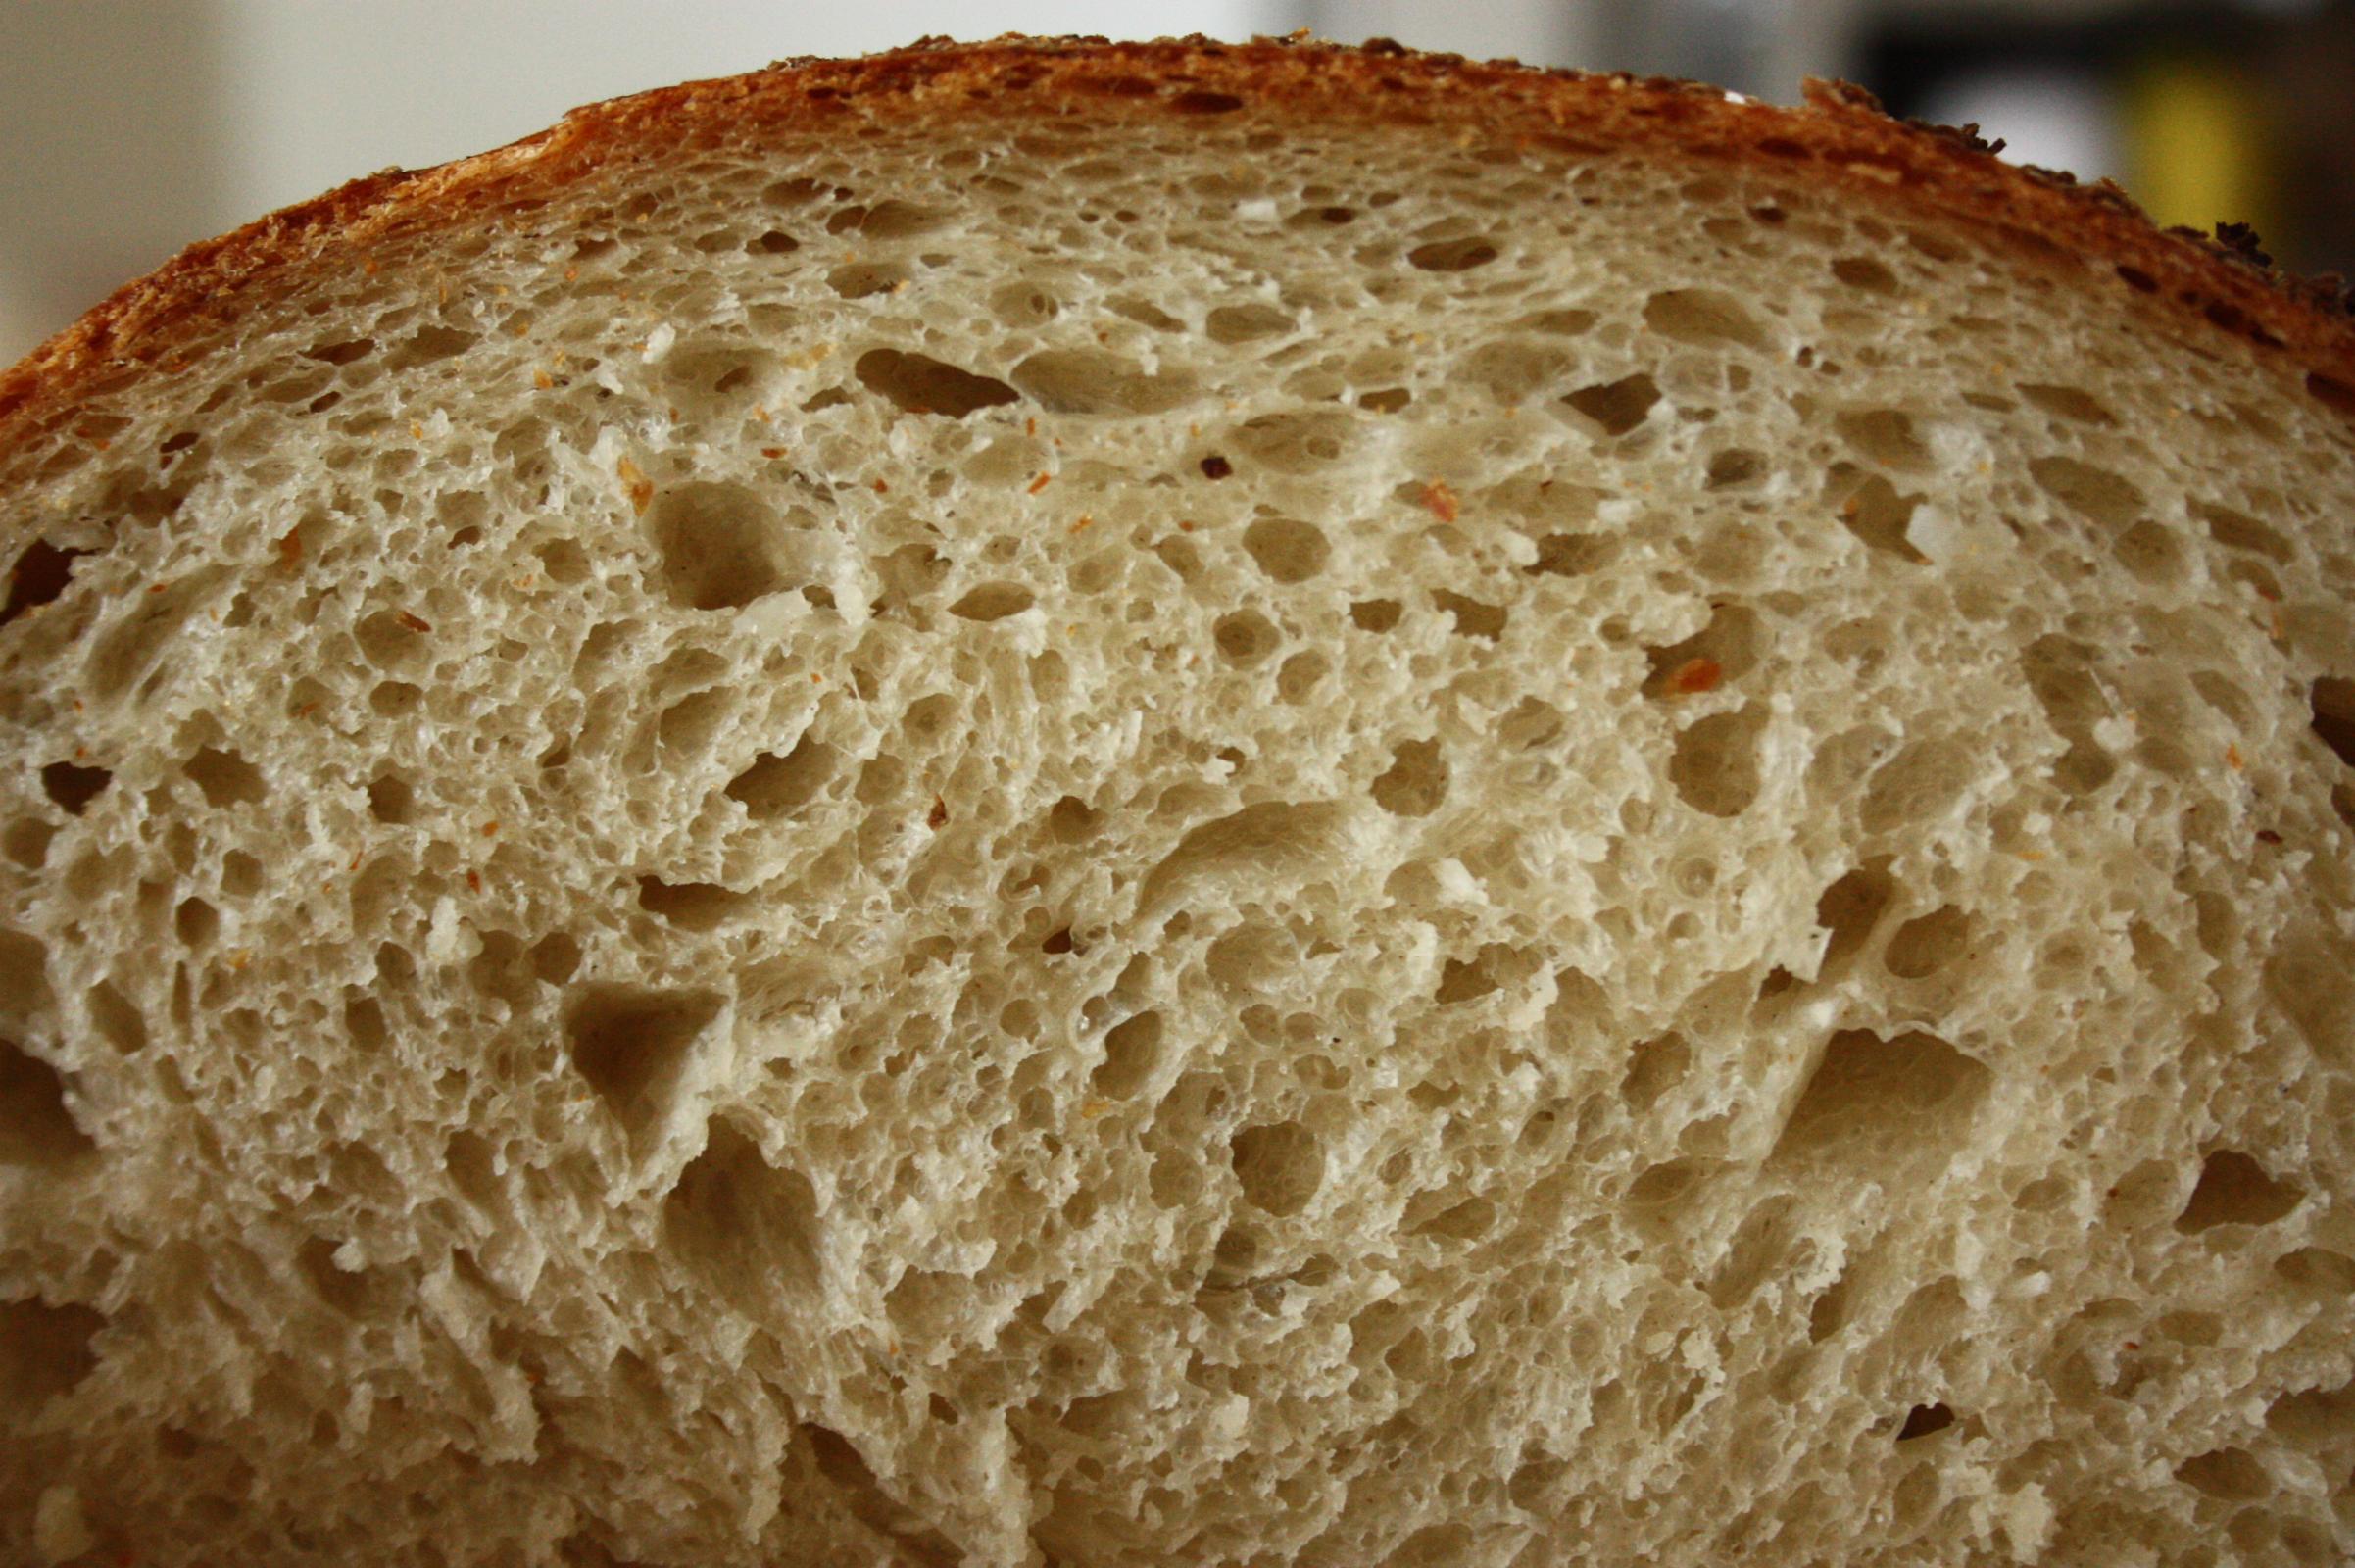
It is quite amazing that fermentation happens like this, but I can assure you that it does! A great joy of the fridge fermentation process is that it isn't necessary to time the end of fermentation very precisely, the bread could have been baked a day later if circumstances required that and the process would be forgiving. I also find that a fridge ferment produces a fairly nice and even crumb.
An unusual feature of this particular preparation is the long fermentolyse, all in the fridge, interestingly in my observation it advances the normal fridge fermentation schedule fairly considerably. The 12 hour length of it allows for great gluten development (even with the levain incorporated) before the dough is handled. My personaly jury is still out on this one, I know that some people, like Trevor J Wilson like more control over their fermentation process and prefer a pure autolyse without the levain. A pure autolyse would present the difficulty of mixing levain into cold dough, not a problem for a machine mixer, but I'm not fond of cold knuckles. What I do like about it is that it makes for a faster fridge ferment, and what's not to like about a faster fridge ferment? I'm going to carry on experimenting with this one, still haven't decided either way if it is something I will always do, and also perhaps the distinction between autolyse and fermentolyse isn't all that large when your dough remains at fridge temperature, and the amount of levain is neither very large nor very small.
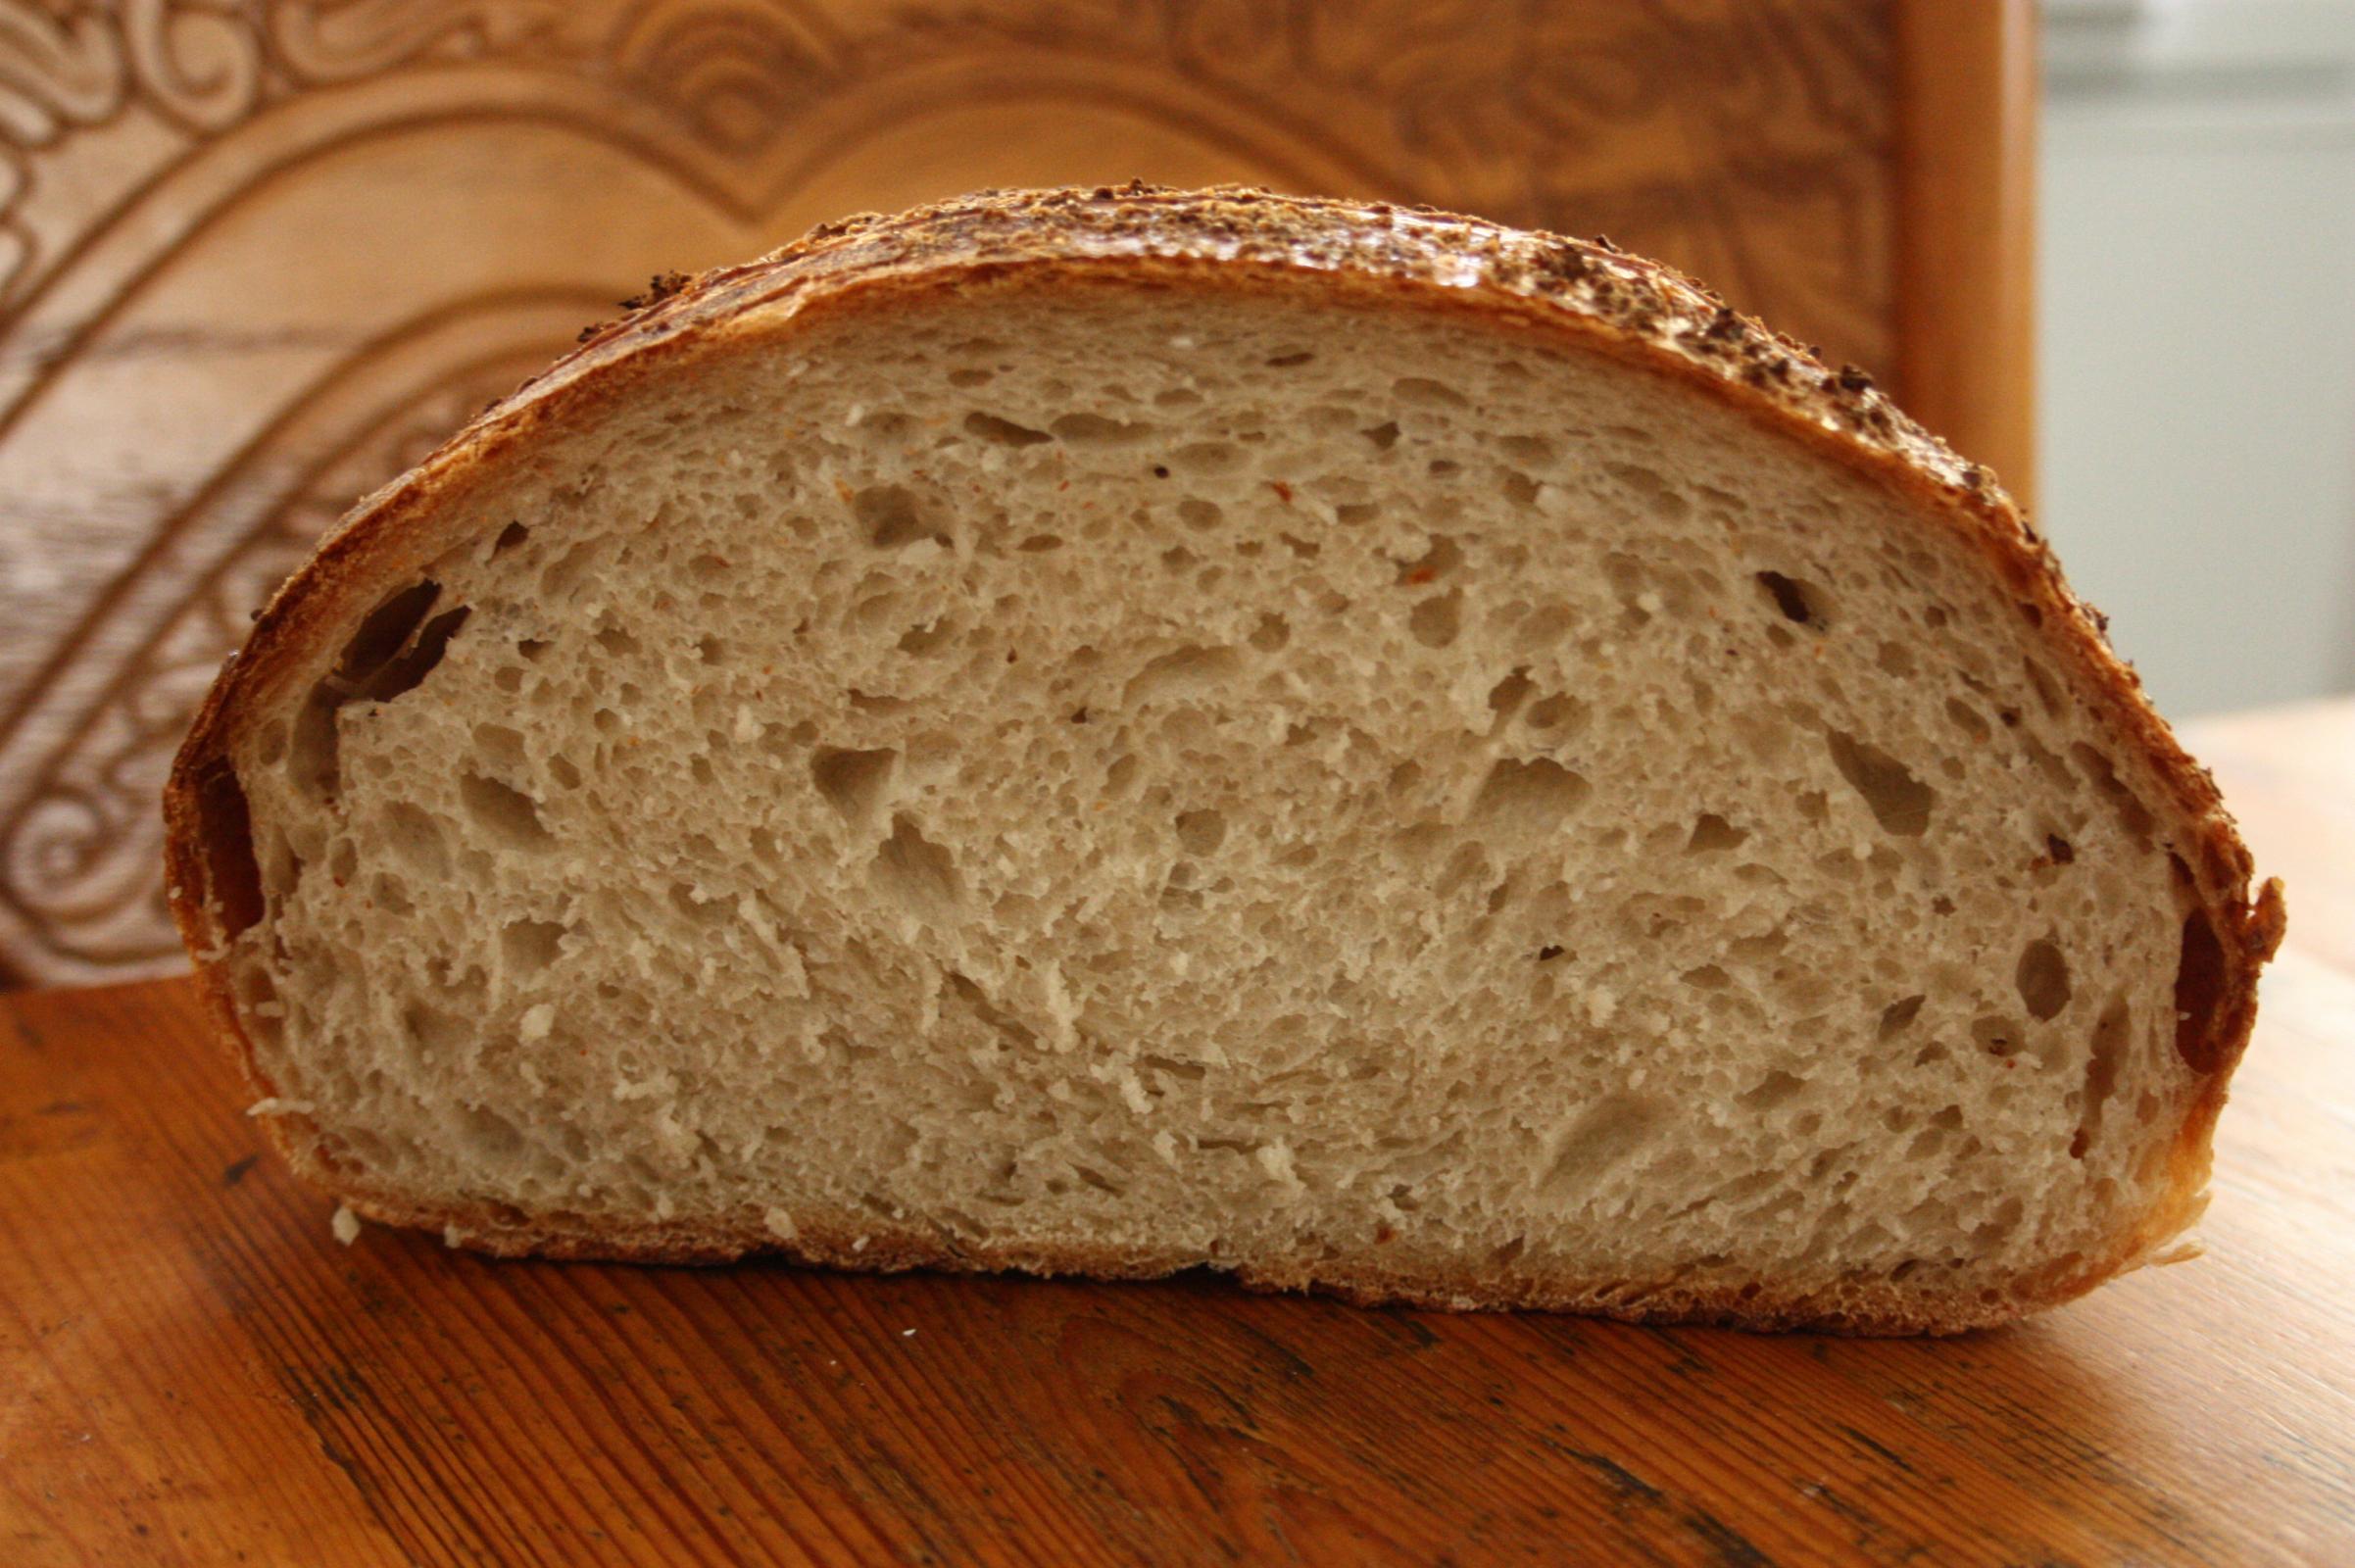
(In natural light this bread is more white in colour than the photograph suggests).
The bread produced was lovely. Unexpectedly, it didn't have much of a coconut flavour, and it also didn't have any detectable sour flavour probably due to the cold fridge ferment. My staccato baking notes say, "Lovely loaf. No sour taste. Fantastic oven spring. Conconut chew and crunch on top. A bit like a stereotypical white bread, but with crispy crust and sourdough." I'm already missing this bread now that its all been eaten, and will bake another one as soon as I can get another bottle of coconut water.
- JonJ's Blog
- Log in or register to post comments
That’s a beautiful loaf both inside and out. It also sounds interesting and delicious.
Benny
Gorgeous bake! I love coconut and have never seen a yeast bread with that flavor, only muffins and quick bread. I know it make the dough more enriched, but wonder if some canned coconut milk would boost the flavor. This is added to my short list.
are widely used in baking in Northeast and Southeast Asia because of its mild flavour and hard to get dairy cow products. If you want to boost coconut flavour, roast the desiccated coconut before soaking or consider adding a coconut liquor to the fluids or brushing on the hot loaf. Using coconut oil (solid at room temp) in the pan and dusted with desiccated coconut flakes will also roast the coconut during the bake. (A great trick with cakes too.)
Today I stumbled onto your blog entries and I'm awestruck, inspired and enjoying your writing so much. Thank you, Mini