Hello!
Just finished building a wfo with an internal chamber of 5'x6' and was wondering how and when you fire it up for a bake day. I have mostly read of people lighting the fire the night before a bake day, in order to be baking with retained heat the following day.
Curious to hear if anyone with a similar size oven goes about it...
- At one time do you light the fire? (for example, is 6pm a little too early?)
- How to you stack/distribute the firewood? With such a large and deep chamber we are finding it hard to feed the fire more logs, when it is so far back. Do you use tongs to drop logs at the back, or do you stack the wood in such a way that it continues to rage for the entire evening and overnight, without having to reload it at all?
- How long does it take for the fire to get properly roaring? (we seem to be struggling to get that proper blazing fire going)
- How long does it take for you to bring it up to baking temp? (ie: what time can you begin baking the next day?)
- Do you load it up good and proper, close the door and leave it for the evening, or do you return to add logs as the evening progresses?
- Do you try to spread the fire out evenly, or do you maintain it in a more concentrated area?
- How many (standard) wheelbarrow loads of firewood do you go through during this firing?
Obviously I will also be learning these things through trial and error, but it's always great to hear other insights if they help me learn faster!
Many thanks in advance!
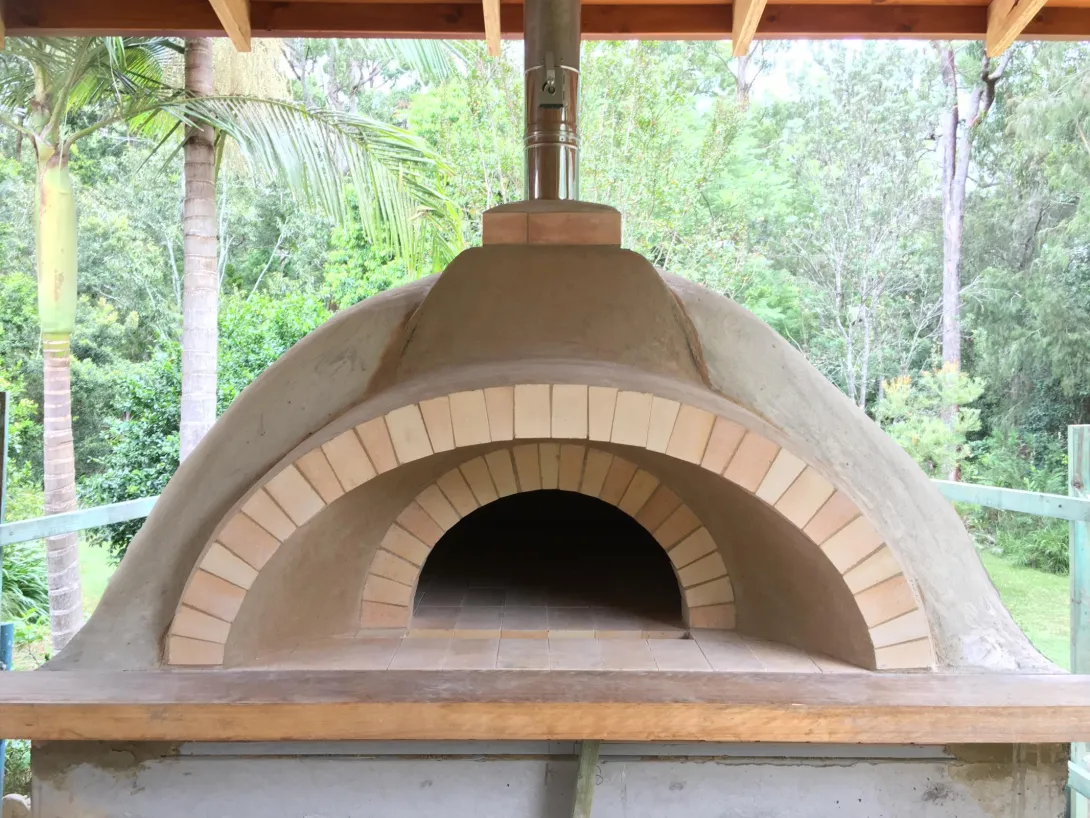
Ps: That is a picture of my oven!
Hi
Congrats for the beautifull oven!
Best advice at this time is patience and resilience - as you state in your post, trial and error will be the best learning method.
I have a similar wfo and took me a while to "control" it.
What I do: light up the oven in the morning and start dividing, shaping and proofing the dough, as the oven will need about 3hrs to be ready.
To light it up, make a small fire in the middle of the oven with smaller pieces of wood and when lit start adding the logs.
Depending on the wood, I would say you'll need 7-10 logs.
Let it burn for 2hrs and then with a wood stick break and spread the embers all around the oven (don't be gentle, just whipe it around).
Close the air vents and door and leave it for another 30min.
Sweep the embers out of the oven (I leave about half of it by the door as to keep a hot barrier).
Get a stick with a wet cloth at the tip and brush the whole ground of the oven: you will be removing the left ashes and adding some steam. Cloth should be dripping wet.
Just shove your loaves in.
Notes: this type of ovens do not keep a constant heat, its descending. So you want to get the crust and color at the start (even if the oven seems too hot) and then finish the baking and drying on. That's why the brushing with wet cloth is important as not to burn you bread under. Try to retain yourself from constant door opening, even if the embers by the door will help minimize this. You should have the loafs, flour and loading tools ready after brushing the oven: this operation must be swift as the oven door is open and you're loosing heat.
Start with small batches so if anything goes wrong (and it probably will for a few times I must say, even if I do not wish it to you) the loss is not a major disaster. Invite family and friends ONLY when you got control of it or anxiety will ruin your bread :) .
happy baking
Your insights and explanation of your process is very helpful and reassuring! I'll post how it all turns out!
remember to make a pizza and roast some kind of meat and then right before the bread goes in roast a large pan of veggies which will put off a huge amount of steam for the bread. You can also put a pan of water in there too.
Great minds think alike!
Hi Leticia,
I think all ovens are different depending on their heat retention abilities and thermal mass, but if I was you I would do a couple of runs in the morning and get it nice and hot for pizzas for lunch then, burn a hot fire for a couple of hours to prepare the oven for retained heat baking around dinner time. I would recommend a book called 'from the wood fired oven' by Richard Miscovich to get a good understanding of temperature curve etc
My process is along these lines
Start with two large pieces hardwoods spread apart at the front of the oven with pine cone/small branches and kindling stacked in between. (These will light and burn down eventually and start the logs burning).
You keep topping up with small branches/logs etc til a good bed of hot coals and the logs are alight (roughly 1 1/2 -2hrs)
From here the oven dome should be starting to go from black to white or it may have cleared completely depending on how intense the fire has been (dryness of wood etc) outside temperature. You should only get a bit of smoke for the first 10-20mins before it burns fairly clean.
Then I would slowly push the fire towards the back keeping an eye on the balance of fuel(wood), fire and oxygen to get a continuous clean burn (I just use a pizza peel to add a bit of wood when it is near the back of the oven). At 2-3hrs you should be able to cook pizzas with the fire blazing (although a bit longer is better to get some heat into the hearth for really crisp bases).
LOG everything in a book...type of wood, how long to clear, temperature outside etc everything helps to understand your oven.
Once pizzas are done and you want to prepare for baking as mentioned above spread the coals over the base of whole oven for at least 1/2 h. I sometimes throw 4-6 small pieces of wood on to the coals in even spacing to continue the burning for up to an hour depending on how much heat I want in the hearth. (Depending on how much retained baking you want to do you may want to burn a hot oven for up to 6 hours before spreading the coals).
If you have a wooden door to seal the oven have it soaking in a tub of water for the morning to minimize it burning and to introduce a bit of steam into the oven when closed.
Remove the burnt out embers and ash (some will still be red) and sweep the floor then wipe with a damp mop. Close up the oven for at least half an hour to regulate the heat of the oven. Then start checking temperatures
When I'm ready to bake I load all the loaves (as many as you can fit neatly for best steaming effect) in as quick as possible, steam the oven with a garden sprayer and close the door up and don't open for 30mins (size of loaves dependent I usually do 750g) then check.
If you have heated it evenly you shouldn't need to move loaves around but you may have to whilst your getting use to your oven, then remove and either load more loaves in or bake a roast etc depending on the oven temperature
RECORD EVERYTHING ie how long you fired the oven for, how long it took to clear, intensity, how long you left the coals spread, temperature when loading first batch, temperature after, how long the bread took to cook (if this is what your cooking)
The amount of wood you use will depend on how long your fire the oven and the type, once a good bed of coal you cant go wrong with using good hard wood to burn hot and long.
I have never closed up my oven with coals in and baked the next day so if anyone reading this has experience and thoughts on this I would gladly like to hear them.
Hands on experience with your oven as you said is the best why to see how it works and I would recommend that book on utilizing the whole temperature curve of your oven.
Enjoy your WFO
Geoff
You're a champ...you've already helped me so much with my other thread and have now provided me with such a great understanding of your efficient oven firing strategy! Thanks for taking the time to so thoroughly go over your procedure for getting the oven ready for a bake... I started a fire last night, for today's bake, however, I think that may have been a bit 'overkill', given that my bread won't be ready for another 90 minutes, making it about 18 hours of pre-heating time. However, we did utilise last night's heat and roasted some delicious vegetables.
This morning we woke up and thought, hmm..next time let's light it up the morning of a bake! Good to hear you do this and it seems to work well with your baking schedule.
I agree that keeping a log of everything is vital to my learning and I will continue to do so as I go along.
I will let you know how it all goes.
:-)
A little slow getting around to posting some pics, but I just thought I'd share some images from our first 'bigger' bake! Considering my partner and I are complete amateurs and very new to the artisan bread and wfo game, I think we did a fairly good job of it.
The loaves didn't come out as uniform as I would have liked, as I was using a high hydration recipe and it got tricky trying to transfer the loaves from couche cloth to the bread peel. It was like a scene from a MKR finale! My partner had to keep reminding me to breathe!! hahahaha...
Thanks for all of your suggestions and insights, all of which helped us in the process. Next time I will try light it up on the day of the bake, as per Geoff's process, rather than the evening before. I'll be interested to see how this goes..
Teash
ps: Not sure how to rotate images so they are in correct orientation!
You have got an awesome batch of bread there! I am totally impressed! Well done!
Thank you so much, it's a start and there is much to learn, but pleased nonetheless!
Well done, if I could make a couple of suggestions...one is that you should put the loaves in at a higher temperature for a more caramelized crust and great spring and also steam the oven more thoroughly with your garden sprayer to allow the bread to open up more before the crust sets.
Other than that great job and really from the picture a nice even bake which means you allowed the heat to balance out in the oven before loading the bread.
Look forward to seeing your next post!
Geoff
I will take those suggestions on board for sure..
I wanted to inject some steam, but it was so manic and I was freaking out trying to get the super wet doughs in without sticking to the peel, that everything else I had planned fell off the wayside!
I was wondering what you use to introduce steam. There are a myriad of ways to do so, and I'm curious as to what you do, as I know you have experience baking in a wfo.
I am keen to have a go with using a a garment steamer. They give off plenty of steam and (in theory) would be a quick and easy way to inject steam into the oven. Have you used them with your wfo or know anybody who has?
Cheers, have a great day
Geoff, when you bake bread, what is the temperature of your oven? I baked this batch when the floor temp was 230 degrees celcius...it may have not been hot enough for hearth bread. Also, is there a way to gauge overall temperature (ambient?) of the oven?
The Bread Builders book gives a guideline to achieving the goal of firing the oven, including: "the temperature of the dome will be about 24-38 degrees celcius hotter than the air temperature of the oven".
Would you agree with this guide? Therefore, if I wish to bake at 240 degrees celcius, should I aim for the dome temperature to be between 264-278 degrees celcius in order for it to be adequately heated to bake at the desired temperature of 240?
Interested to see how you figure it all out...
Hi Leticia,
For steaming I use a pump pressure water sprayer that you can pick up at your local hardware store, guess its similar to a garment sprayer(I haven't used one of these) they are hand held and can get a lot of water into the oven quickly and have an adjustable nozzle. In terms of baking temps, I don't have access to an infra-red heat temperature gun and initially relied on a simple floor temperature gauge that you could move around.
Though as I have mentioned before get to know your oven and its temperature curve by logging everything, I ended up relying on the old throw the flour on the hearth and count to see how long before it caramelizes (not particularly technical but worked!). If the hearth is the right temp then the rest of the oven should be good to go (providing you allowed some time for the heat to balance out). If you get the hearth temp right I have found it is a good indicator that you will get a good bake.
So...just keep baking and record everything and get to know your oven. You will learn how long you have to fire it for to fully saturate the oven to bake the bread at your preferred temp. Many variables are at play once the fire is out of the oven ie outside temperature, insulation of oven that you need to adjust for etc
Also always bake with a full oven, so the steam generated from the loaves help with the oven spring, I always bake 12 750g loaves at a time.
Hope this helps
Geoff