Round two. I’ve had my sights set on sourdough since I started baking bread about 6 months ago. After a string of failed starters (not to mention balancing two jobs and my last year in college) I was finally able to produce a batch about two weeks ago (see my first post). There was nothing not to like, only to miss. The crust was flaky and crispy. The crumb was soft but chewy and yet, the tang of sourdough was extremely subtle. I don’t like particularly sour bread, but this was too far on the opposite side of the spectrum. Enter this batch. A few free days of Spring Break (or Spring Bake) has let me start experimenting again. As someone who has spent the vast majority of the last four years studying the natural sciences and working in labs, I appreciate the value of modifying only one variable at a time in order to isolate cause and effect. In this batch, the only modification to the entire recipe from my first attempt was the composition of the starter. For the last two weeks, I have switched from feeding purely with bread flour to a 50/50 mix of bread and whole grain flour. The loaf, although oddly shaped, is exactly what I was going for. Crust, texture, taste, crumb is all perfect. It definitely has more tang than my last attempt but not to the point of being overpowering. This post is not meant to be a recipe to follow or advice on the proper way to bake a loaf of sourdough. It is intended to be documentation (I also work part time as a wedding/portrait photographer and had a blast setting up these shots) of the process so that I can receive feedback/input from the community. Enjoy! (skip to the end if you want to see the finished product and not the whole process with cringy commentary).
Recipe: 77% hydrated dough, 11% pre-fermented flour
Leaven
200g of 100% hydration starter
75g bread flour
75mL distilled water
Main Dough
700g bread flour
500mL distilled water
1.5 teaspoon salt
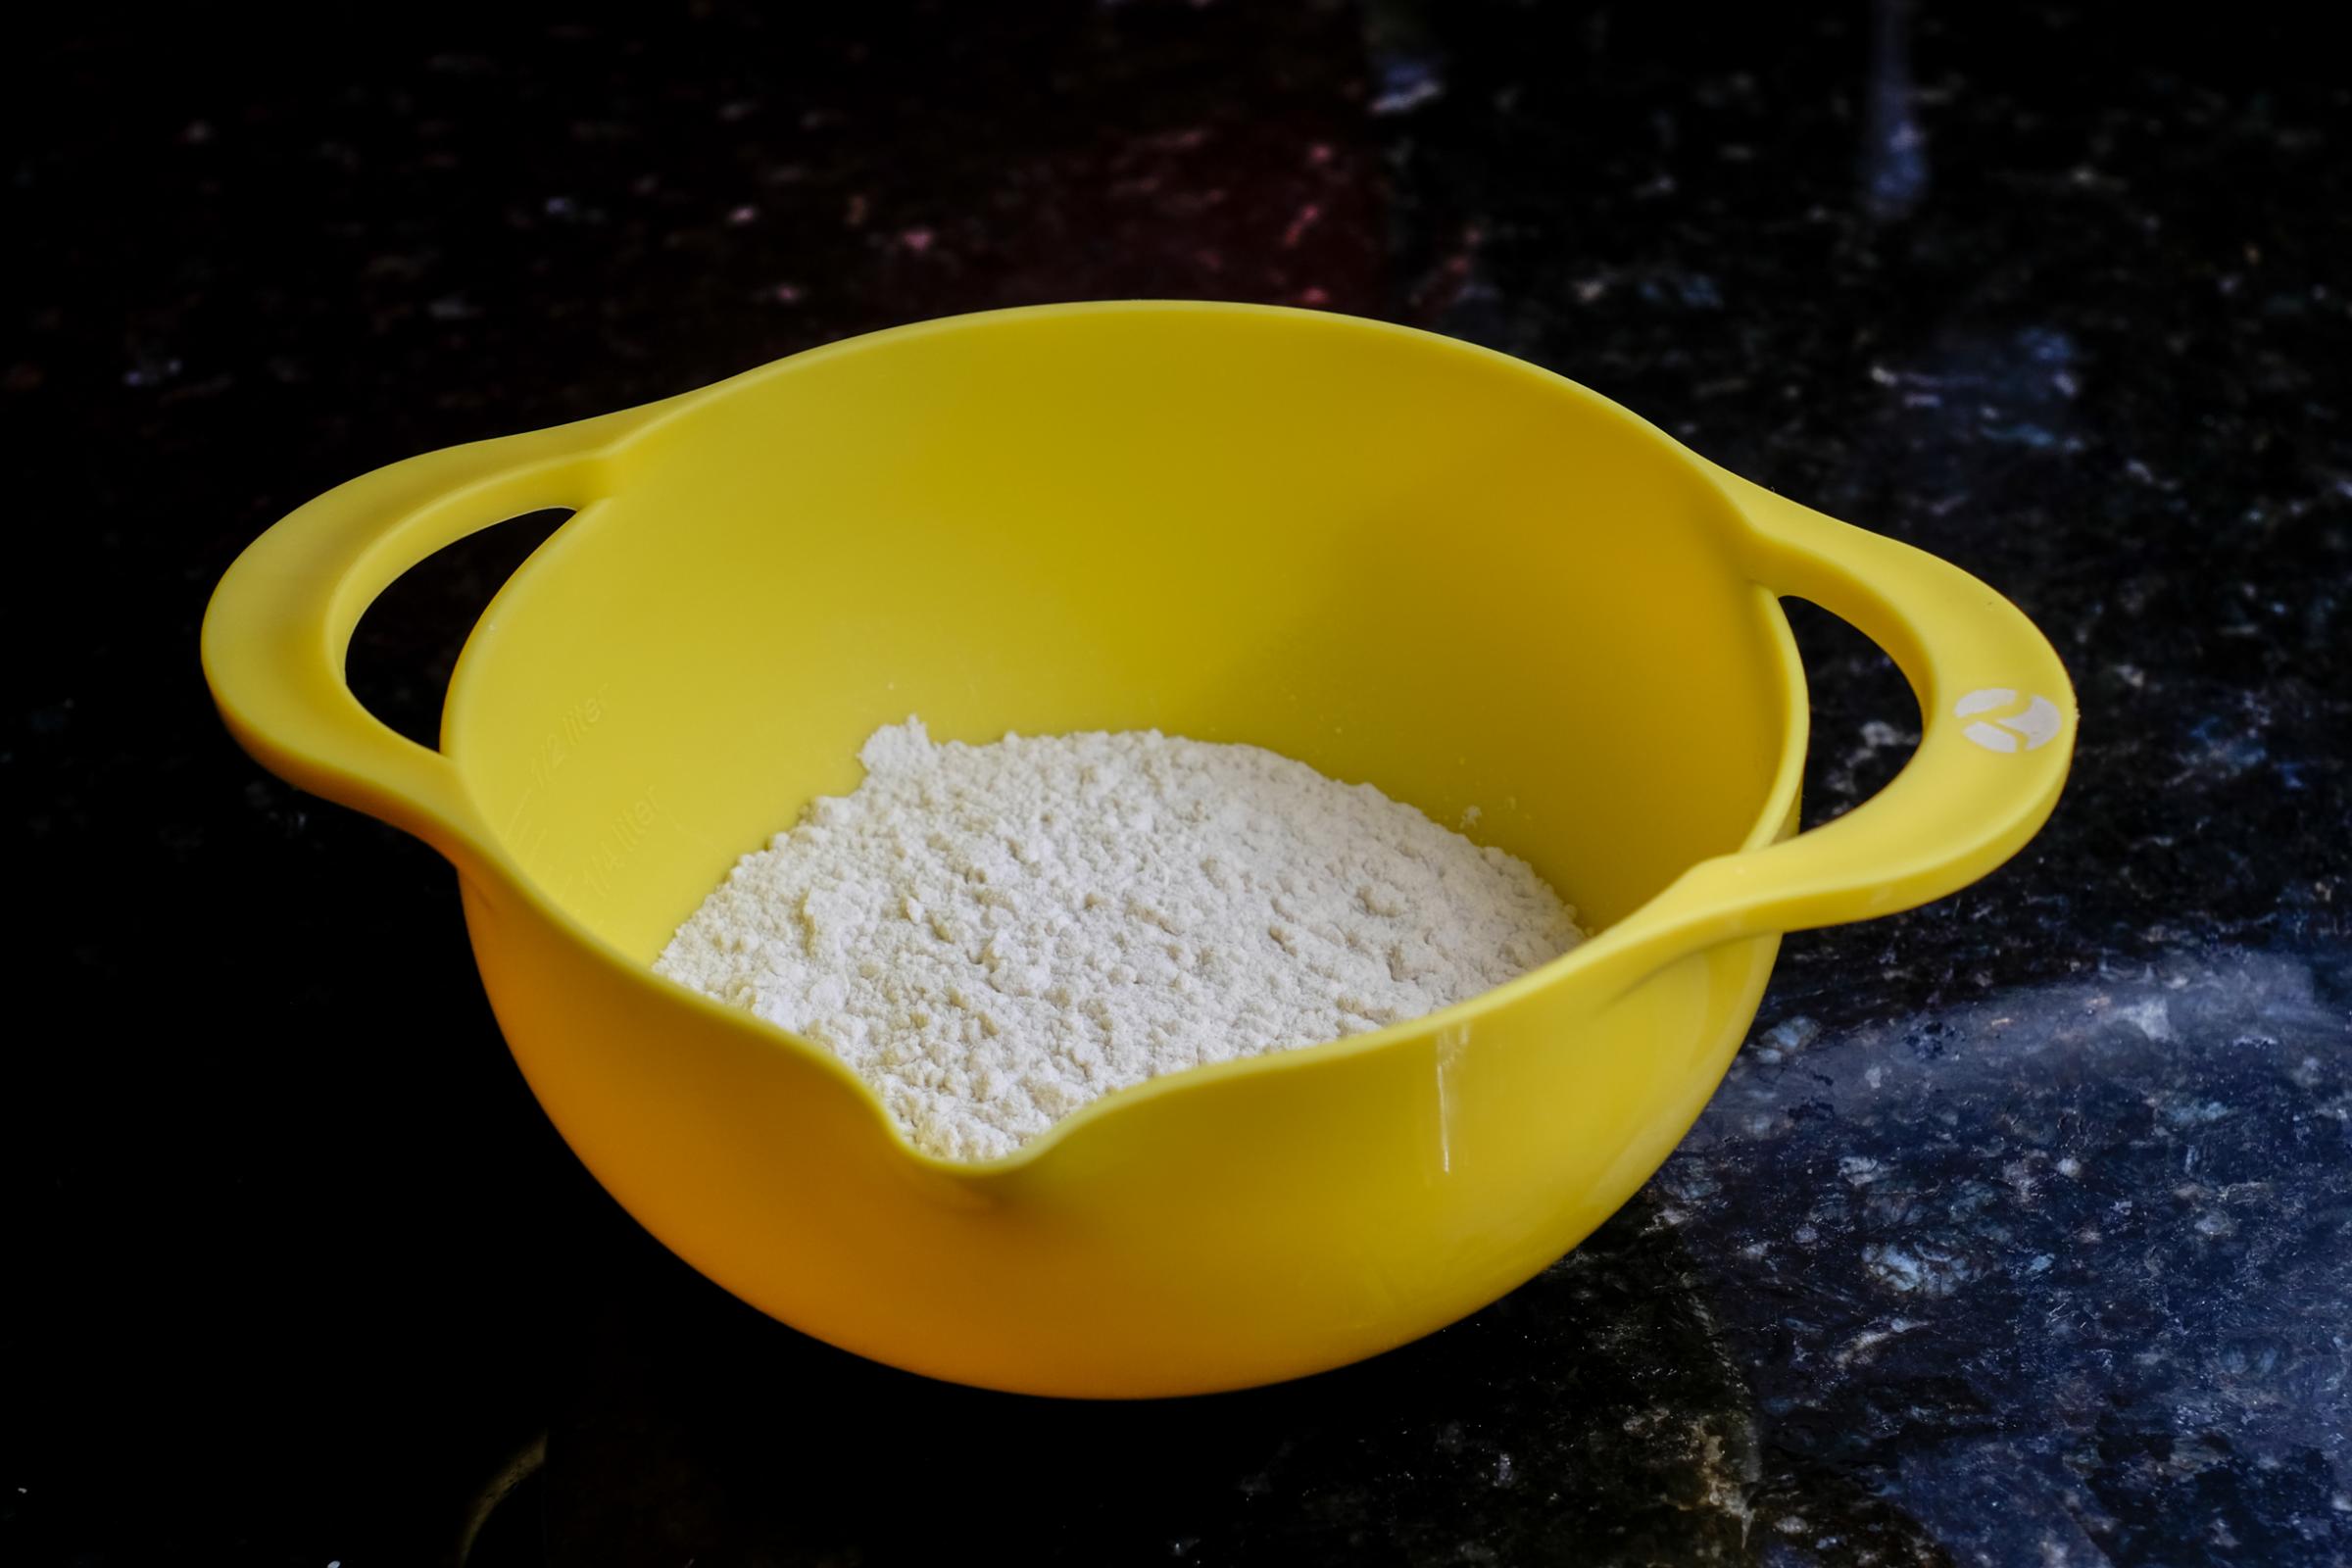
Flour: such a simple ingredient leads to incredible foods
Adding the starter (my baby) to the water
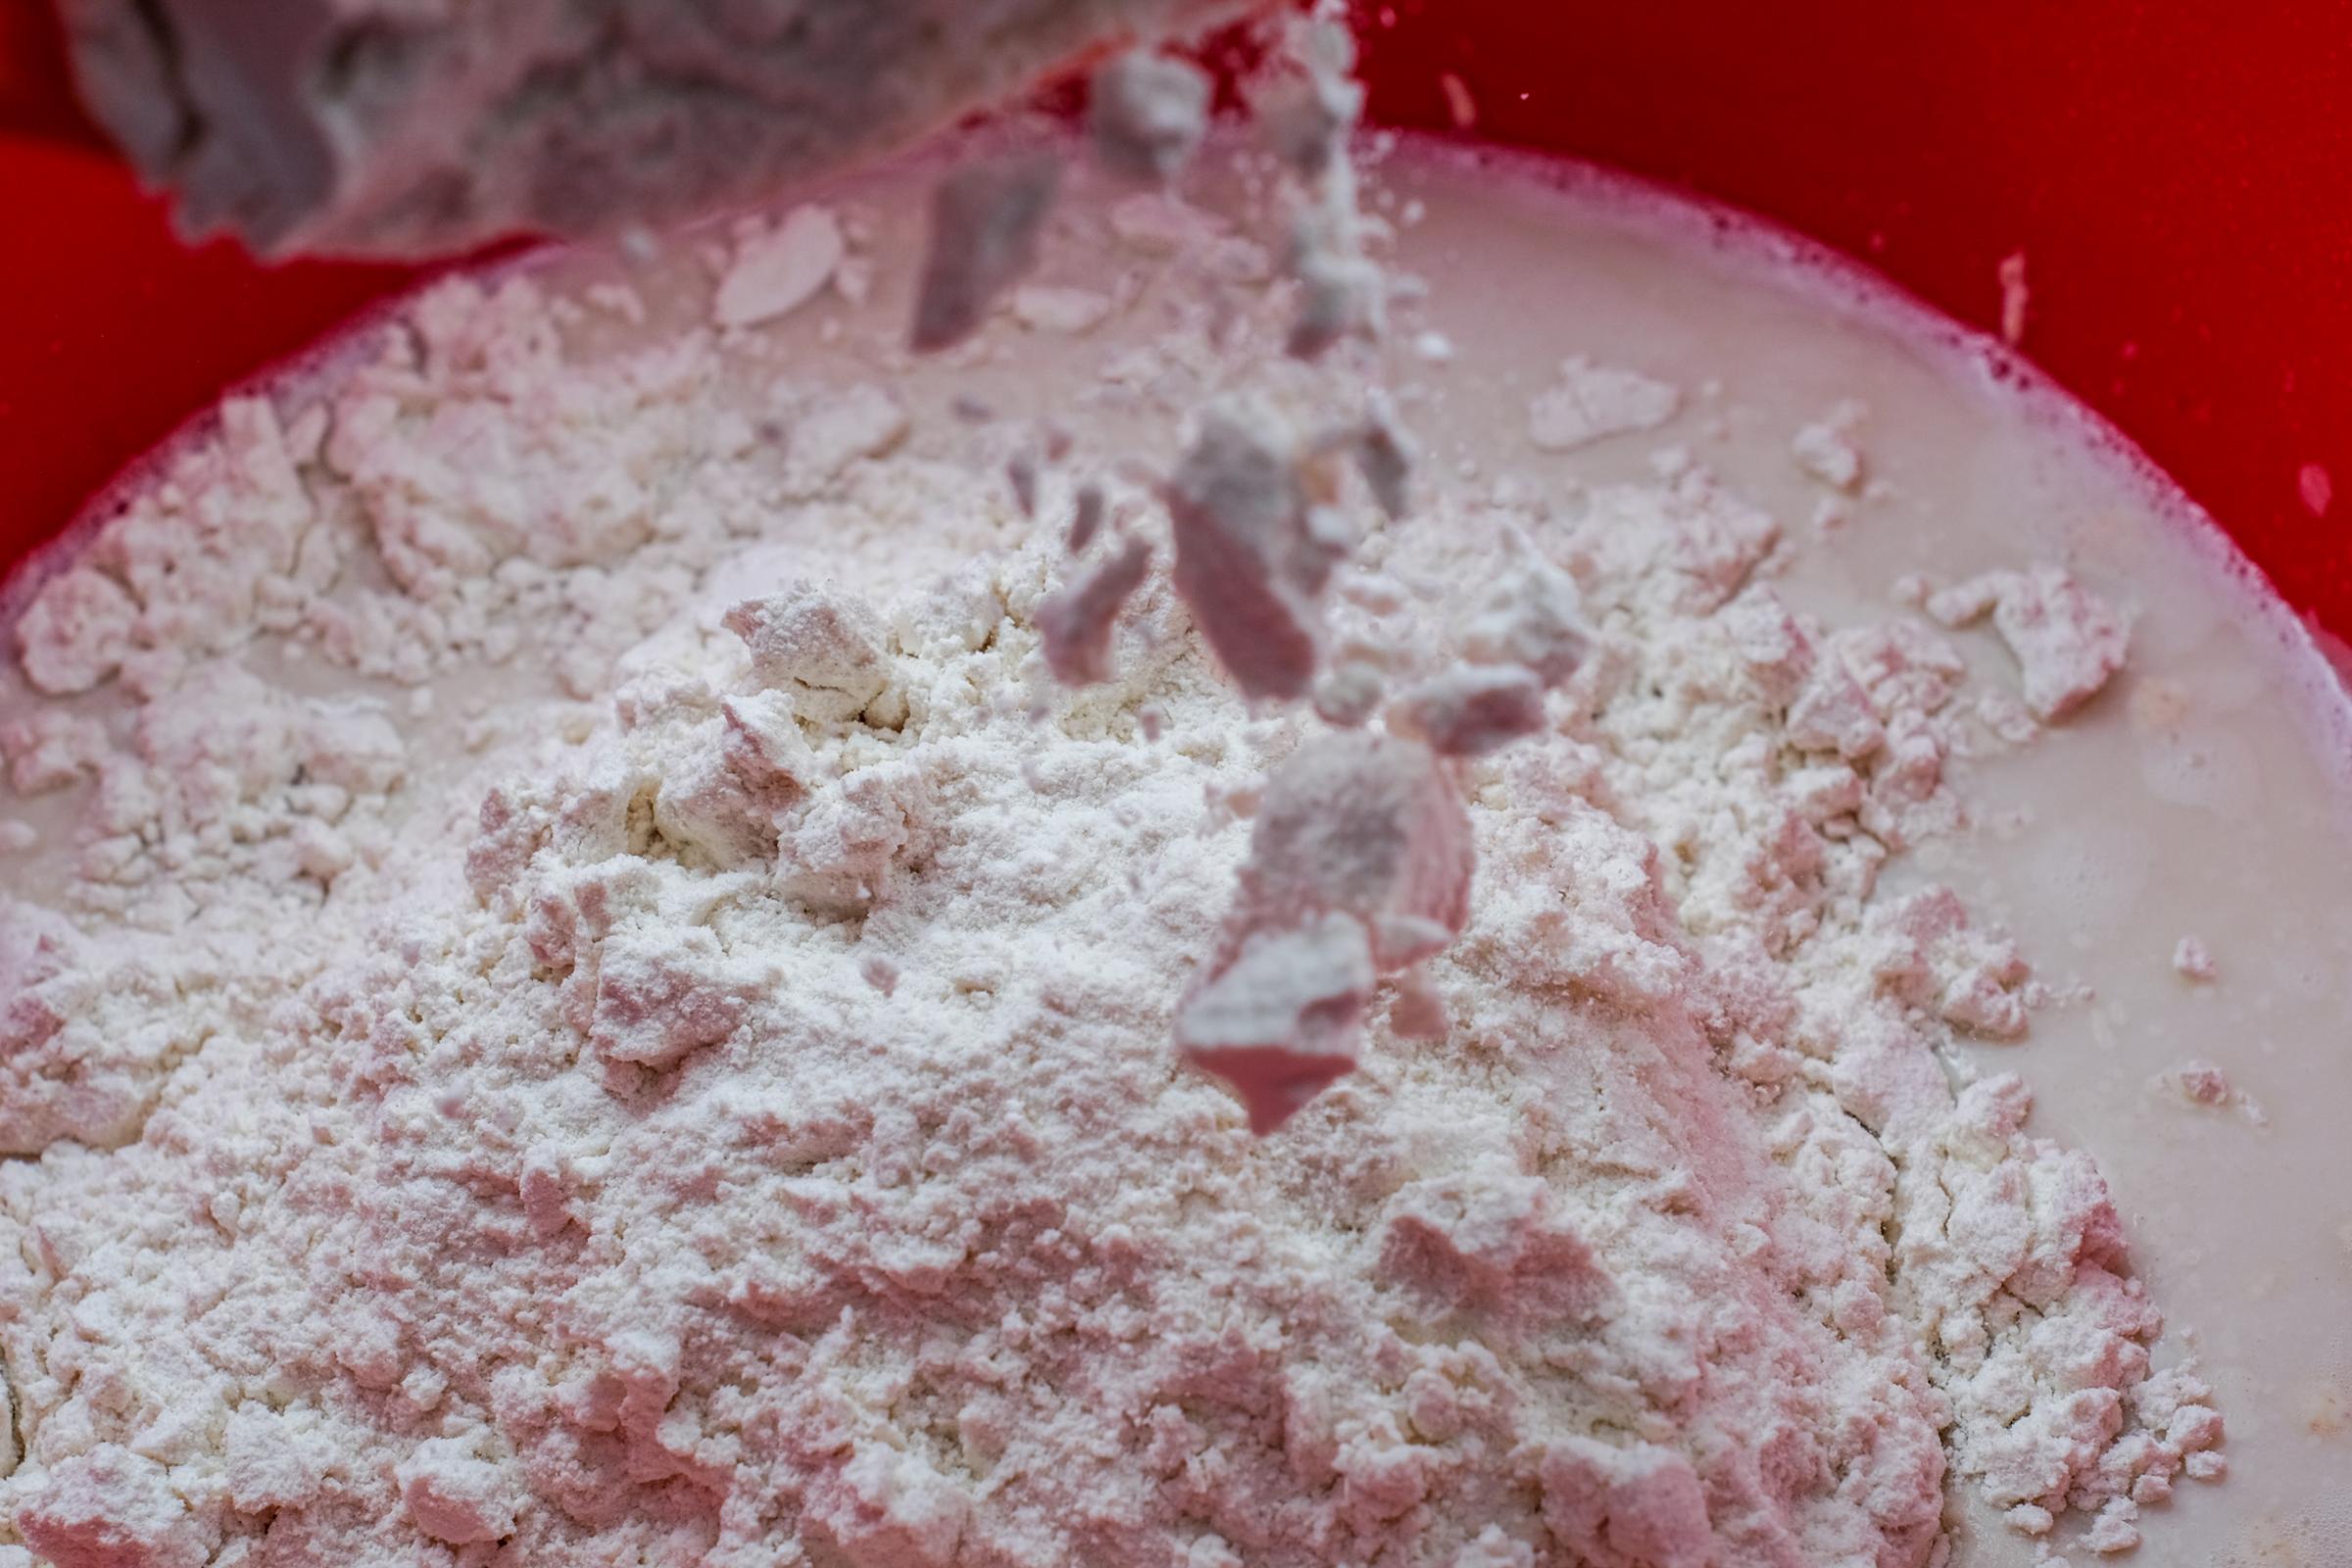
Action shot of pouring flour
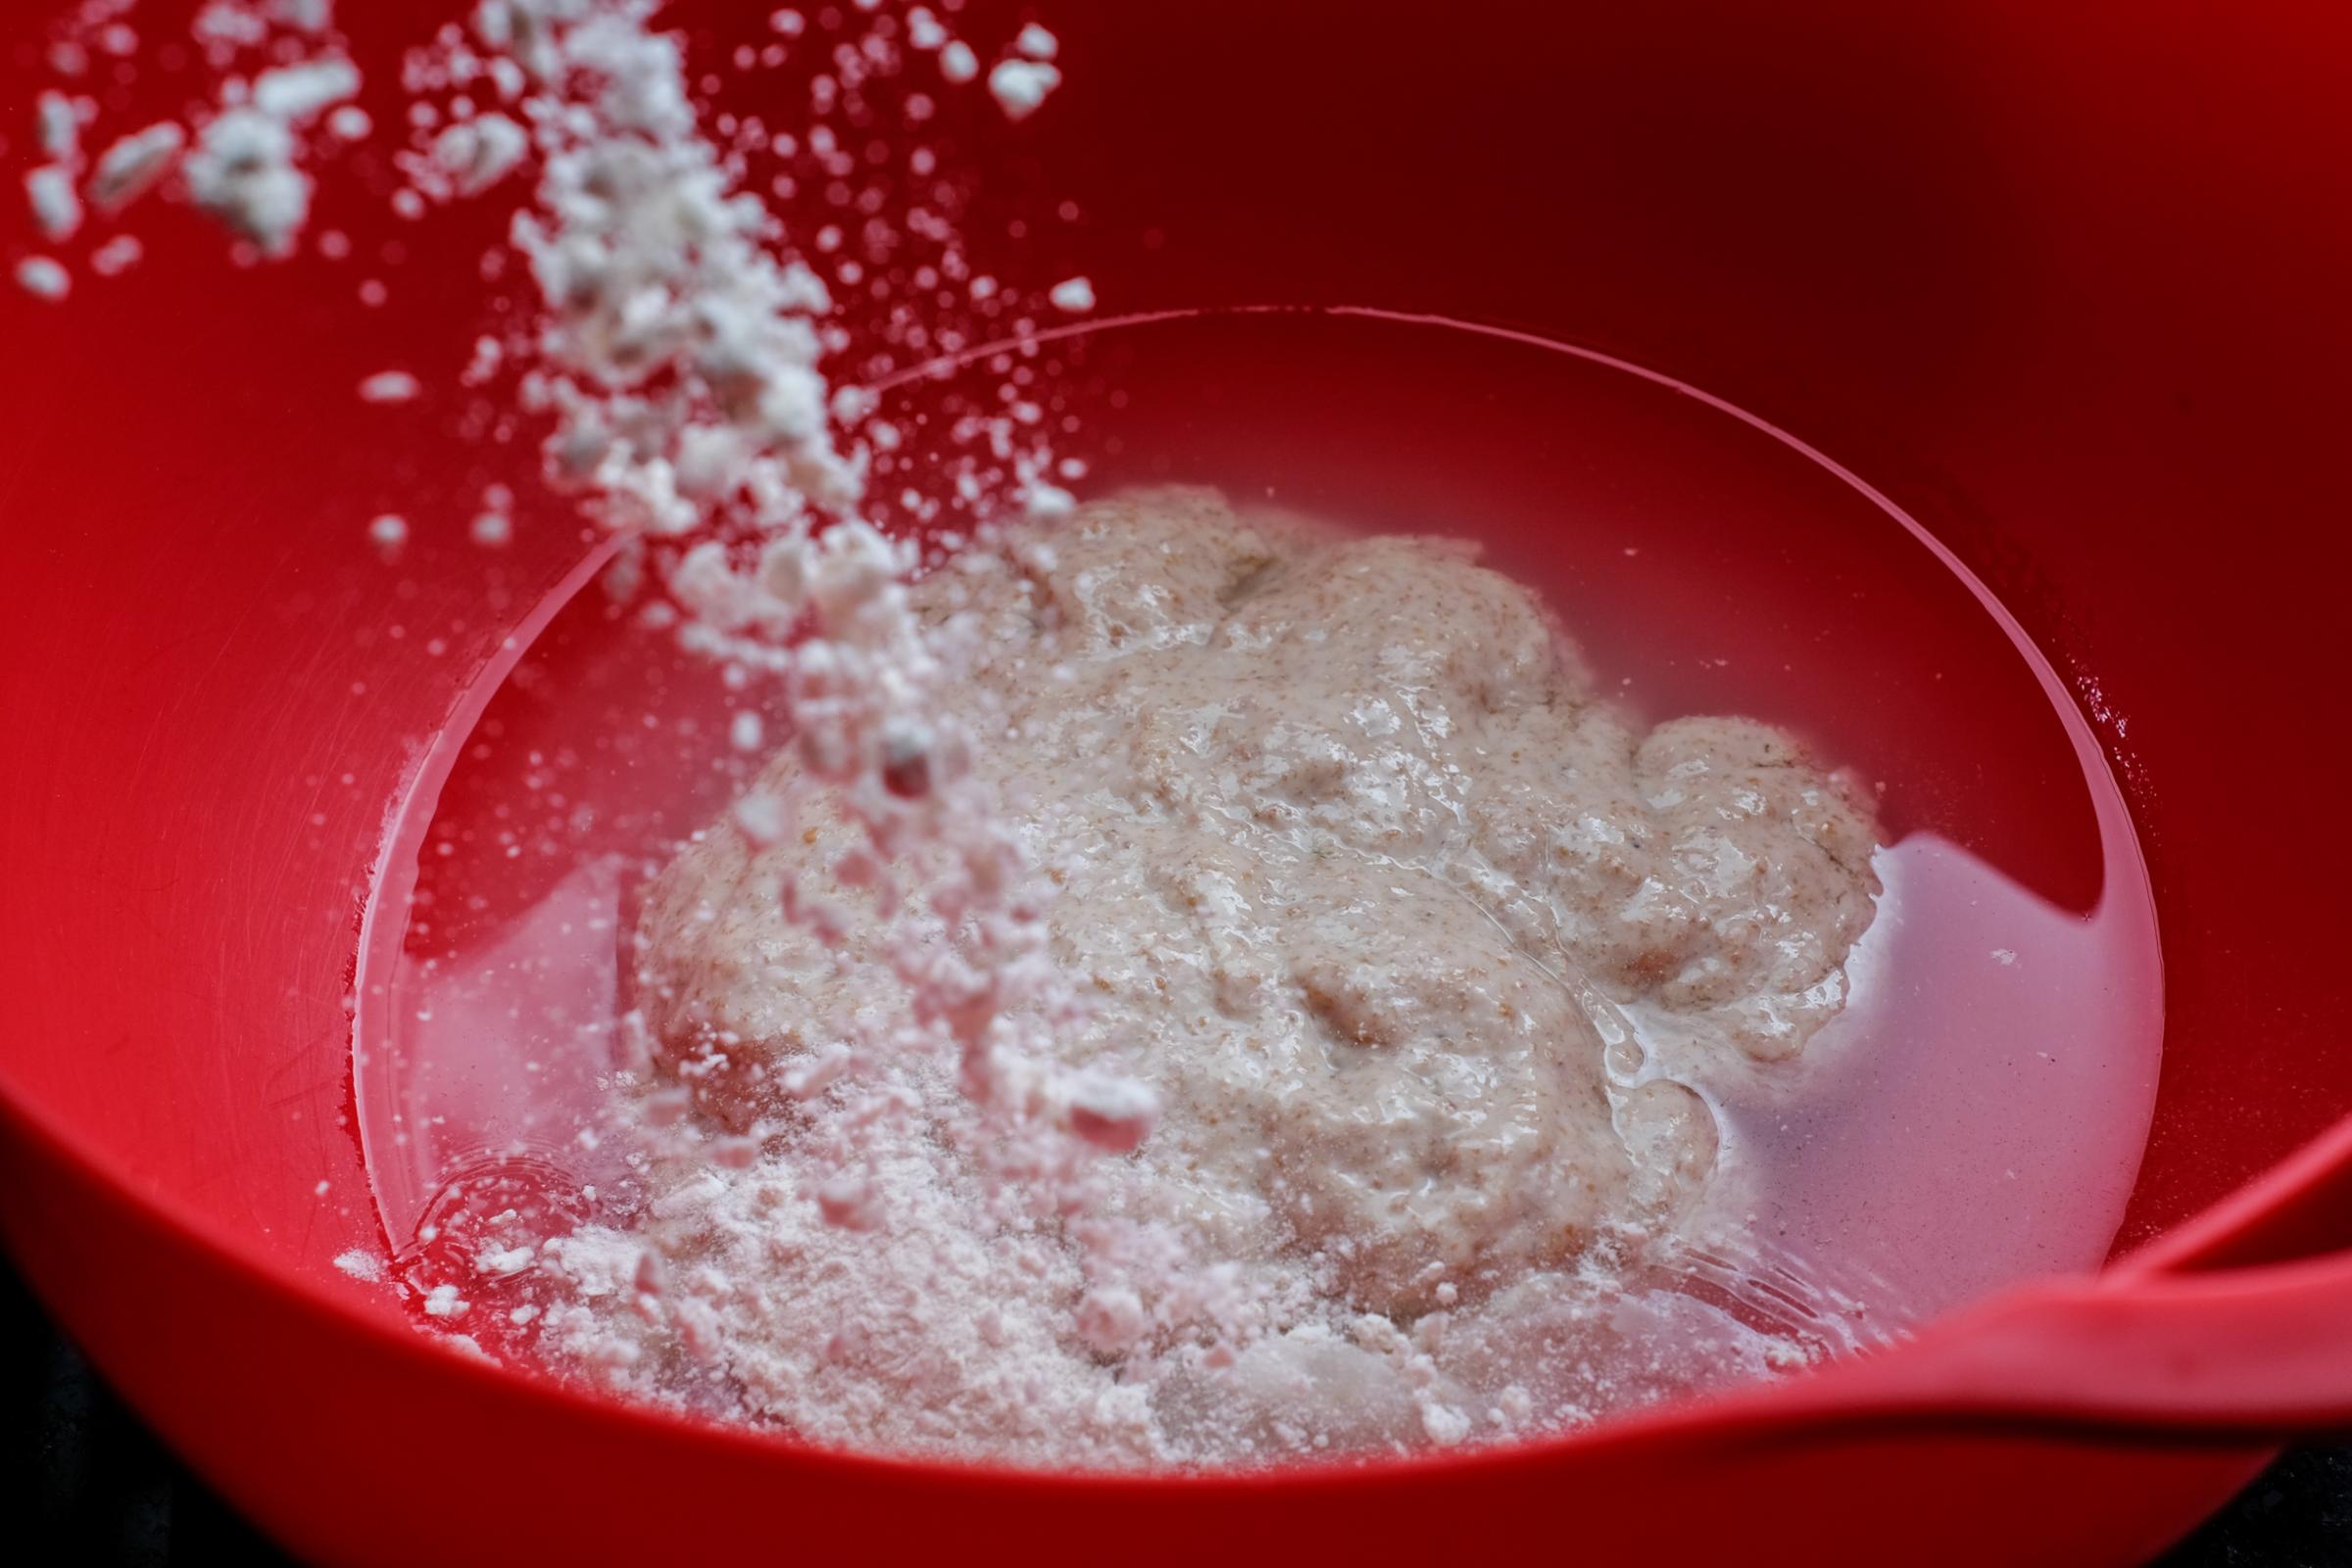
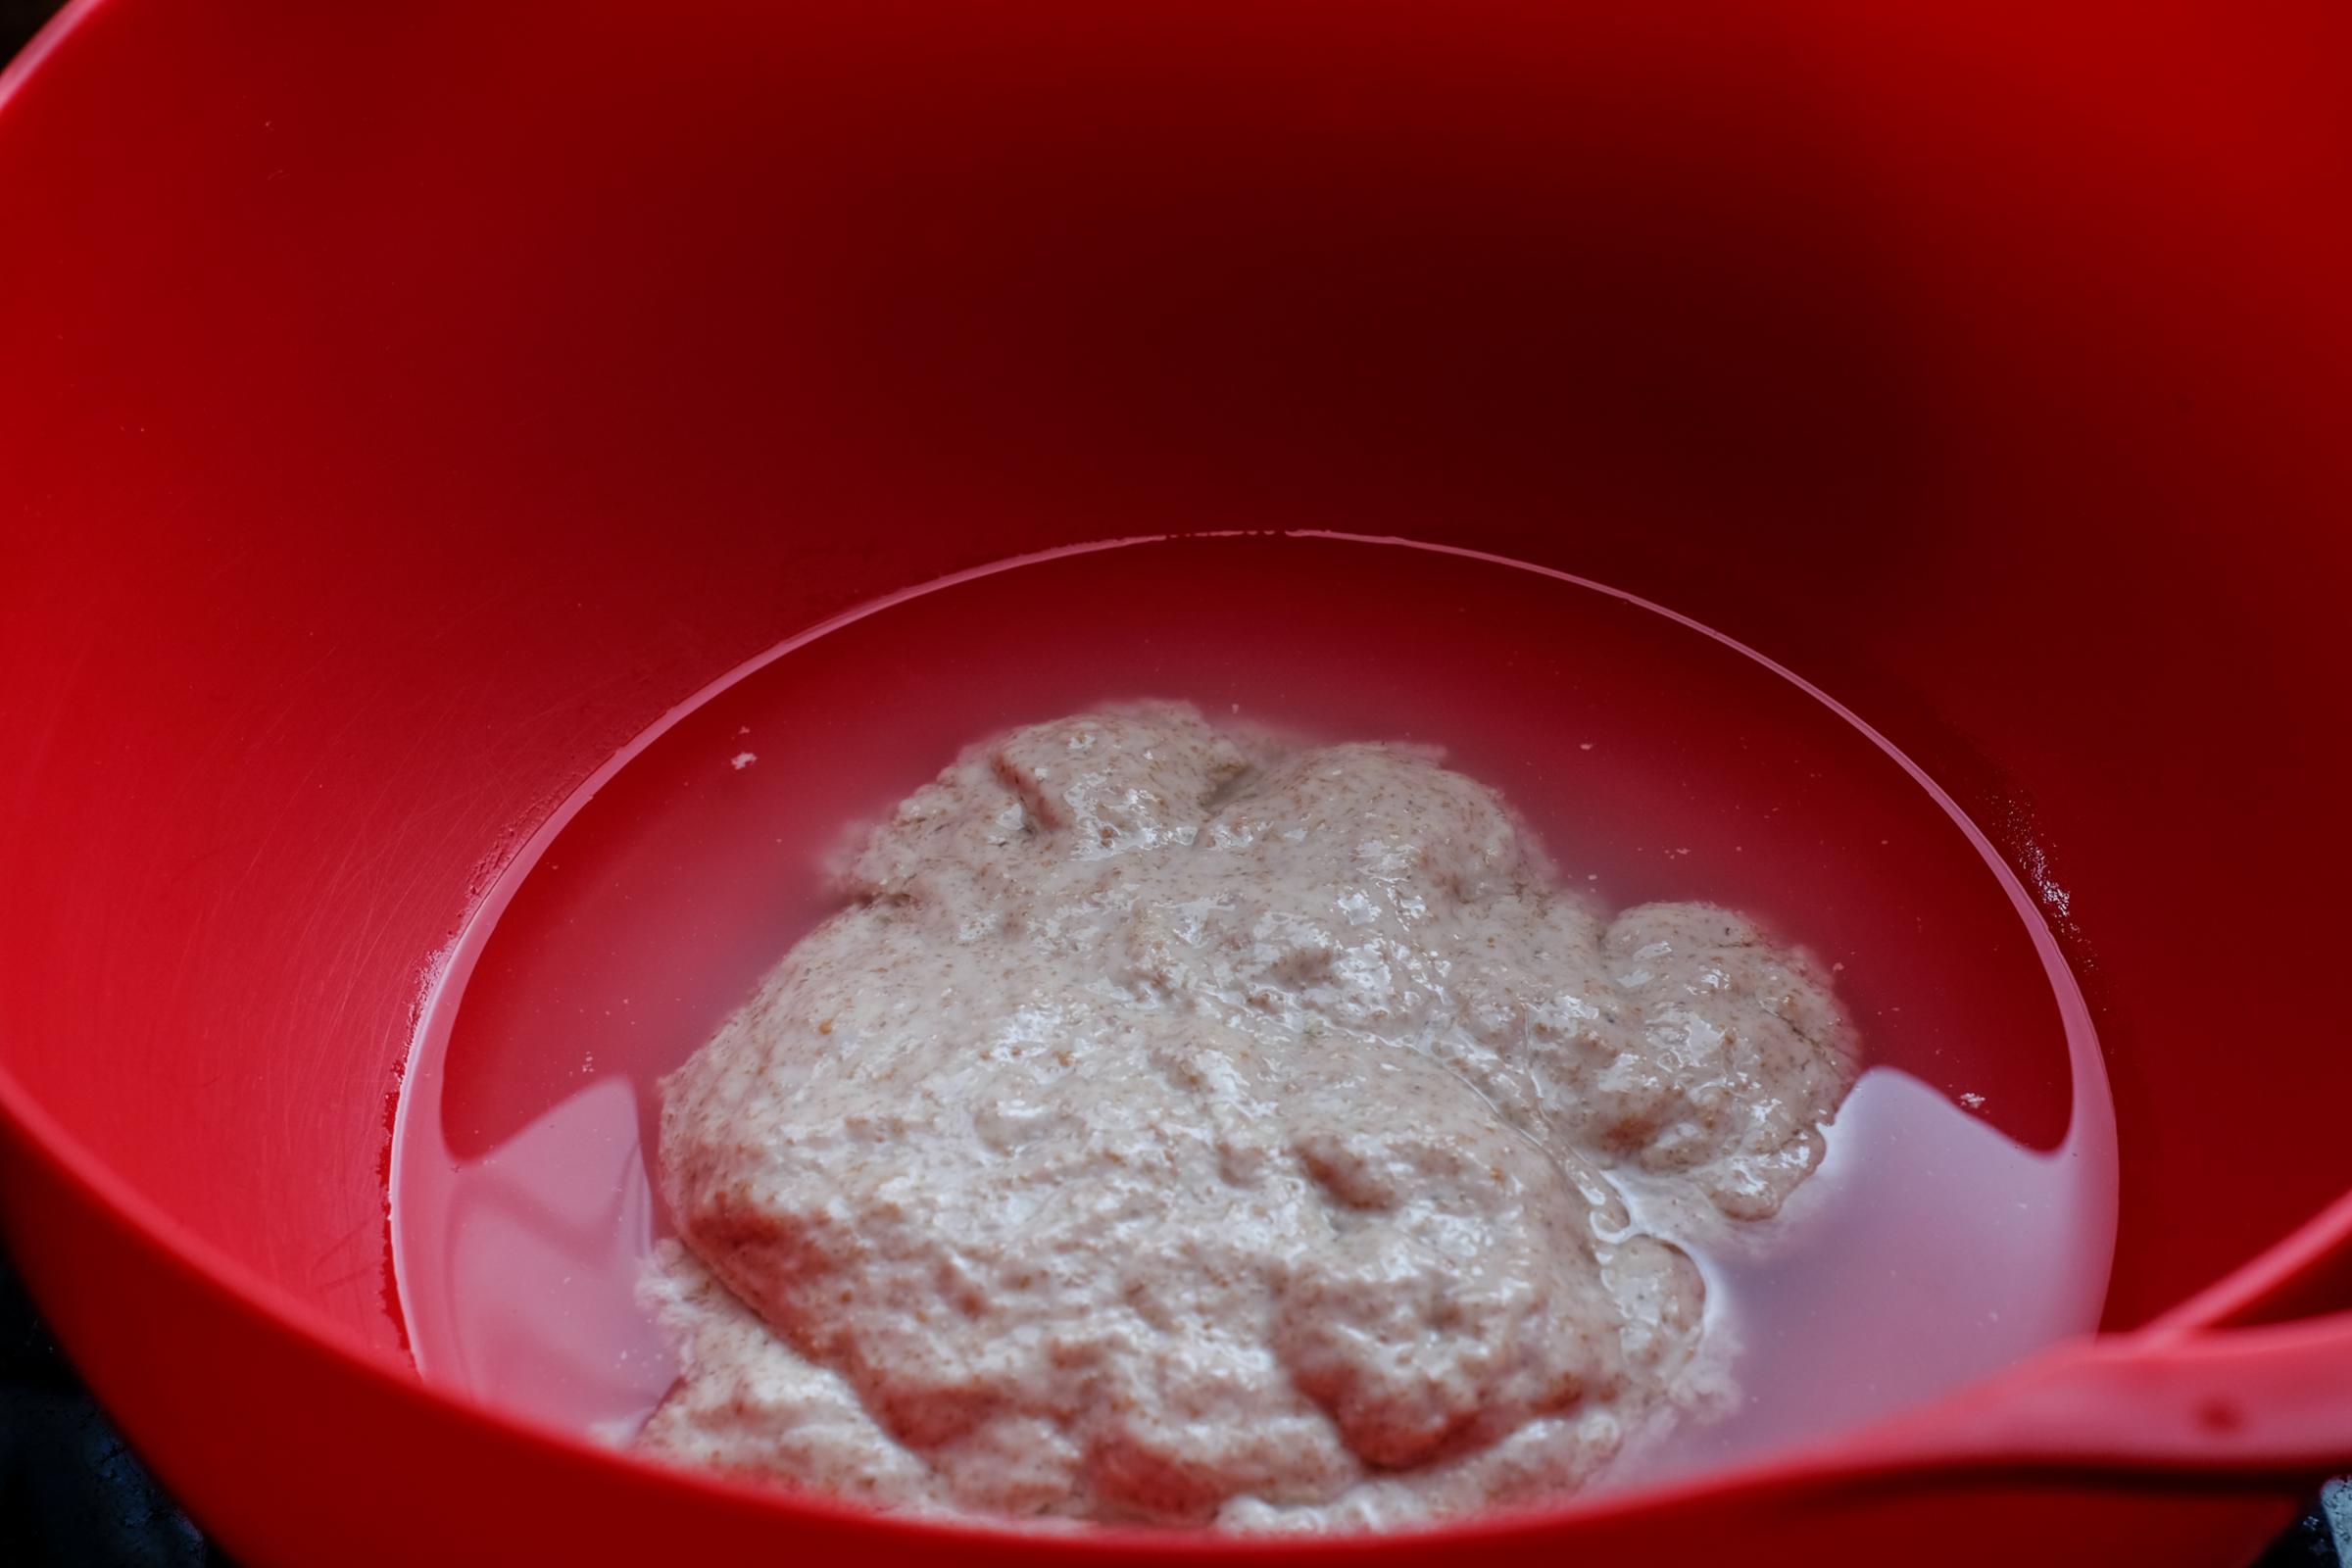
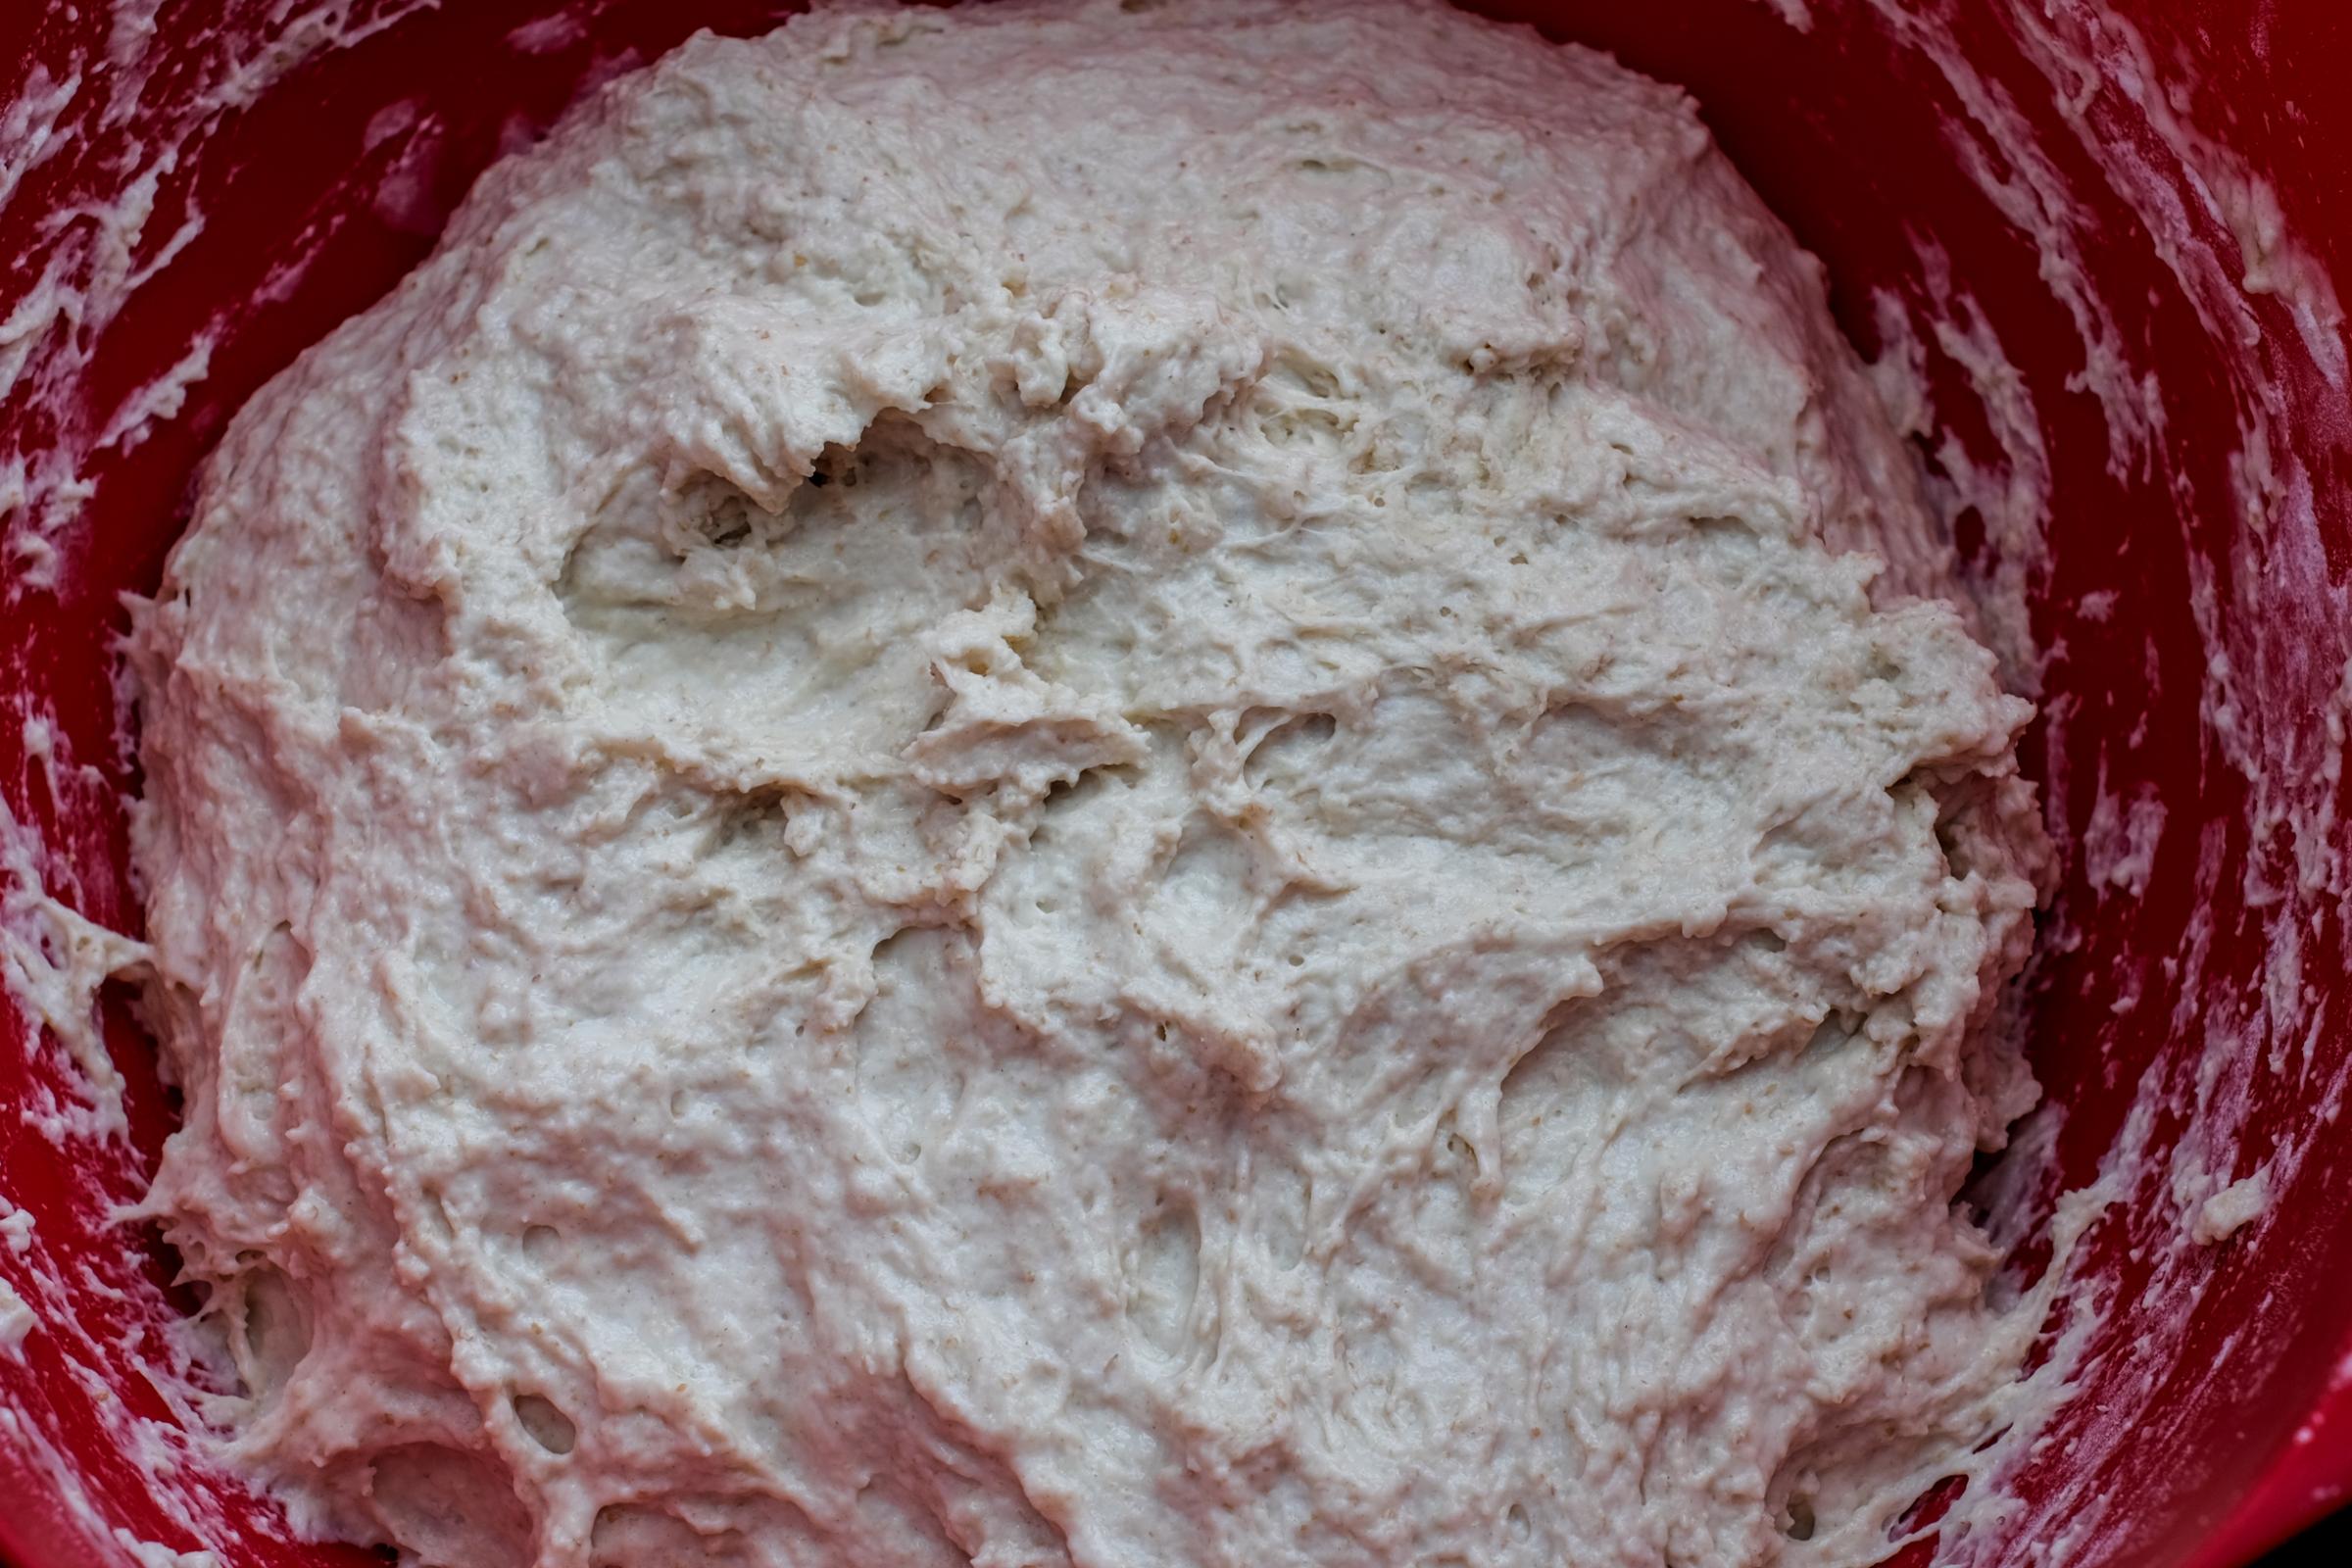
Leaven mixed and ready to sit overnight
I let it sit in the oven with the light on to speed up the process as I needed to get an early start the next morning
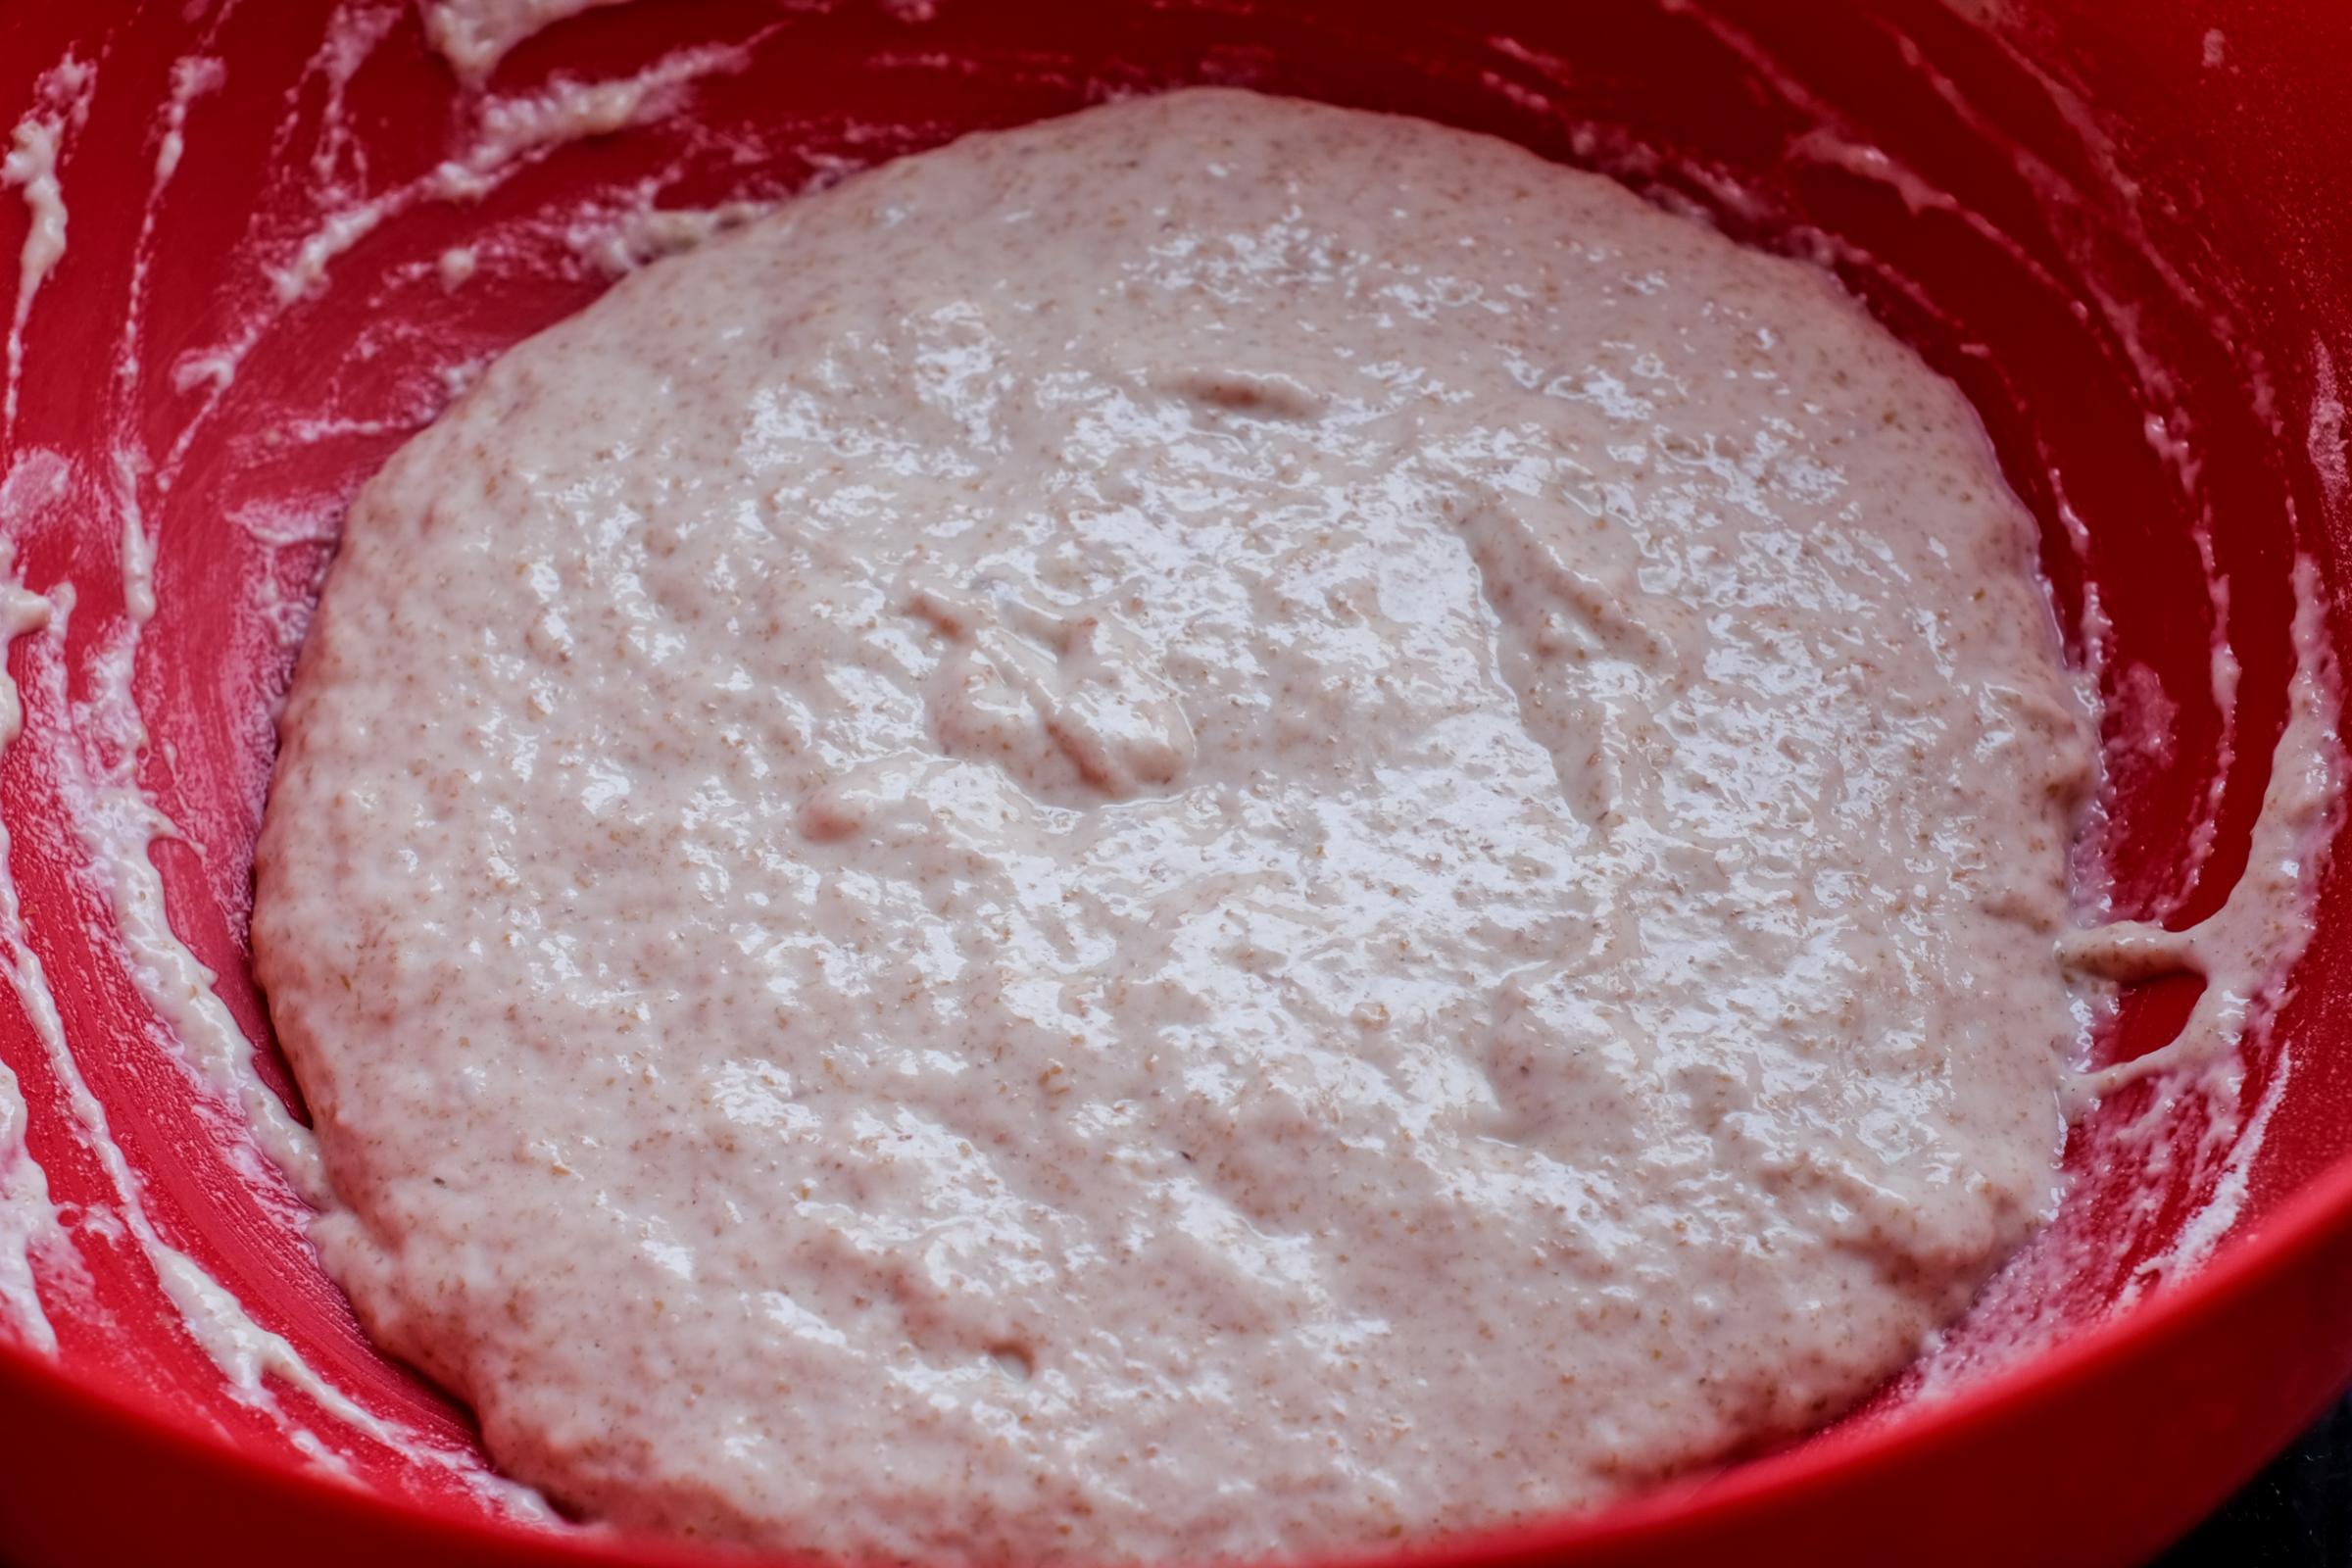
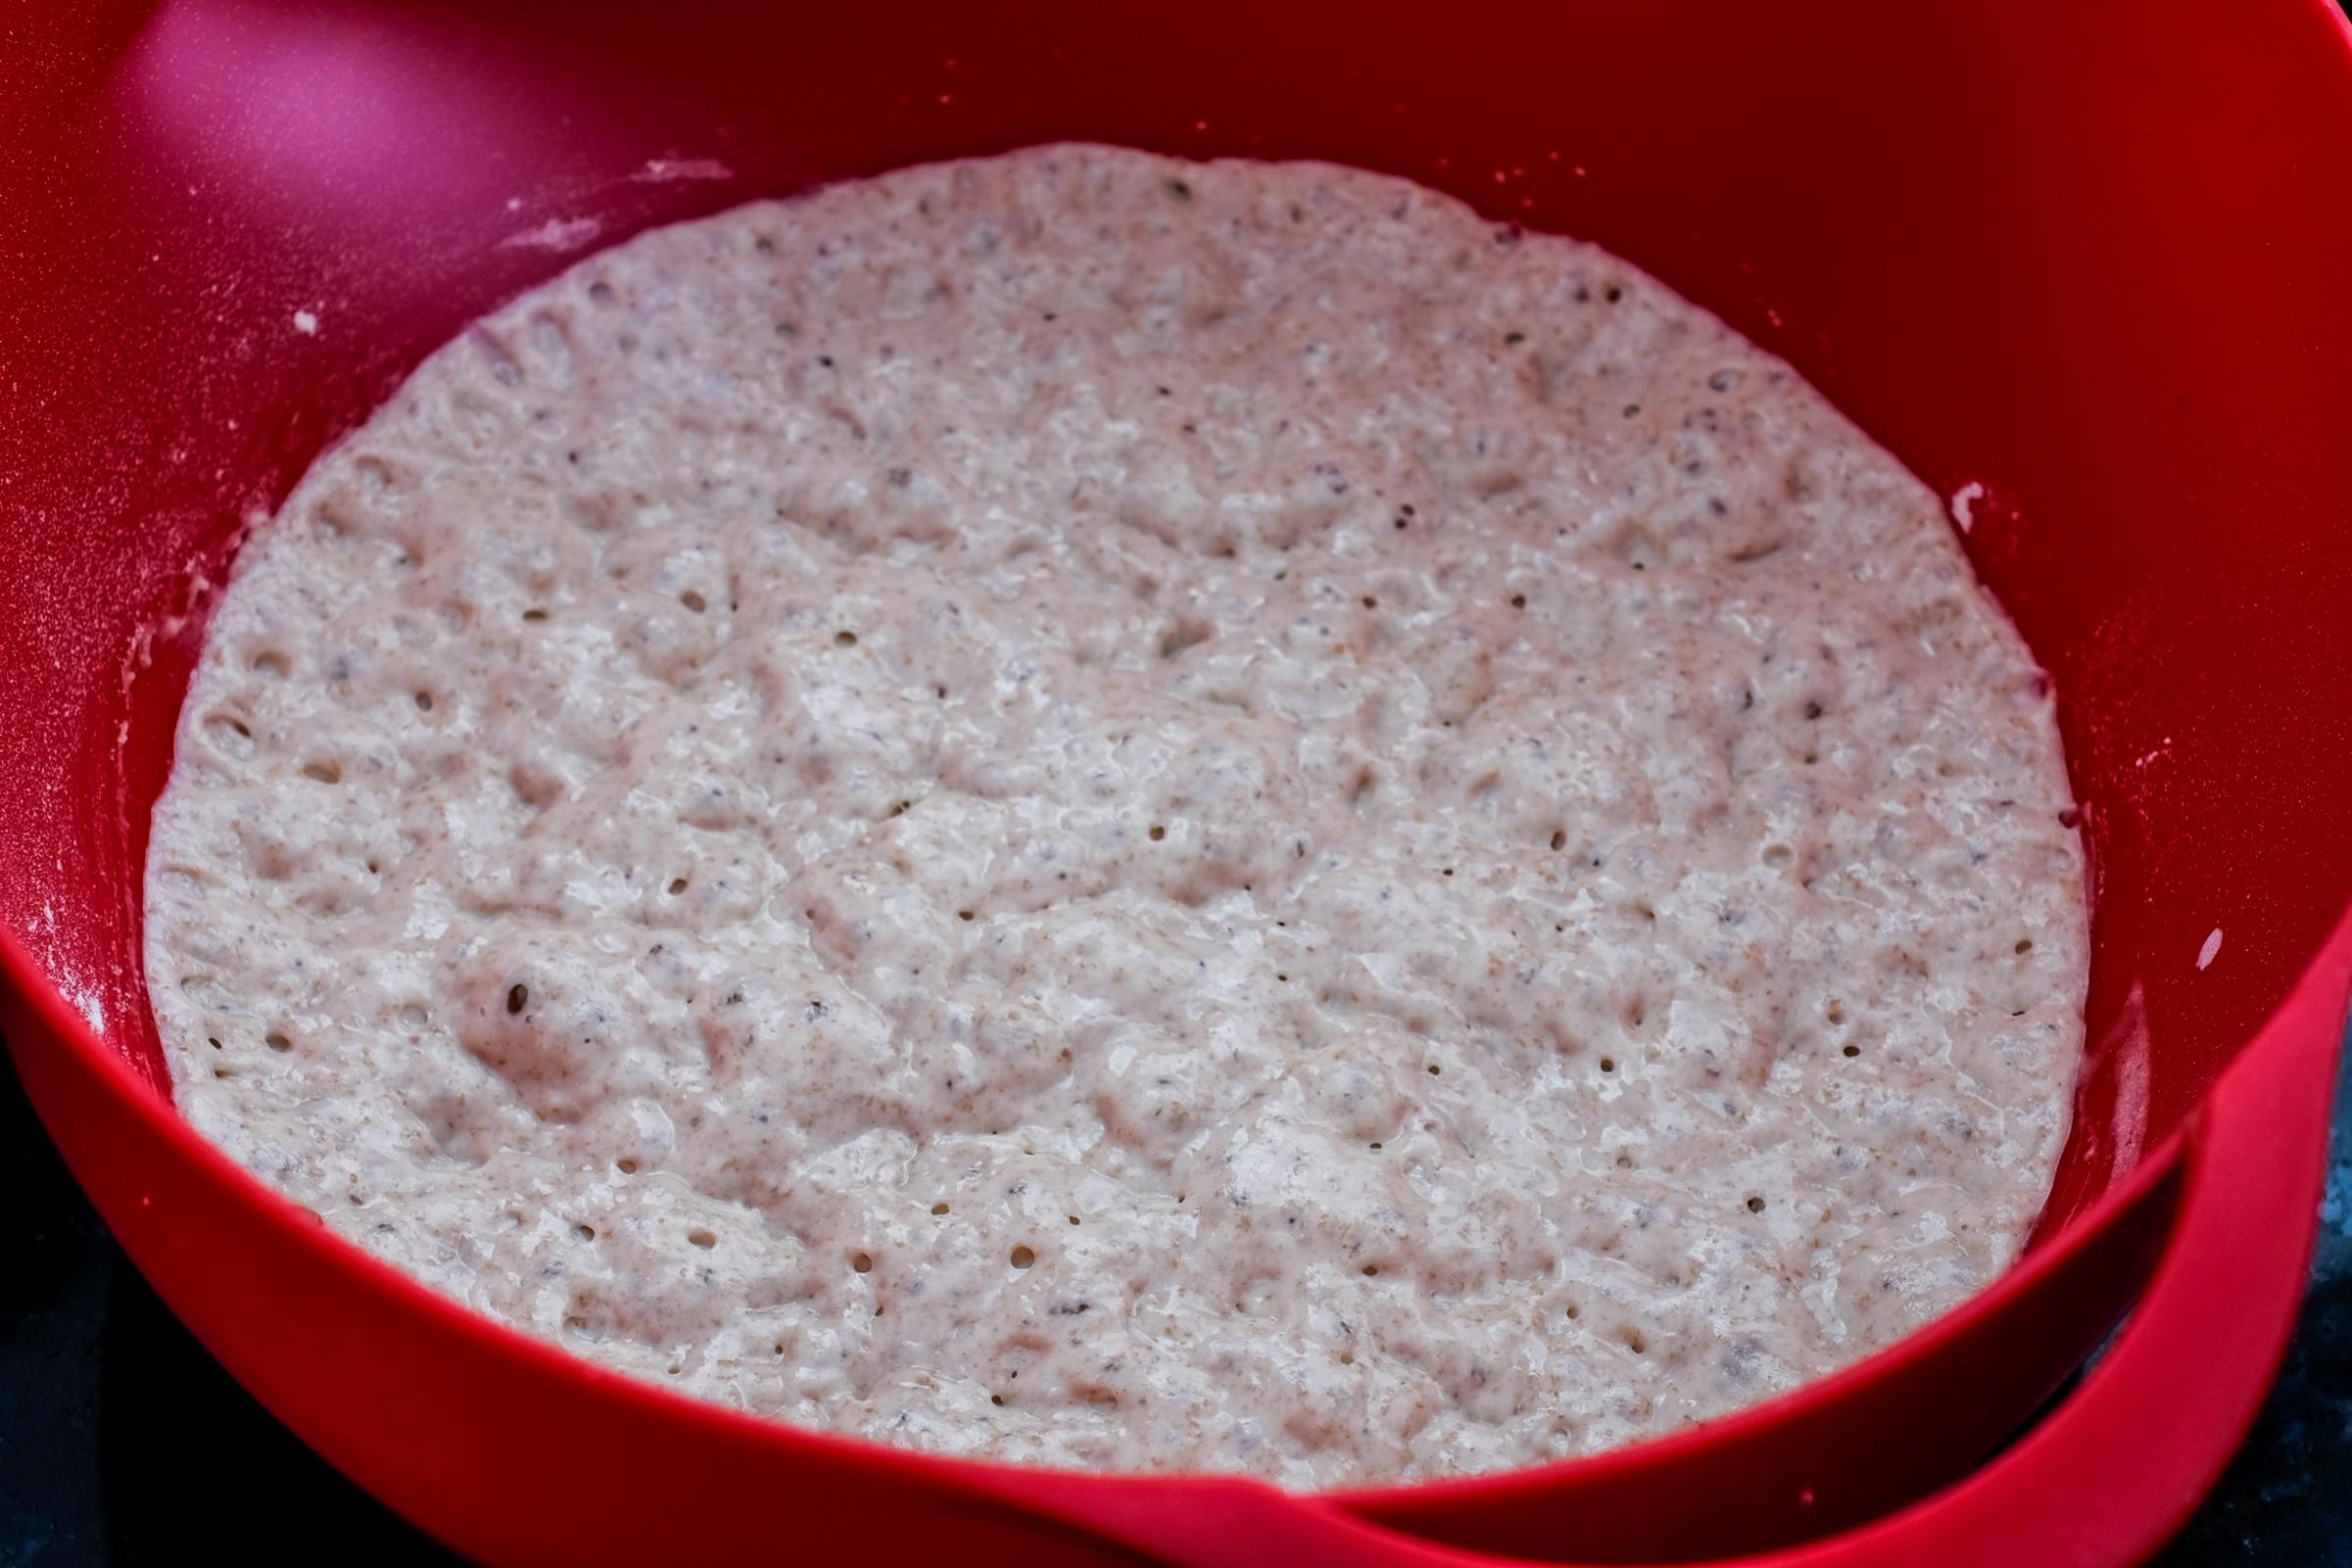
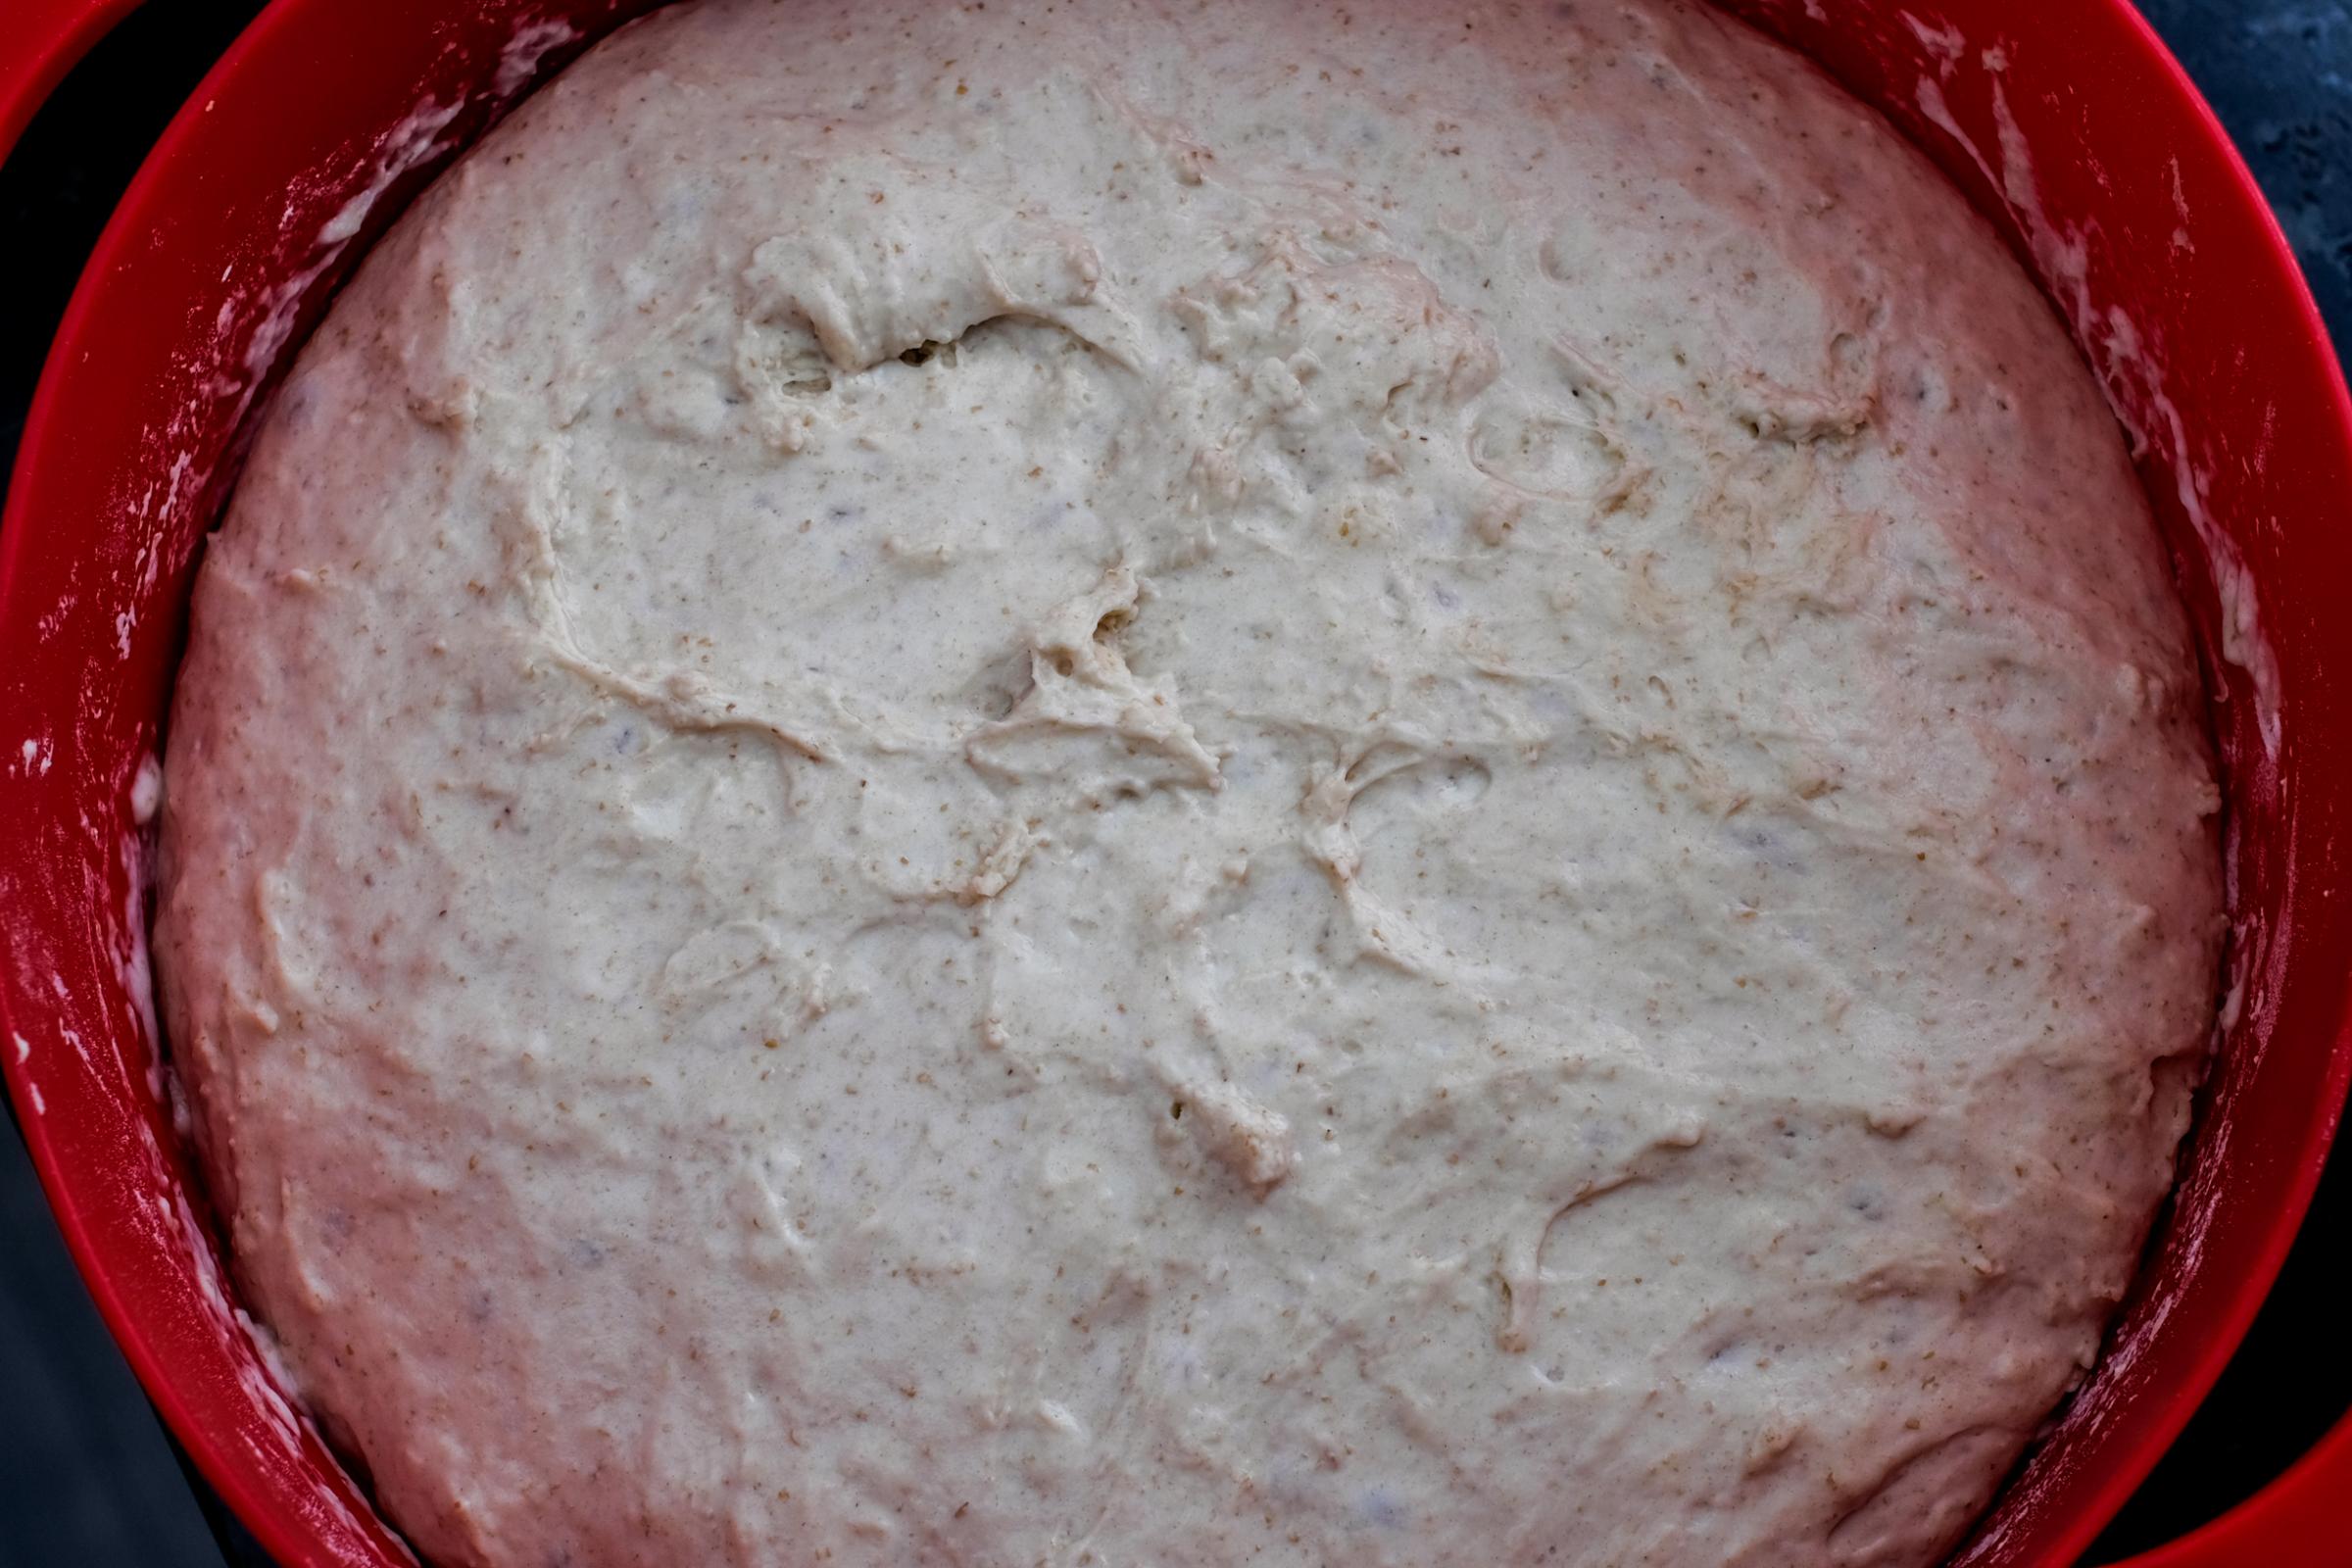
The morning after, nice and bubbly!
Another action flour shot, I just can’t get enough of these!!
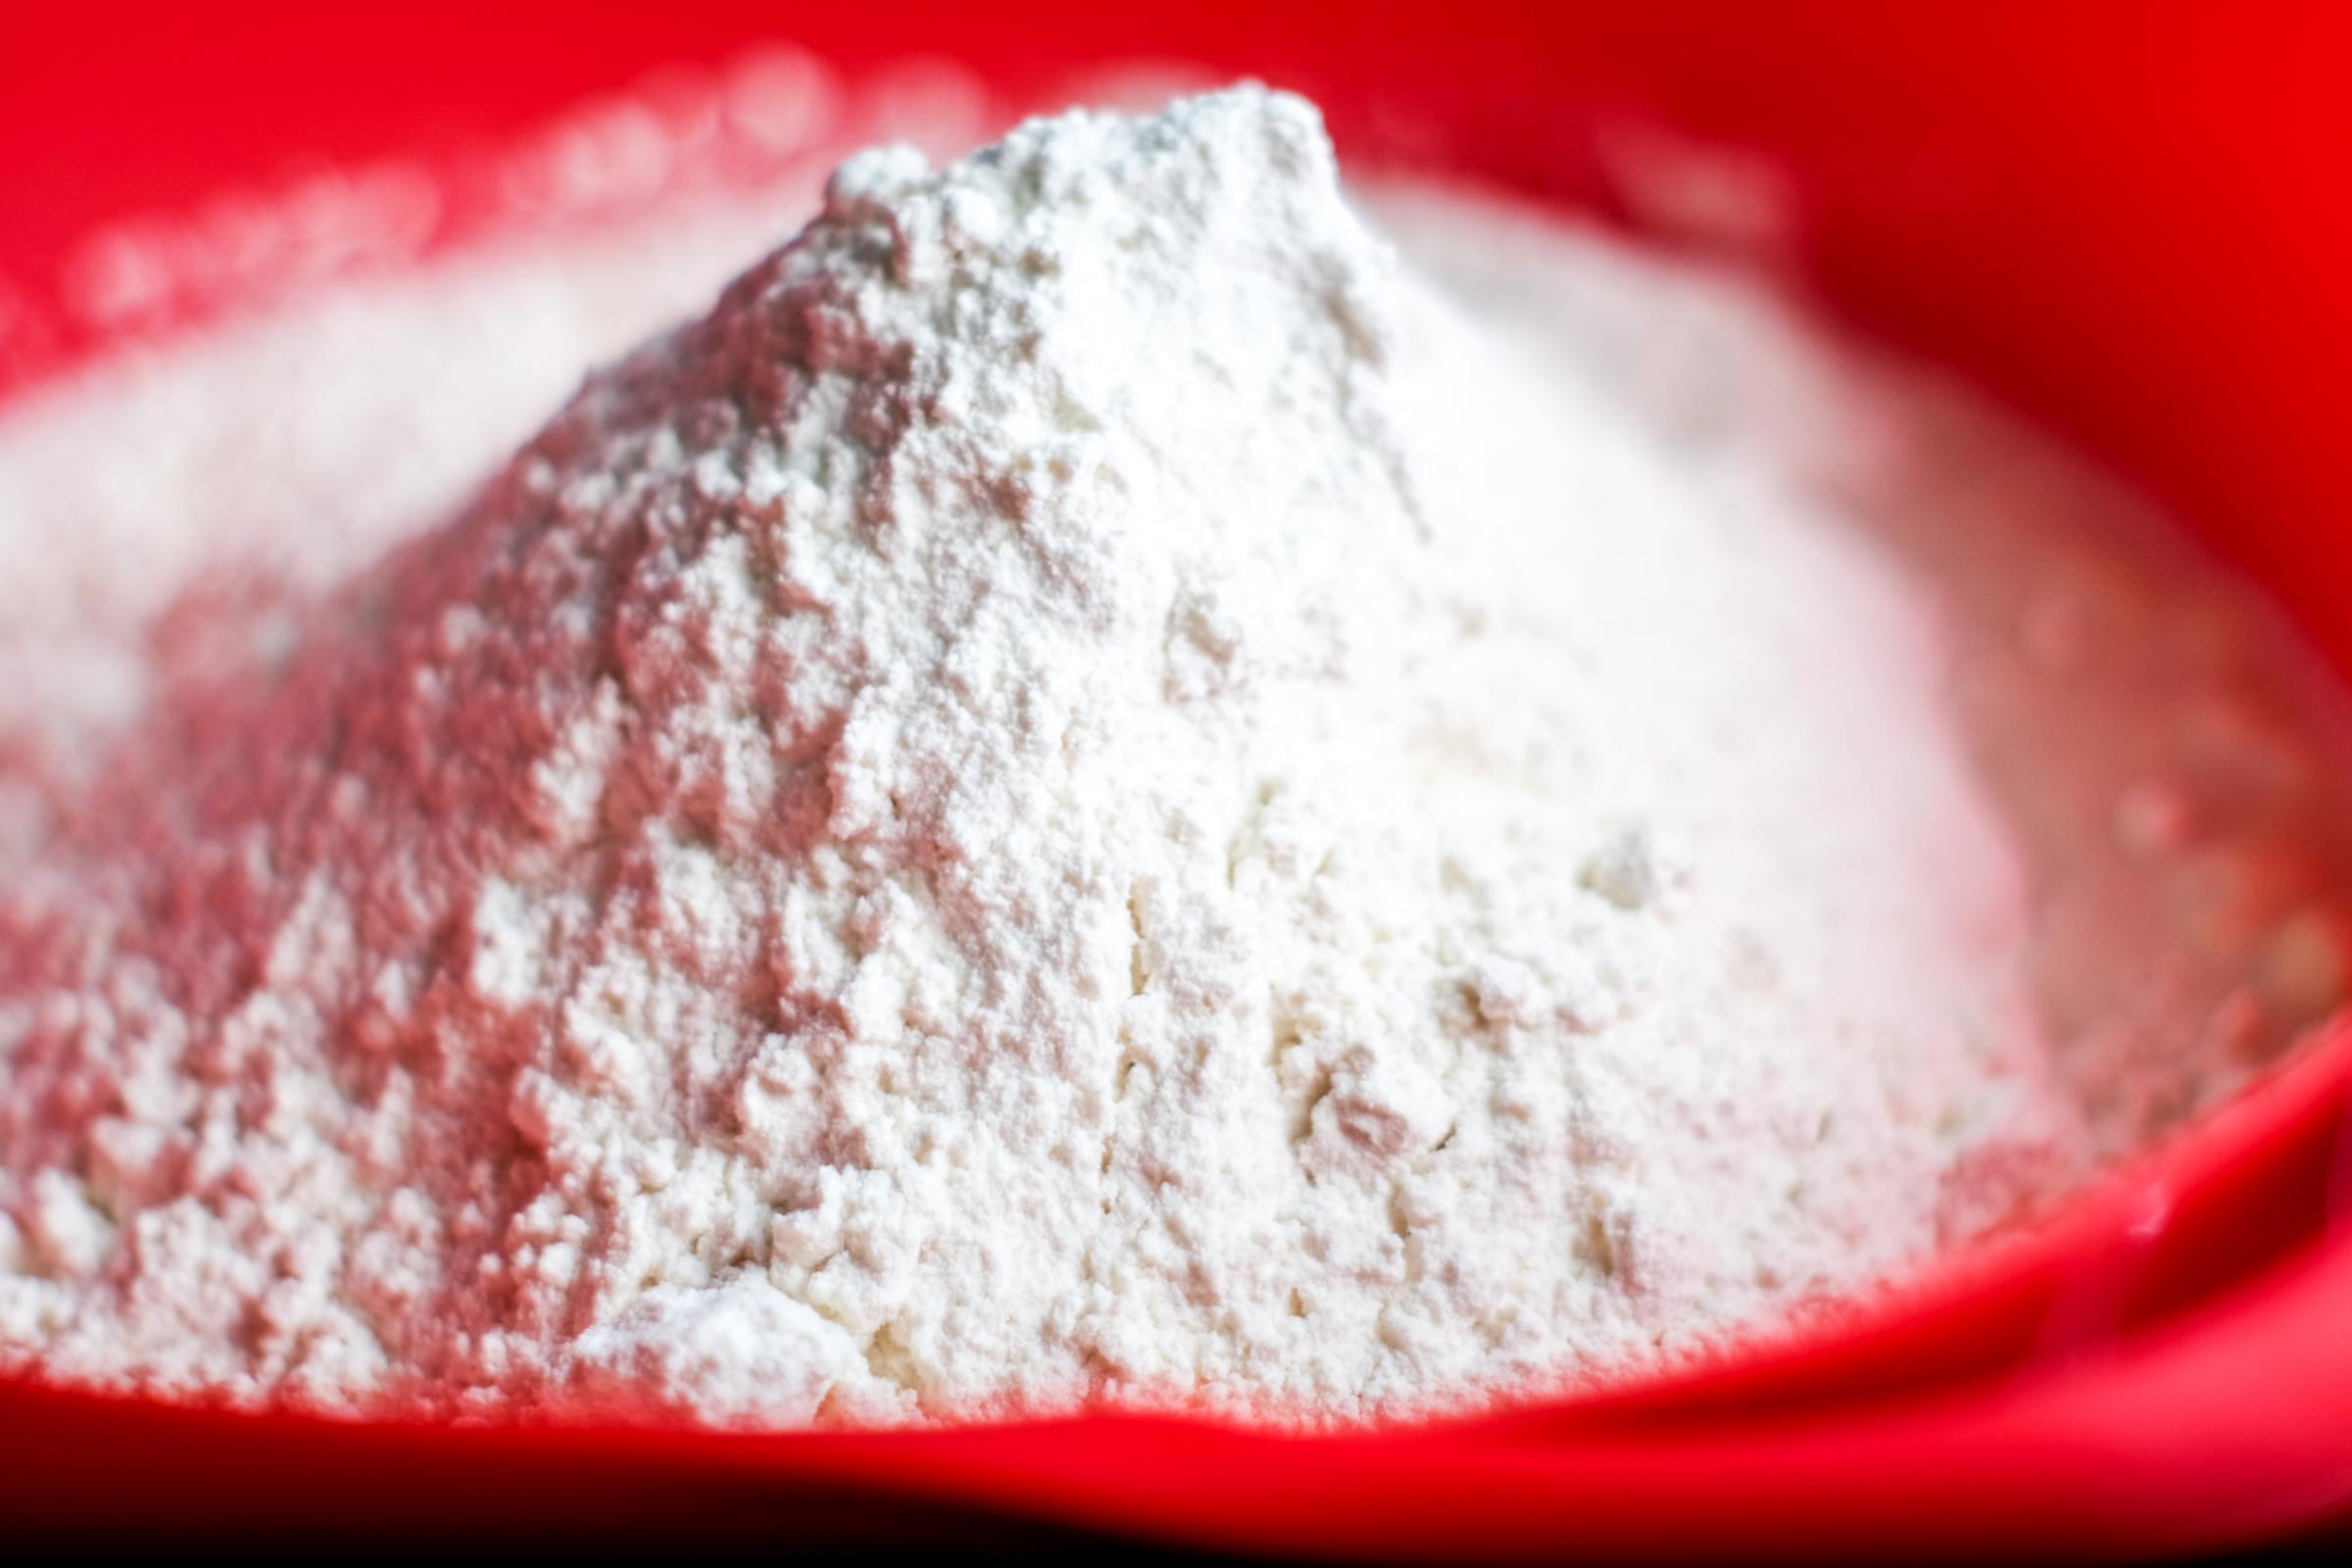
This is basically Mt. Everest
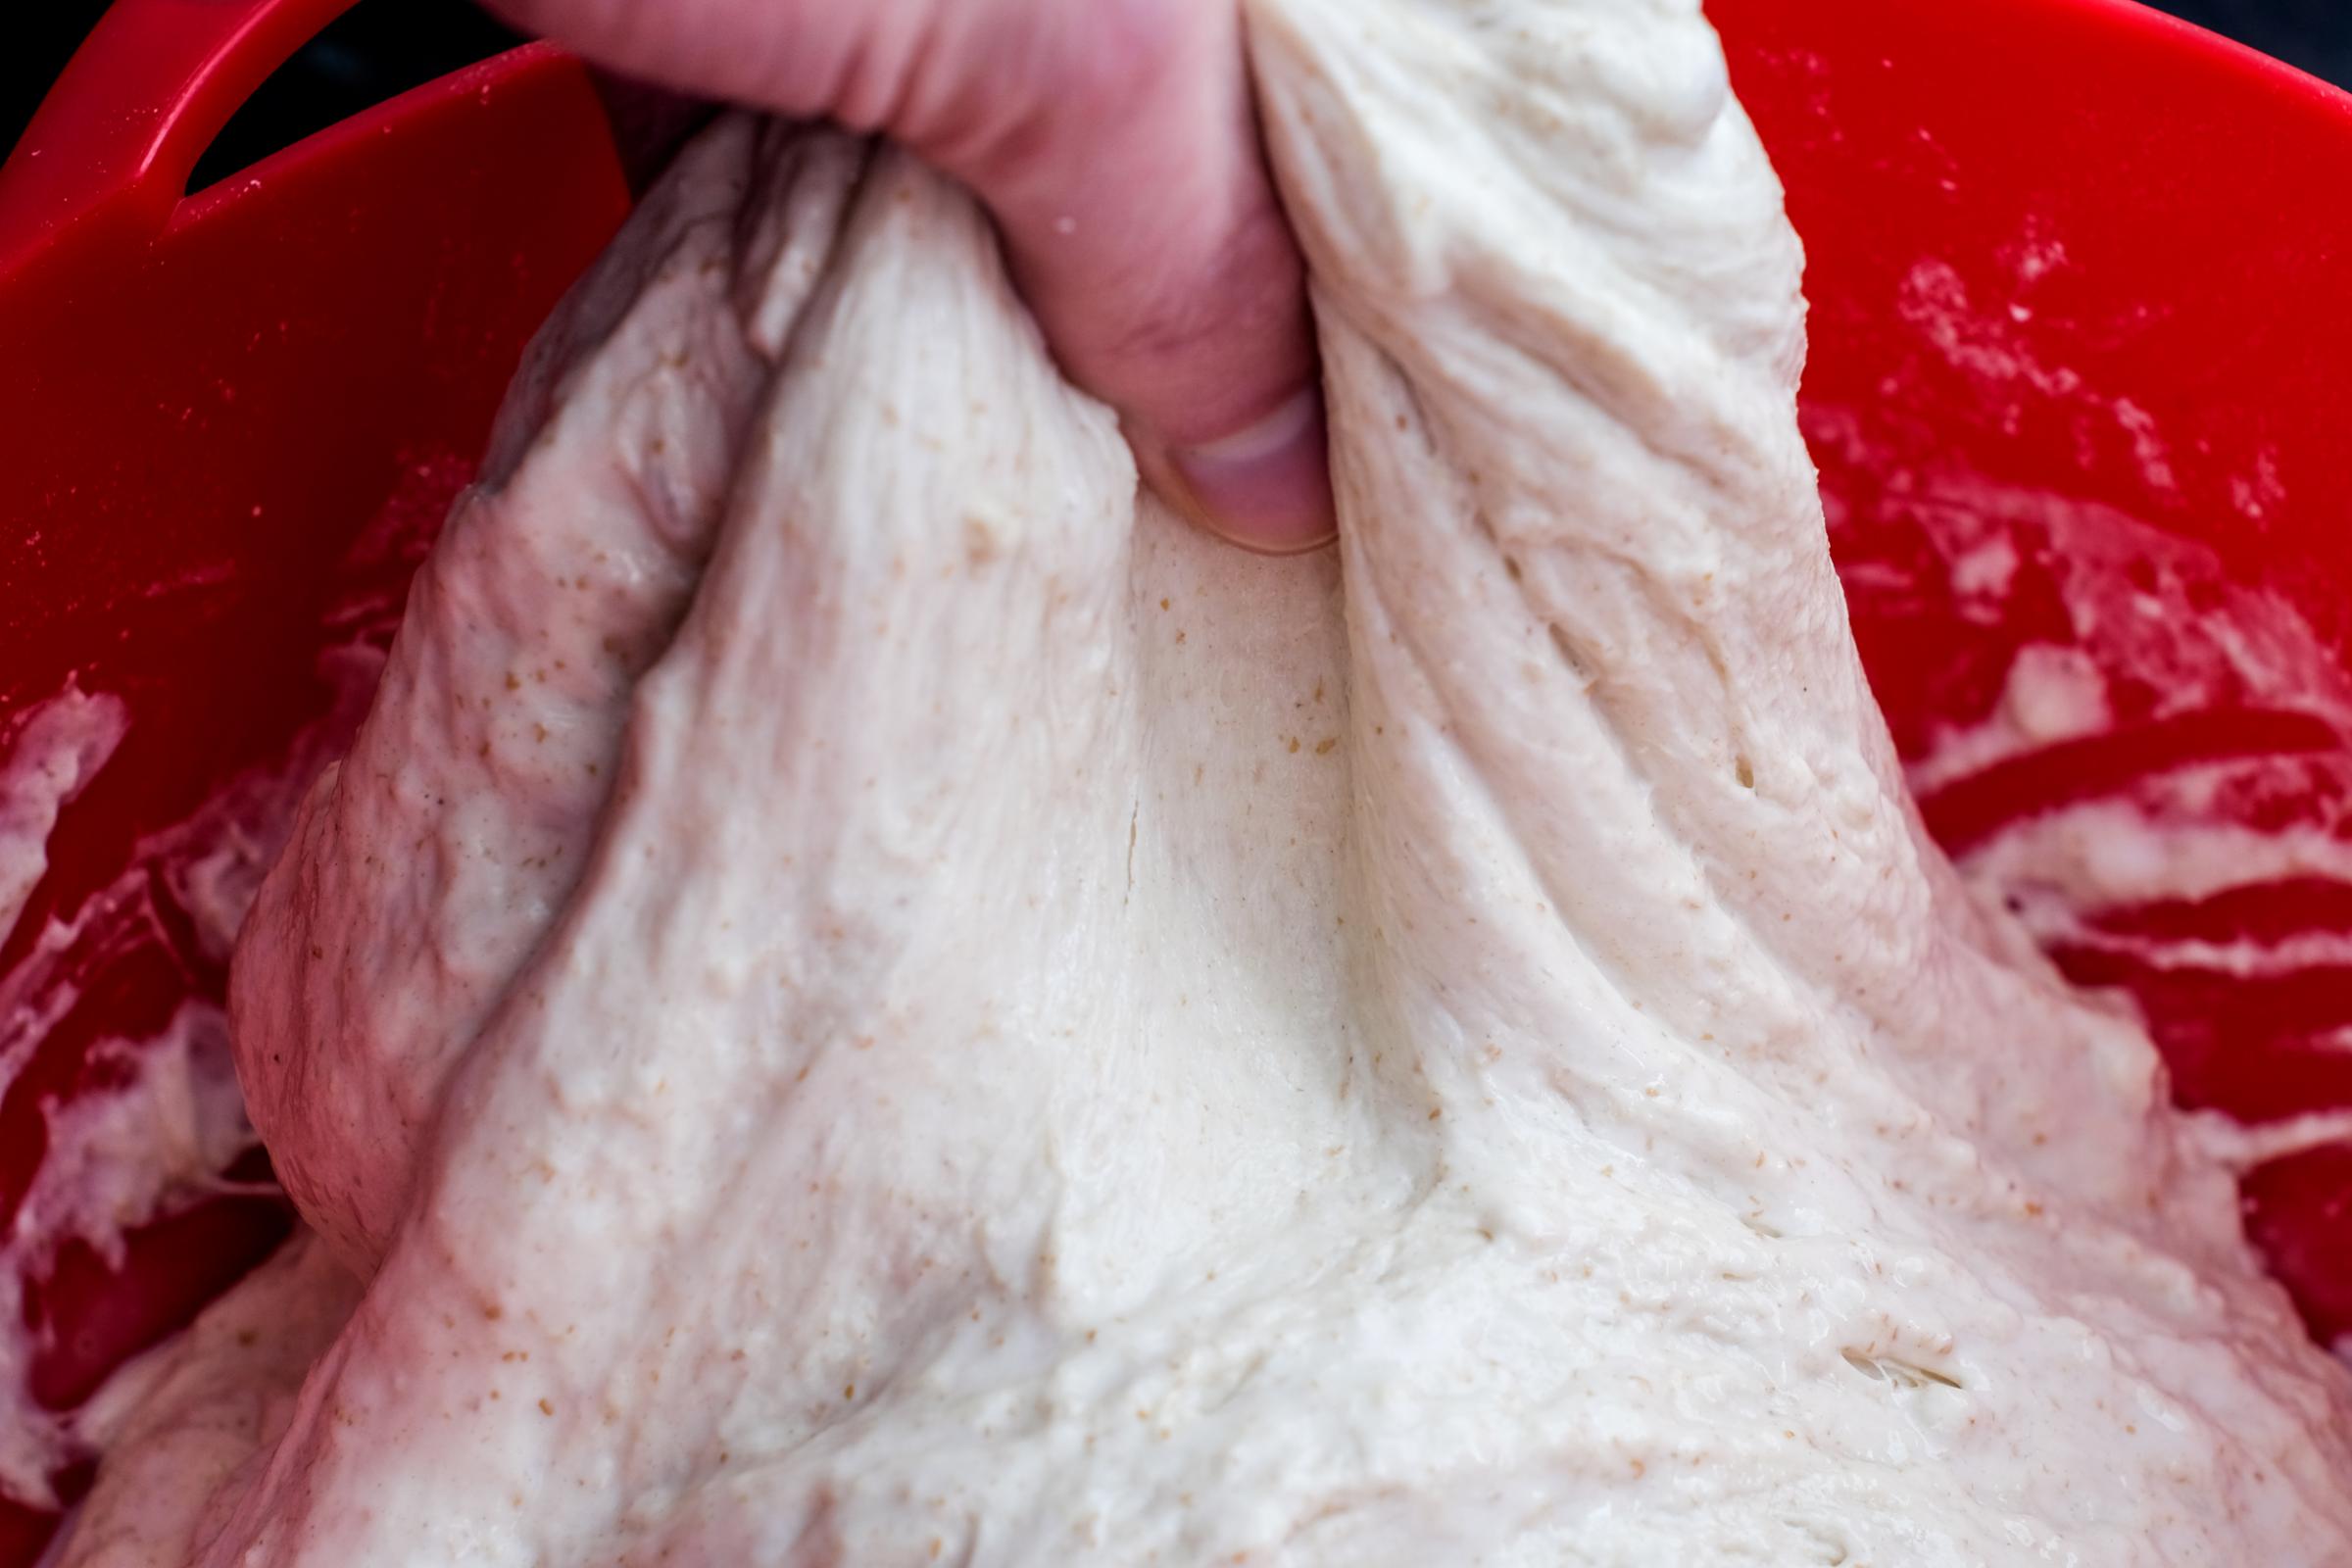
More action shots, this time you get a detailed image of my hand. You’re welcome

Just before the 3 hour autolyze
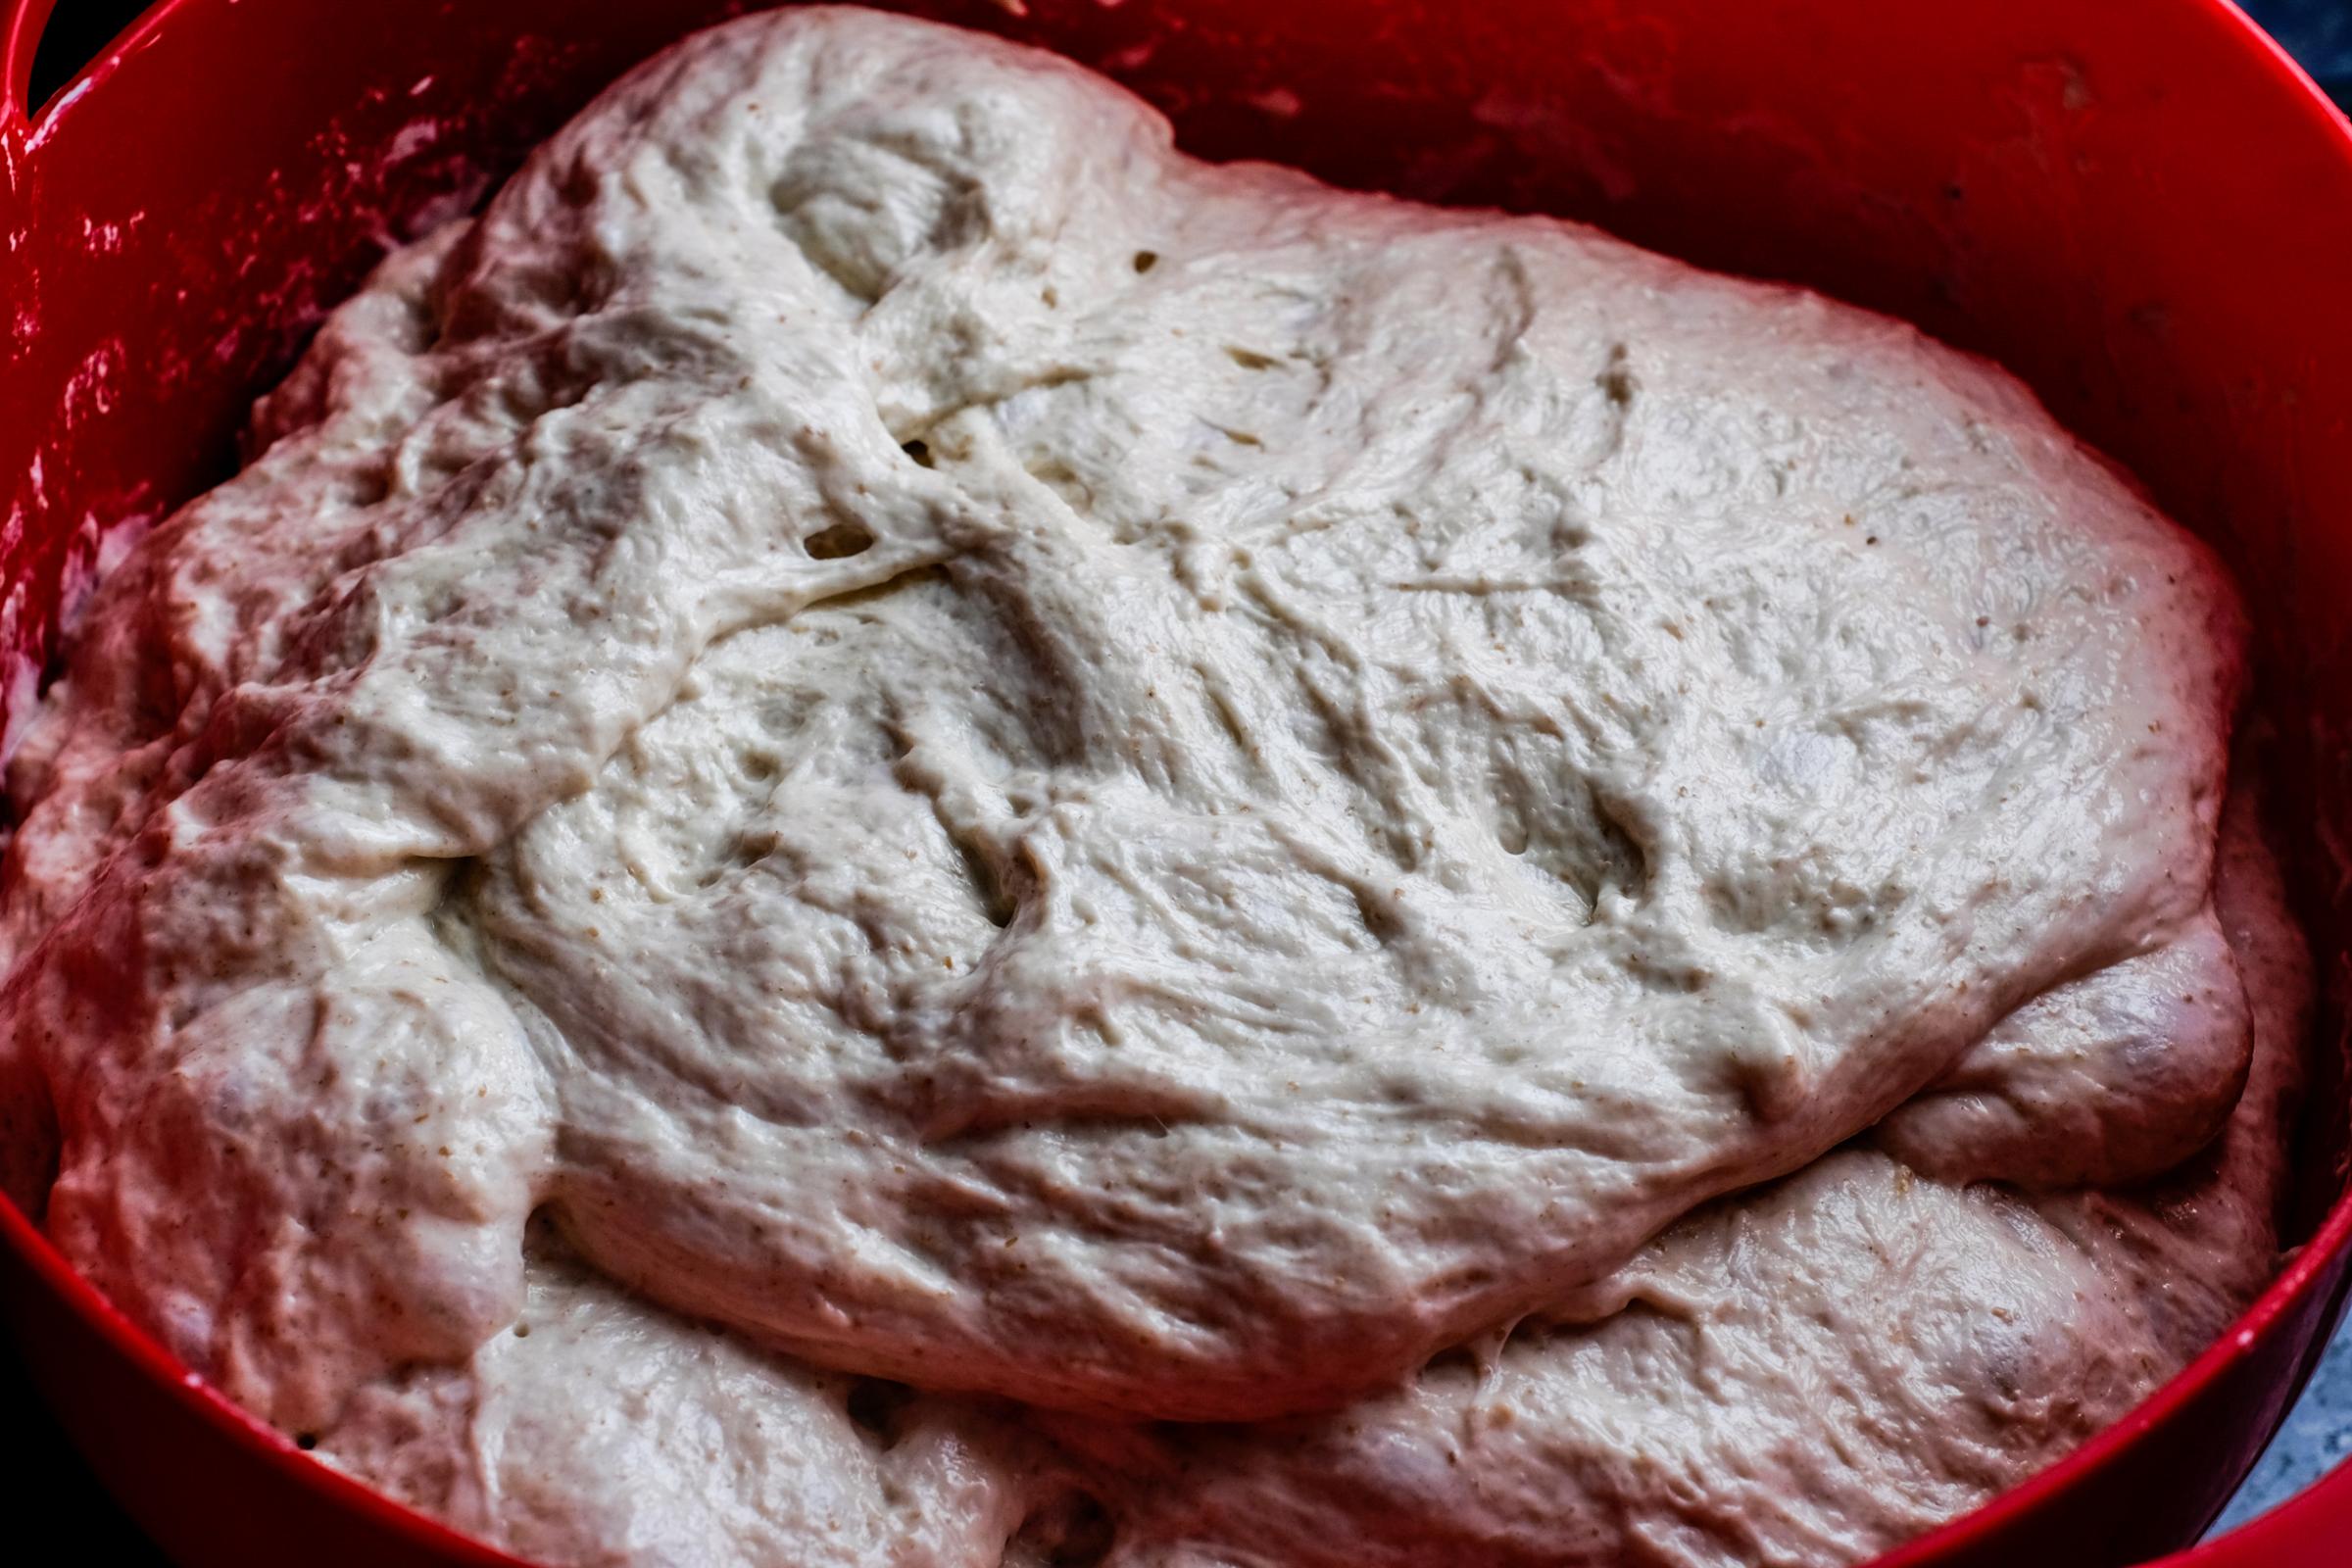
It rose nicely (again let it sit in the oven with the light on)
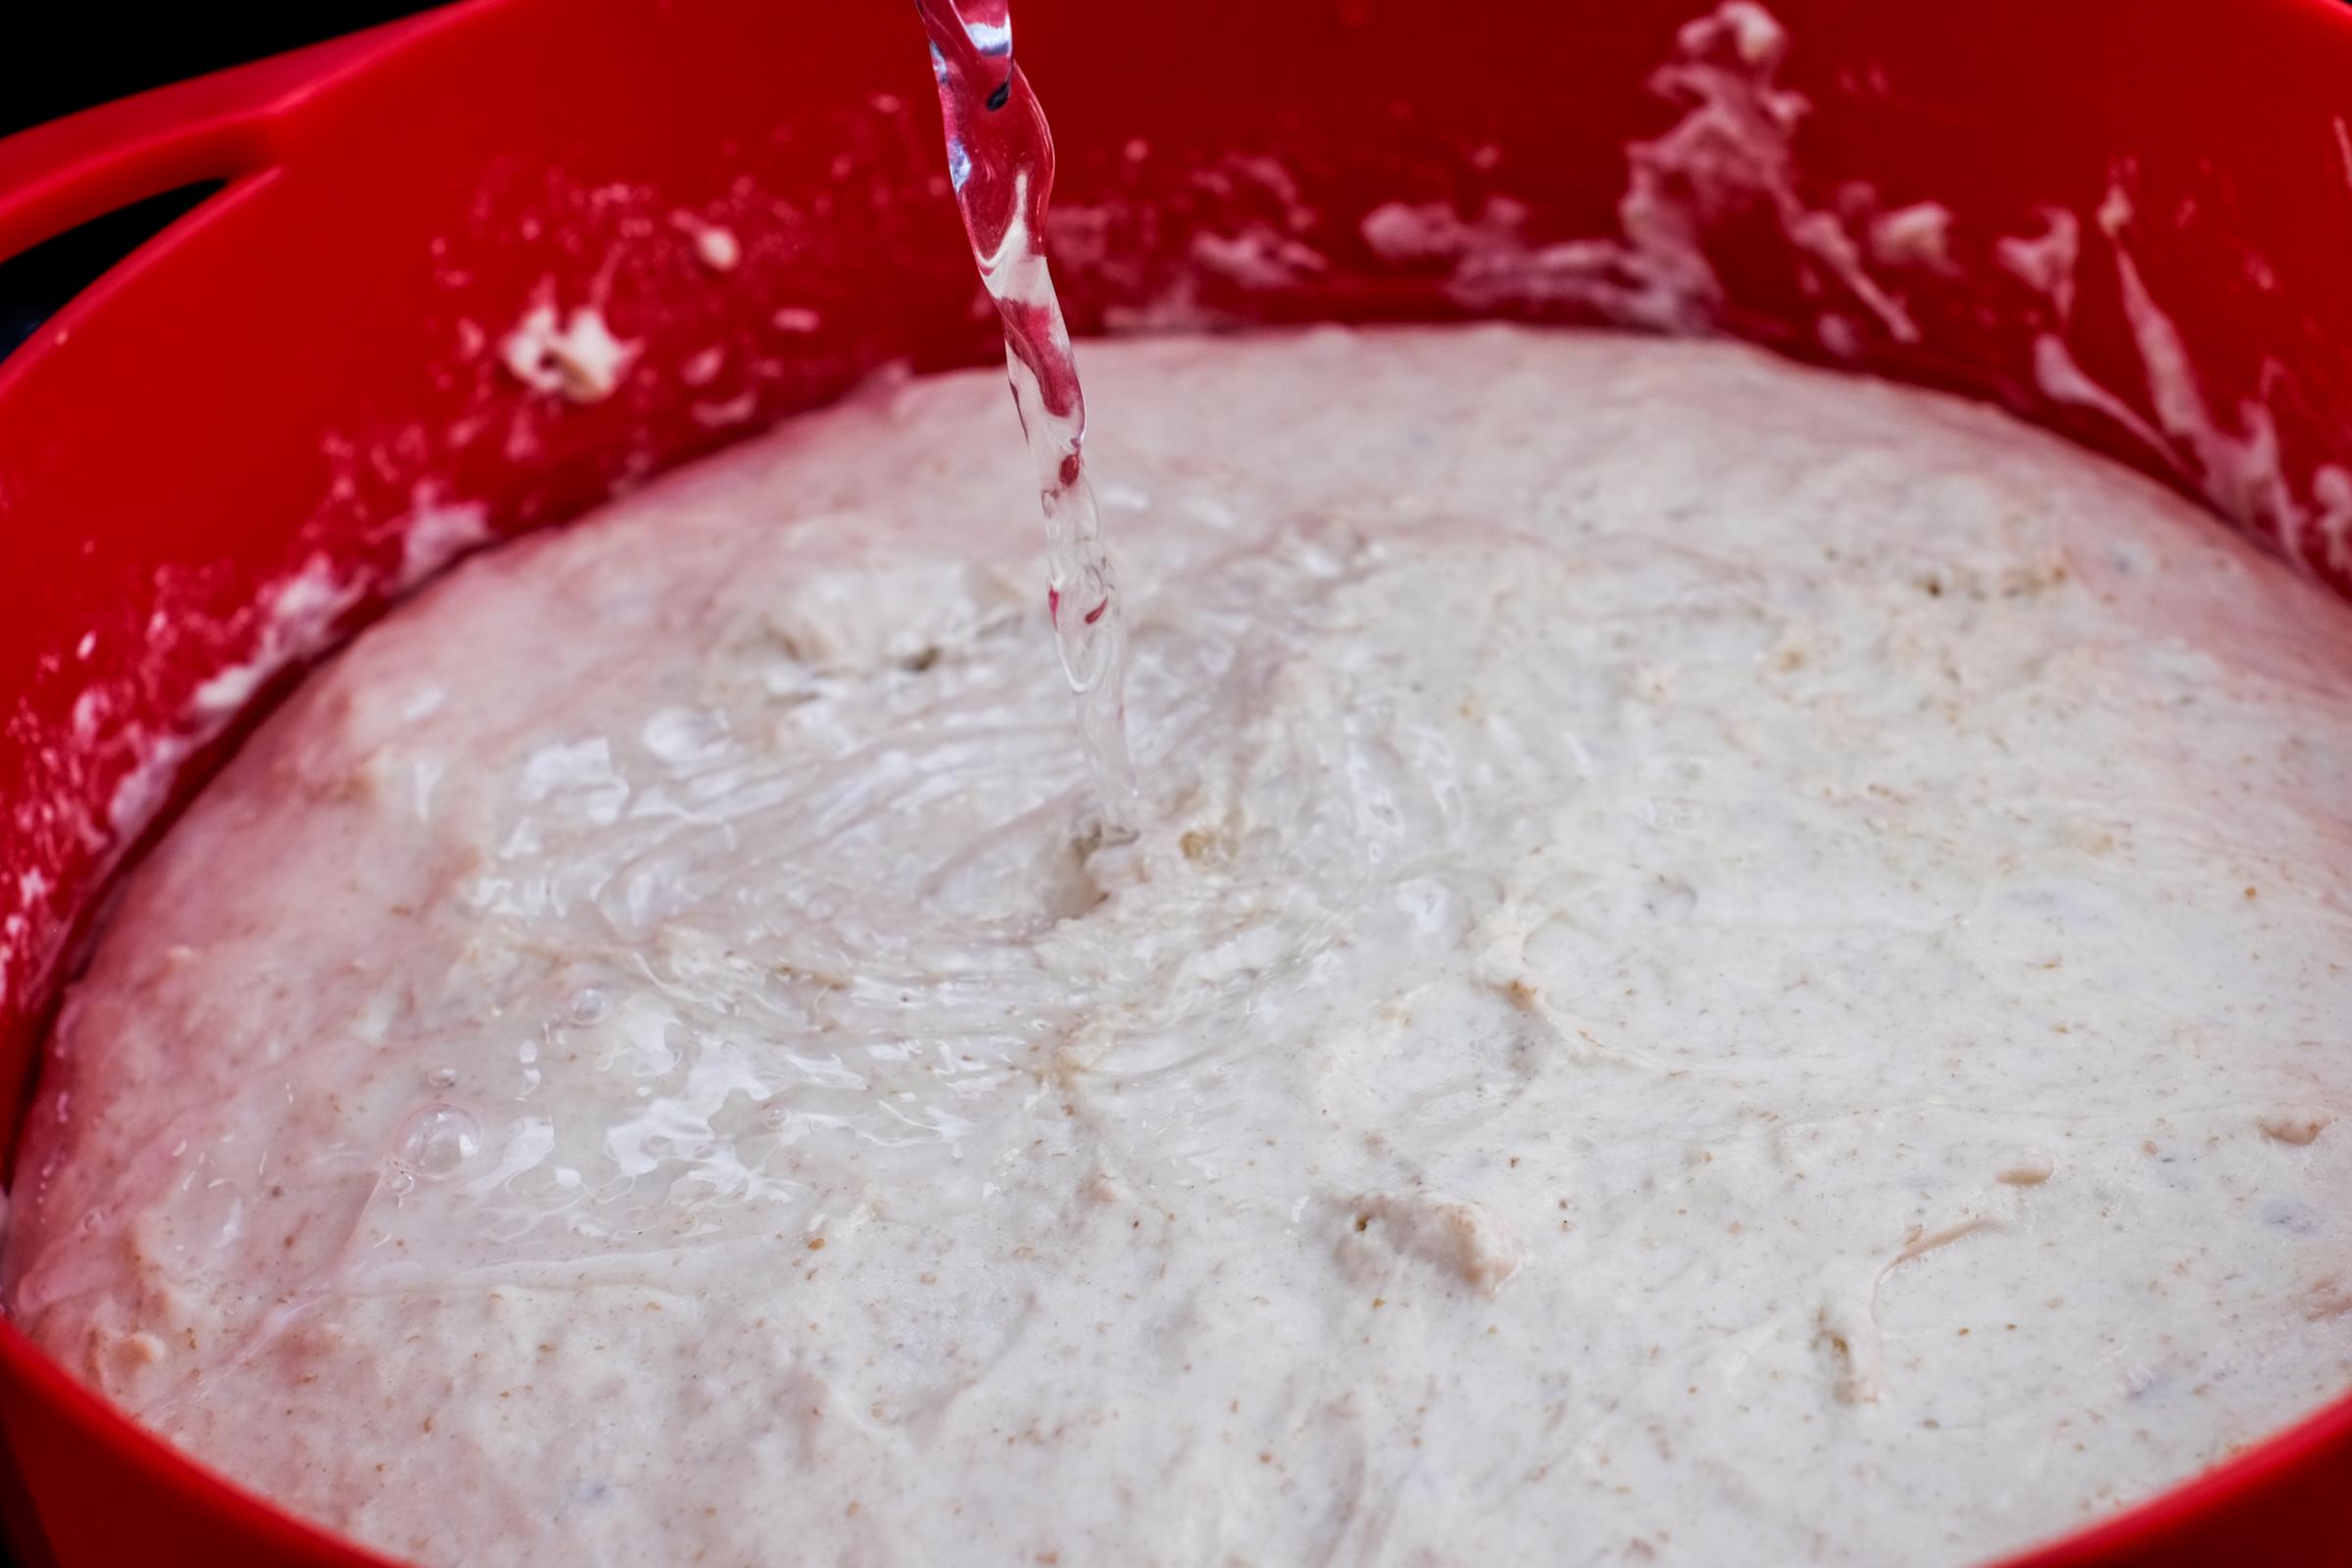
Adding the water with salt dissolved
Mmm…that stretch
Moody shadows after the first (of 5) stretch and folds
I think this was the fourth or fifth fold (?)
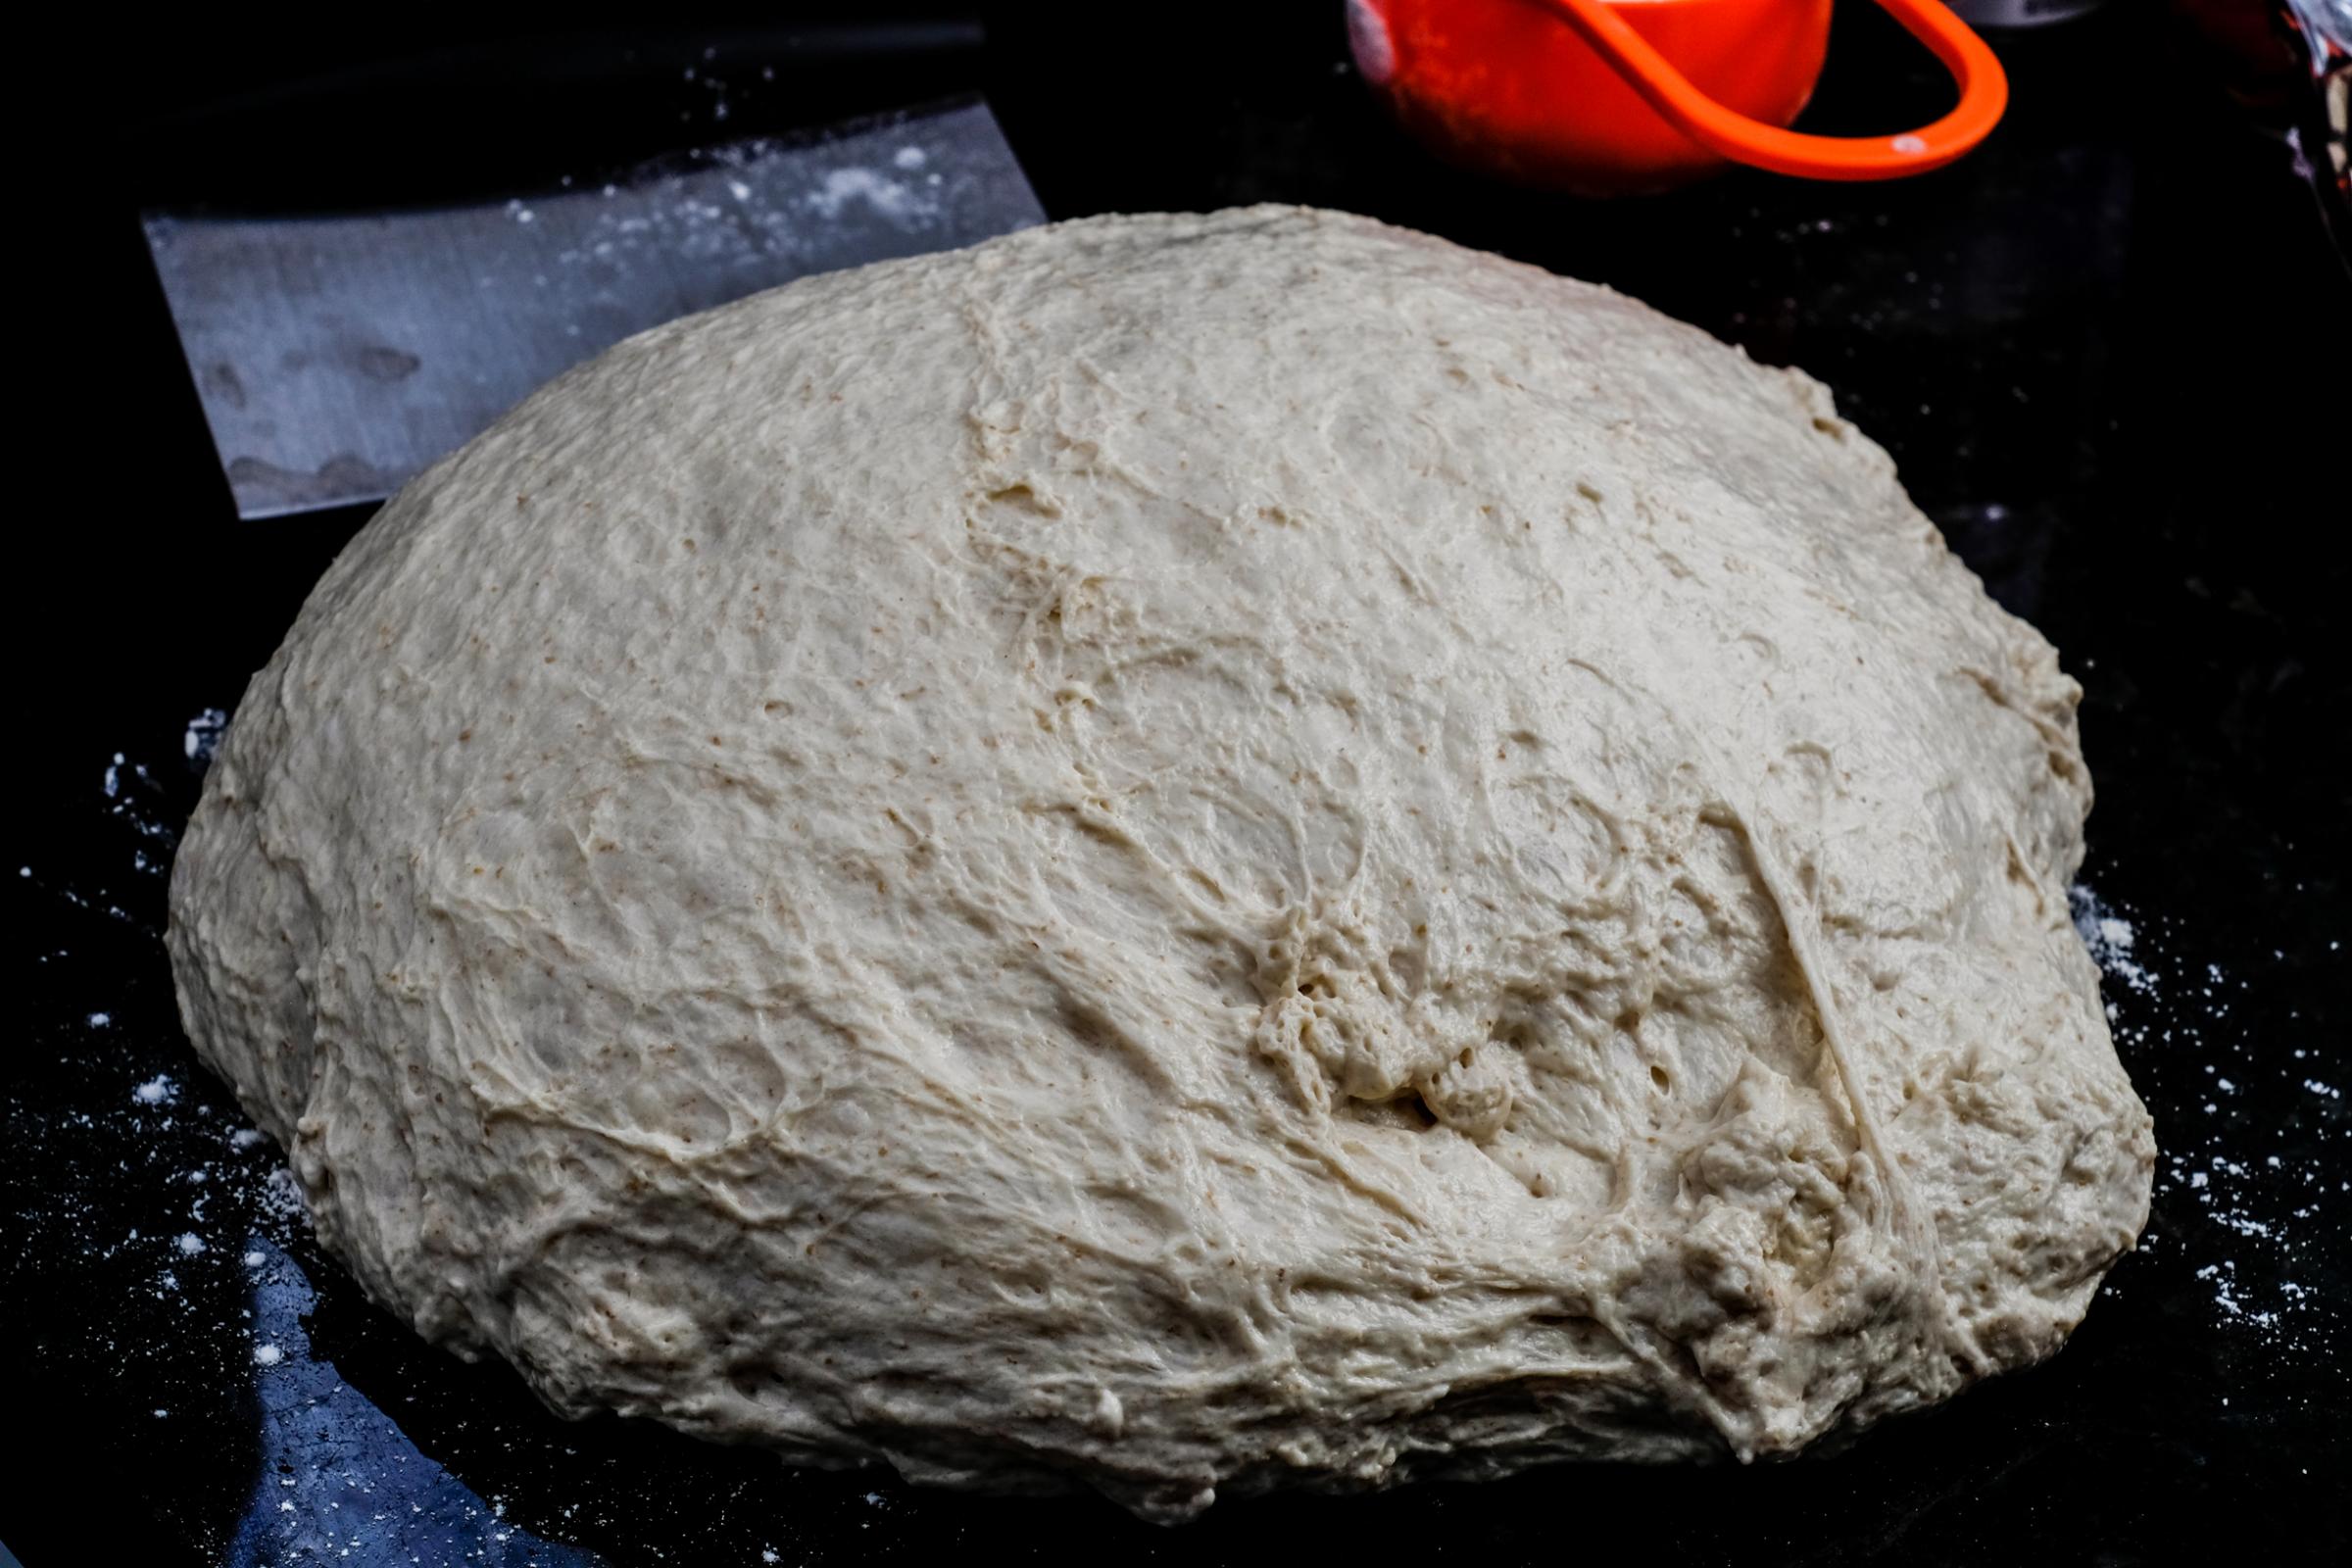
Prepping the countertop for division and shaping

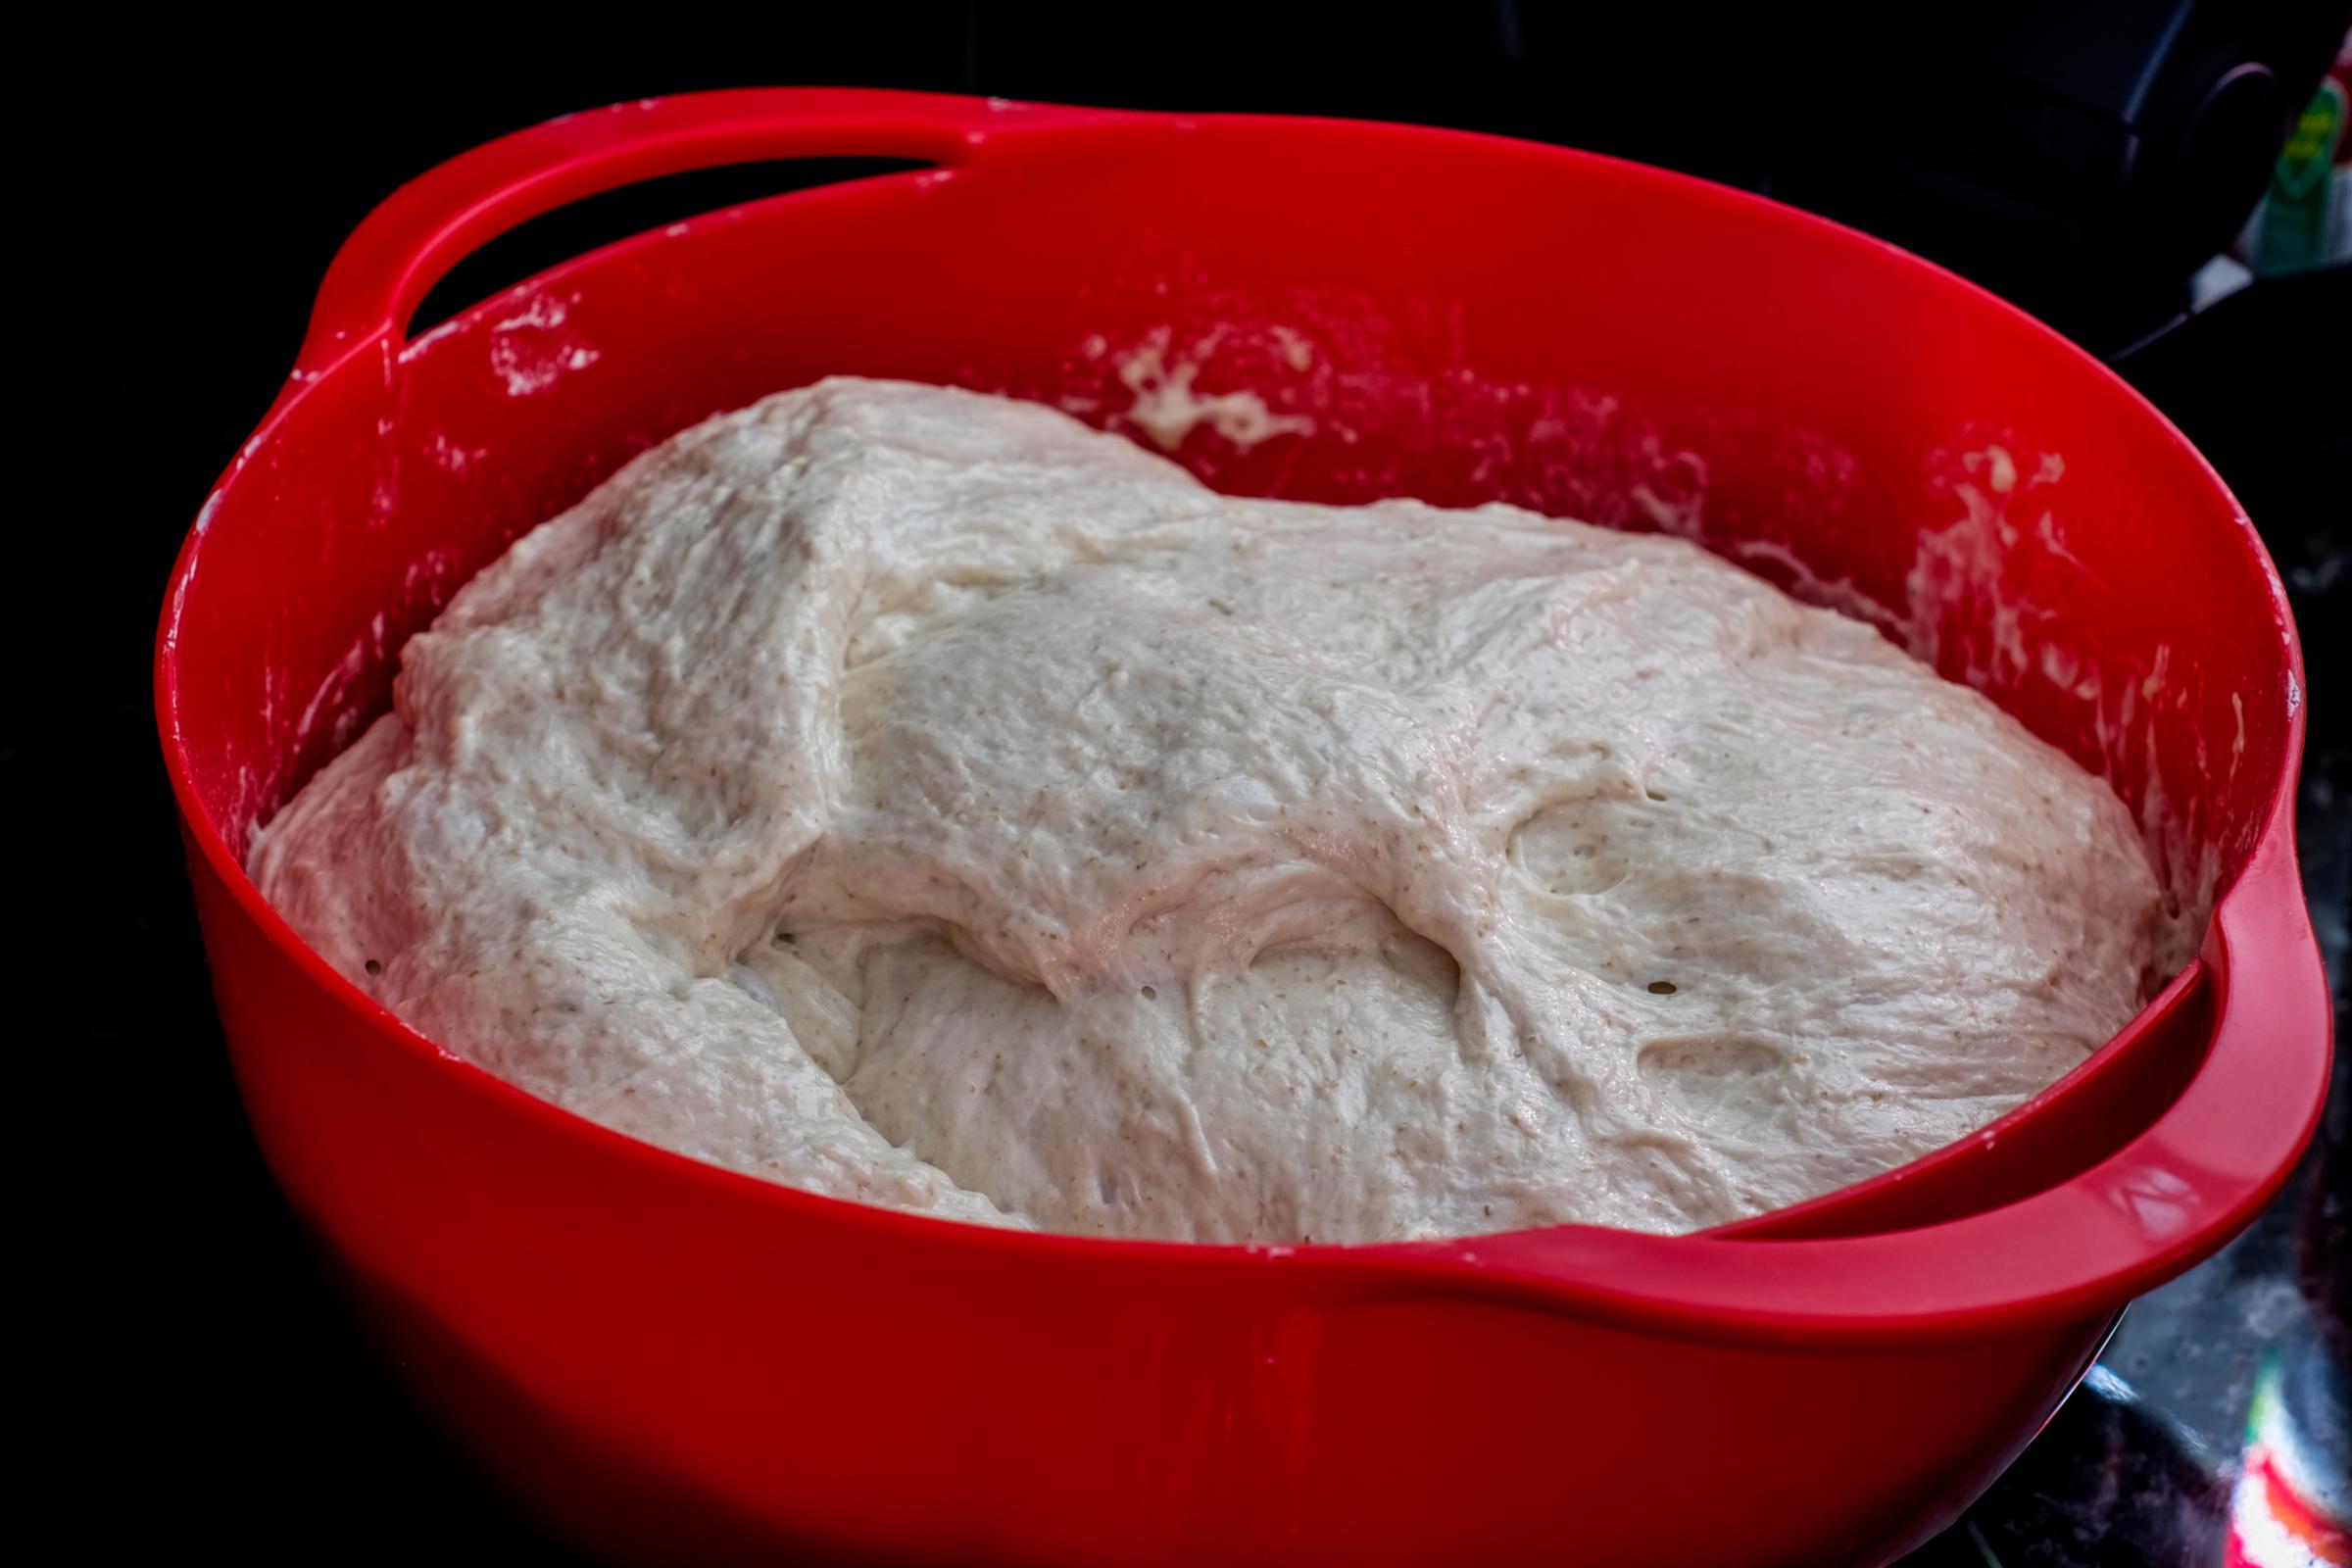
That’s one massive, bubbly hunk of dough
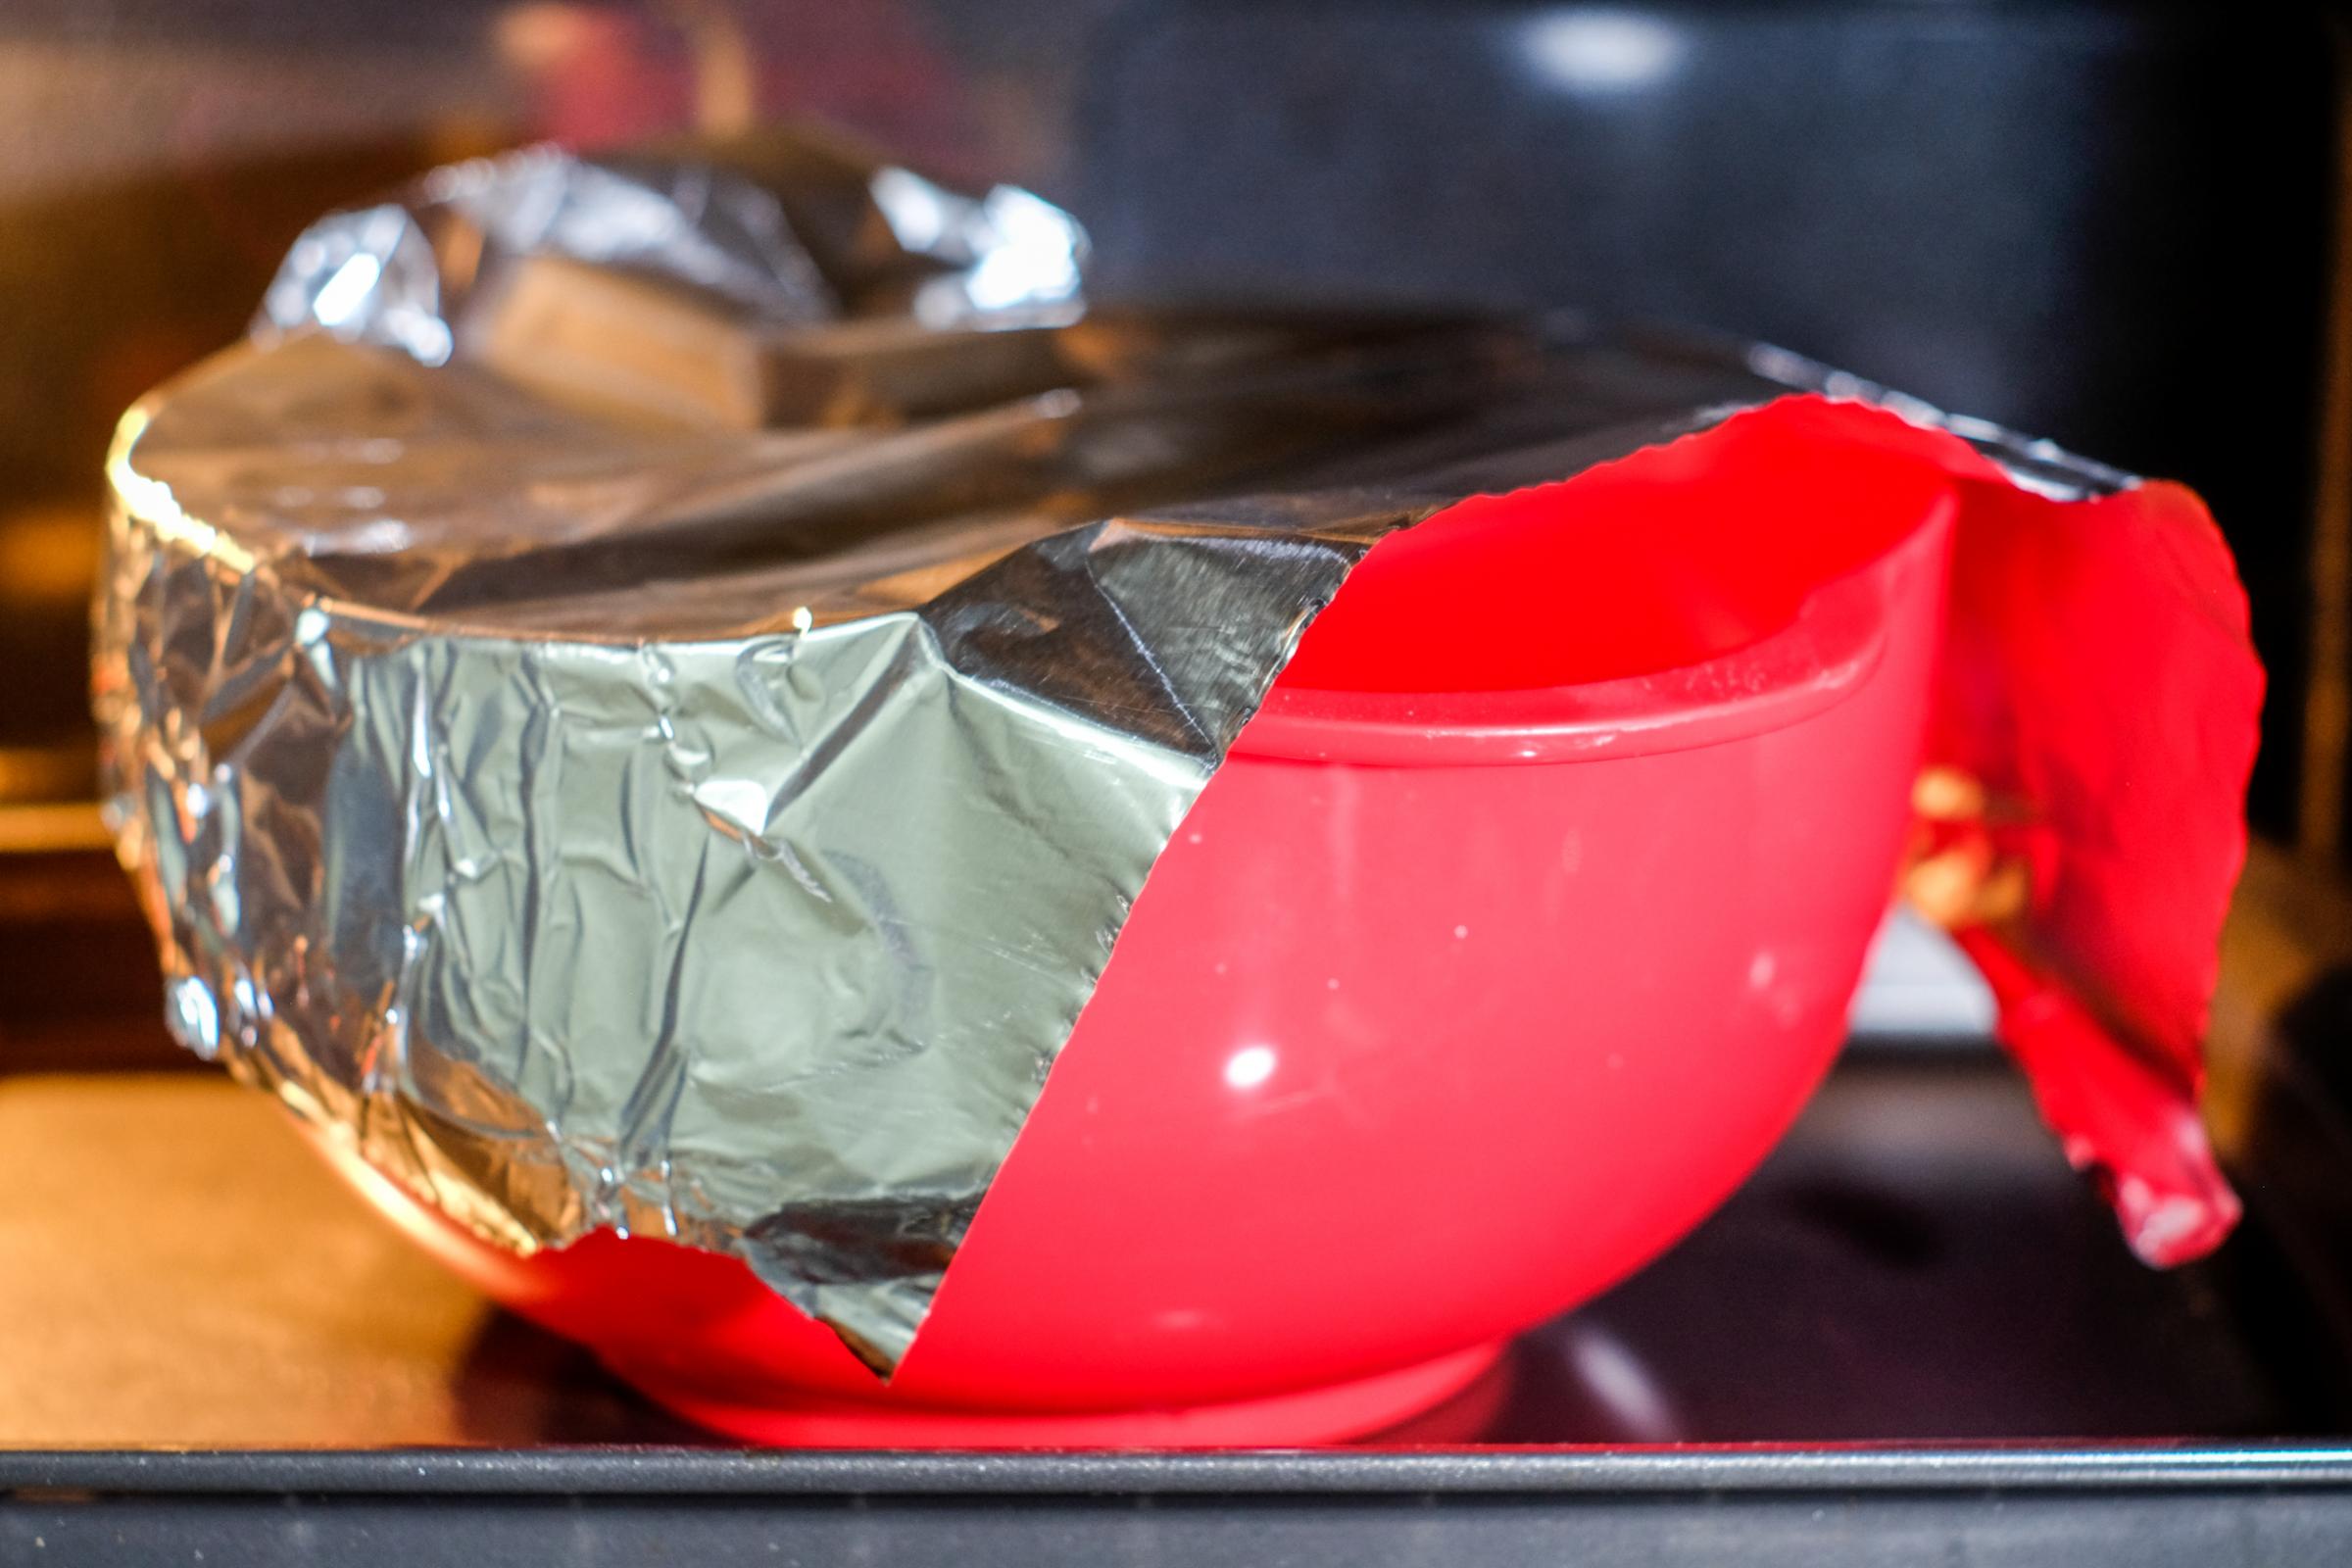
Into the fridge for the next 14 hours to be ready to bake in the morning!
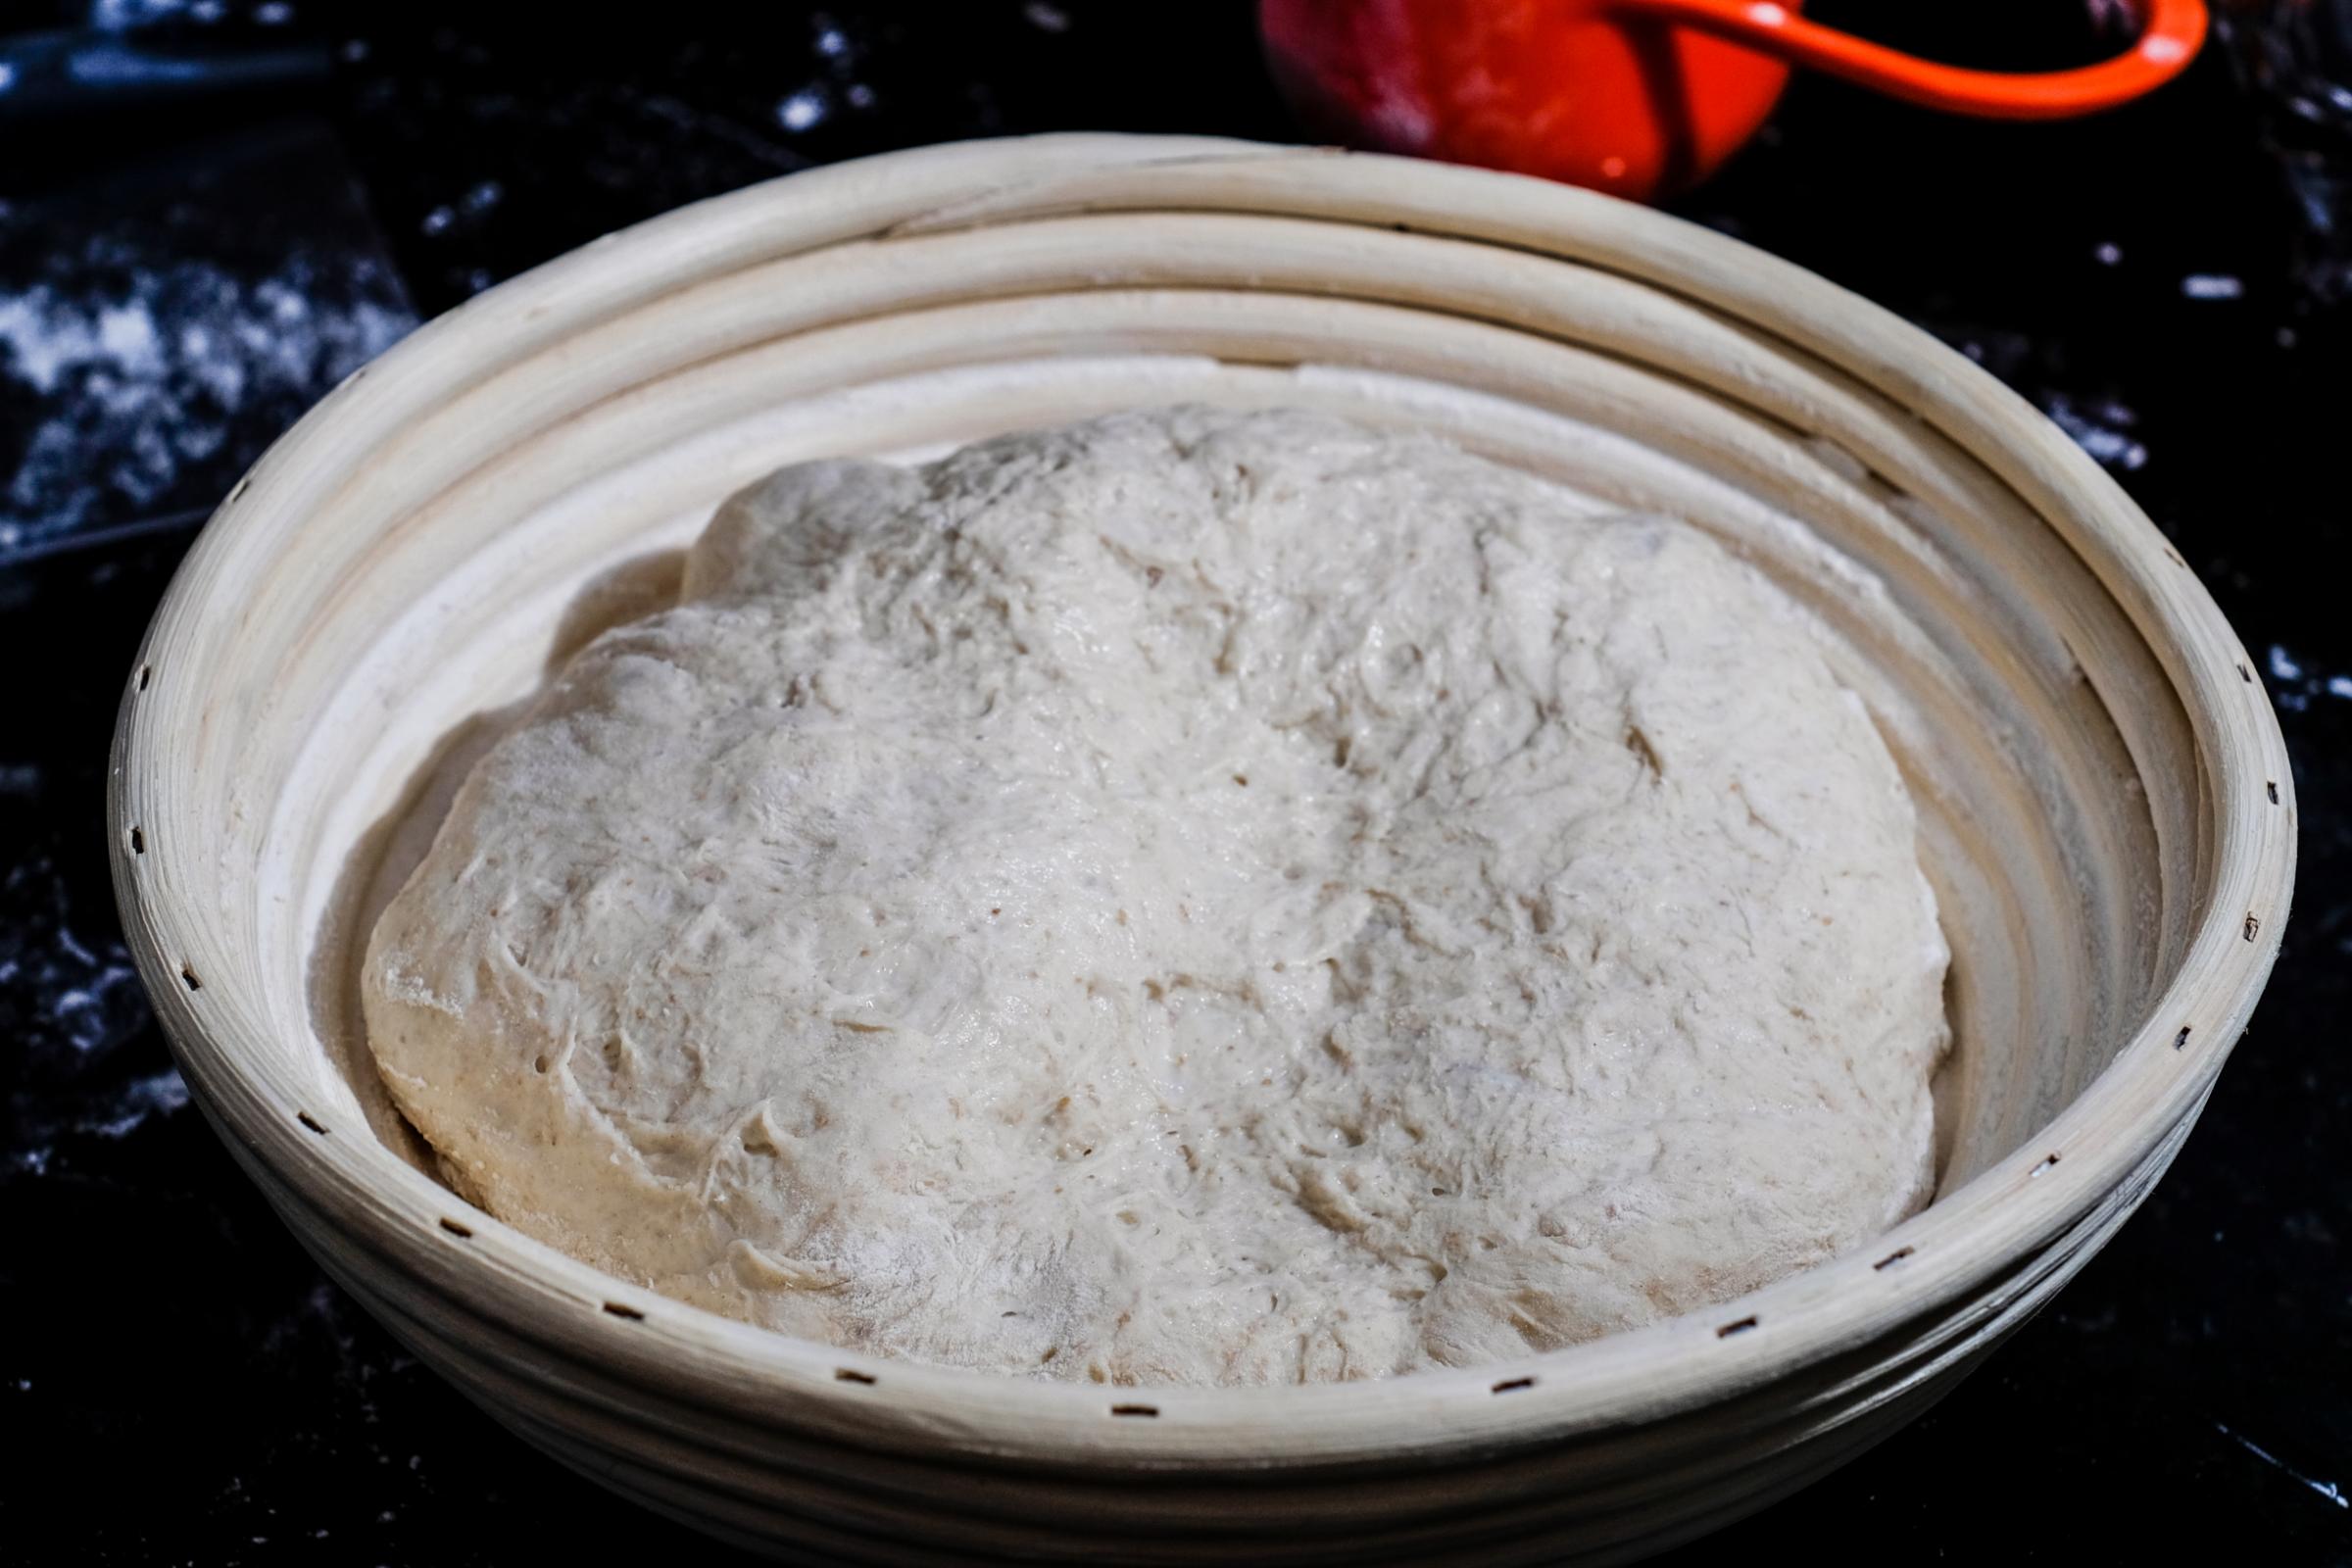
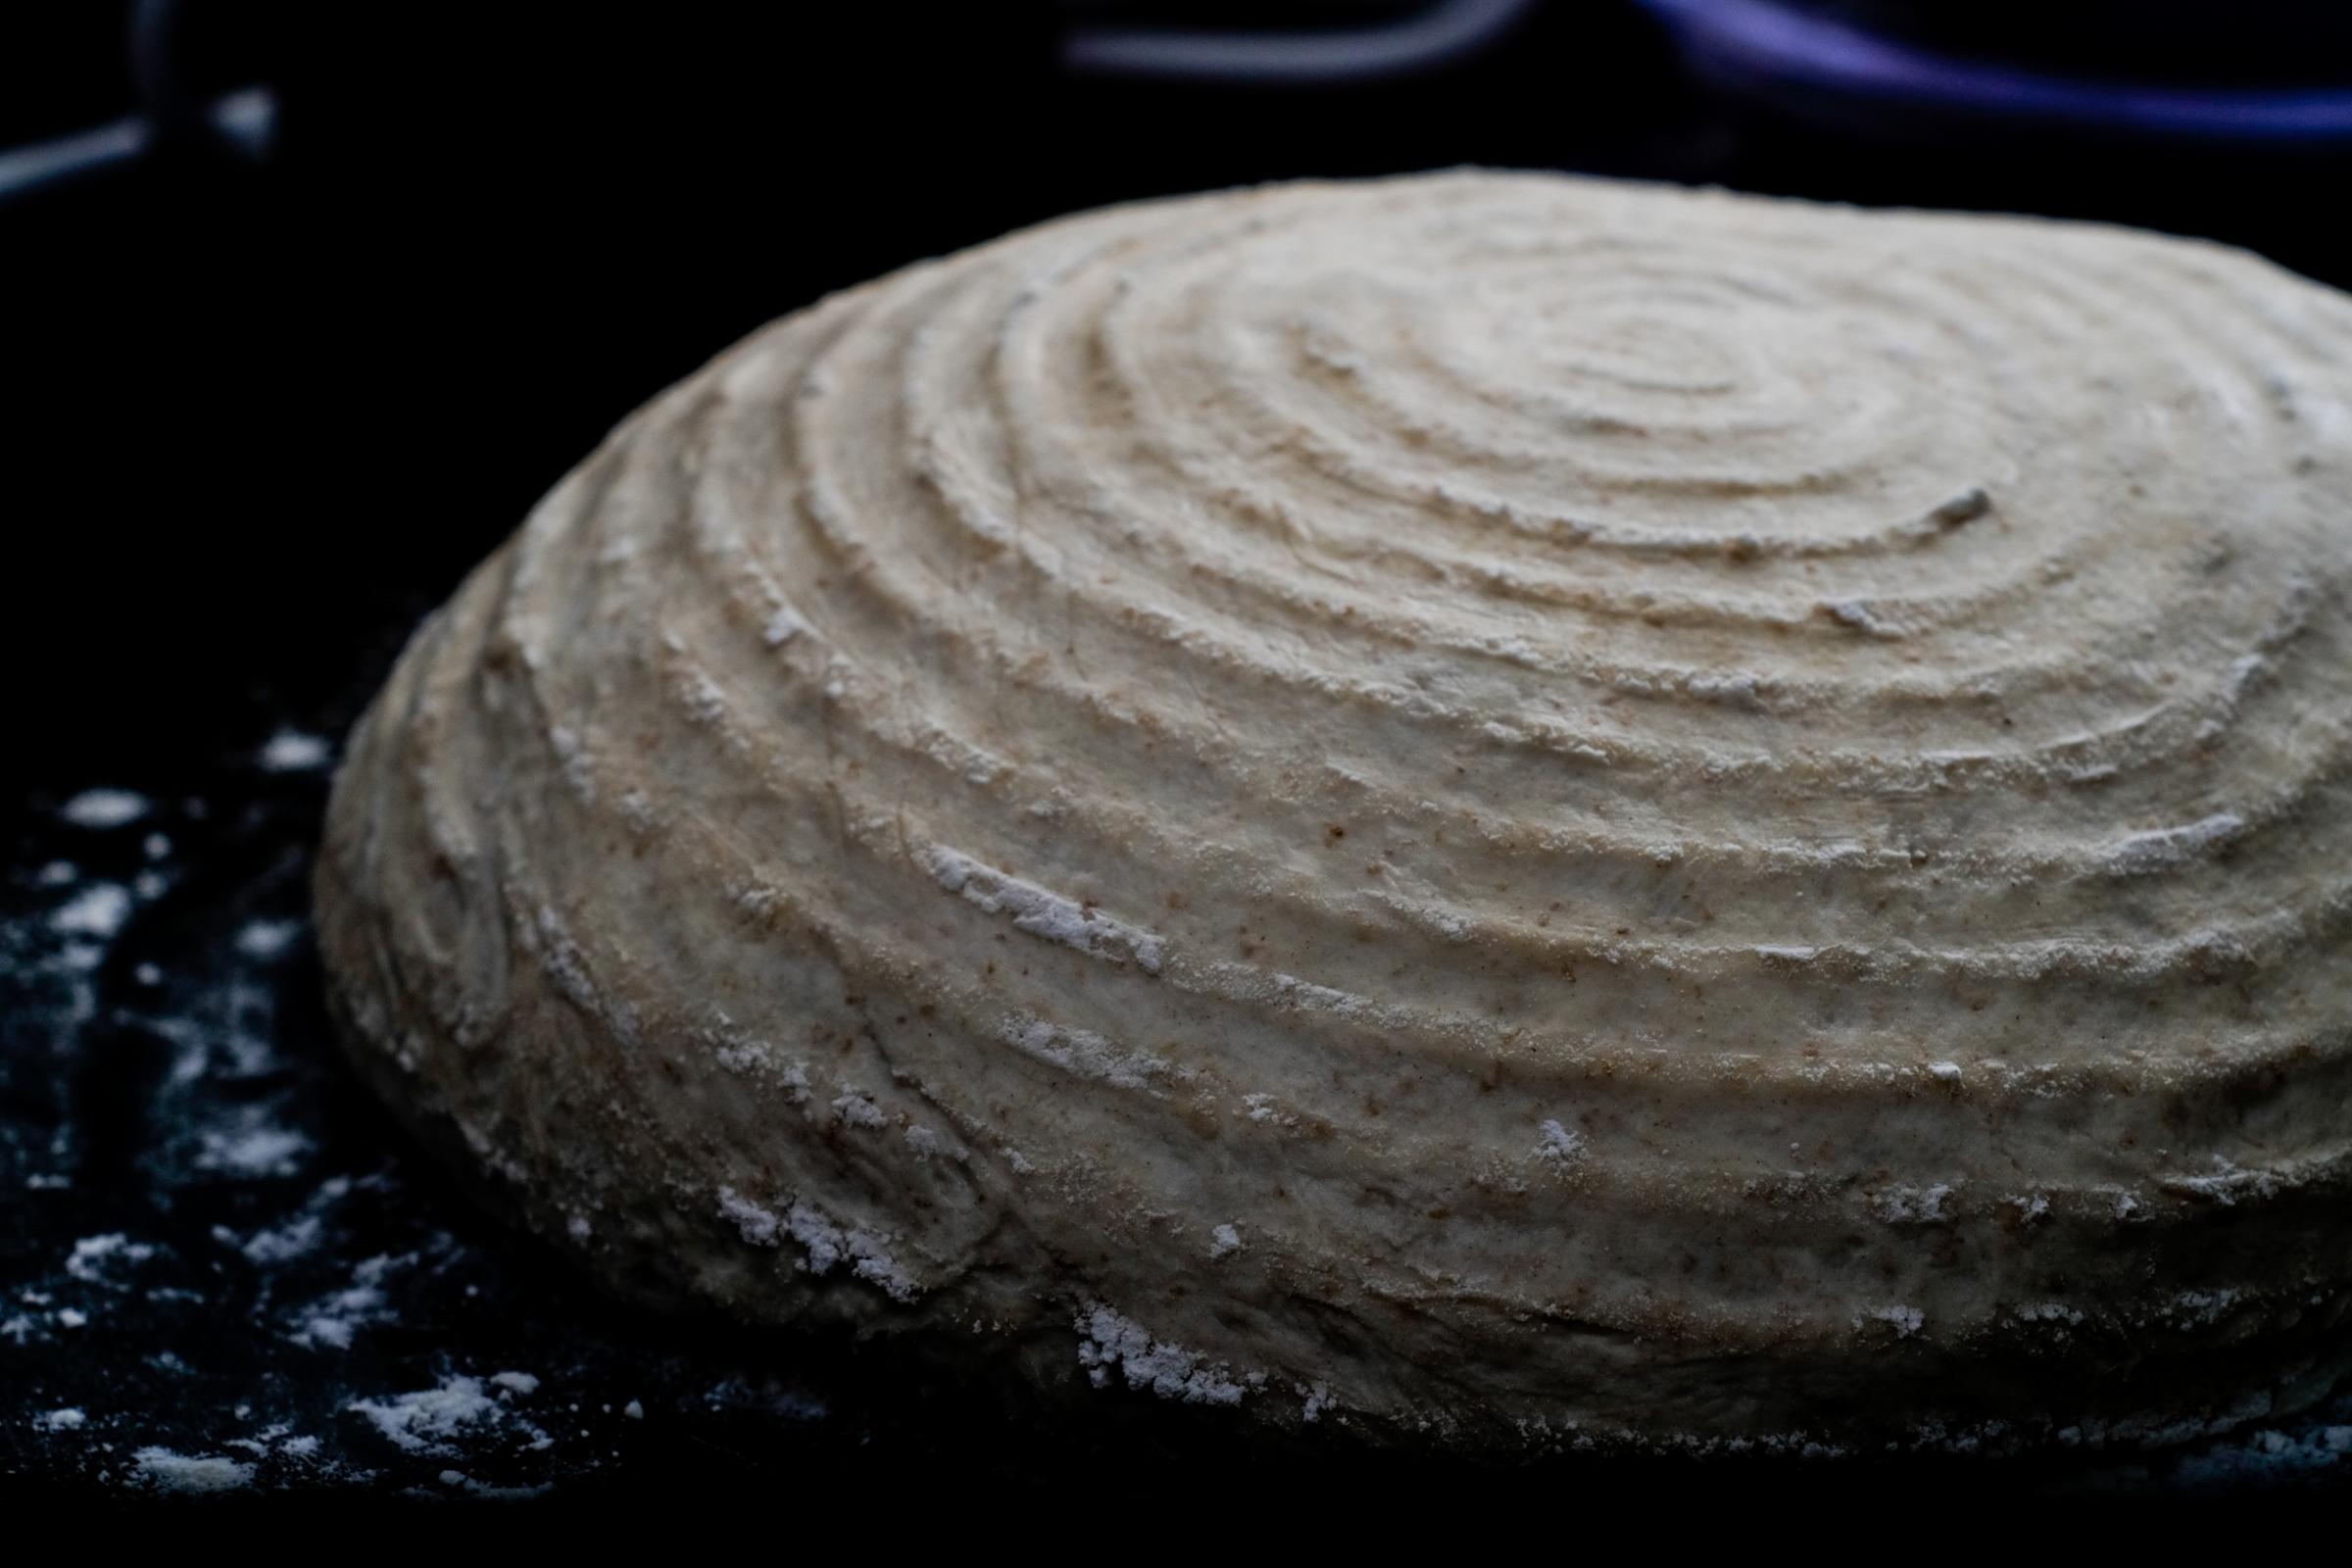
Shaped and ready to bake. I really like the texture of putting it straight in the proofing basket without a towel
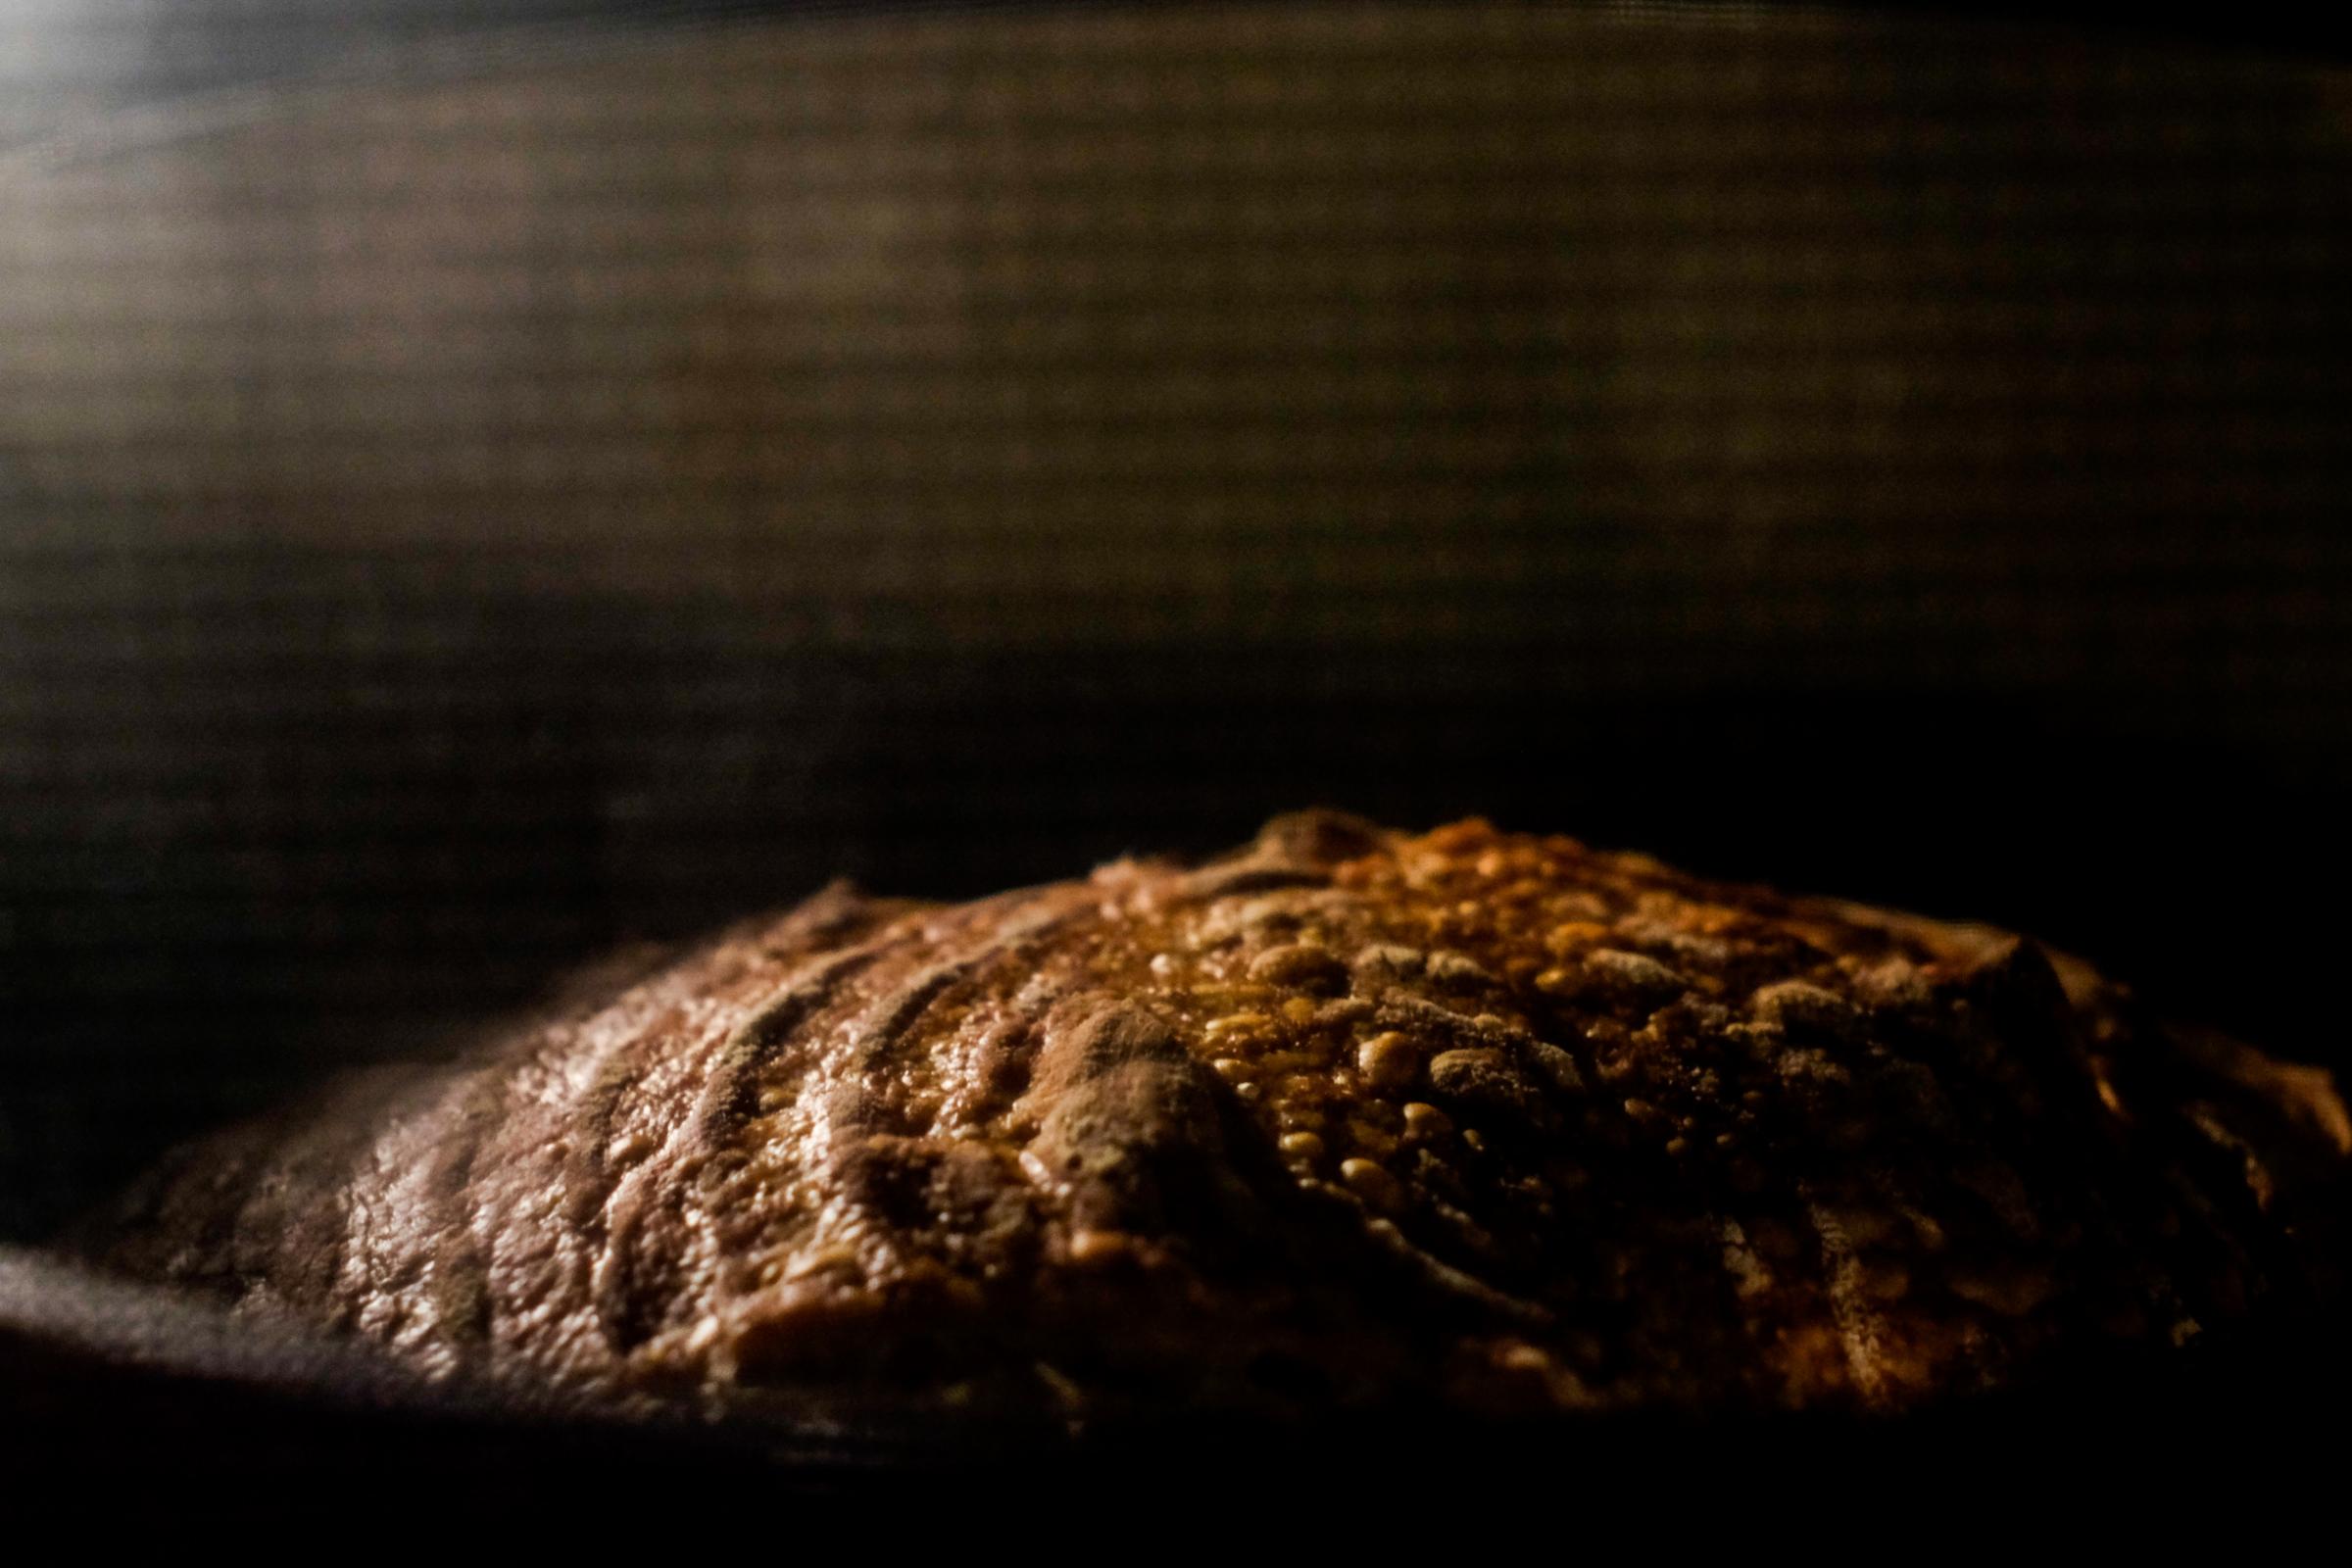
Coming along!!
Perfect
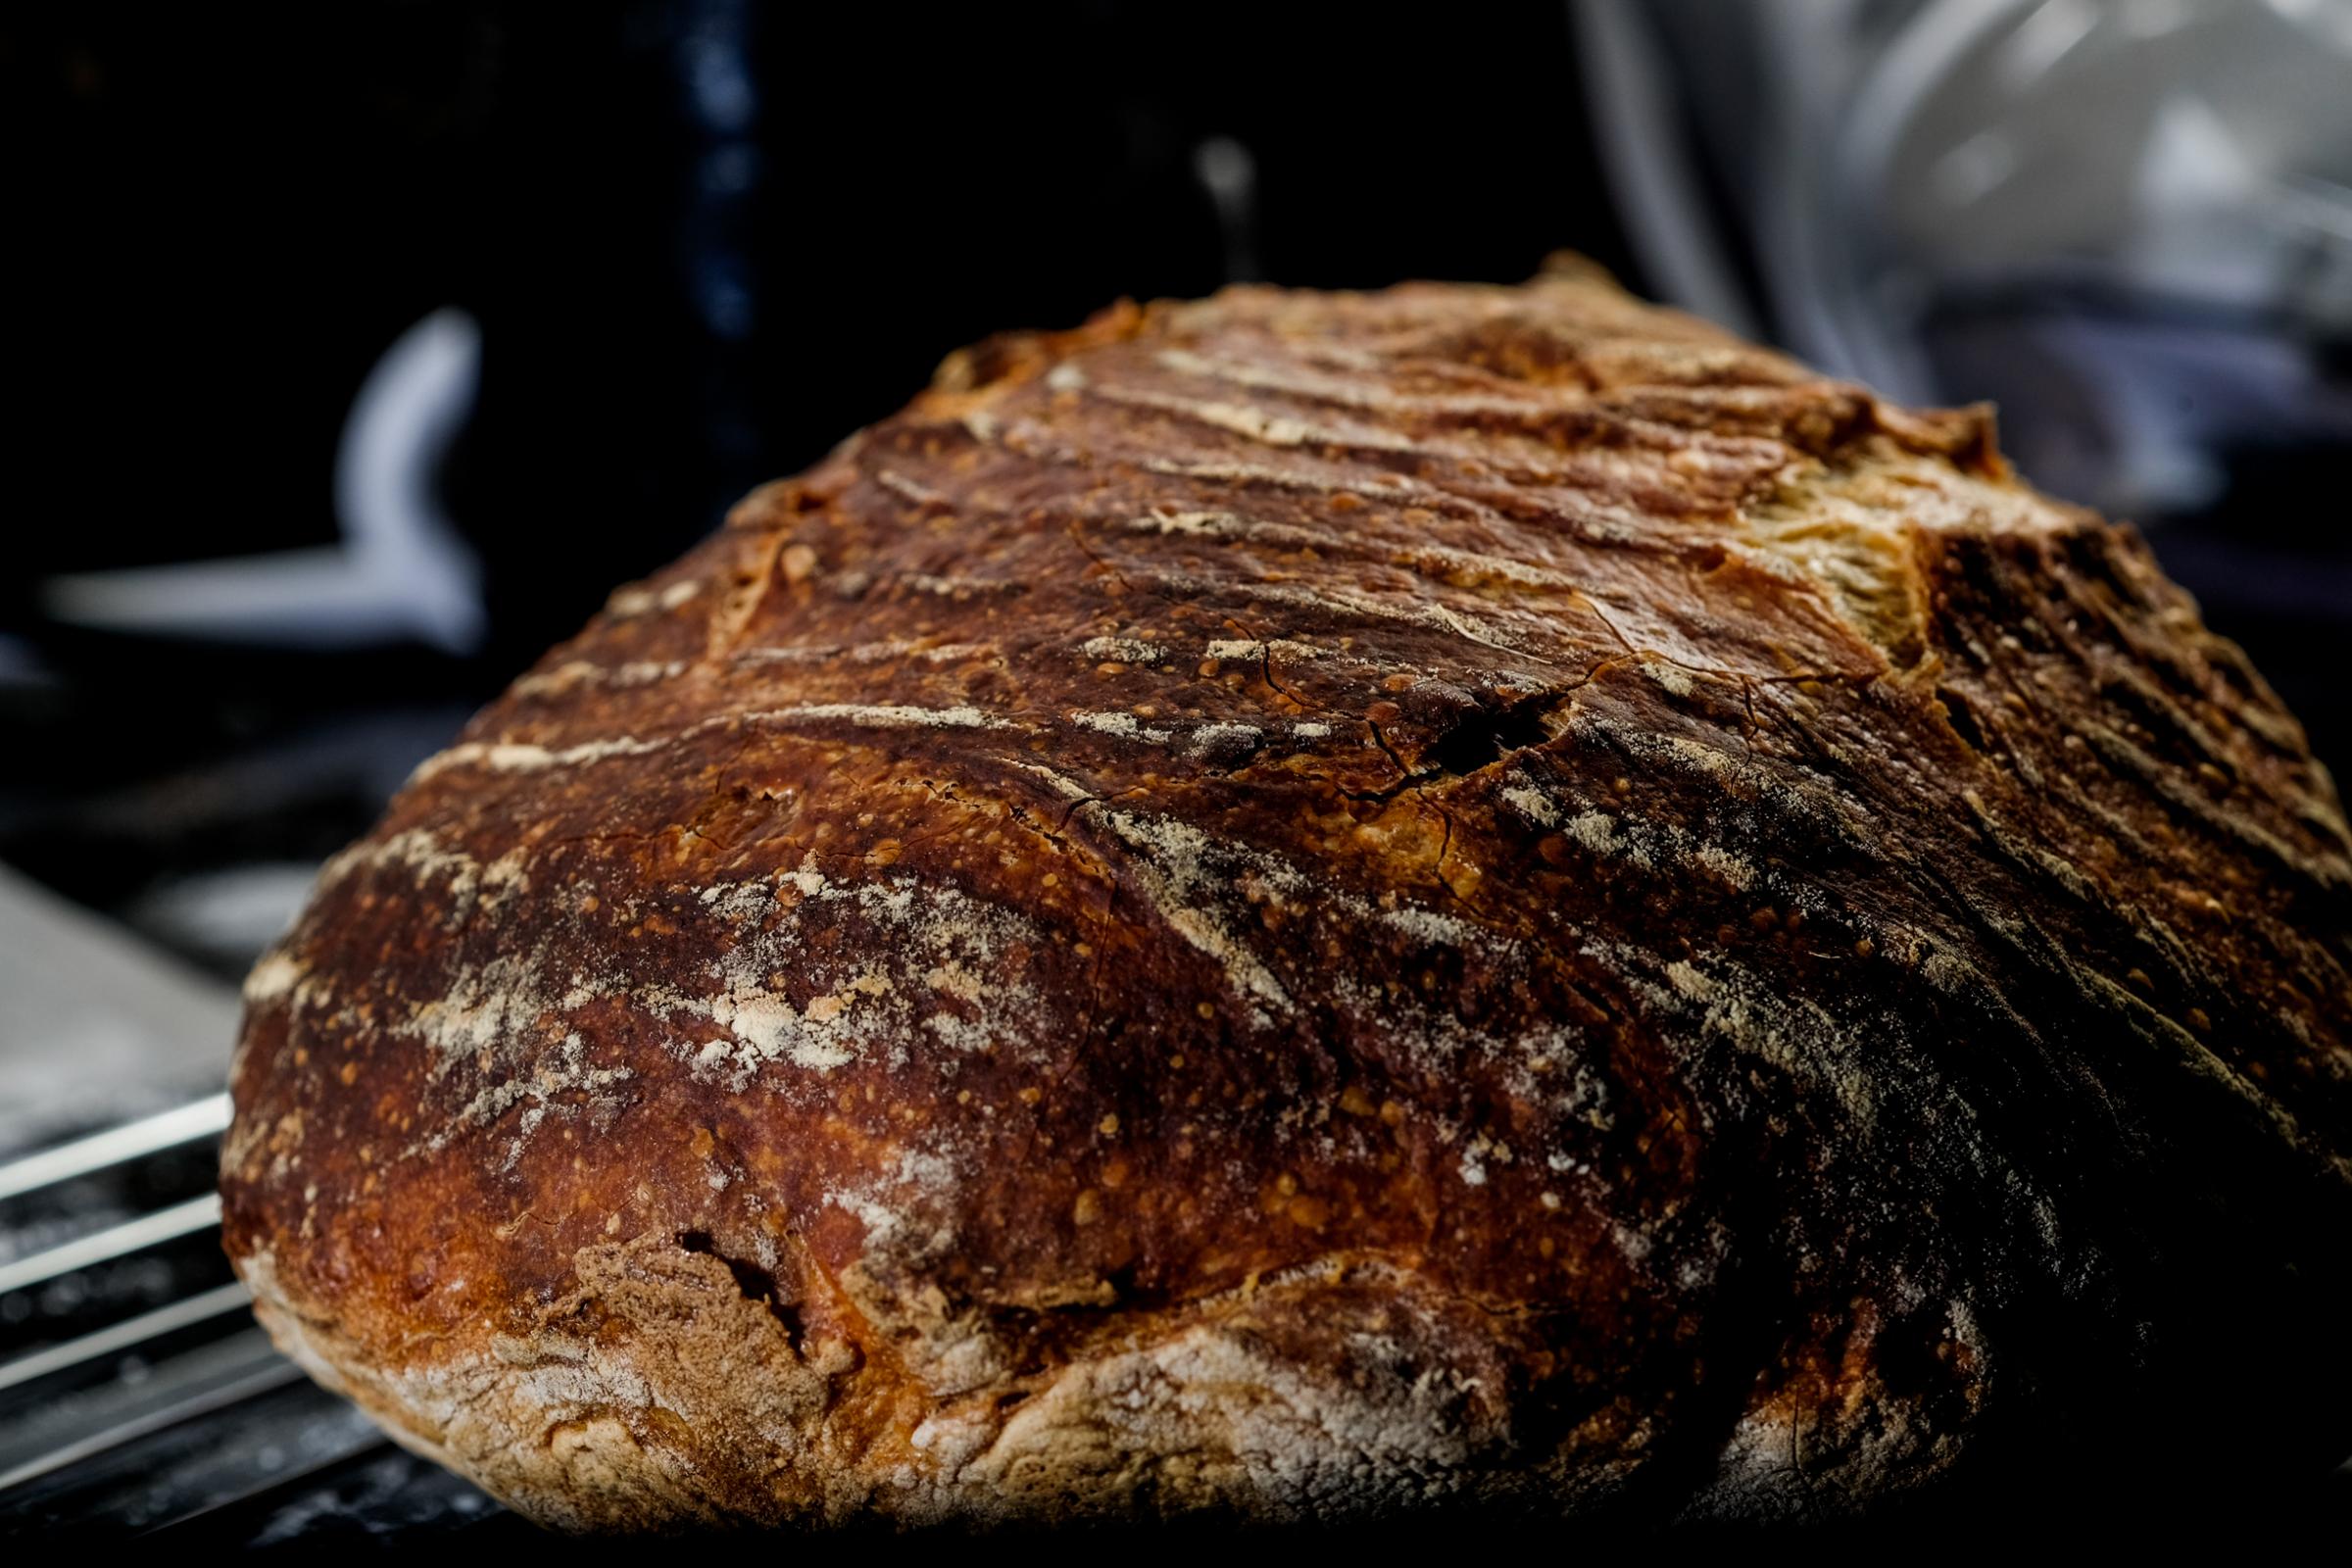
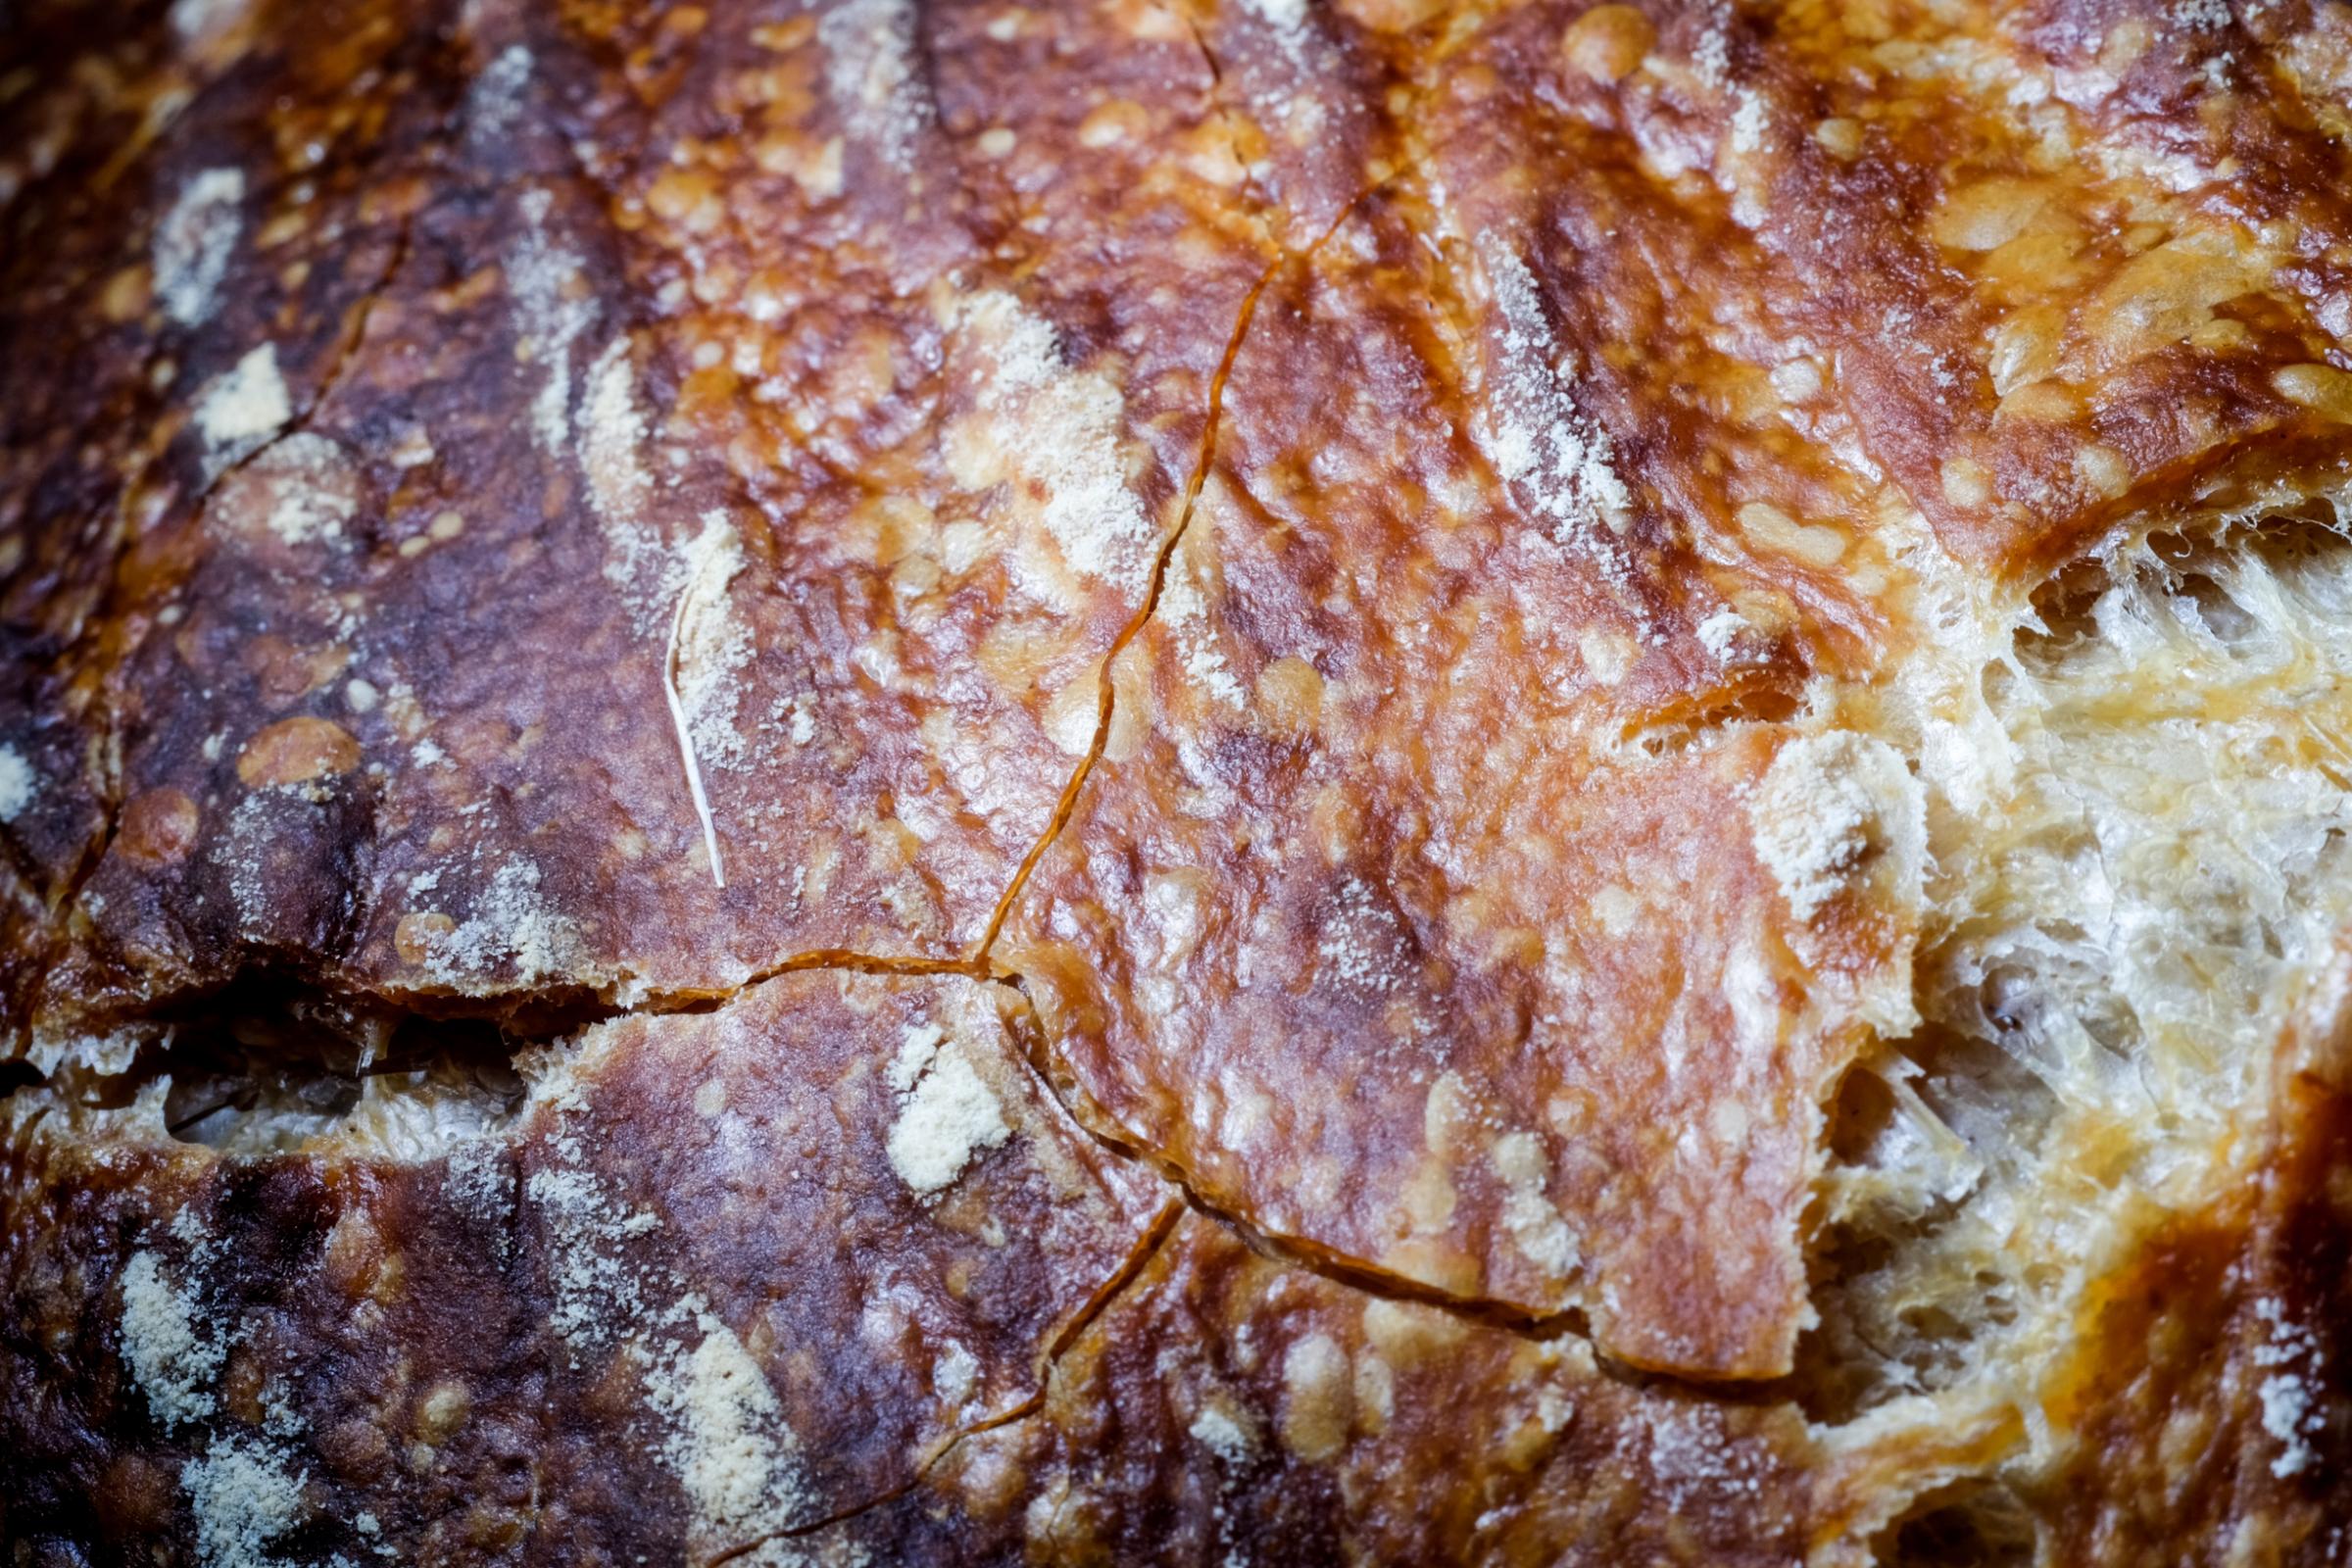
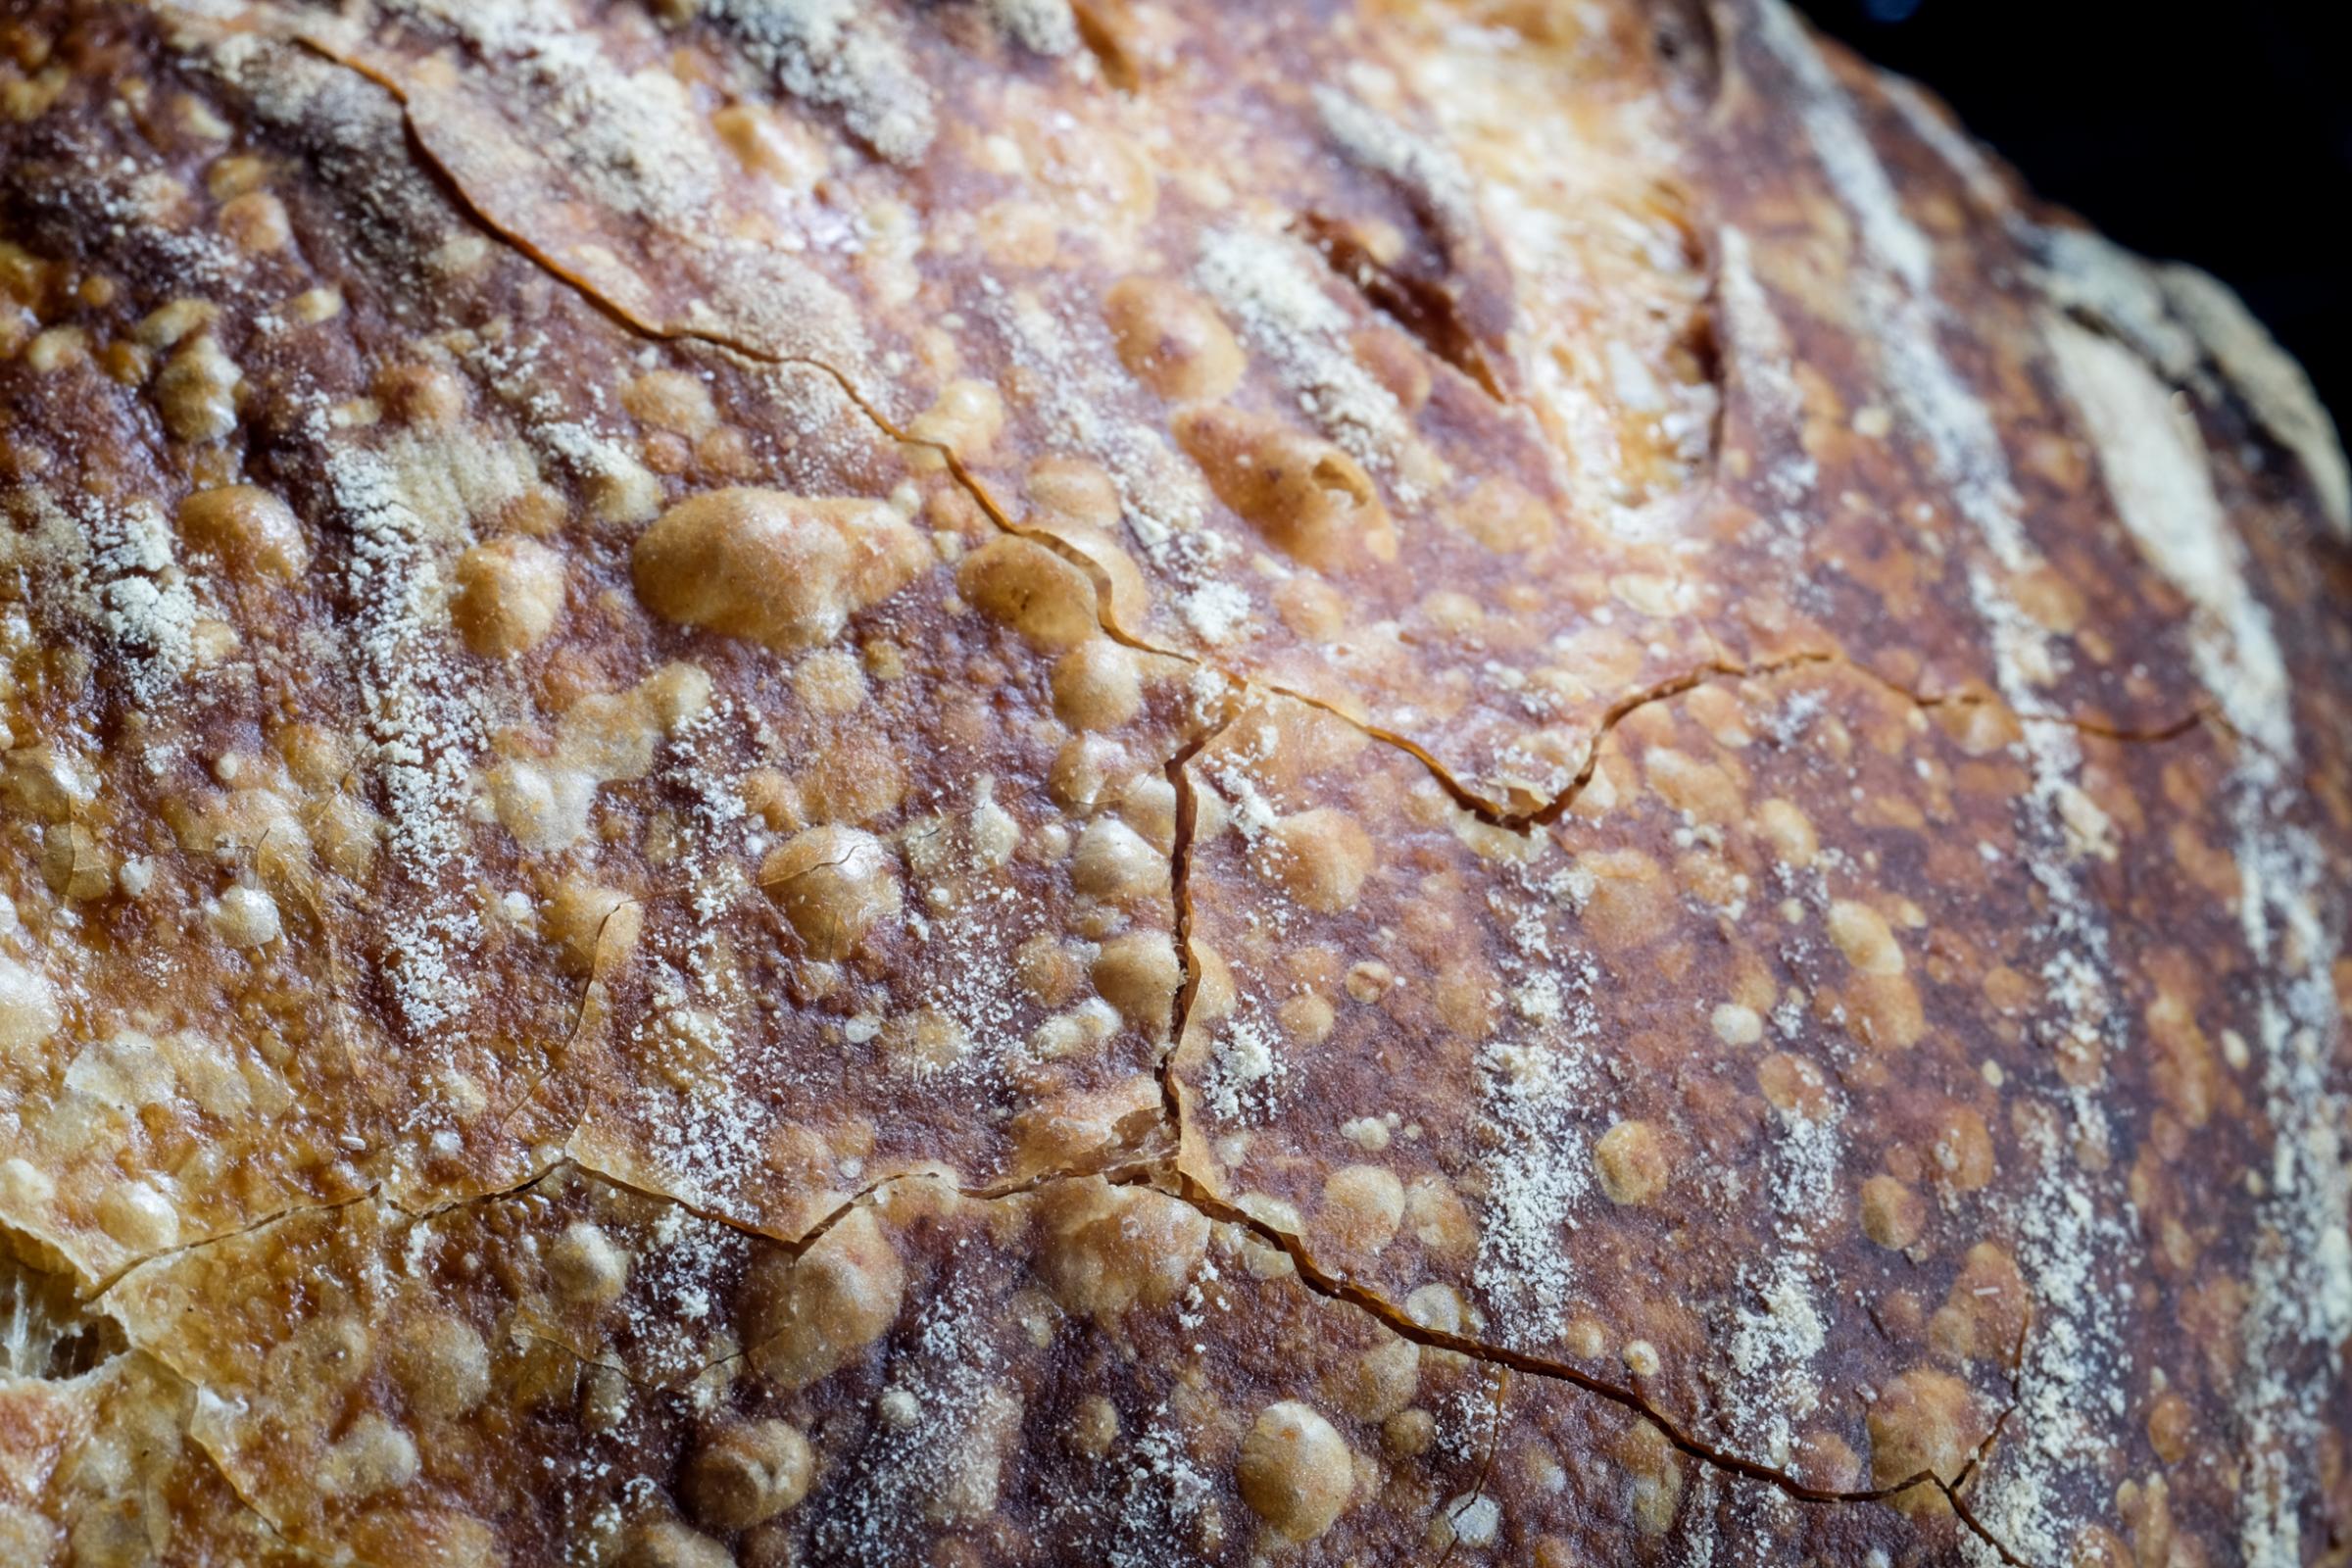
Just look at those blisters!!
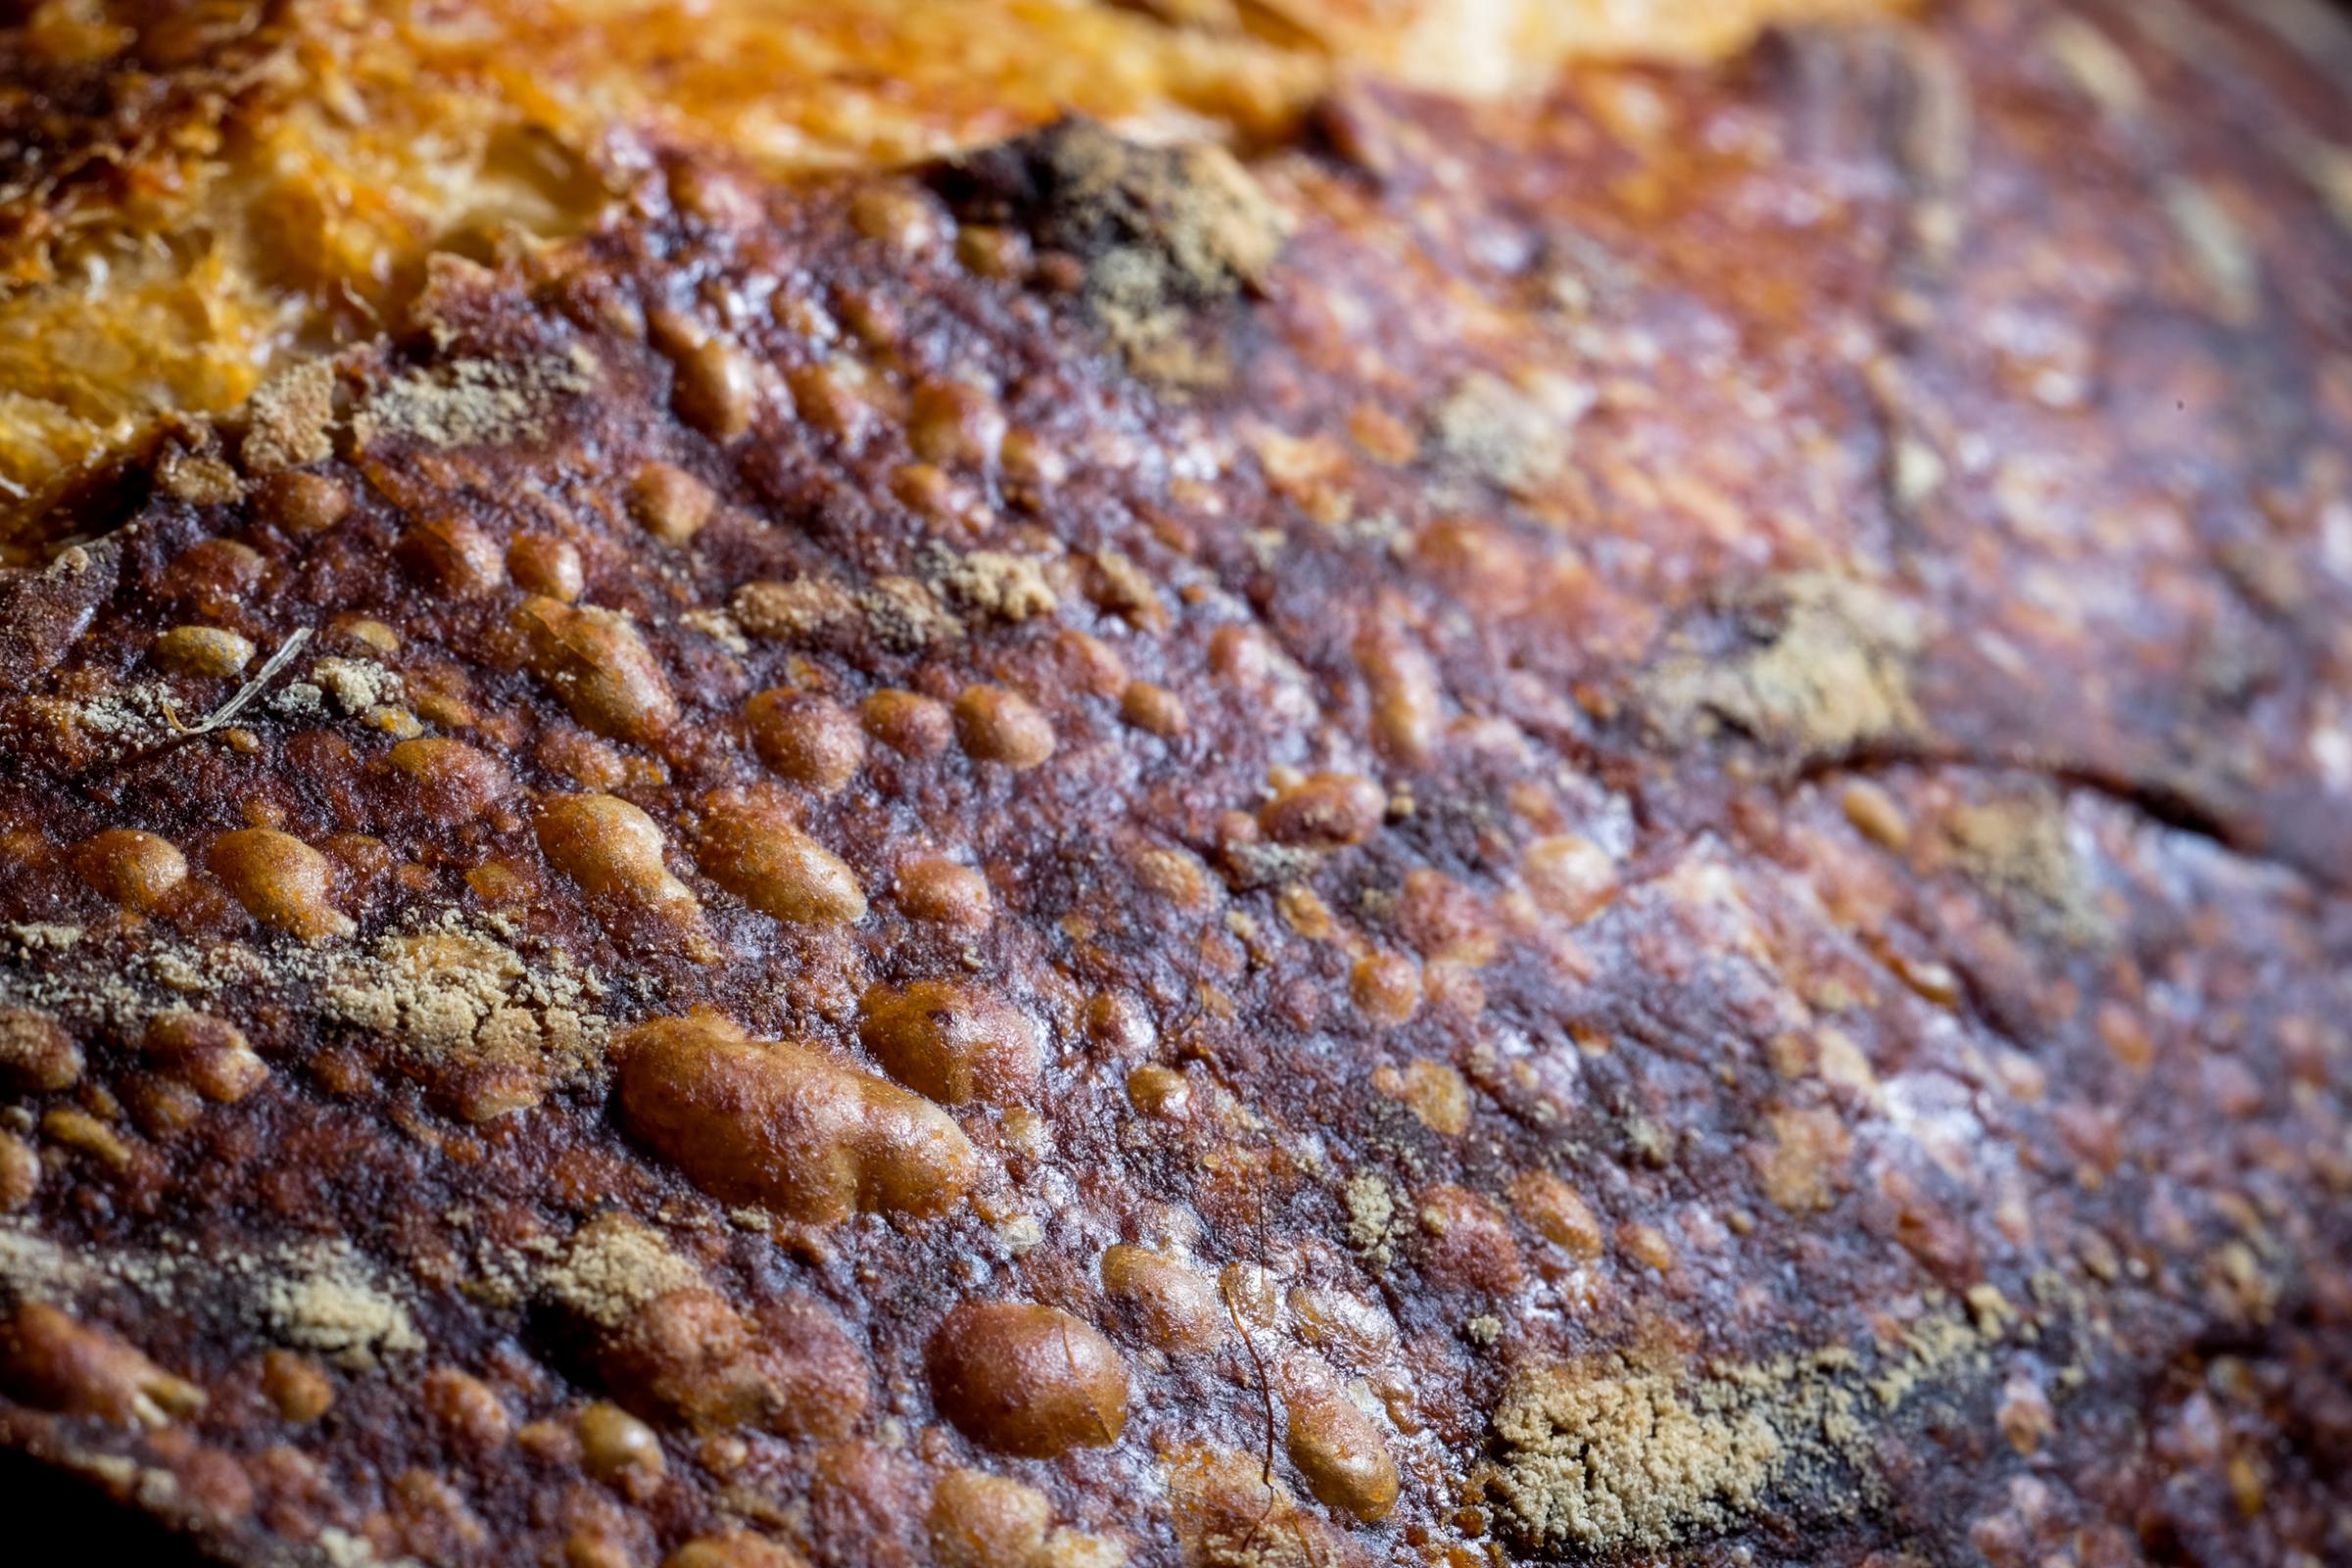
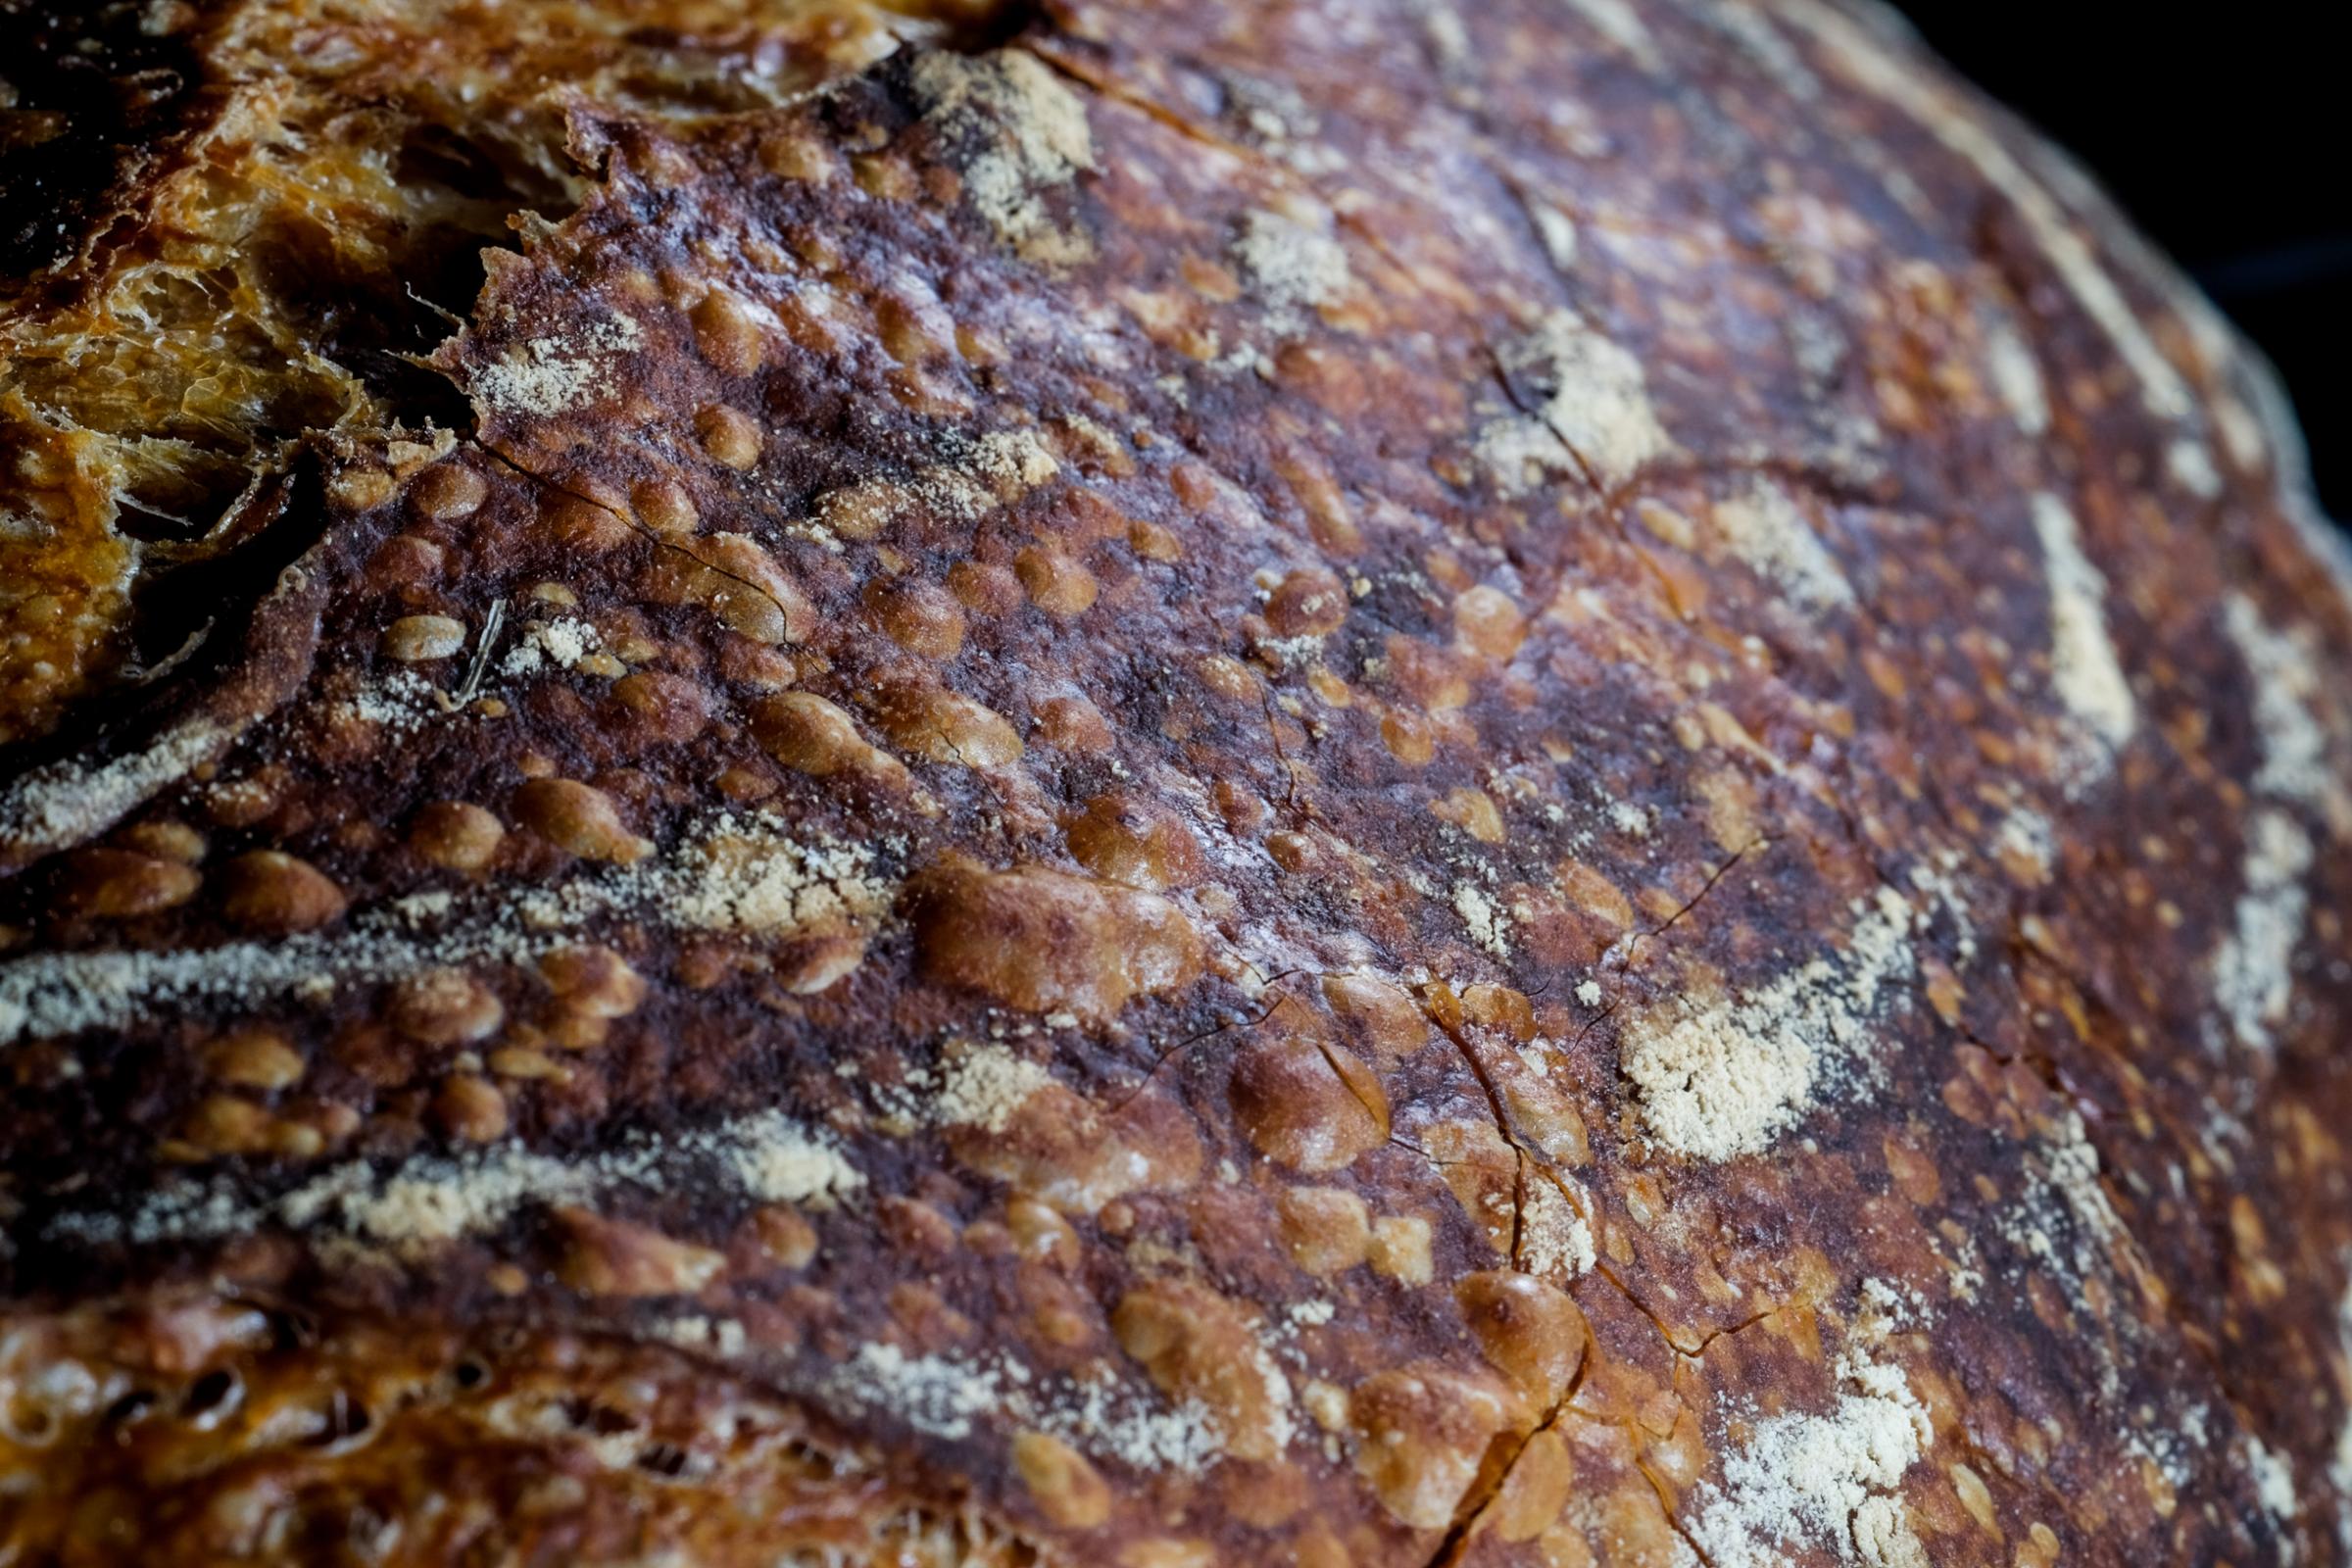
And those cracks!!
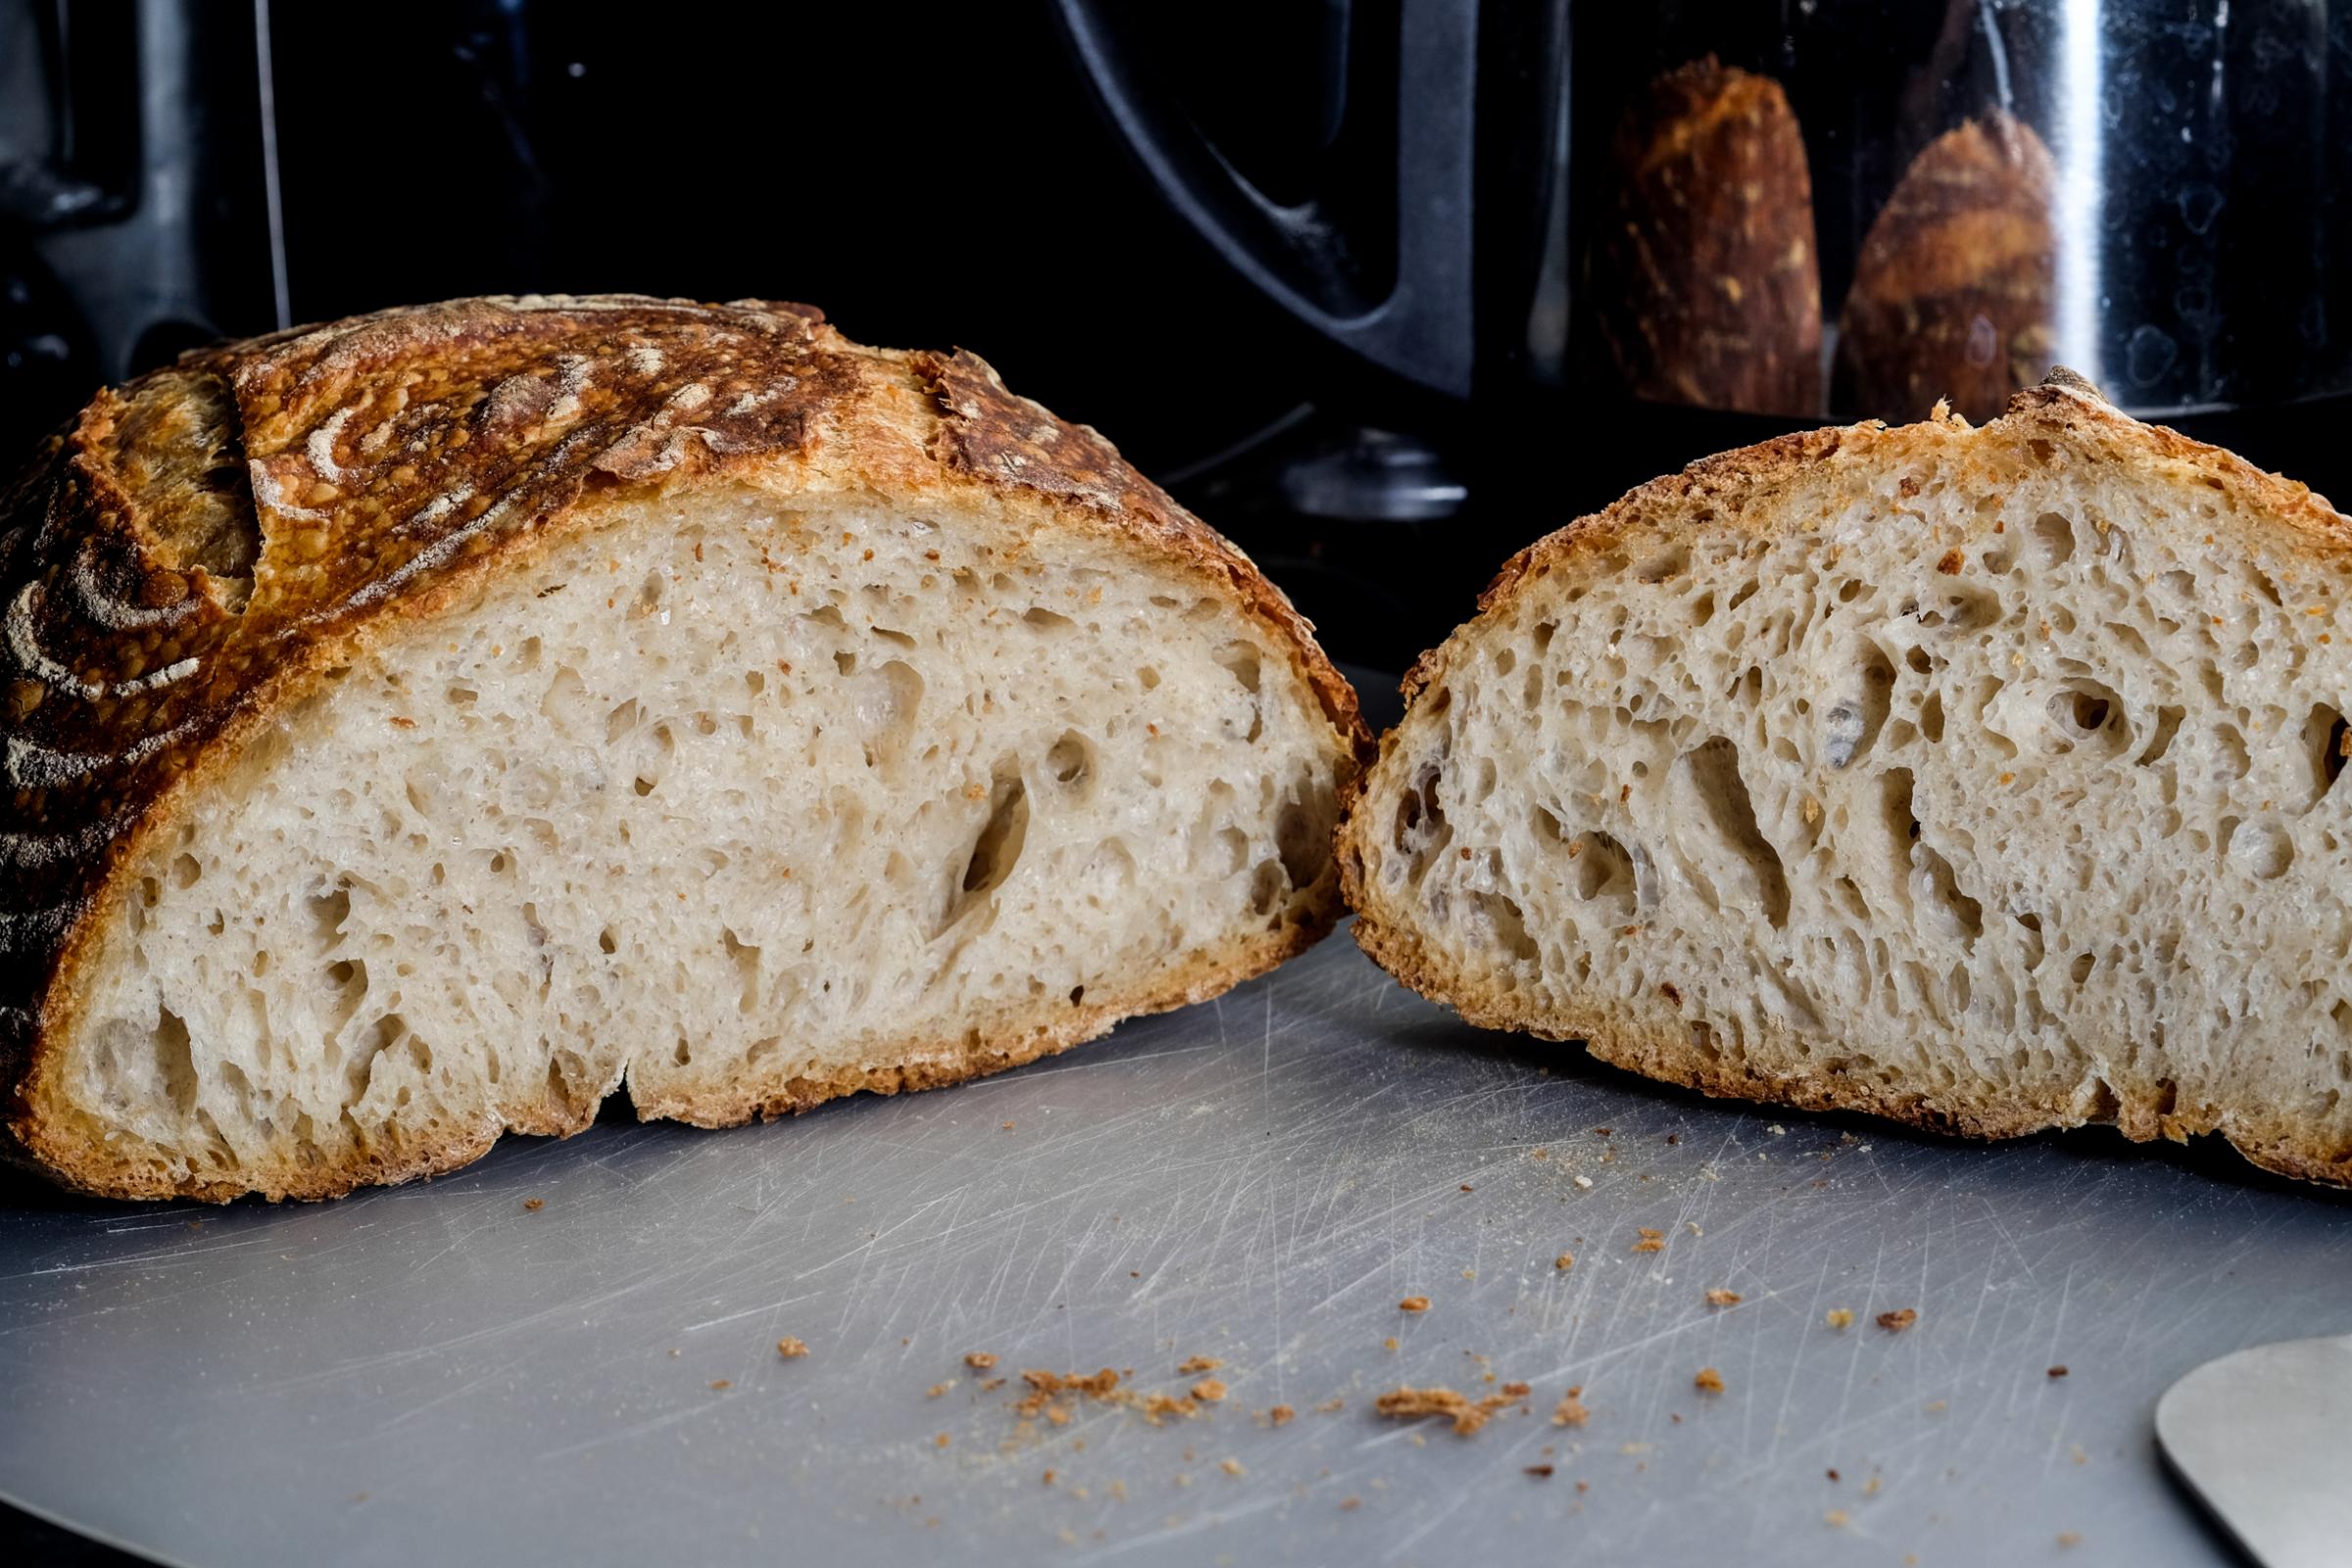
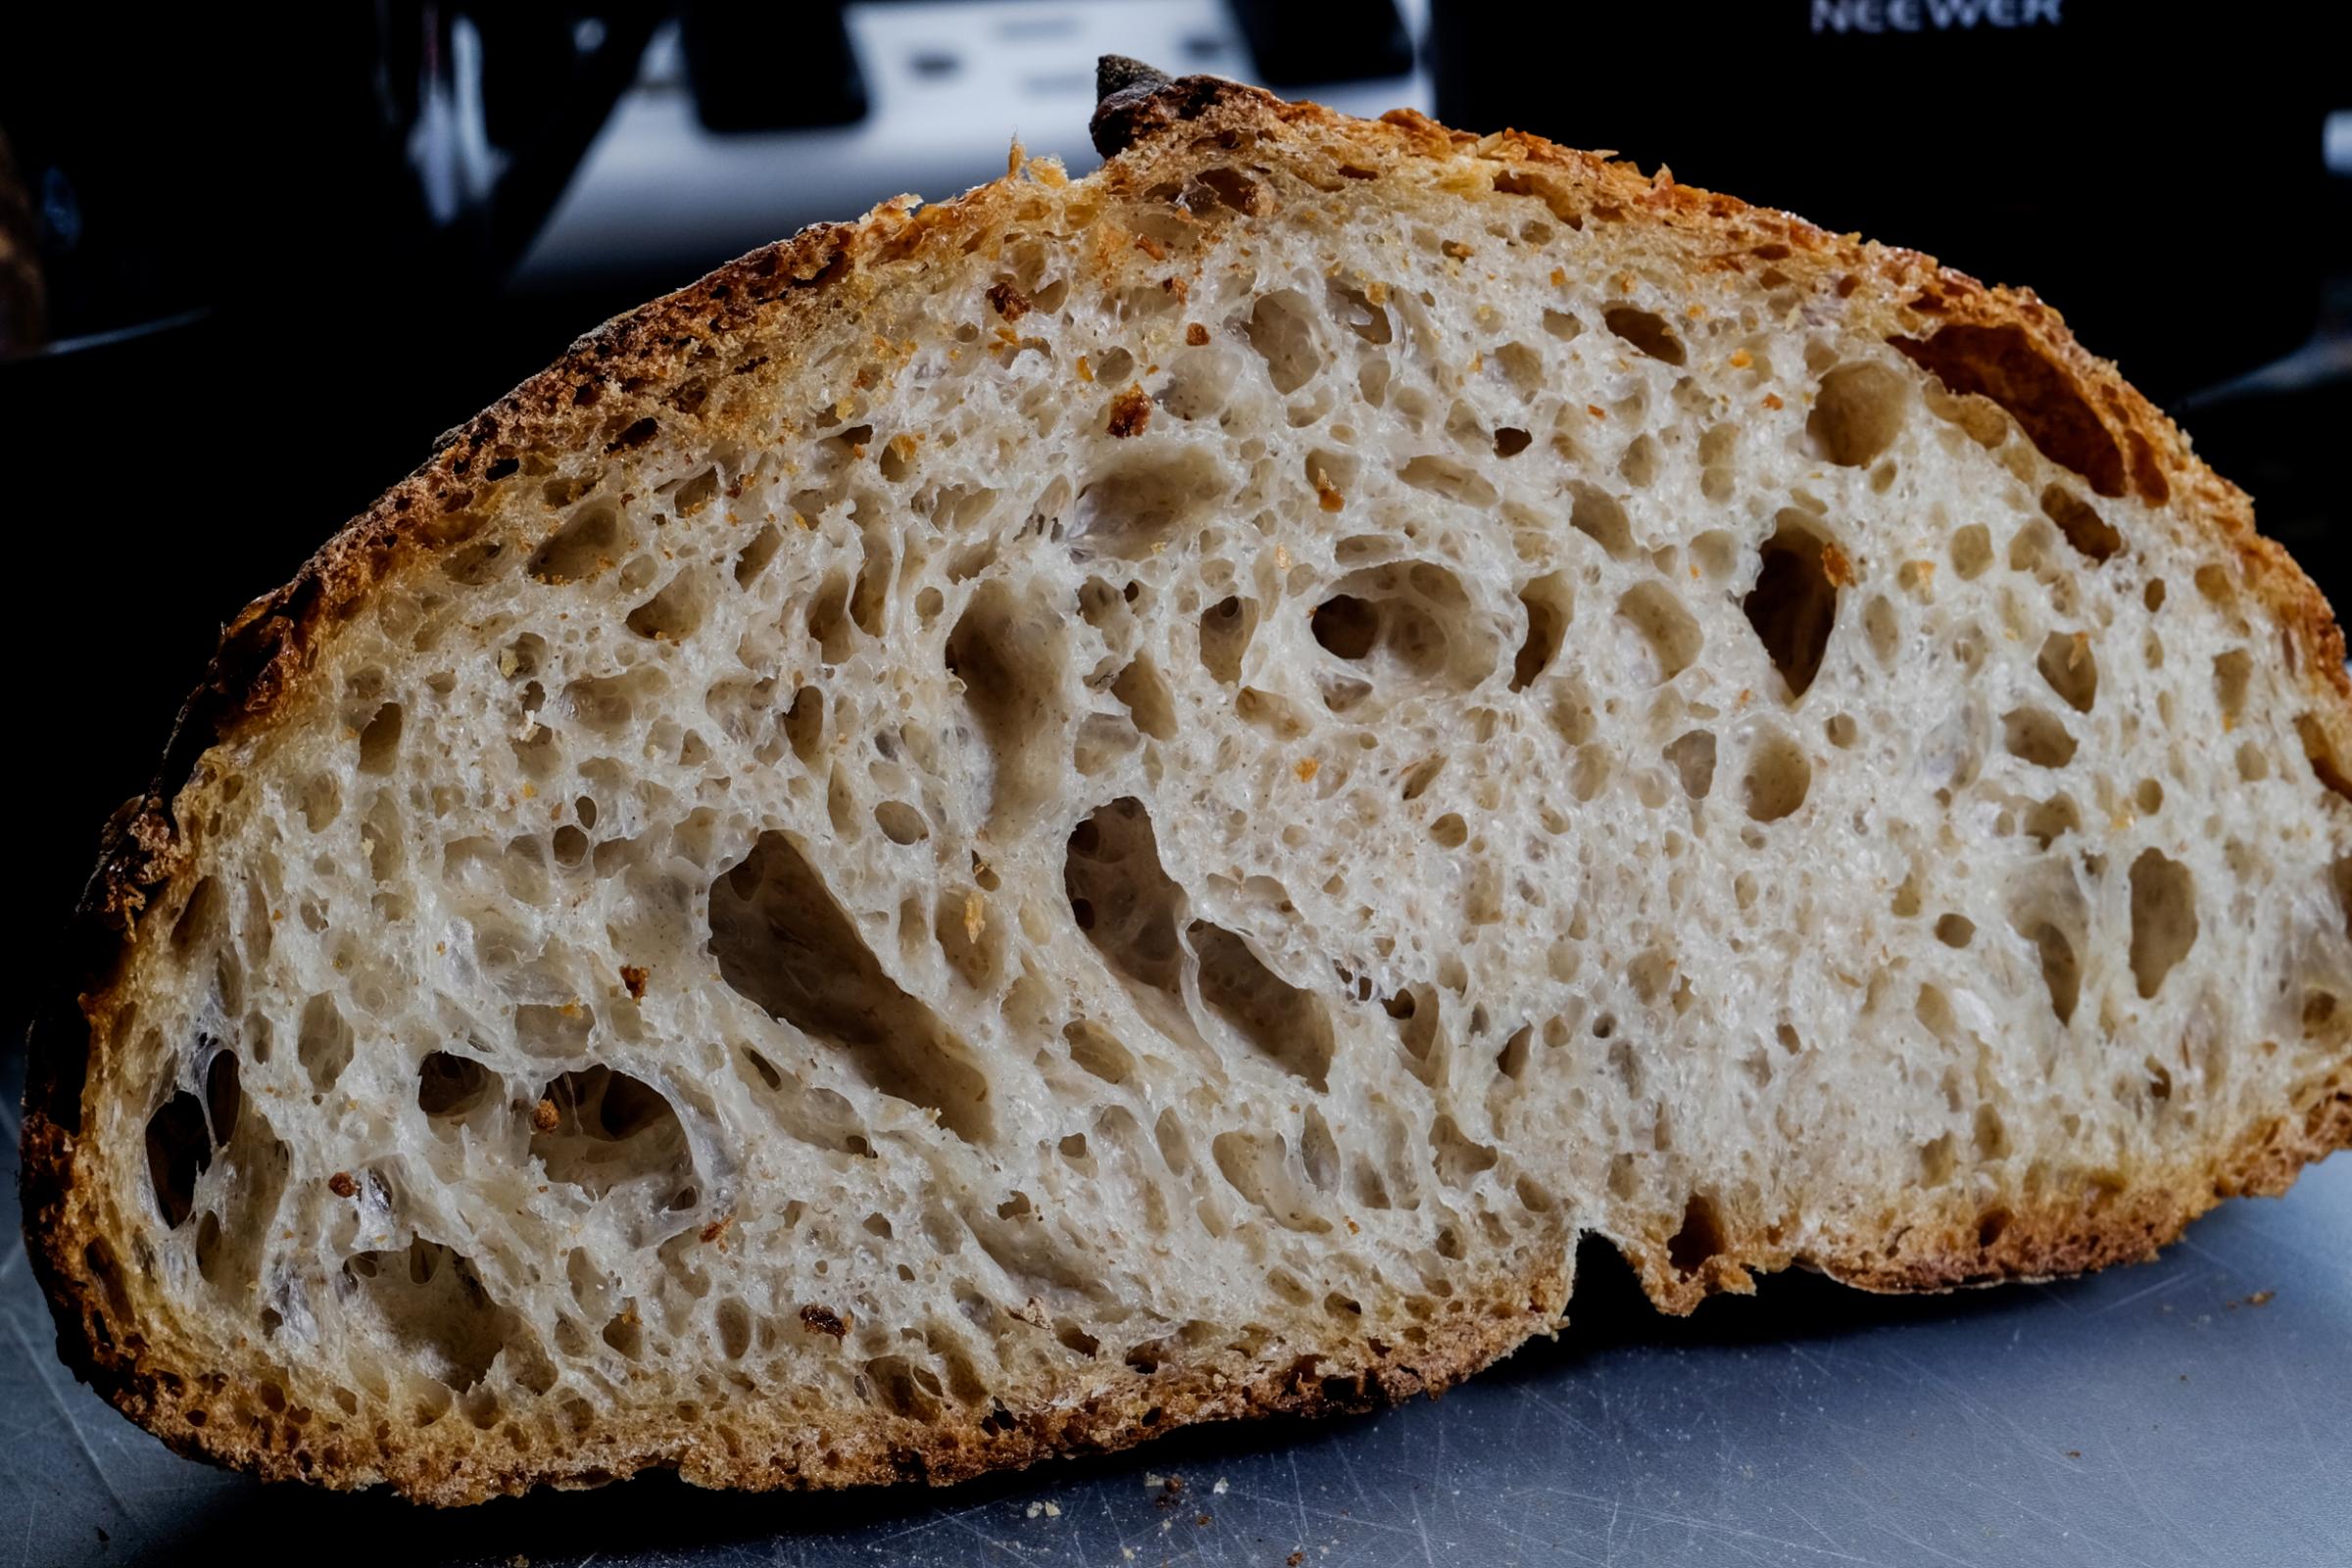
Nice light, airy crumb with a slight sheen to it from the high hydration.
If you've made it this far, leave me a comment/suggestion/feedback! Thanks!
I didn't see anything in the previous post. Was this done in a Dutch Oven or on a stone/steel? What was the baking teimp and time?
Yup, cheapo dutch oven off amazon. Baked for 20 minutes covered at 500. 10 minutes covered at 450. Then uncovered until it got the color I wanted (about 15-20 minutes) at 450.
Great pictures, fun action shots, wonderful result!
Loved the pictures, the commentary and the results! Well done!
Thank you! I feel like I put just as much time into the pictures as I did the actual bread. You could say I have my priorities straight!
Gorgeous crumb!
and also loved the commentary and I wished that my early loaves would have looked anything like this...in fact I still get often disasters in-between....... Kat
Thank you! I'm dreading the day I pull a few bricks out of the oven. I'm sure it's bound to happen, but hopefully not anytime soon
Awesome looking Loaf ! :)