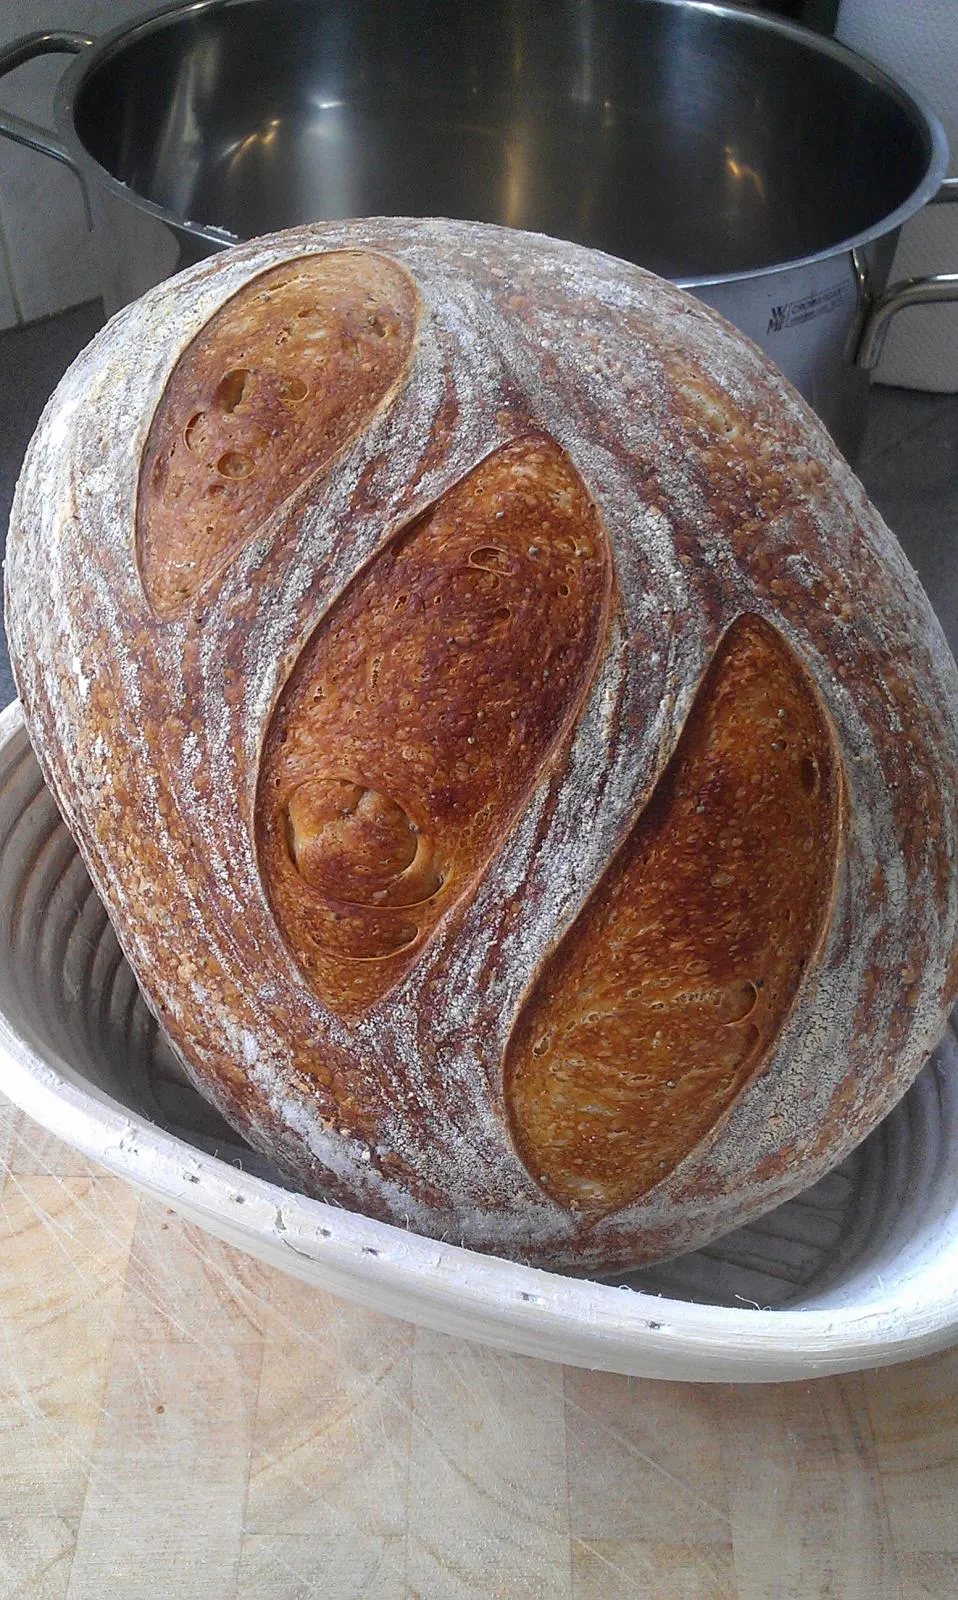
I just made a Norwich Sourdough with lemon zest and poppy seed this afternoon. Without having a Dutch Oven, baking stone or pizza stone, I had to use what I have in my tiny kitchen. So I turned to my roasting pan and my WMF stainless steel stock pot. This is what I did.
I preheated the roasting pan and stock pot at 250 dc for 20 mins prior to baking. Spritz water onto dough. Used the roasting pan as base and the pot to trap steam since it is heavy. The result? No, I couldn't get the crust that I hoped for but it solved my problem with having a pale bottom bake.
The pictures below will do the explanation...
Bulk Fermentation (only spent 1.5 hour on stretch and fold as it is warm in here)
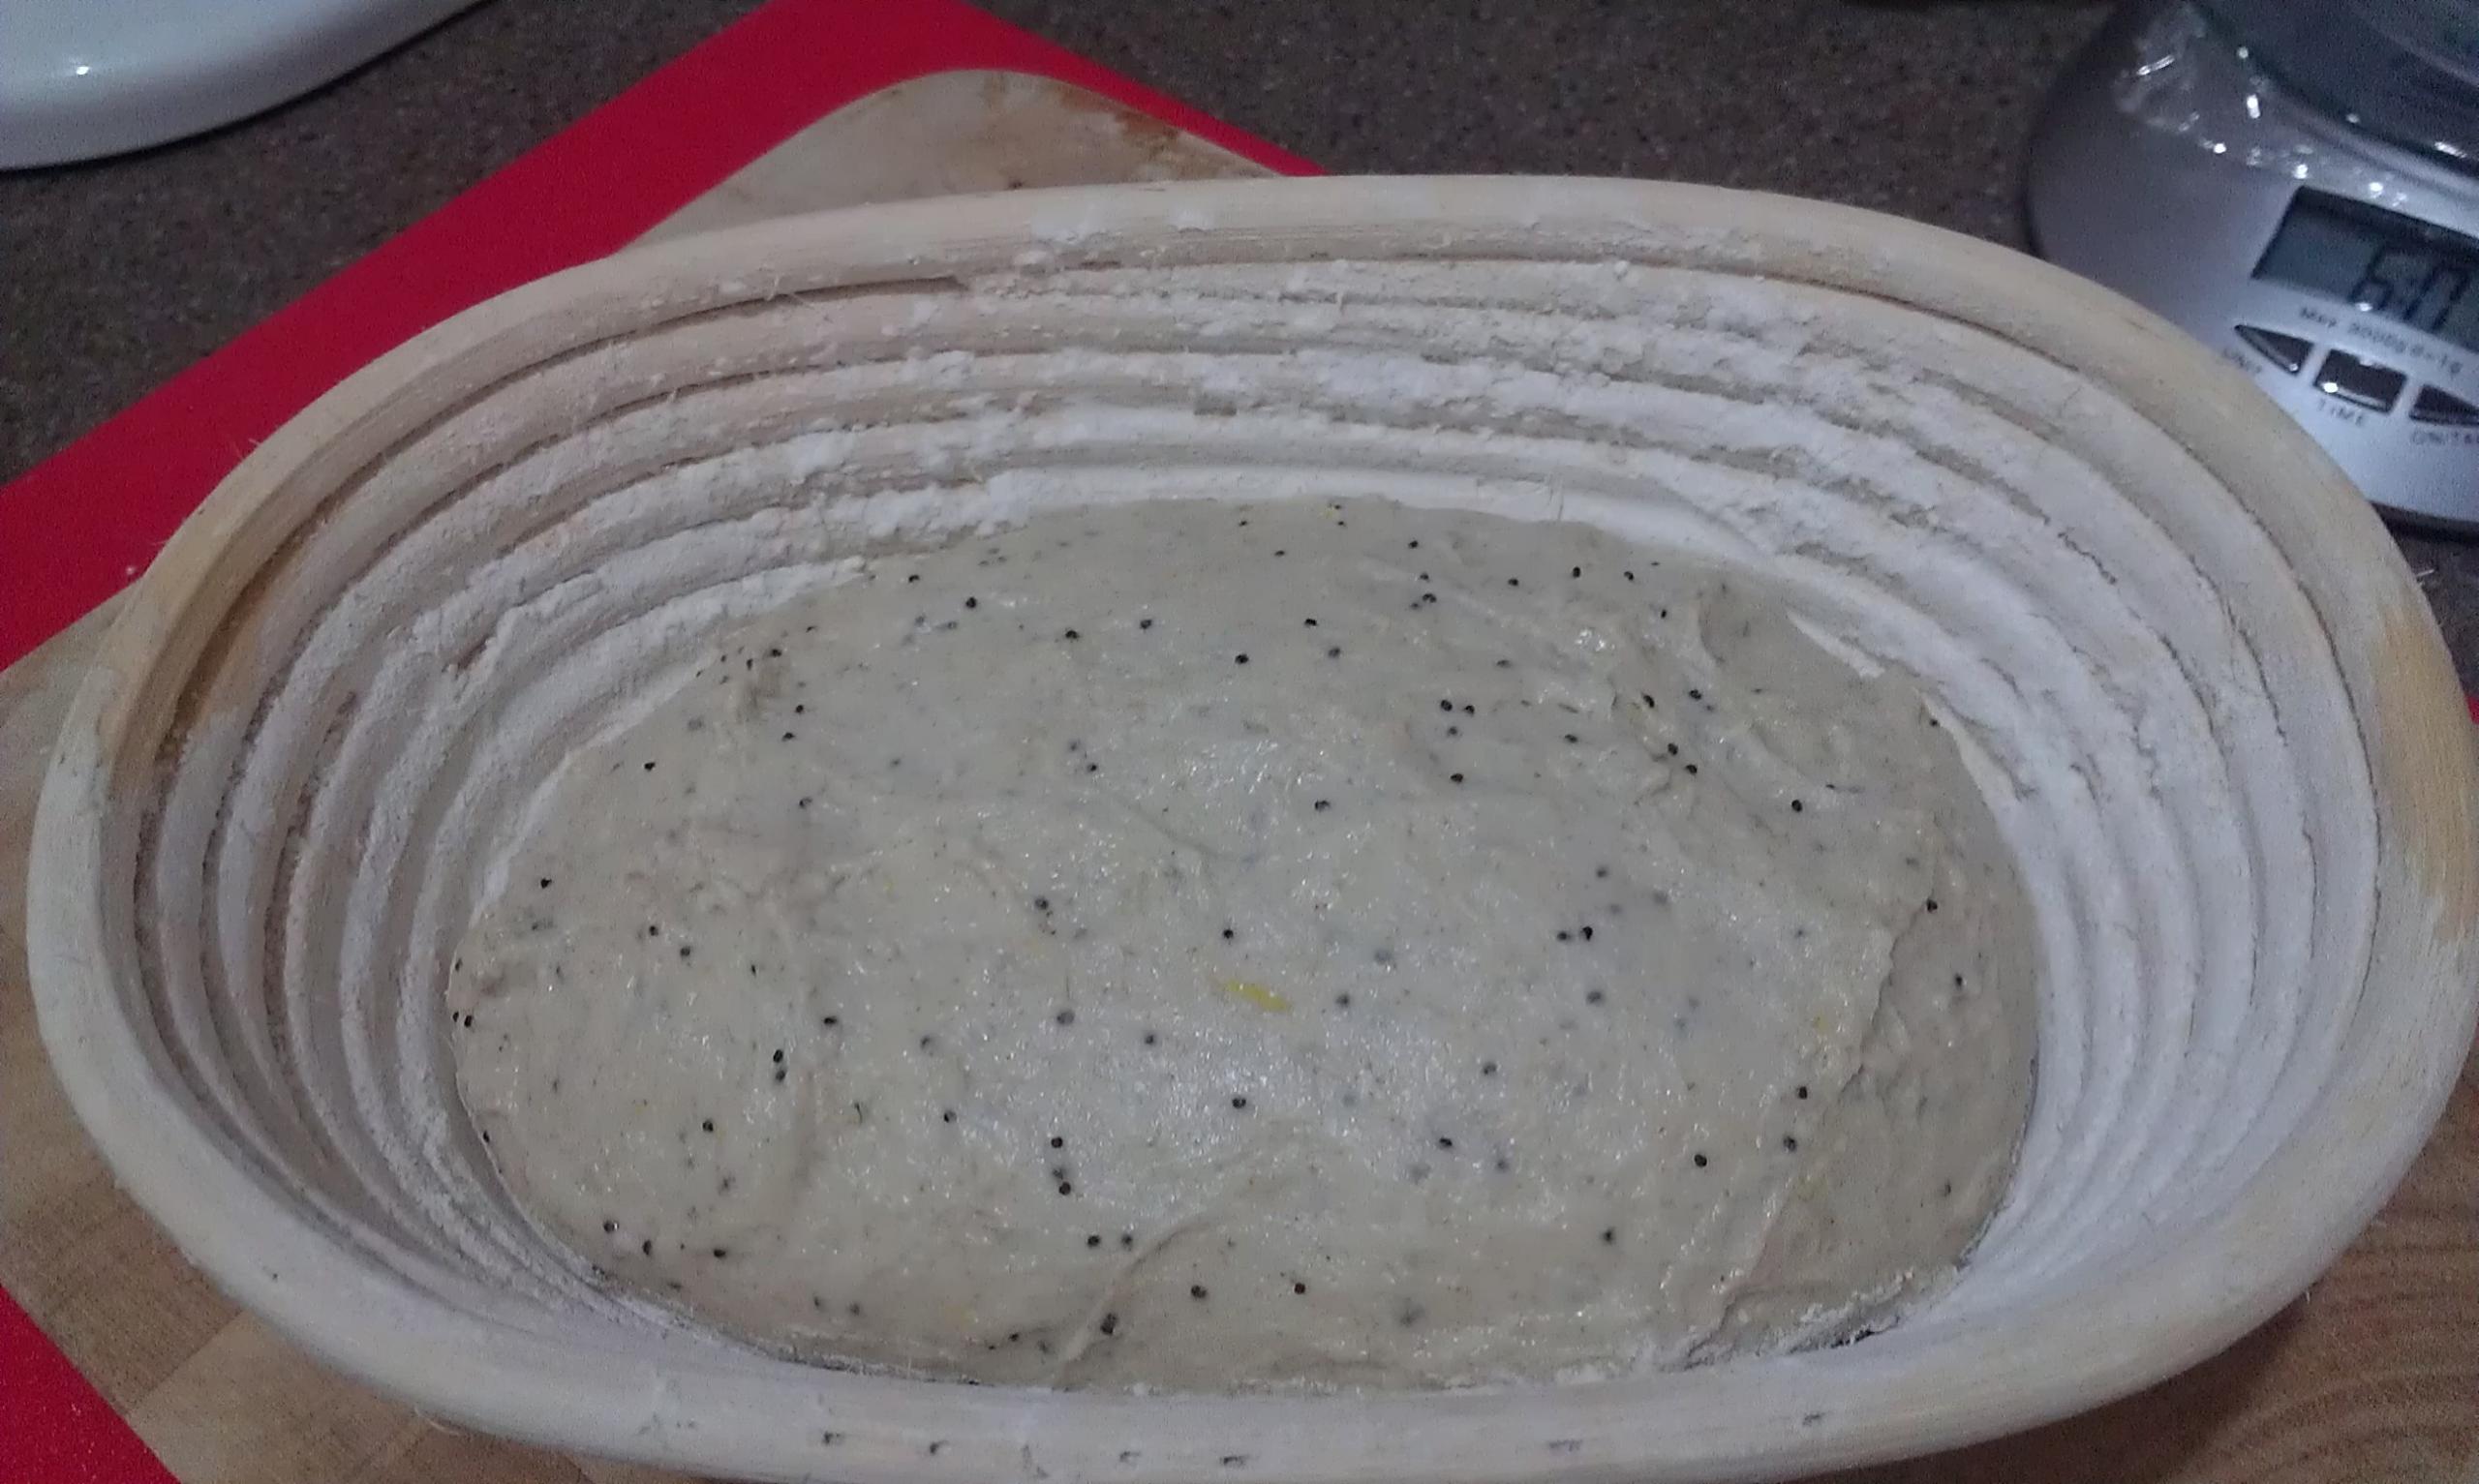
Final rise after 14 hours of cold fermentation (estimated about 75 percent of final proving)
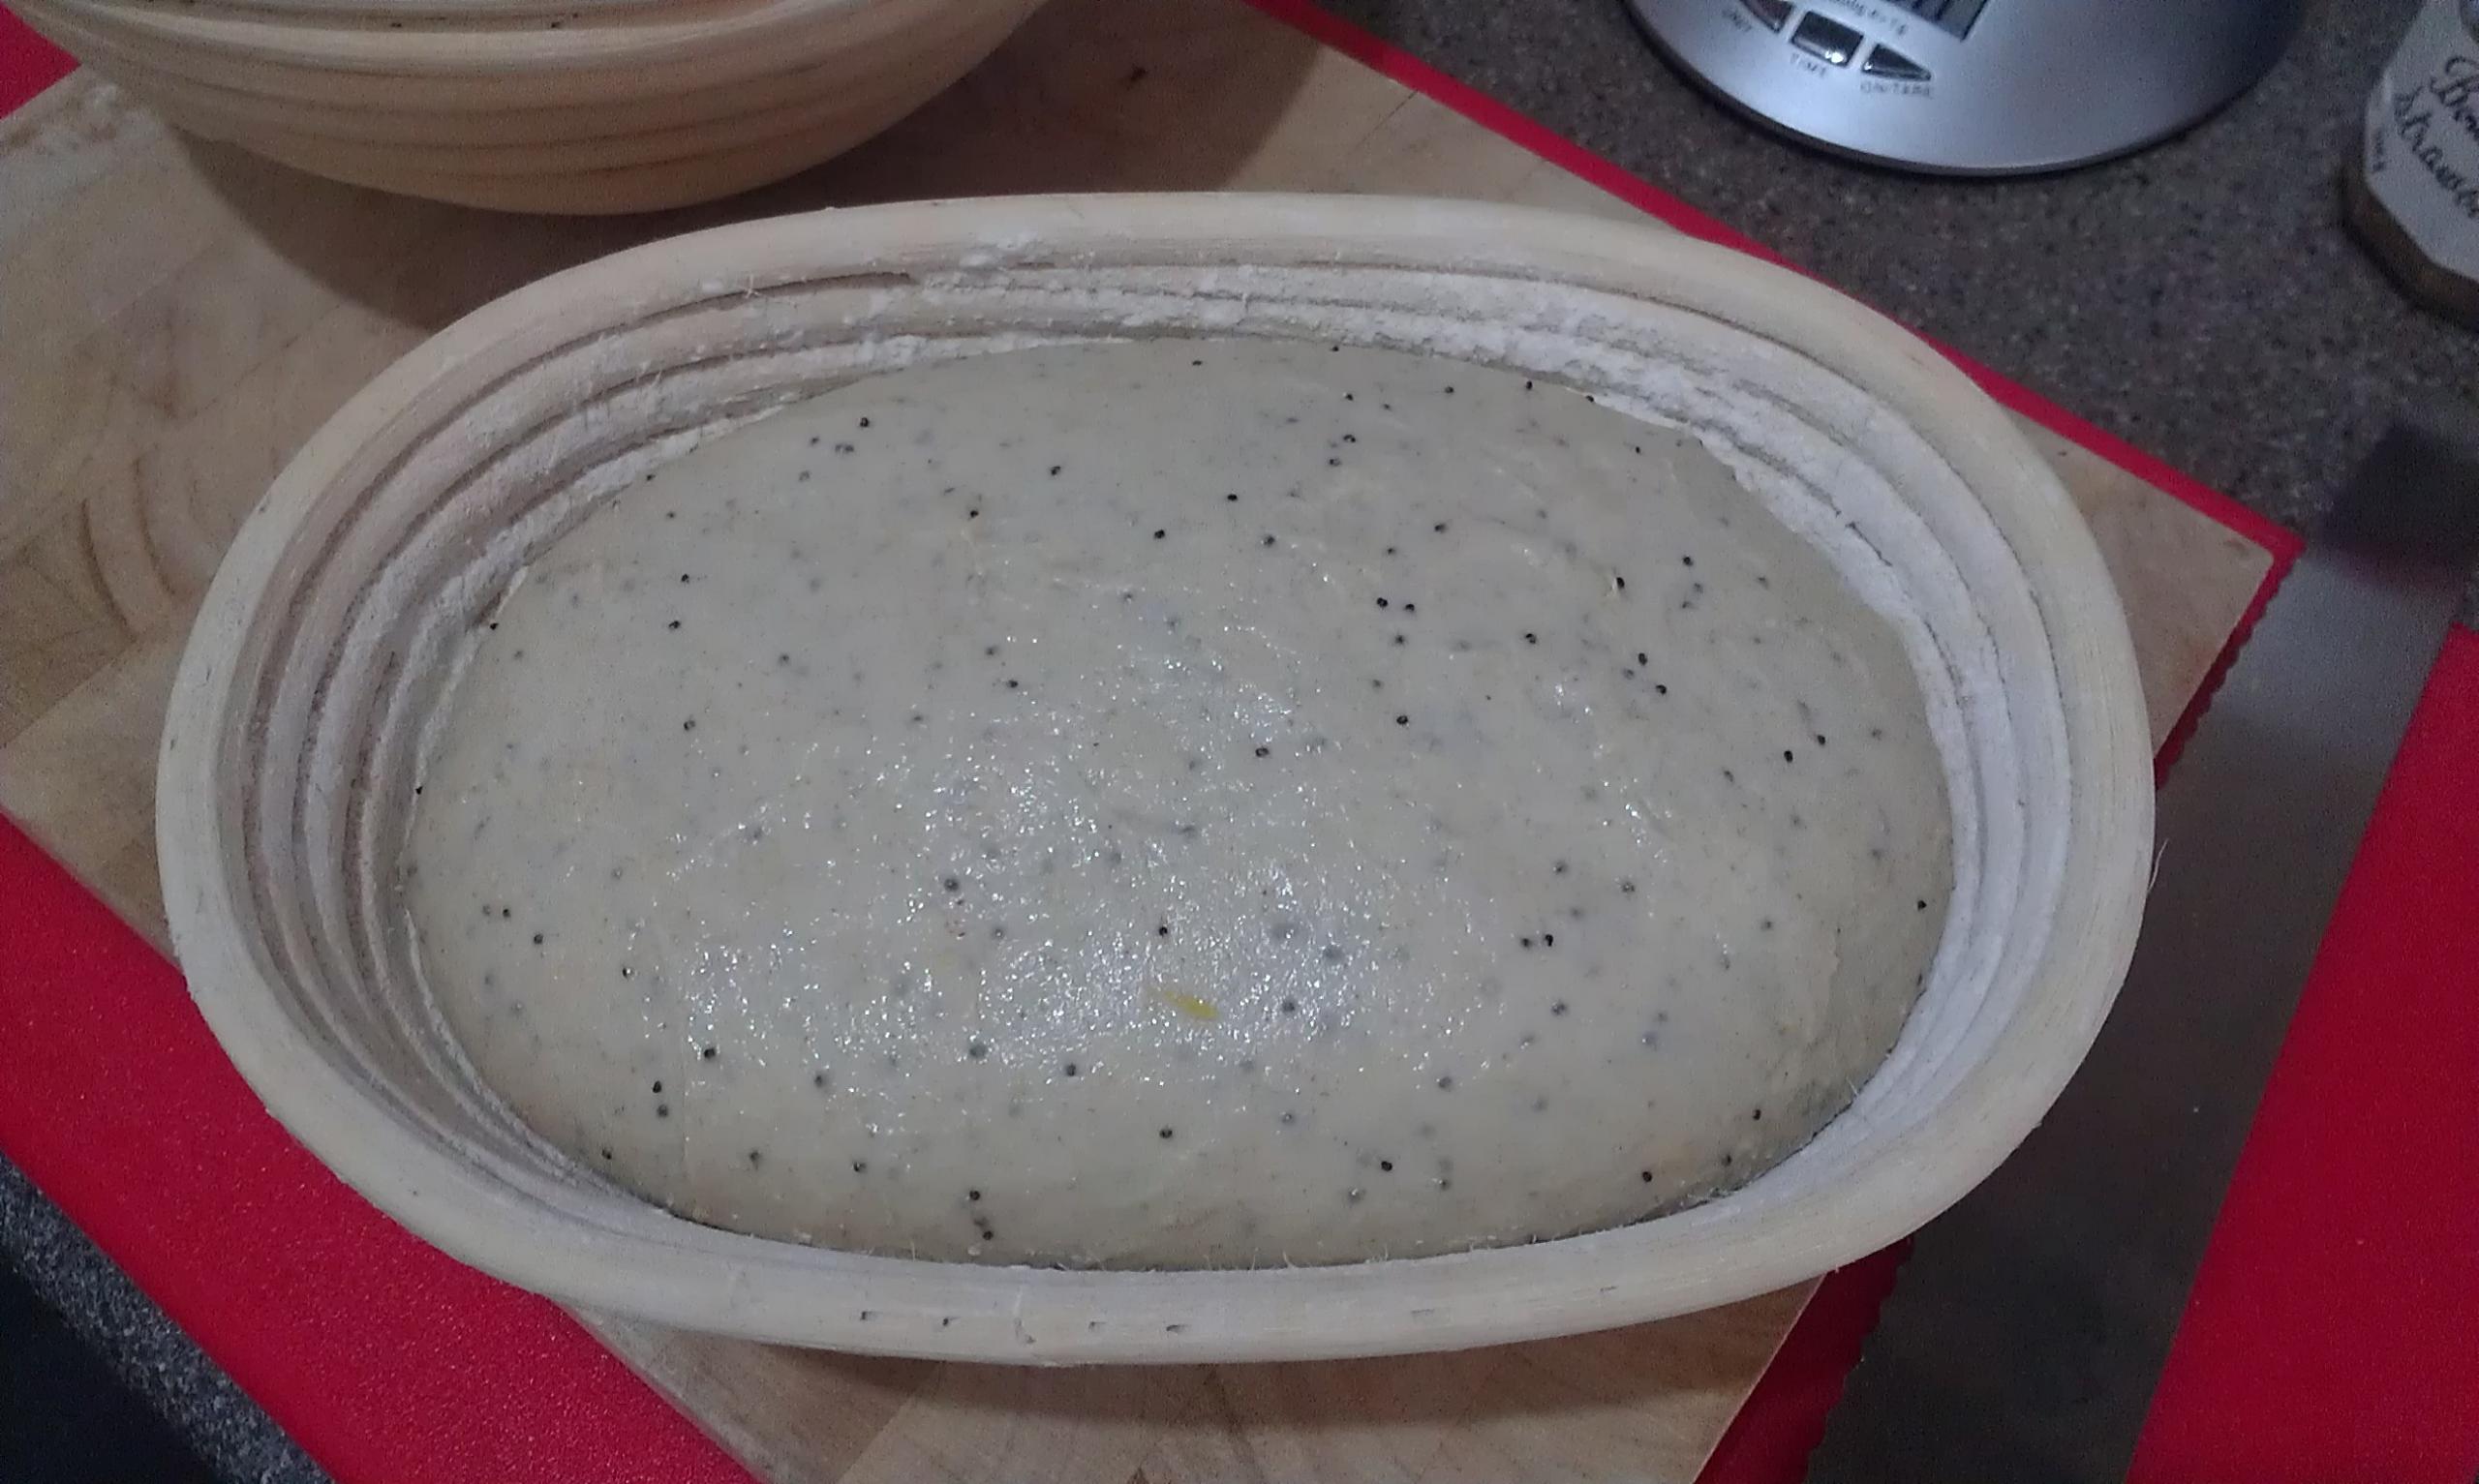
Bottom Shot (much better than all my previous bakes)
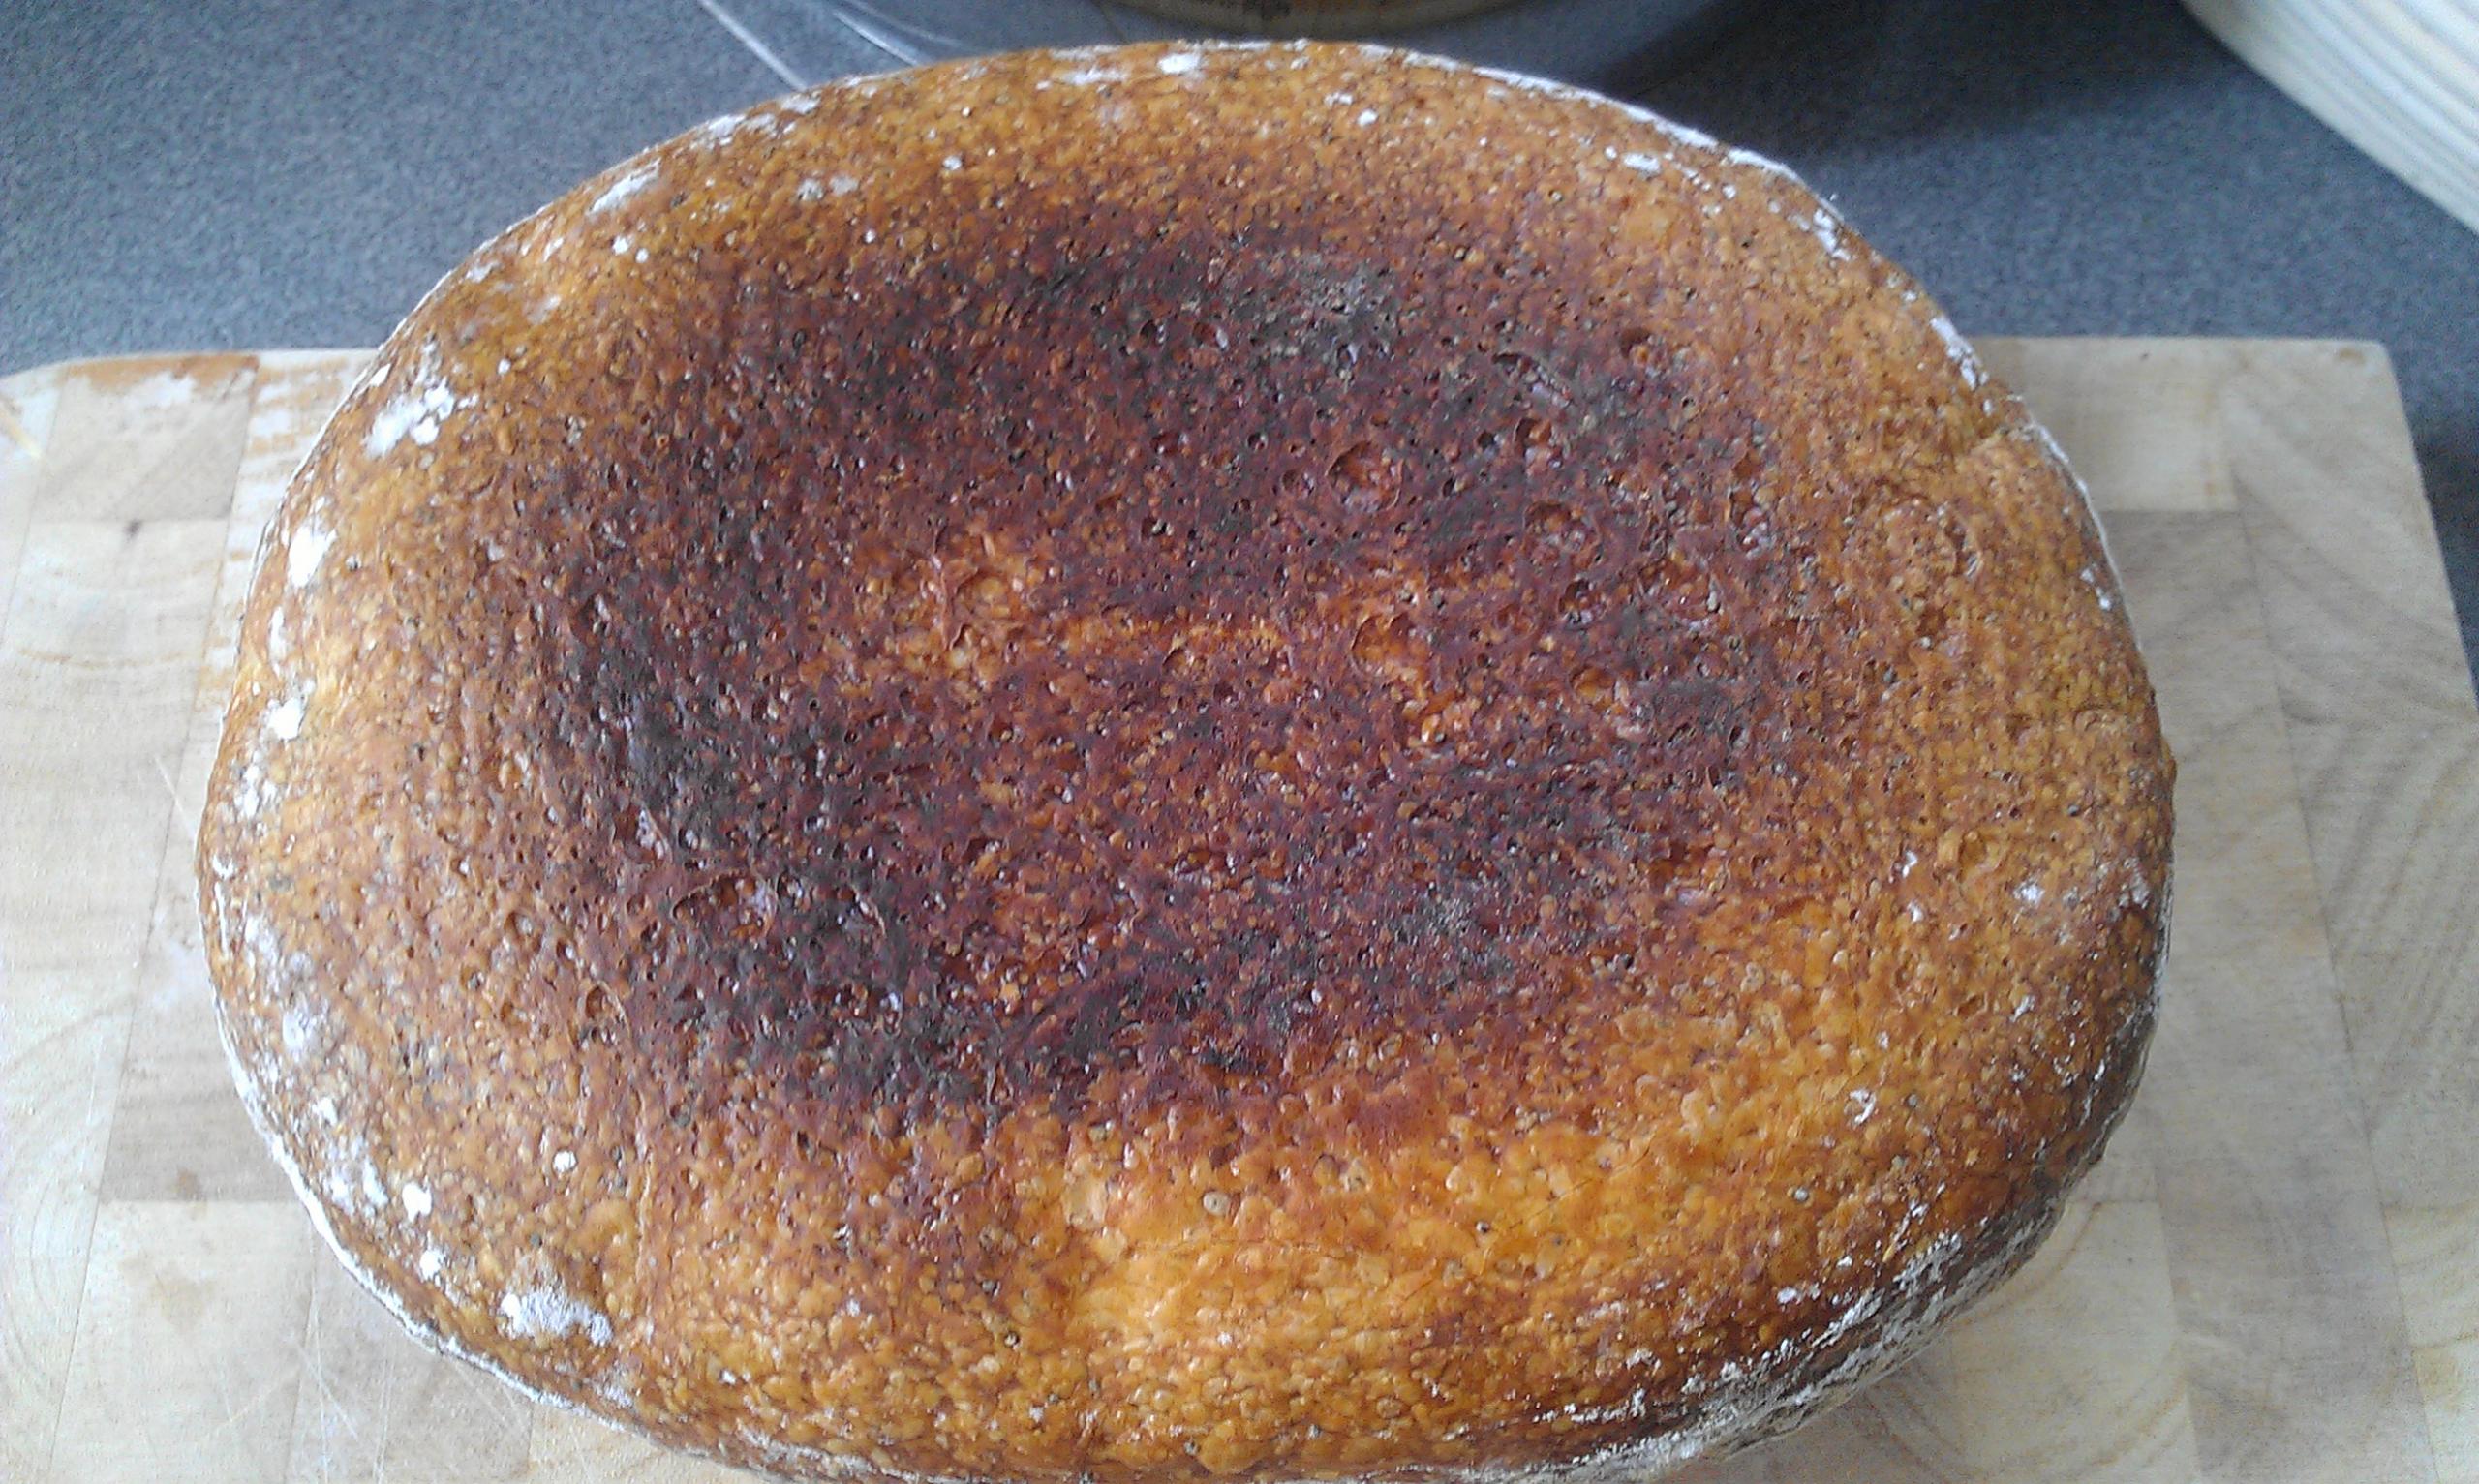
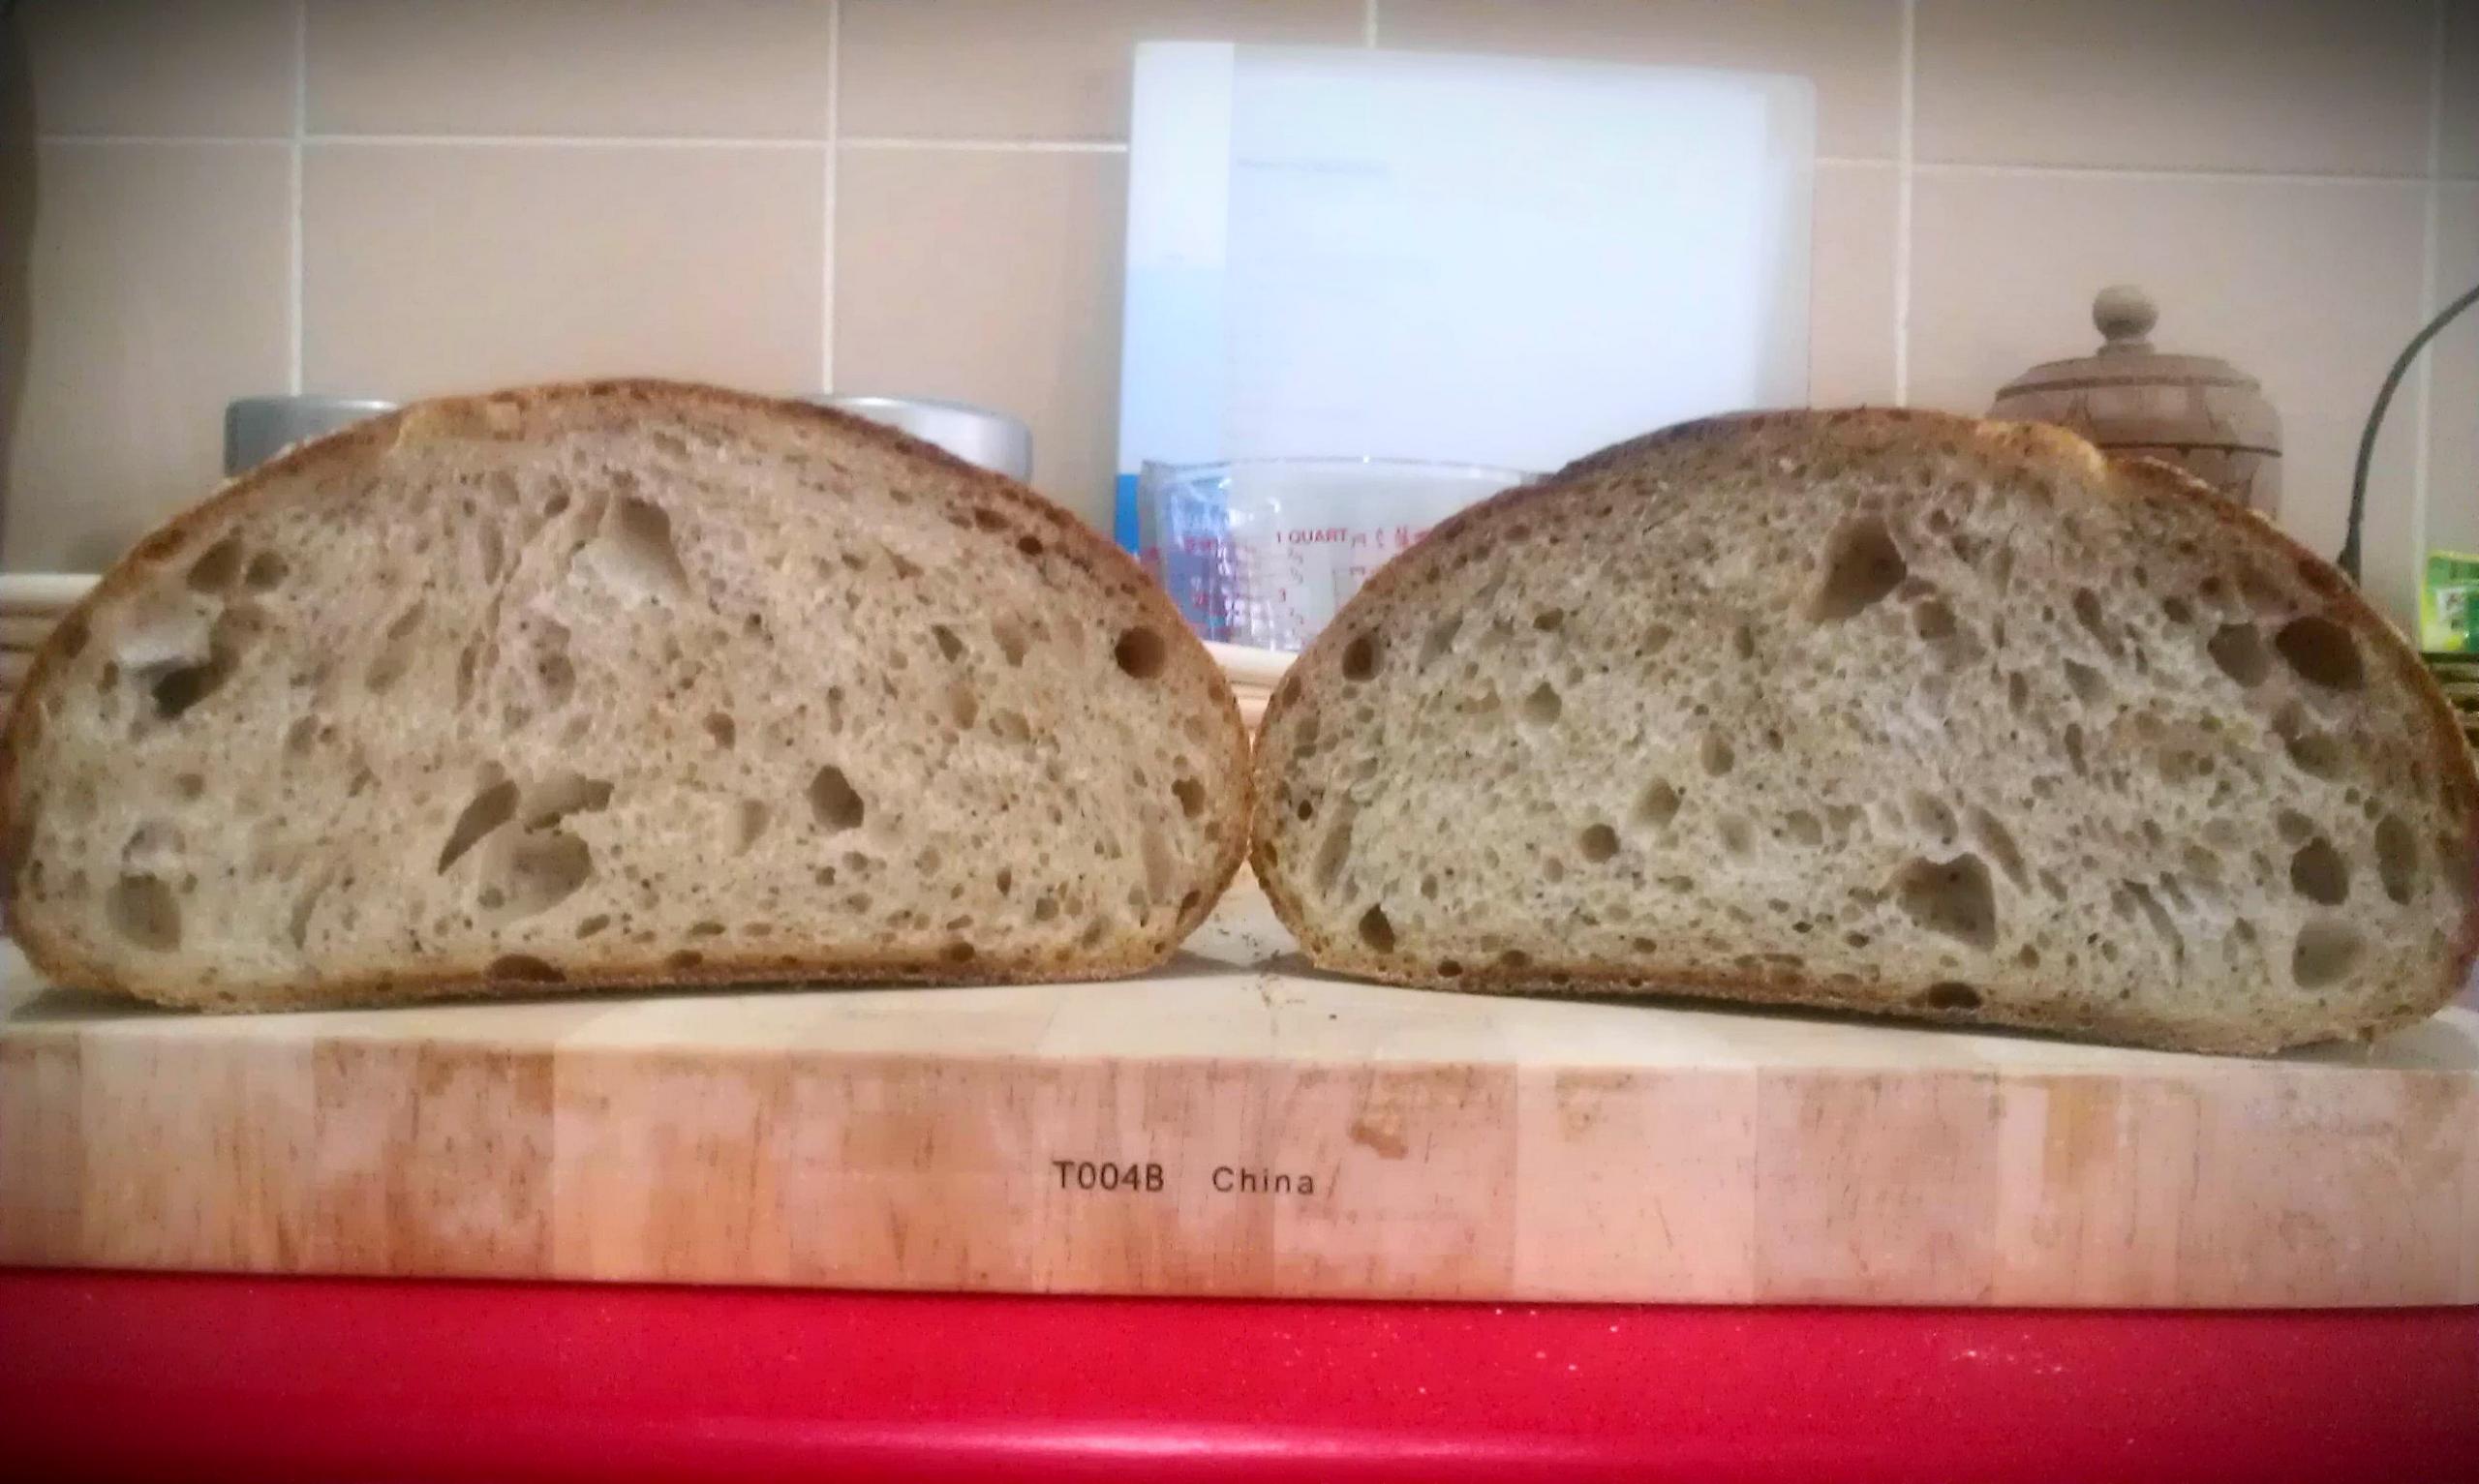
Crumb Shot (moist inside but not so crunchy outside)
Meanwhile, I am still searching for a piece of terracotta and a claypot as a substitute. Went to Amazon.com only to find out the shipping cost to my country is higher than the Dutch Oven itself...doesn't make any sense, totally disappointed!
- FrugalBaker's Blog
- Log in or register to post comments
This is a big success with finding a DO substitute. I can see the blisters associated with DO baking and steam. Did you finish off uncovered to get it to crust over?
I'll have a look around for anyone who ships to Malaysia.
Bon Appetite.
Did you get it in an email?
Abe, thanks a million....owe you a big one!
your bottoms browned! Crust looks pretty good from here! Lovely!
Seems like the experiment was highly successful! Looks great!
Mini, Kathy...will have to try something else and work on the crust. Happy Baking!
Your bread looks great. I dont have a dutch oven either and I bake my bread on a stainless steel tray and invert a stainless steel mixing bowl over the dough for the first half hour. I have tried misting the dough before putting in the oven but I get a better crust by not spraying and just removing the overturned bowl after half an hour and leaving for up to another 20 mins or so.
for the idea Carolina. I shall try your method.
Don't know if you've seen one of my favorite woking techniques. The idea is to have non-reflective metal and a lower space inside the chamber.
I removed the handles off two one-handled flat-bottomed alu woks and set their thick rims together. At least one silicone oven mitt makes it easy to remove the top toward the end of the bake. I leave the handle screws in for more grip and so I don't loose them.
unfamiliar to me, Mini. Though, I was planning to loan a clay pot from my friend and she told me to have it instead as she rarely use it. (Am feeling very lucky of late).
So right now, actually tomorrow, I'll be experimenting with this clay pot and see if it could yield the result that I hope for. If not, am thinking of splurging for once and place an order for a Dutch Oven instead as I was weighing the pros and cons.
I shall keep you posted on the outcome tomorrow.
Best regards,
Sandy
signed for and waiting for me. Exciting stuff.
My only concern is that my mini oven heats up quite quickly. Hopefully not too quickly for the romertopf to adjust.
Suggestions?
I'm thinking of slowly increasing the dial. So I intend on putting it in cold (after soaking it in water) then heating it up 100 C and after a few minutes turning it up to 200C then finally 240C.
My oven can fully heat in record time and has open elements (hopefully this wont be bad for the romertopf as will sit quite close to elements).
How will my idea affect the bread if I put the dough into a cold oven?
soaked bisque-ware (unglazed earthenware) is that the water in the body distributes the heat evenly to the whole pot. This allows the pot to even out uneven applied heat. A dry pot is a whole different matter and more apt to crack when the heat source is uneven. So I think that a gradual or a sudden pre-heat has no bearing. I haven't burnt a dough yet in a soaked clay pot, I can even leave the lid on and the crust browns evenly.
and I thought that the soaking was to produce steam.
While it probably does this isn't the reason for doing so as steam will naturally be produced by the bread itself and is trapped in the clay pot solving the problem of introducing steam. The soaking is to distribute heat evenly which stops it from cracking and is good for the bread.
I'm learning!
As my oven doesn't distribute heat evenly so I find the bread bakes unevenly with parts of it crusting over quicker (closer to the fan). Another problem solved. Nice!
Mini? I have a glazed clay pot here from my friend. She told me to put it straight to the oven, no soaking required. Do I still need to mist the dough prior to baking it?
Abe....am a little envy! So,what are you going to bake this weekend?
If it doesn't my back up plan is to invert it on a tray. Worried about the handle sticking up too much. But we'll see. This weekend's bake...
BIGA
By
FORKISH
Biga
Plain Flour : 448g
Water : 305g
Instant Dried Yeast : 0.36g
Mixing the Biga… Night before put 448g of Plain Flour in the dough bowl. In a separate container add 305g of warm water. Dissolve 0.36g of instant dried yeast with about 3 tablespoons of the water.
Pour yeast mixture into the dough bowl with the flour. Pour a few more tablespoons into the yeast container, swirl it around to incorporate any remaining yeast and dump it into the dough bowl along with all the remaining water.
Mix by hand till fully incorporated. Cover and leave at room temperature overnight for 12 – 14 hours. After this time should be slightly domed and about triple in volume, with lots of gas bubbles and a ripe smell of alcohol. Proceed onto the main dough…
MAIN DOUGH
Khorasan Flour : 112g
Water : 115g
Fine Sea Salt : 12g
Instant Dried Yeast : 1.12g
Measure 112g of Khorasan flour into container, add the 12.32g salt and 1.12g of instant dried yeast and mix. Pour in the 115g water and mix by hand just until incorporated.
Add this to the Biga and fully incorporate. Knead for 10-15min.
Bulk Ferment for 2.5 – 3.5 hours depending on how warm it is. Apply 2 or 3 folds within the first 1.5 hours. When the dough has tripled in volume then ready to proceed…
Dust proofing basket with flour. Shape the dough into a boule and place seam side down. Final proof for 1 hour.
[refrigerate after 40min to help with keeping the shape and bake 1 hour 10 min later as an option]
Bake in pre-heated oven till ready.
____________________________
That's the gist of it. I have adapted it for Khorasan grain and resized to fit my banneton. AP flour we figured was 12% protein. So for the Biga i'm using 11.5% plain flour and then in the Main Dough i'm using a strong Khorasan flour and should make a nice balance. It's also wholegrain.
I have an idea to make it chocolatey but never done this before so posted a forum topic on it. Would like ideas on how much to put it, when and what to alter in the recipe to accommodate. Thinking a chocolate bread with peanut butter spread will be nice.
Typing too fast, got too excited :)
You got me hungry again...that's a new direction for you I think as I have not seen you using yeast for quite a while, Abe...looks like you are going to have a fun weekend in London.
message got truncated
But they didn't get to my email.
Shall be fun and hopefully a success. Hot toasted chocolate bread and peanut butter. Oh damn... i'm making myself hungry now.
Peanut Butter Cup Sandwich
I can't be helping myself with a second dessert : )
But on a more serious note, ever considered of scaling down the dough volume? Or buying a bigger oven. Summer sales should be on by now!
Fits perfectly in my oven. And it's also a good size bread to keep me going all week. I can only bake one day a week. As for oven size - don't have much space. As it is I got rid of my microwave to make room. I prefer it as it is healthier and I can bake proper stuff.
then it's fine with me because I am thinking of having a bigger oven here as my 'Brioche Fan Base' is expanding by the week. I have my eyes on Miele but it costs me more than £6k. A much cheaper model from Smeg is very nice too....with the length of 90cm but it will also mean that I will have to bake through many weekends in order to own that oven. Oh well, I guess I just have to take one step at a time...got more orders coming in over the weekend. Talk to you soon Abe and keep me posted on your bake using your new 'toy', alright? Good day there.
p/s : I'll send you a private message on some of my yeast bread. Not my cup of tea but the locals love it here.
I'm not sure what country you're in, but if you have "Bunnings" or similar hardware store or even a bbq store look for a pizza stone(round) $26.00 Australian. Better still if you can get a square cast iron bbq plate. Measure your oven you may need to have it cut to fit but it will never break. Also cast iron Dutch ovens and pots with lids come in many different sizes. They are not too expensive and here in Australia we buy them at camping and outdoor stores. They are made in China/Asia. Perfect for bread, stews, pot roasts etc.
Regards,
Paul from Mooloolaba.
Thank you for all the recommendations. Varieties are quite limited in here, hence we pay everything more expensive in the end. To buy a dutch oven online is not that expensive compared to the retail stores here but the shipment costs are and it is usually higher than the item itself.
By the way, am in Malaysia currently. So it is hot and humid here year long. Am just thinking of whether the Dutch Oven will be good enough to prolong the crunchiness of the crust a little longer? The crust of my bakes are usually good but it can never last long, about 3 hours max.
p/s: Never heard of Mooloolaba...it sounds so exotic!