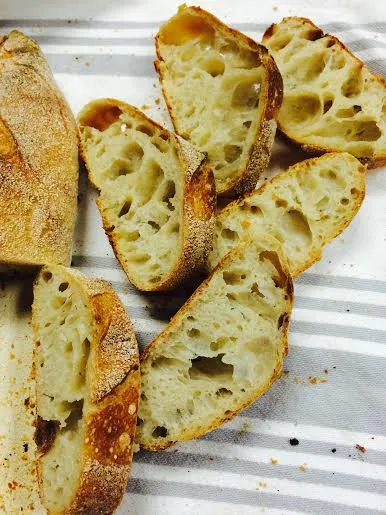
Who could have imagined that the lid of a cheap turkey roaster would give me the confidence to explore whole new areas of shaping and scoring my sourdough loaves? I feel like it’s given my baking stone a new purpose in life.
Last weekend I posted my first pointy batards. I have done a number of early morning bakes since then, and I'm pretty much transfixed by the shape. They just have this...I don't know...this subtle elegance, I guess. And working with them also allows me to practice some of the most classical vertical scoring techniques, with hopes of occasionally actually seeing those ears bloom.
I am also always, always experimenting with tricks and techniques to work long-fermented sourdough into a busy 40+ hour non-baking-related work week. I didn’t set out to focus on the “48-hour” mark, but that’s how this week turned out. Here are three different methods for producing sourdough torpedos in 48 hours, even when you’re at home for very little of that time. Both formulas emphasize a long room-temperature autolyse. This just seems to do wonders for the extensibility of the dough, and the quality of the crumb...no matter what type of flour is involved.
Torpedos #1 and #2: I include these together, because they use the same hydration and the same levain %...just slightly different flours and mix-ins...
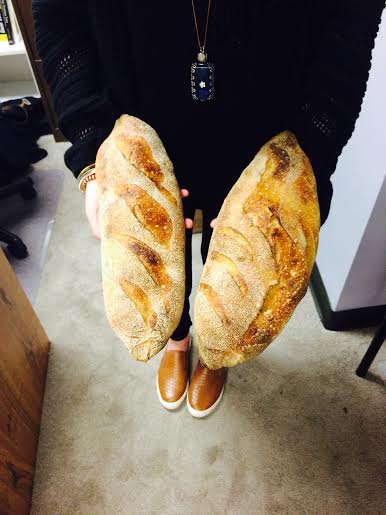
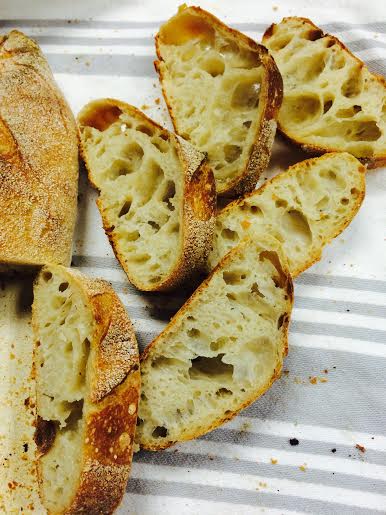
#1: The Simplest
50 g 100% hydration sourdough starter
475 g all-purpose flour
365 g water
11 g salt
5 g malt powder or sugar
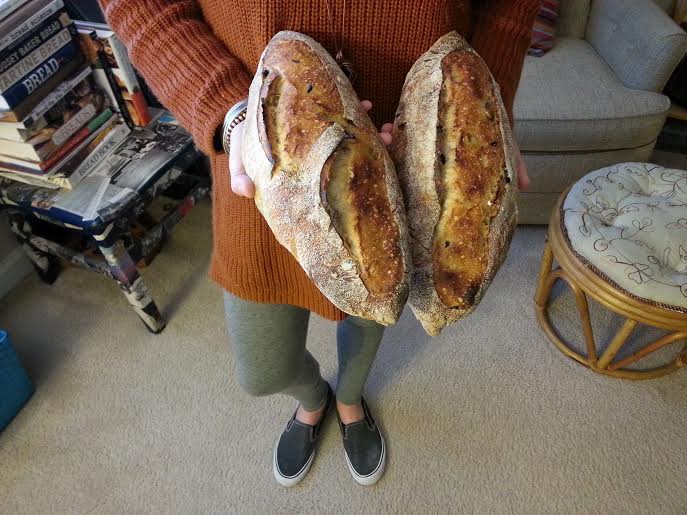
#2 Olive and Herb
50g 100% hydration sourdough starter
300 g all-purpose flour
175 g whole wheat flour
375 g water
11 g salt
5 g malt powder or sugar
1/2 cup sliced olives (black and green)
1.5 tsp herbes de provence
2 tsps lemon zest
Day One
1) Mix together water with flour in the morning.
2) Autolyse all day (whatever your 'all day' ends up being...mine was 10 hours).
3) Mix in levain, salt, malt, and extra ingredients. This will take 3-4 minutes.
4) Perform 4-point stretch-and-folds ever 30 minutes for 2.5 hours (I actually sometimes add 1-4 more stretches. If the dough seems extensible enough, I add a few folds!).
5) Rest on the counter for 8-12 hours. The small amount of levain will require this length of bulk ferment!
Day Two
6) After 8-12 hours, place in the refrigerator. I retarded both of these for 24 hours during bulk fermentation.
Day Three
7) Divide and rest for 10 minutes. Shape into torpedos and proof for one hour.
8) Trick: Place in the freezer for 20 minutes! I truly think that this encourages ovenspring in high-hydration loaves proofed at room temperature.
9) Score and bake for 15 minutes with steam, 17 minutes without.
The Simplest:
Olive and Herb:
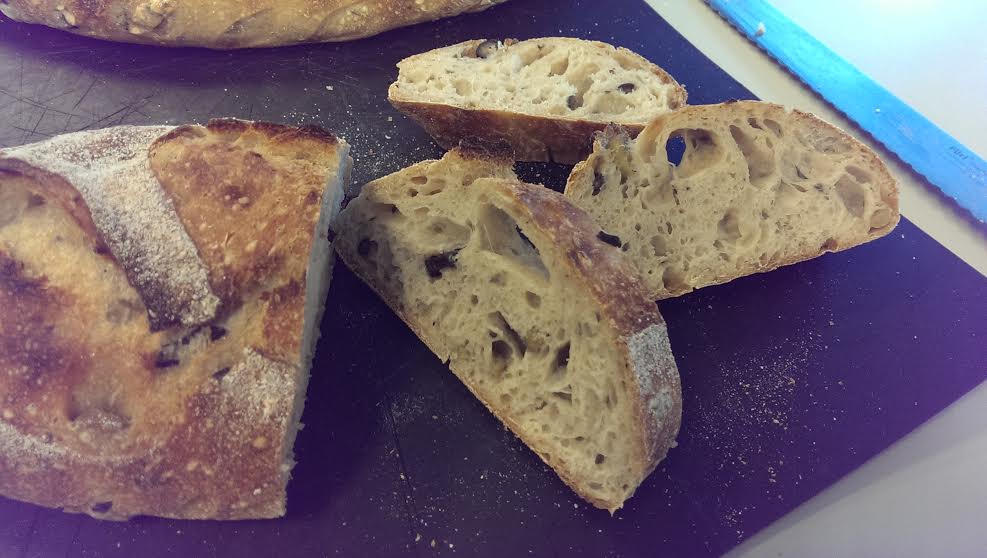
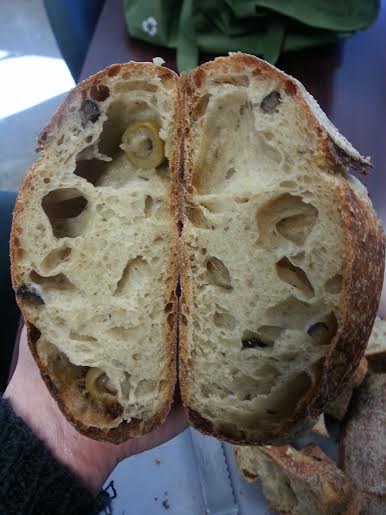
I am amazed by old dough as a method of leavening. I still can't believe that I can use a small hunk of dough from a previous loaf to leaven a new one. And it's incredibly flexible, because you can simply decide exactly the hydration percentage and flour makeup of a loaf, autolyse, everything...and then cut in the dough. No worries about levain changing hydration percentage. It's just added mass. Magical.
#3: Pate Fermentee
300 g old dough (I actually can't remember exactly what the flour makeup of the dough was...I've been baking too much!)
400 g all-purpose flour
100 g whole wheat flour
400 g water
11 g salt
5 g malt or sugar
Day One:
1) Mix flour and water, and autolyse for your full work day (mine was 9 hours)
2) In the evening, mix in the old dough and the rest of the ingredients. This will take about 5 minutes.
3) Perform stretch-and-folds every 30 minutes for 2.5 hours.
4) Allow to rest for 2-4 hours more. 300 grams of old dough will actually ferment new dough more quickly than one might think!
5) Place in the refrigerator.
Day Three:
6) That's not a typo. There's no second day, because the dough was in the fridge at the end of Day 1, and was there for nearly 36 hours. Now we're at the morning of the third day.
7) Divide and rest for 10 minutes. Shape into torpedos and proof for 1 hour.
8) Place in freezer for 20 minutes!
9) Score and bake with steam for 15 minutes, without for 17 minutes.
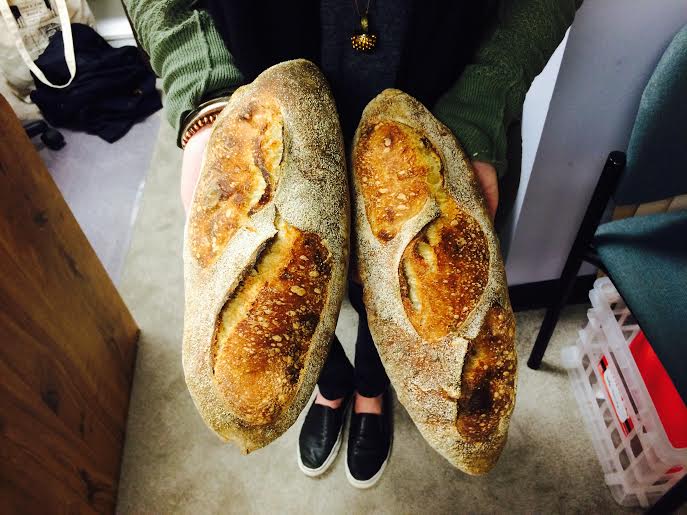
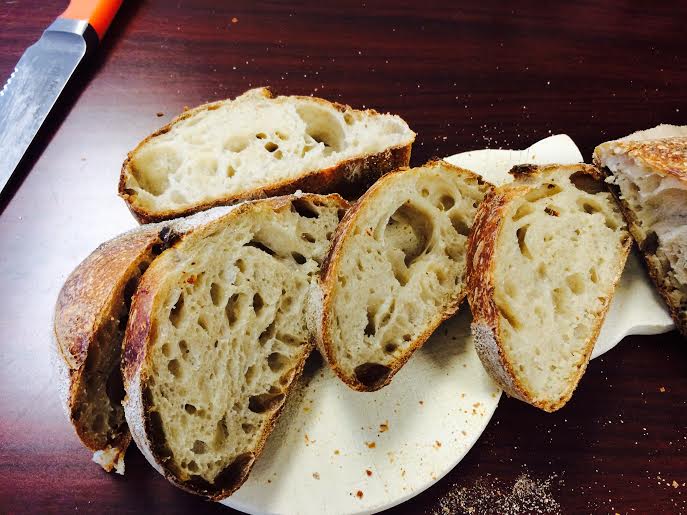
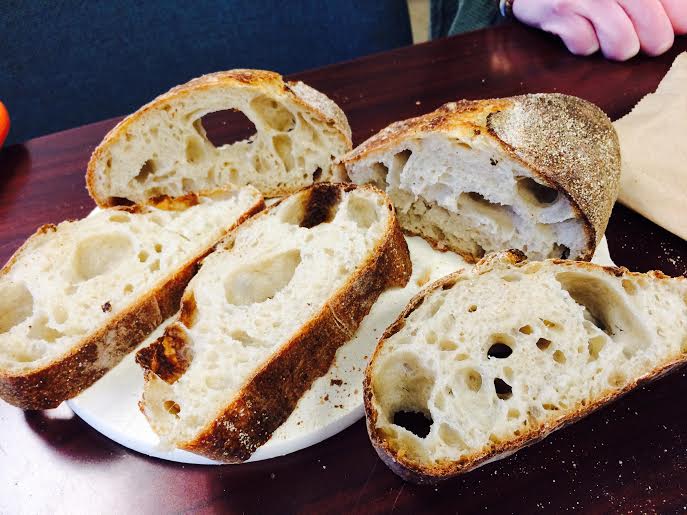
All of these loaves tasted good. I will say that #1 and #2, the ones with the longer room-temperature ferment, had a deeper tang. The pate fermentee loaf spent much less time at room temperature, with a long, cold bulk, and it tasted much milder...but not necessarily less complex. Maltier, even. I've read wildly conflicting descriptions of the role of room temperature vs. cold fermentation. So I guess I'll just have to keep trying...testing...exploring...
--Hannah
- a_warming_trend's Blog
- Log in or register to post comments
I just love all your experimentations with dough! I follow all of your research with much interest. You have certainly found a passion!
Hannah: Just fantastic results. I love everything about these loaves---the crust, the scoring the incredible crumb. I have yet to achieve crumb like yours. Congratulations on your experiments and keep going! Best, Phyllis
The breads all worked out perfectly inside and out. Well done and
Happy baking
Thanks for the words of encouragement! I'm finding that this shape makes for a great sandwich width. And I might be imagining this, but I swear that the pate fermentee loaf keeps particularly well.