(The following bread recipe can also be found on my blog, over here.)
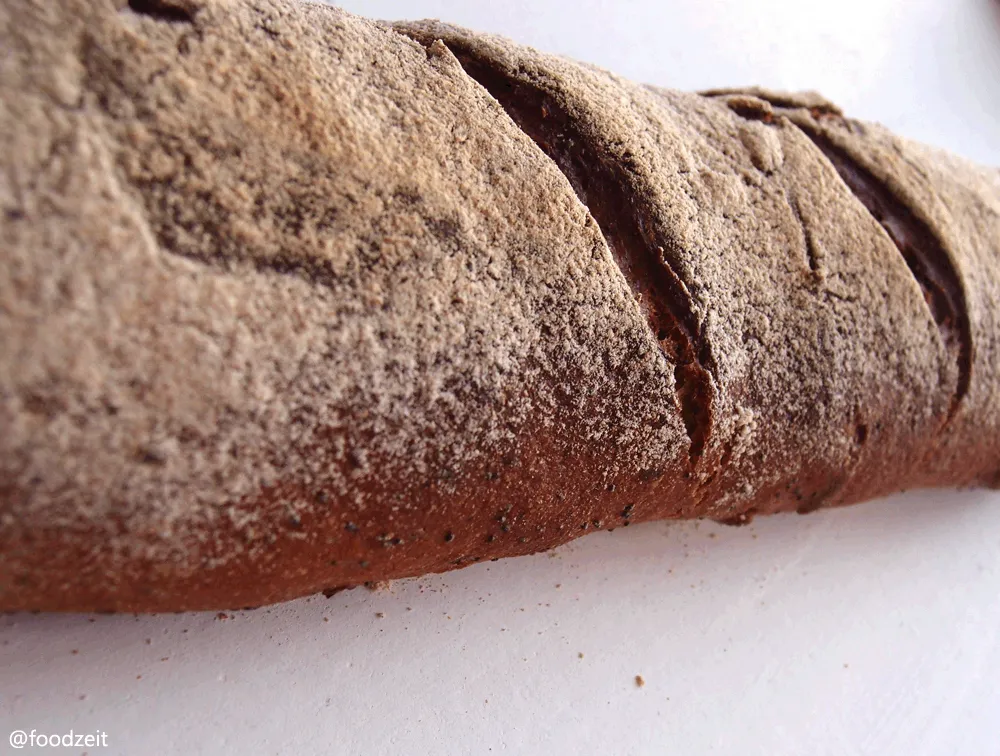
A local ingredient, which we can find in most Chinese dishes, is the spring onions (and that not only in spring). The freshness of the spring onion always makes me think of the kind of fresh cheese with herbs that I love to spread on a slice of fresh bread and enjoy with some tomato as a topping, it’s a perfect light spring / summer kind of a spread. So in order to incorporate the spring onion into my bread I wanted to make a lighter kind of bread. So rye flour is out of the question this time. So I am creating a recipe for a sourdough based loaf of artisan bread, which has a higher percentage of wheat flour in it. So as homage to the spring onion I am presenting my light and fluffy home-made spring onion wheat bread.
Sourdough
- Rye Flour 62 g
- Water 62 g
- Rye Flour starter 6.2 g
Mix everything together to smooth dough without any clumps inside and let it rest in a covered bowl at 24-28°C for 14 – 20 hours. After your sourdough is ready, don't forget to take some starter away and keep it in the fridge for your next bread.
Yeast sponge
- Whole wheat flour 75 g
- Water 75 g
- Yeast 3.0 g
Mix ingredients until smooth. Then let dough rest for about 12 - 14 hours, 22–25°C.
Swollen piece
- Roasted pumpkin seeds 45 g
- Linseeds 20 g
- Water 65 g
- Salt 13.3 g
Immerse everything in the lukewarm water, cover it up and let them swell for 12 to 14 hours at room temperature.
Main dough
- Rye Sourdough flour 130 g
- Sponge 153 g
- Swollen piece 216 g
- Rye Flour 186 g
- Whole wheat flour 342 g
- Water 250 g
- Dried yeast 2.4 g
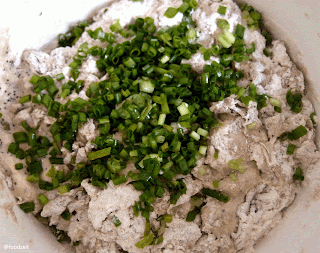
- Spring onion 13.3 g
- 1 Tbsp honey
Put all ingredients in the mixing bowl

and mix them well together and knead them for about 5 – 7 minutes until the gluten in the dough is set free, the dough is a bit soft and gluey. Let the dough rest for 30 – 45 minutes. During this, stretch and fold the dough once or twice.
We now form two breads out of the dough mass. If you are not sure how to form / shape bread, please follow my link on "bread baking basics + know how". This is another one of my free formed bread and so, it has to rest in a form in order to not run flat on you. So normally you would put in a bread fermentation basket it you have one. This is a basket that bakers will let their breads ferment in for a while to get in form while fermenting. As I don't have a special basket for this, I am just taking a normal high bowl (I am still using the same on that I used when I made this bread) with a round bottom that gives my bread more or less the form that I desire for the bread. I flour the bowl well before I add the dough, this way later it won't stick to it. Now I add the formed dough bottom side up into the bowl. Let the bread ferment another 45 - 60 minutes (actually there is a finger test to check if the bread is ready for the oven or not. I will post this method another time because it’s really helpful at this stage).
Once the breads have been fermented, I drop them upside down from their bread baskets on my permanent Teflon baking foil on which I already sprinkled a bed of flour. Also sprinkle a layer of flour on top of the bread before putting in the oven. The oven should be pre heated on 250°C. Now pour a cup of hot water in the oven (if you do not have this inbuilt steaming program in your oven at home), pop the bread in the oven and also place a cup of water on the floor of the oven to give some additional steam later on. Quickly close the door so the hot steam will be caught within the oven. Having all that steam in the oven is, like mentioned many times before, extremely important for a scrumptious crust and a great consistency of the bread.
Bake the breads for 10 - 15 minutes like this until it reached the right brown color that you are looking for in a bread crust, then open up the door, let the steam out, lower the heat on 200°C and continue to bake the bread for another 45 - 50 minutes. Now switch off the heat, keep the door open and let the bread cool down slowly. I always spray a bit of water on top of the fresh loaf when it's still hot. It gives a nice and shiny surface the fresh baked crust.
So, after baking this nice bread, it's time for me to head off to my holidays. Enjoy all and happy baking to you as well.

- Foodzeit's Blog
- Log in or register to post comments