Hello everyone. Thought I'd write this up to help document my experiences in case anyone wants to go this route as well. I've read a little here and there for alternatives to using a more expensive pizza stone in my home oven. I've been a baker for almost four years at work but this is my first time trying to approximate a baking stone at home. What follows is what I've learned from my cordierite stone so far. It's a list of things I've noticed and a few recommendations about how to cut it, handling, etc.
I measured the oven rack as 15 and 3/4" x 24". The interior floor of my oven measures almost 19" x 24". I went to Home Depot and Lowes to try and find quarry tiles but unfortunately noone seemed to know what I was looking for. After a couple of phone calls I found a ceramics supply store called Ceramics Hobbyist. I spoke with a great guy named Dean over the phone and found he had a few kiln shelves in stock. I made sure to tell him that I was going to be using this to cook food on. As it turns out Dean was in the process of building his second wood fired pizza oven. What a coincidence! I purchased a 20" x 20" x 5/8" cordierite shelf he had in stock. Unfortunately he didn't have a saw set up to cut it right away. So after a few more phone calls I found another great place called International Tile that said they could cut it for me. Shops will charge your cuts by the foot so figure how much cutting you need done to figure out cost. After cutting my kiln shelf pieces all came to a total of 19.79 pounds (8980g.) And now for lots of pics and explanations.
I had the 20x20 stone cut to 16x20 and had the 4x20 section split in half to two pieces measuring 2x20. When in the oven the rack has less than an inch of clearance to the door and almost 2.5inches of clearance in the back. In order to clear the lip on the back of the rack and keep things more centered I'll be putting the 16x20 piece on top of the two smaller pieces so that it stays level. My other idea was to measure the rear lip thickness and to have a channel cut into the stone one inch from the edge. The channel should be deep enough that the lip nests into the channel allowing the rest of the stone to lay down flat against the rest of the rack. For my rack I would have to cut a 7mm deep channel into the tile which would still be less than half the thickness of the tile (approximately 17mm.) I would only worry about overall strength of the tile if you were intent on constantly moving the tile back and forth from the oven.
[URL=http://s115.photobucket.com/user/Relaxin/media/Pizza%20Stone/IMAG0038.jpg.html]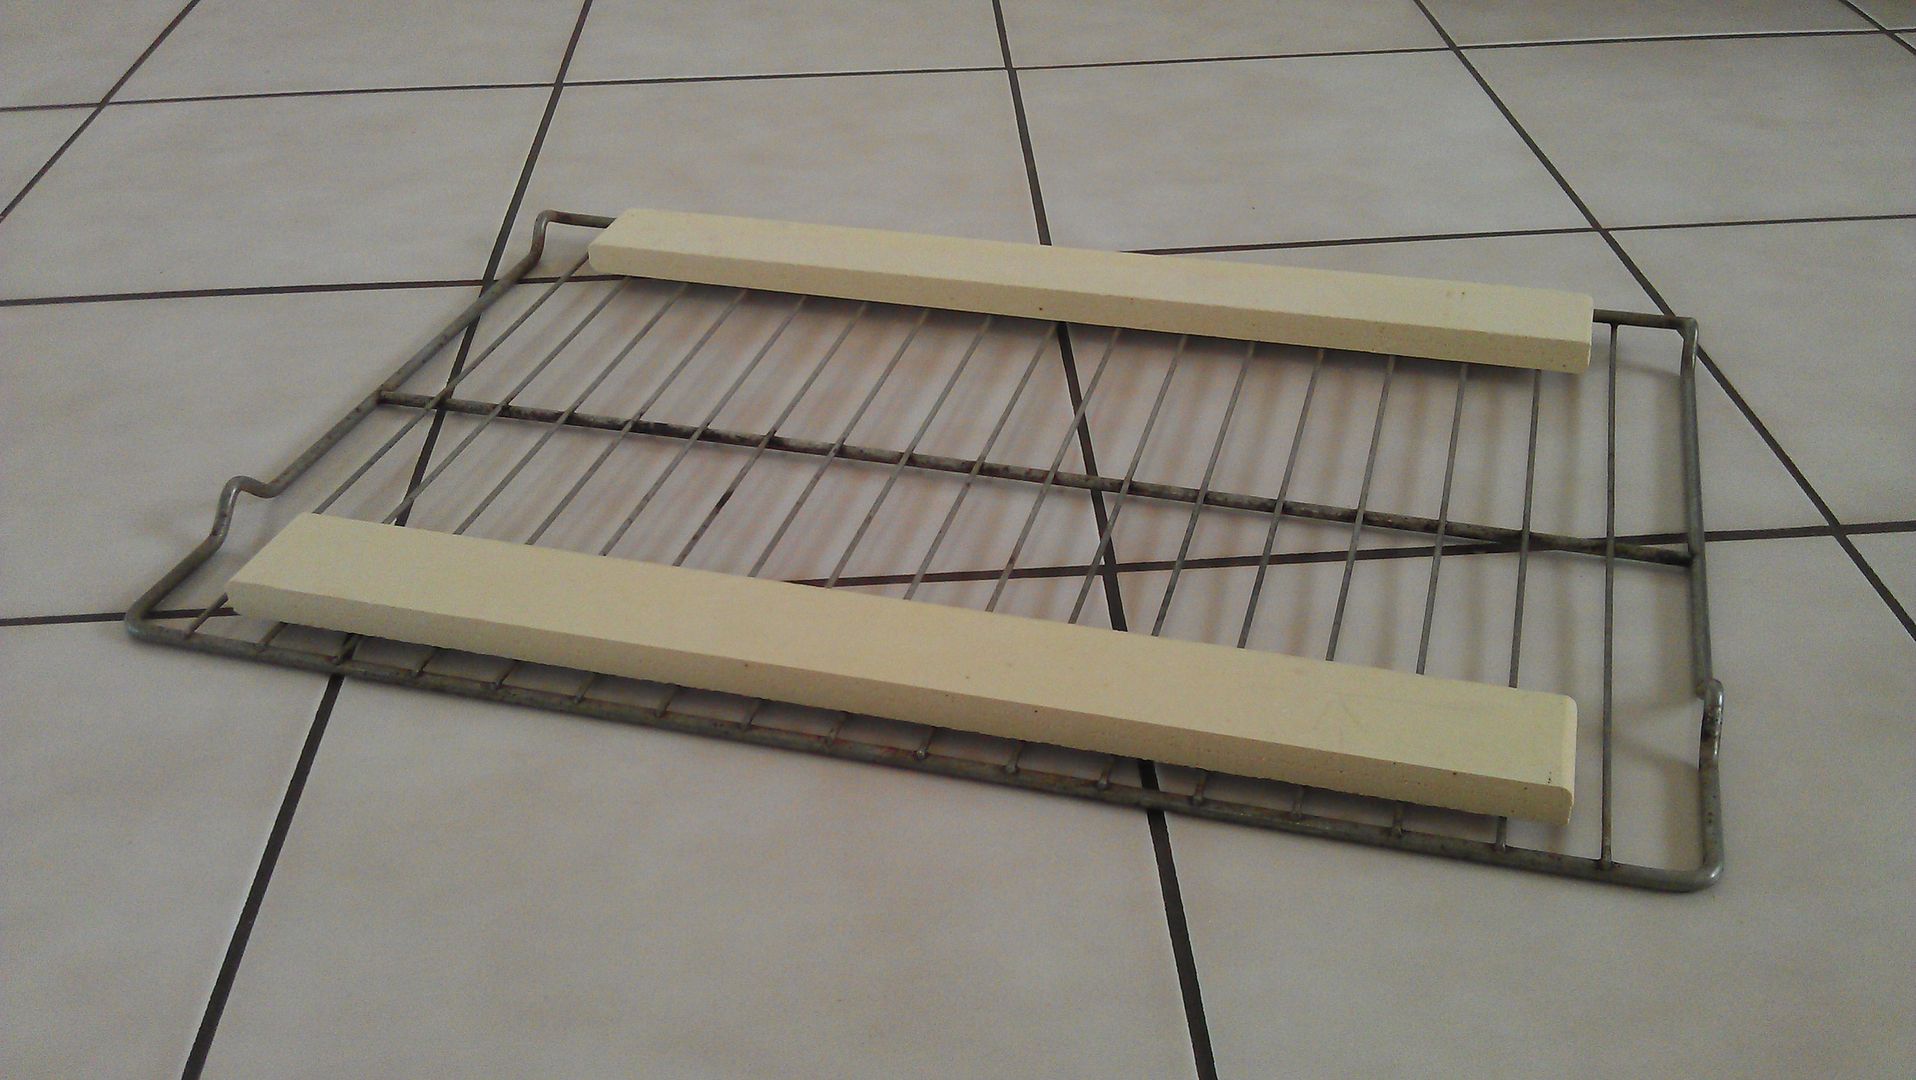 [/URL]
[URL=http://s115.photobucket.com/user/Relaxin/media/Pizza%20Stone/IMAG0039.jpg.html]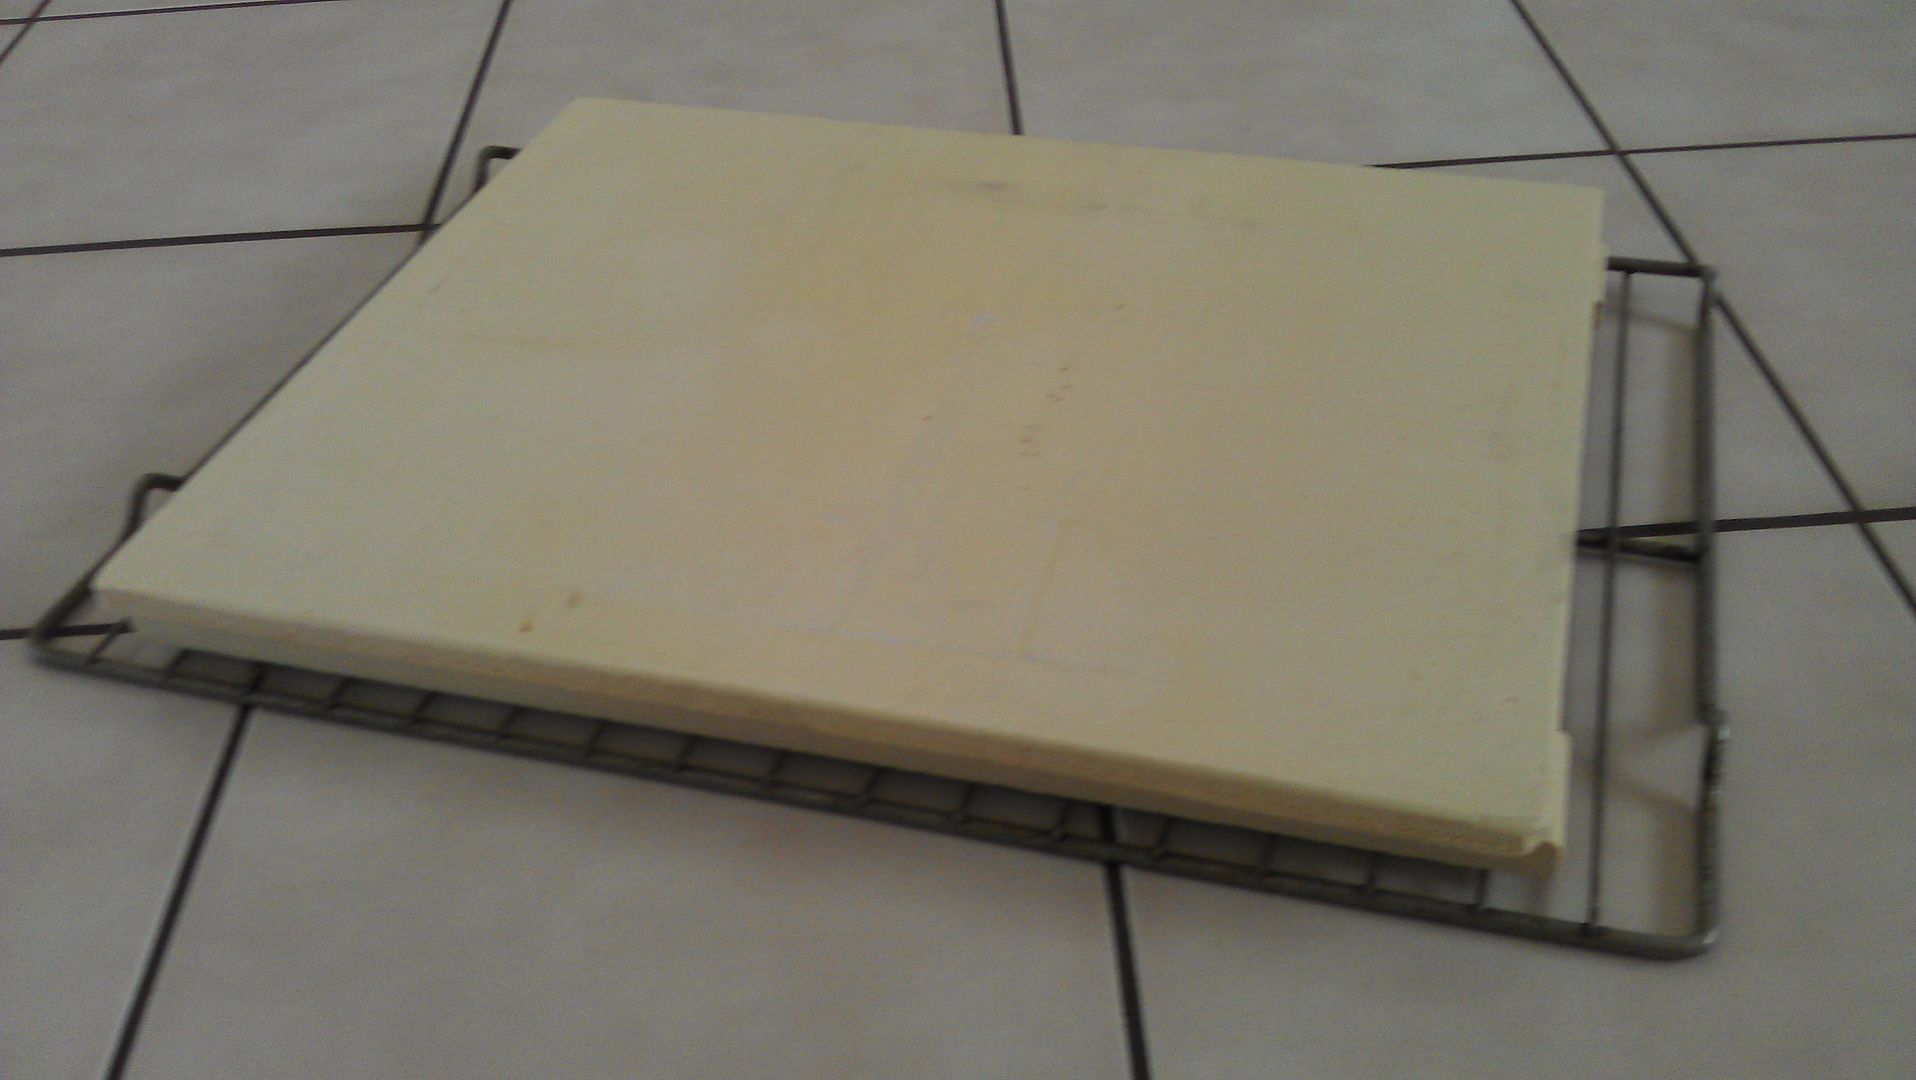 [/URL]
Before having your stone cut you will want to resist the urge to write cutting instructions directly onto the stone. I scrubbed the surface for a few minutes with a fingernail brush to clean it but couldn't completely remove the graphite.
[URL=http://s115.photobucket.com/user/Relaxin/media/Pizza%20Stone/IMAG0043.jpg.html]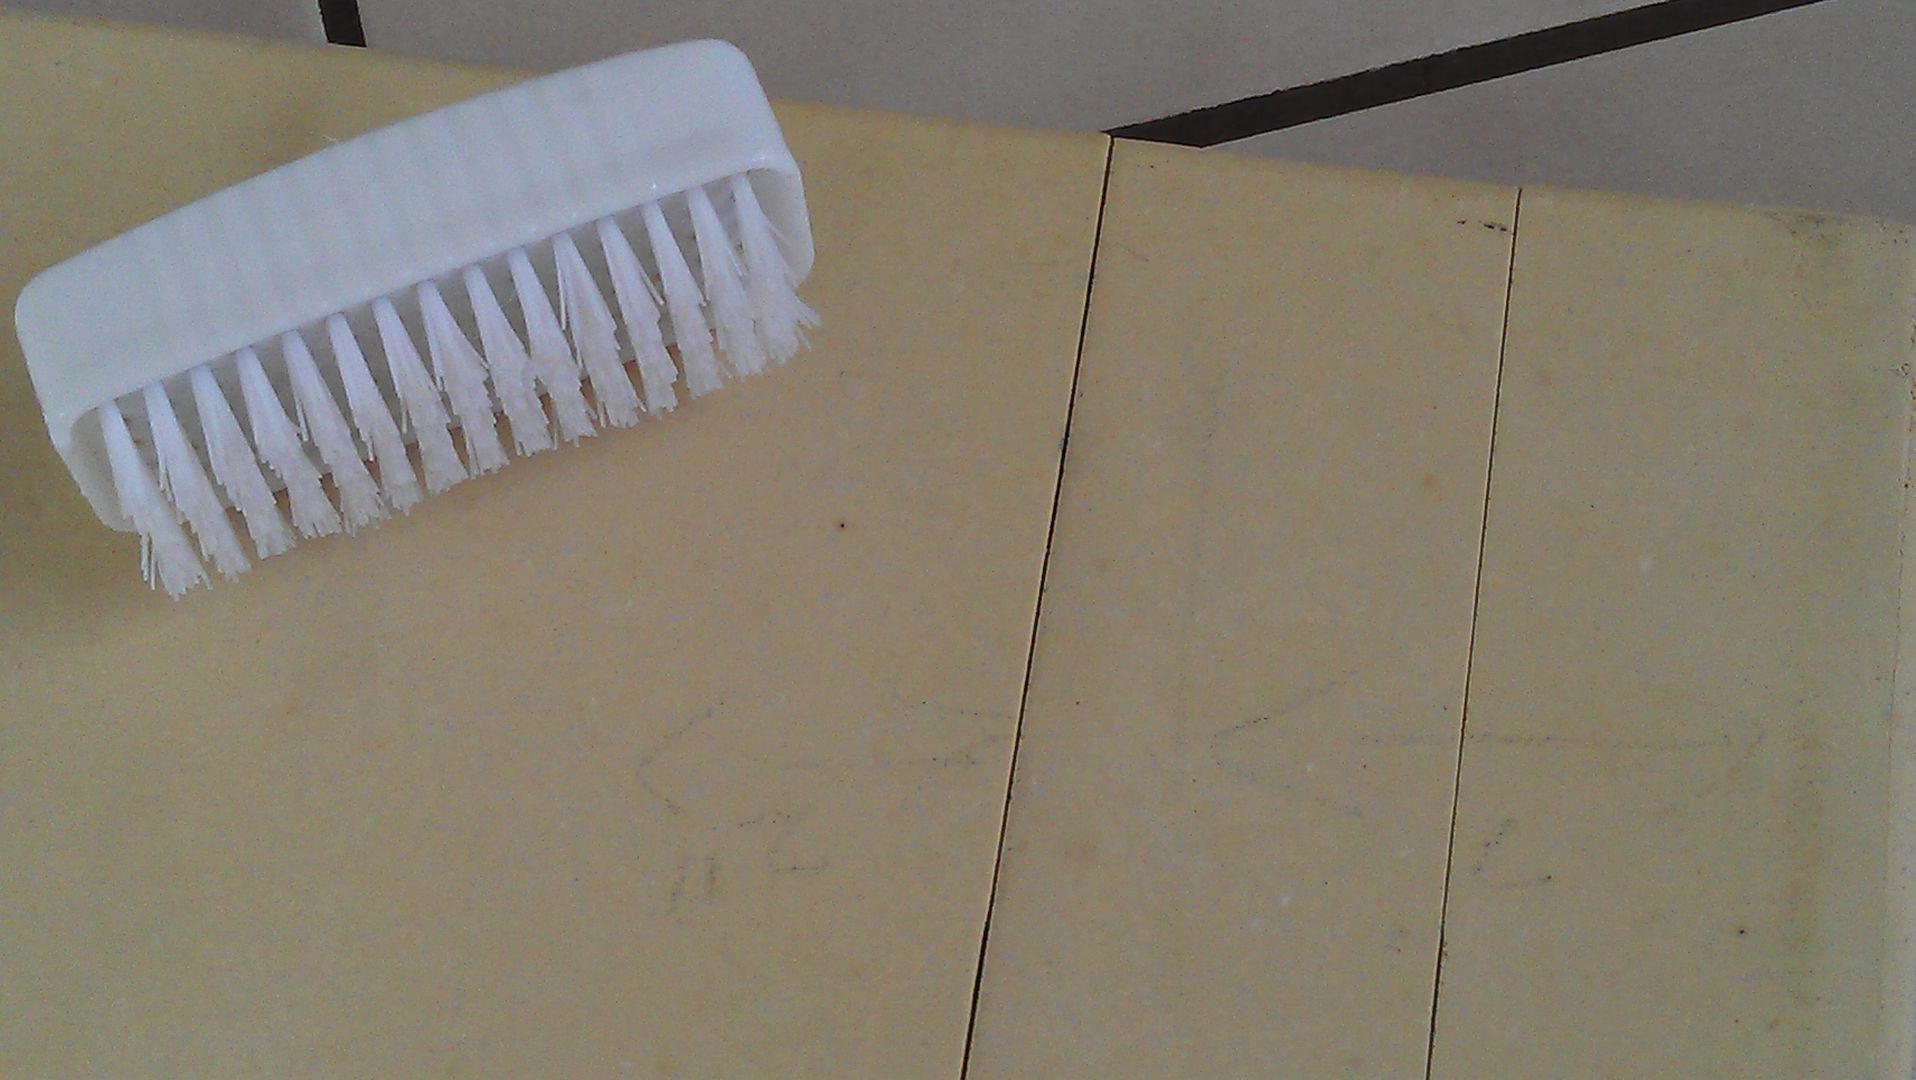 [/URL]
While scrubbing the two smaller pieces I accidentally bumped them together and took off a chunk of the corner. So be very careful. This material feels softer than regular flooring tiles. The kitchen sink doesn't seem quite large enough for the task. I would just recommend setting a towel down in the bathtub to keep the tile from scratching everything and scrubbing it down in there.
[URL=http://s115.photobucket.com/user/Relaxin/media/Pizza%20Stone/IMAG0046.jpg.html]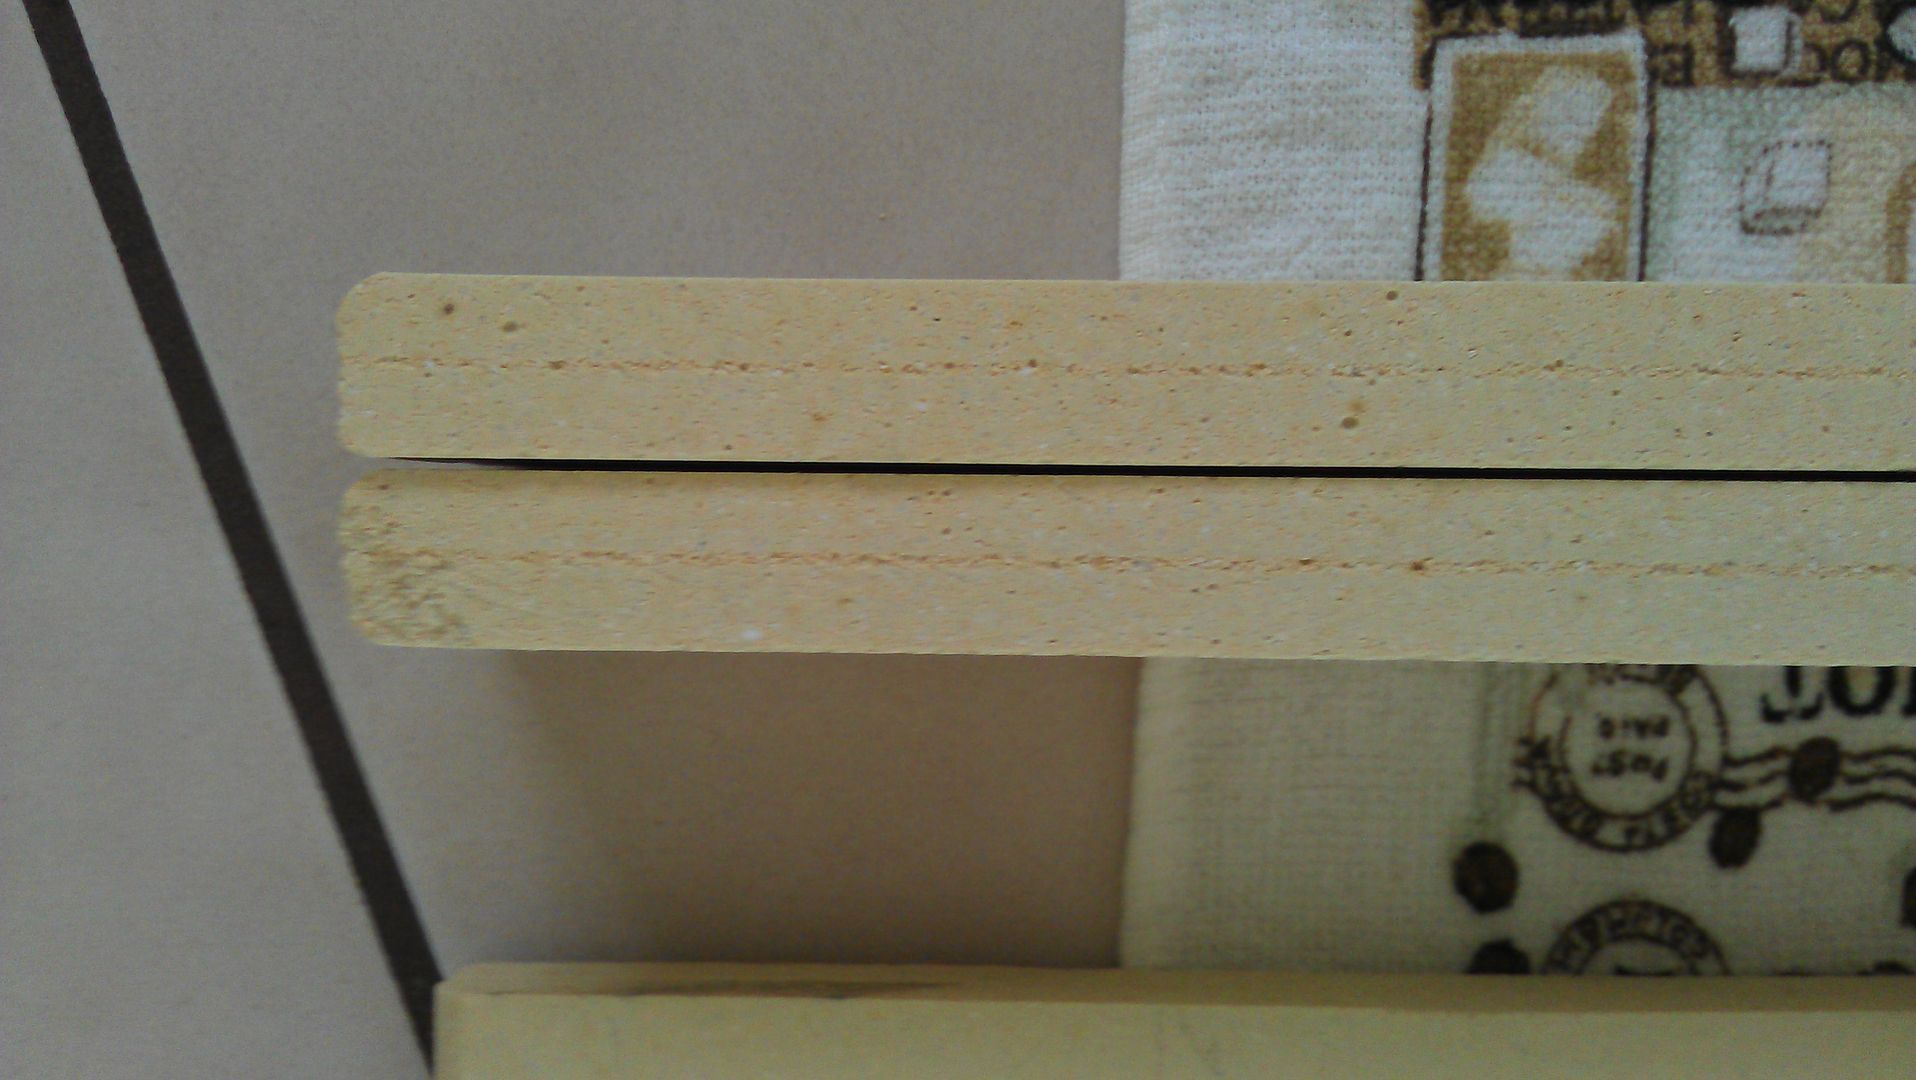 [/URL]
You may also see a little bit of blowout on the side of the tile where the cutting blade exits the tile. The side where the blade enters remains clean and sharp. This may be an issue if you don't plan to have the edges beveled. I would recommend that you finish the edges because they may still cut you pretty deeply if you're not careful. You may also want the blowout to appear on the less presentable side of the tile.
[URL=http://s115.photobucket.com/user/Relaxin/media/Pizza%20Stone/IMAG0049.jpg.html]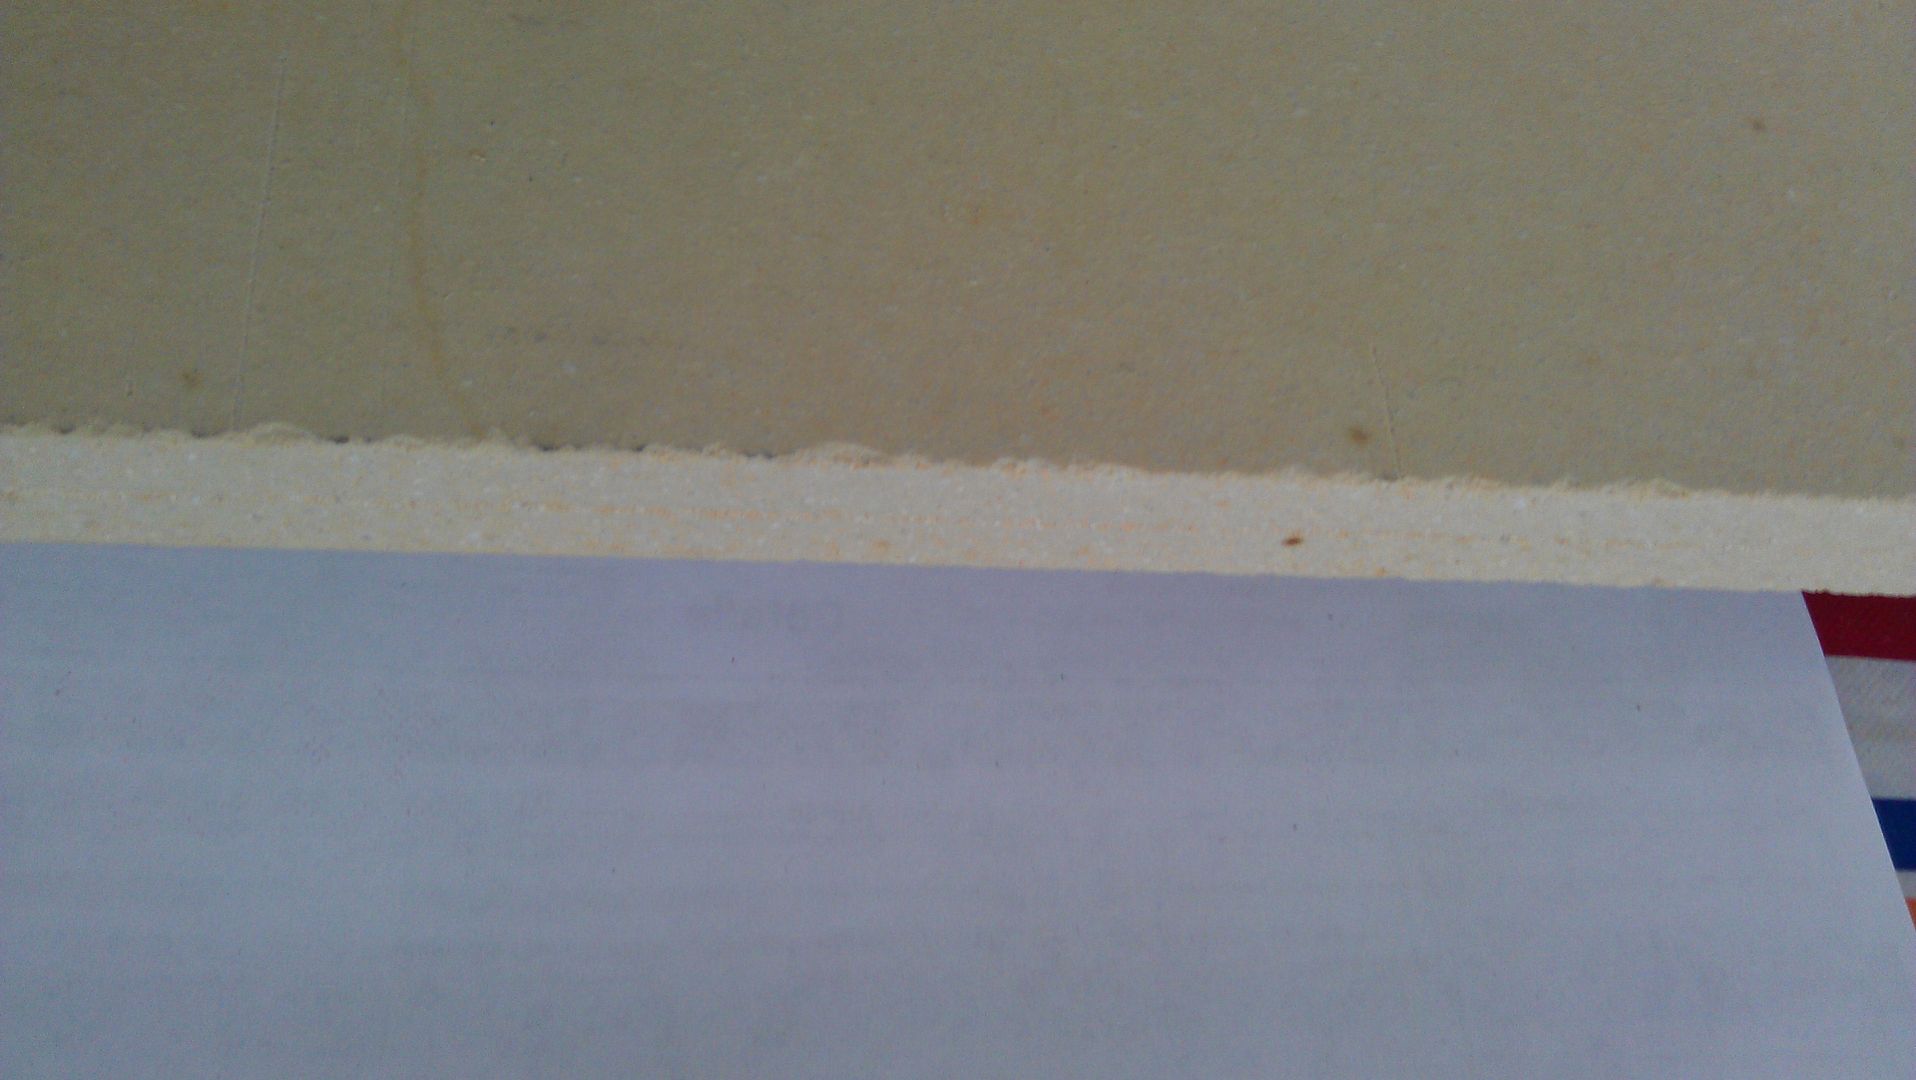 [/URL]
Here's a picture of what the tile as a whole looked like and where I had the cuts made. While examing the tile I noticed that it wasn't completely flat and had a slight bend towards one side of the tile when viewed on edge. Luckily it was towards the side with the manufacturing stamp in the bottom right corner of the picture. Removing from that side kept the remaining piece flatter and removed the date stamp from the intended cooking surface.
[URL=http://s115.photobucket.com/user/Relaxin/media/Pizza%20Stone/IMAG0040.jpg.html]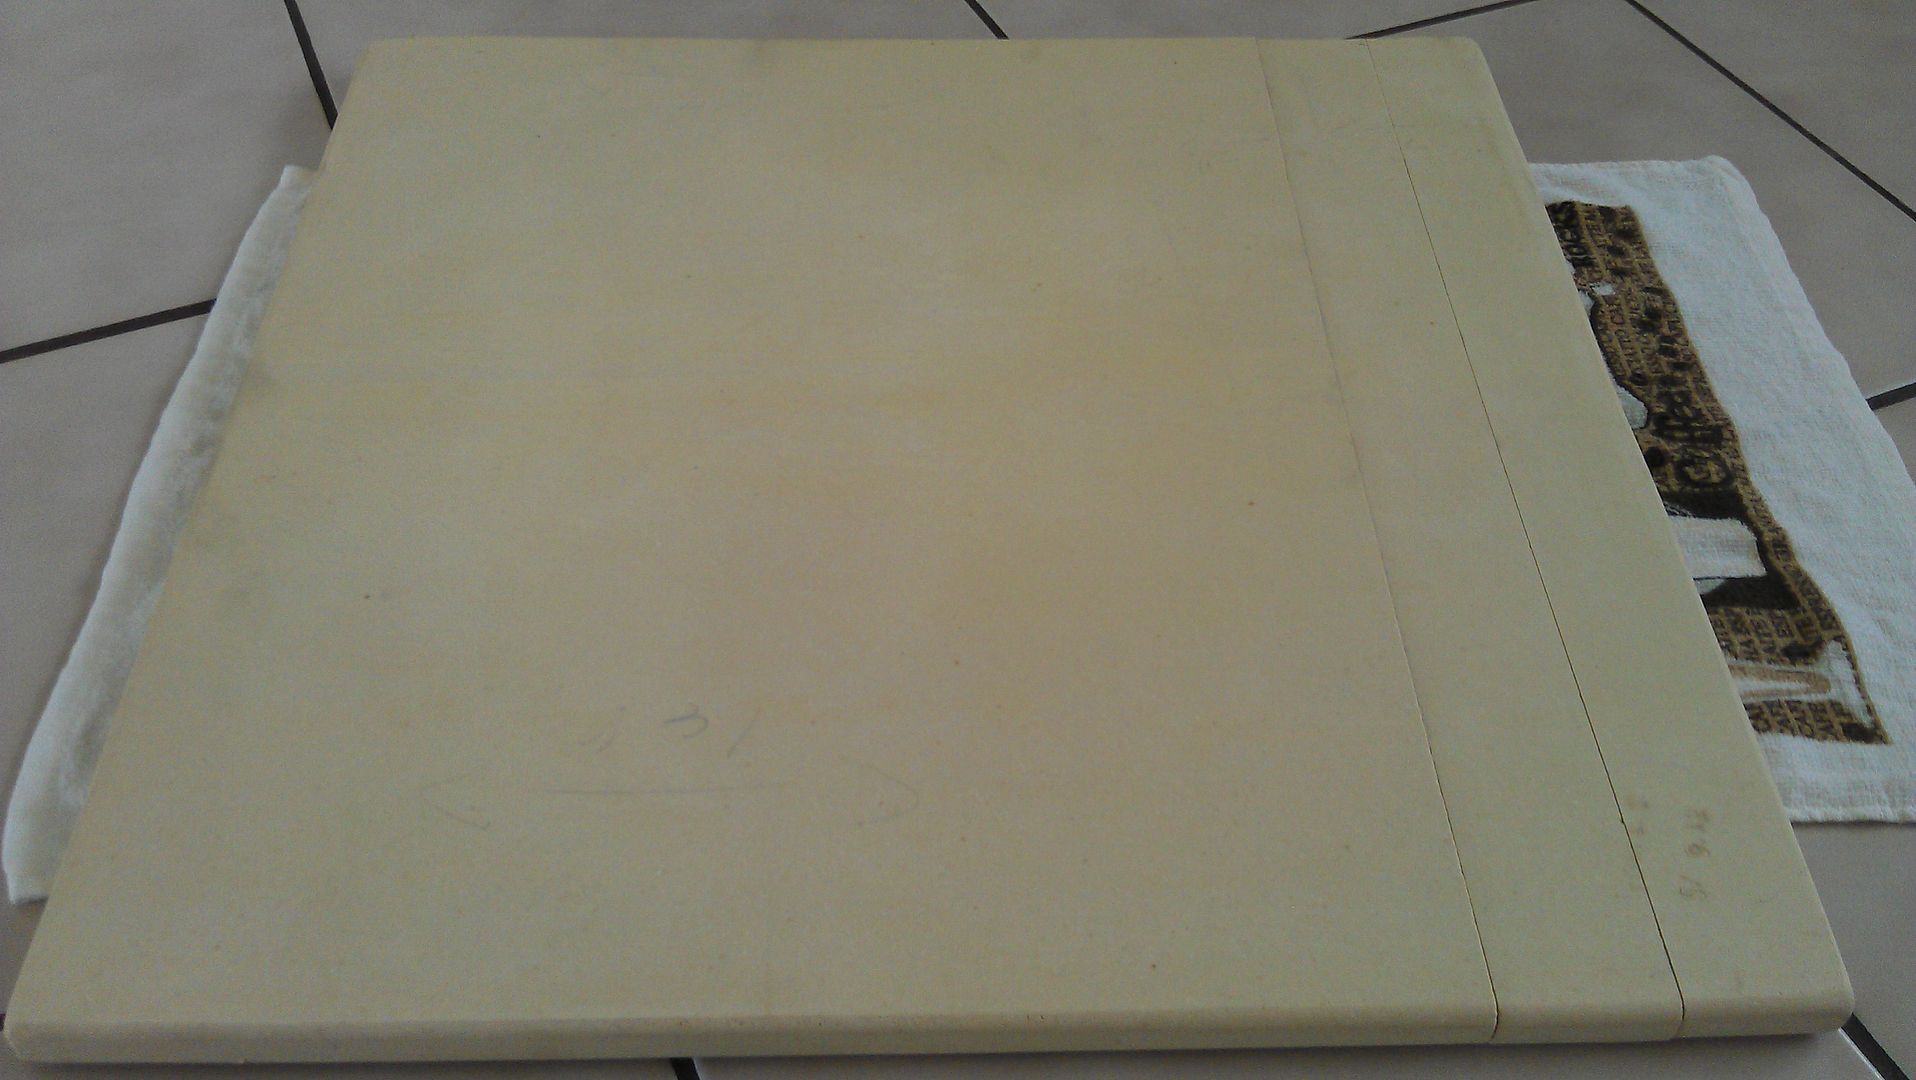 [/URL]
If I wasn't trying to maximize the cooking surface I'd probably cut some oval holes with a hacksaw on the sides for use as carry handles. But this will do fine for now. I hope this helps anyone out looking to buy cordiarite for their oven. If you have any questions or suggestions please let me know. Thanks!
keep us posted on how it handles. I just had some sopastone slabs cut for my oven. Very thick and takes some time to heat but work pretty nice so far. Some cracking after the first real bake. None since. I'll fire again this weekend and see if they continue to hold up. Hope this works well for you.
Josh
Curious to know the cost of a piece that size?
I bought one he had on hand for $50. I could have had one ordered for way cheaper but then It'd take a while for it to come in. Shipping anything to Hawaii seems to take forever and a day.
Lovely! thanks for the instructions and the ideas.
Do tell us how it handles heat, and how bread bakes on it.
-Khalid
Alright. I've used the stone for a few things here and there so I figure that I'm overdue for an update and some pics.
Preheating seems to take forever now that the stone is in the oven. Due to either the large of amount of mass added to the oven or due to how much I've restricted the amount of air circulation, preheating now takes over 40 minutes to maintain a steady temperature after opening the oven door. My oven is not a convection oven. I do all the bread baking with the stone centered vertically in the oven (level 3 of 5) so that I have enough room for a small pan of water on the bottom level just above the heating element. The picture shows the stone on the second level of 5 where I had used it for pizzas. At level two the stone surface is about 7 inches away from the broiler element on top.
[URL=http://s115.photobucket.com/user/Relaxin/media/IMG_20130710_184612.jpg.html]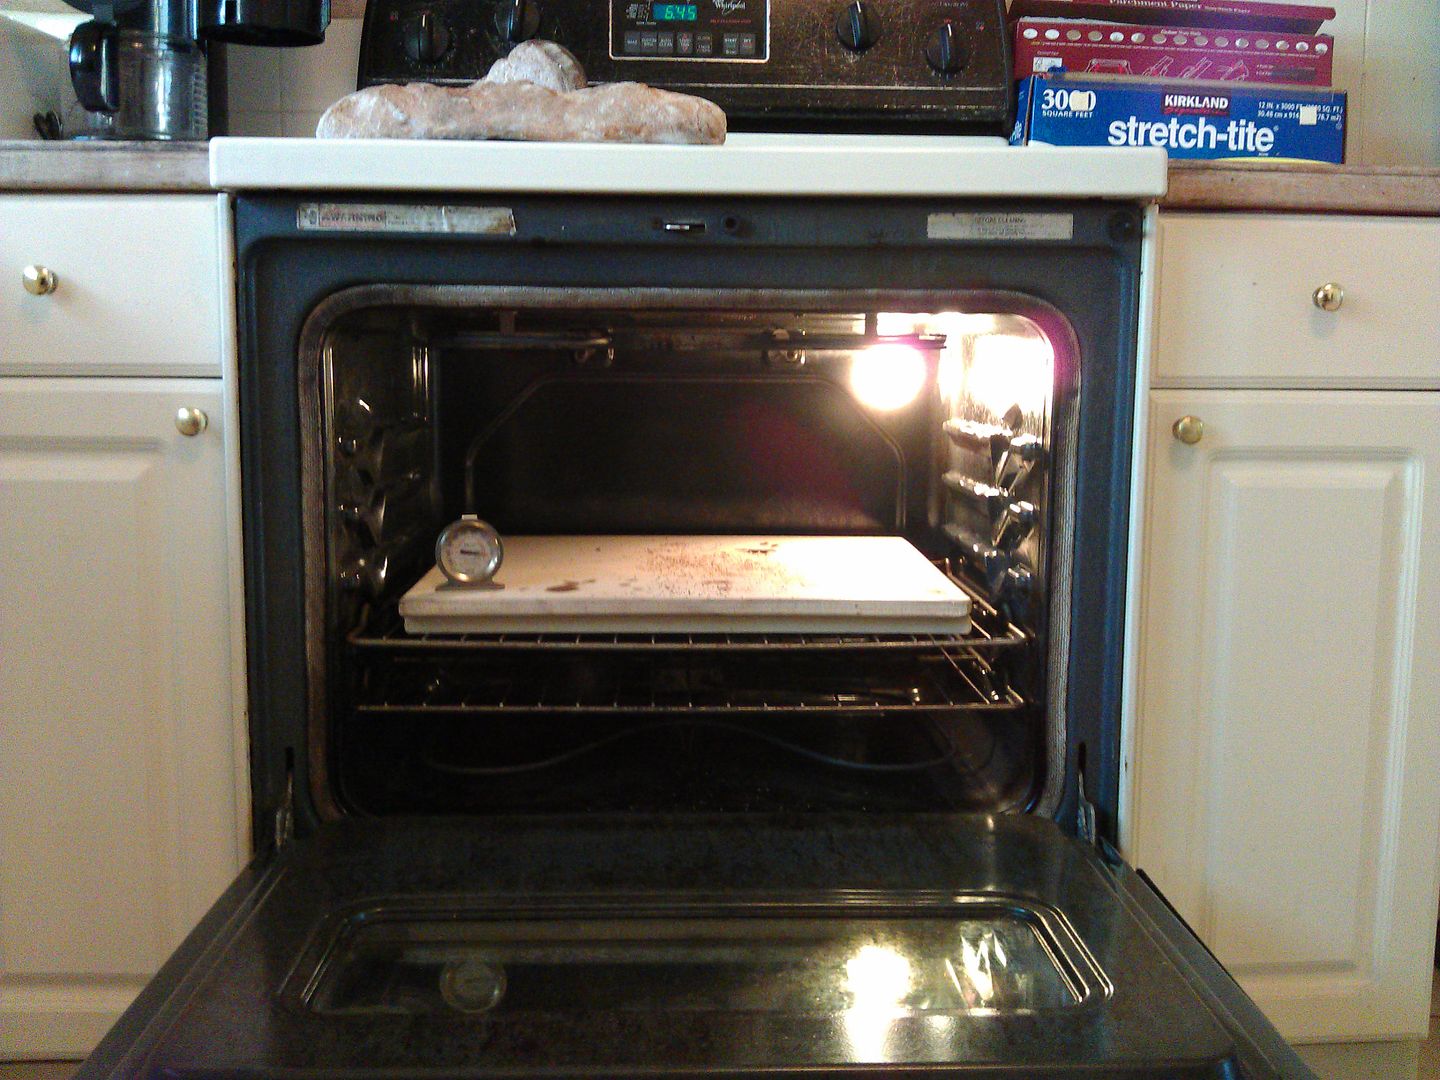 [/URL]
For my first batch of pizzas I preheated to my oven's highest temp (500degF) for an hour, switched to broil for two minutes and then dropped the pizza on the stone for 7 minutes. Then I rotated the pizza for one more minute. My oven doesn't cook very evenly. After switching back to bake the oven took another 2 to 4 minutes to come back up to temperature before I dropped the next pizza.
Three different Margherita Pizzas
[URL=http://s115.photobucket.com/user/Relaxin/media/IMG_20130710_184525.jpg.html]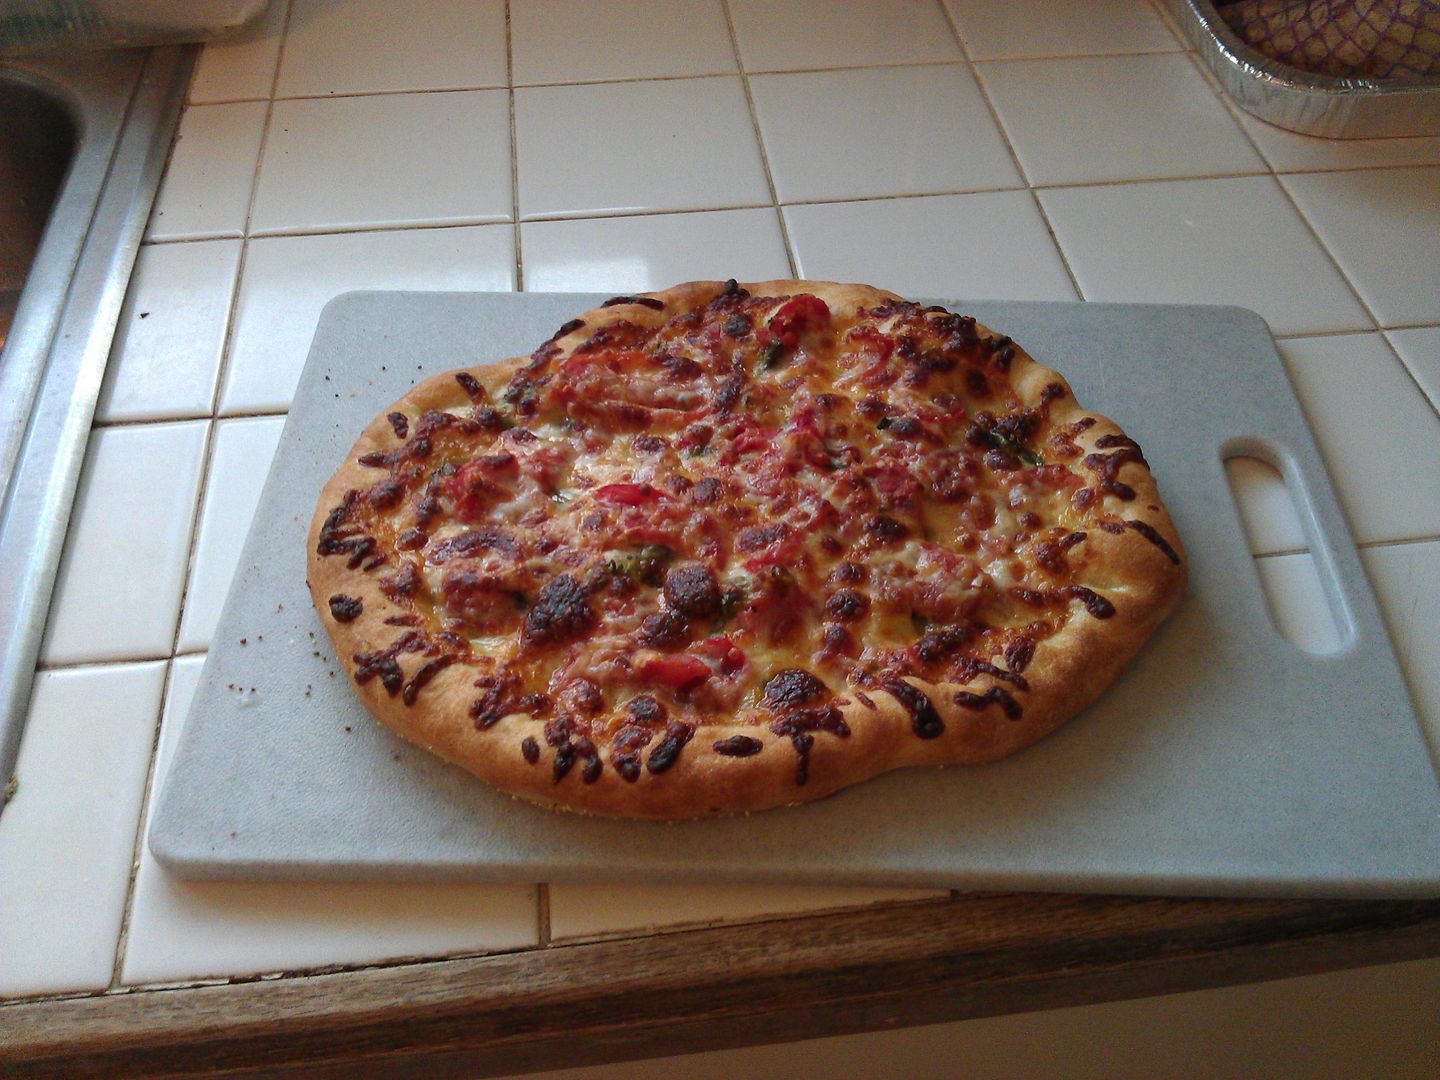 [/URL]
[URL=http://s115.photobucket.com/user/Relaxin/media/IMG_20130710_184536.jpg.html]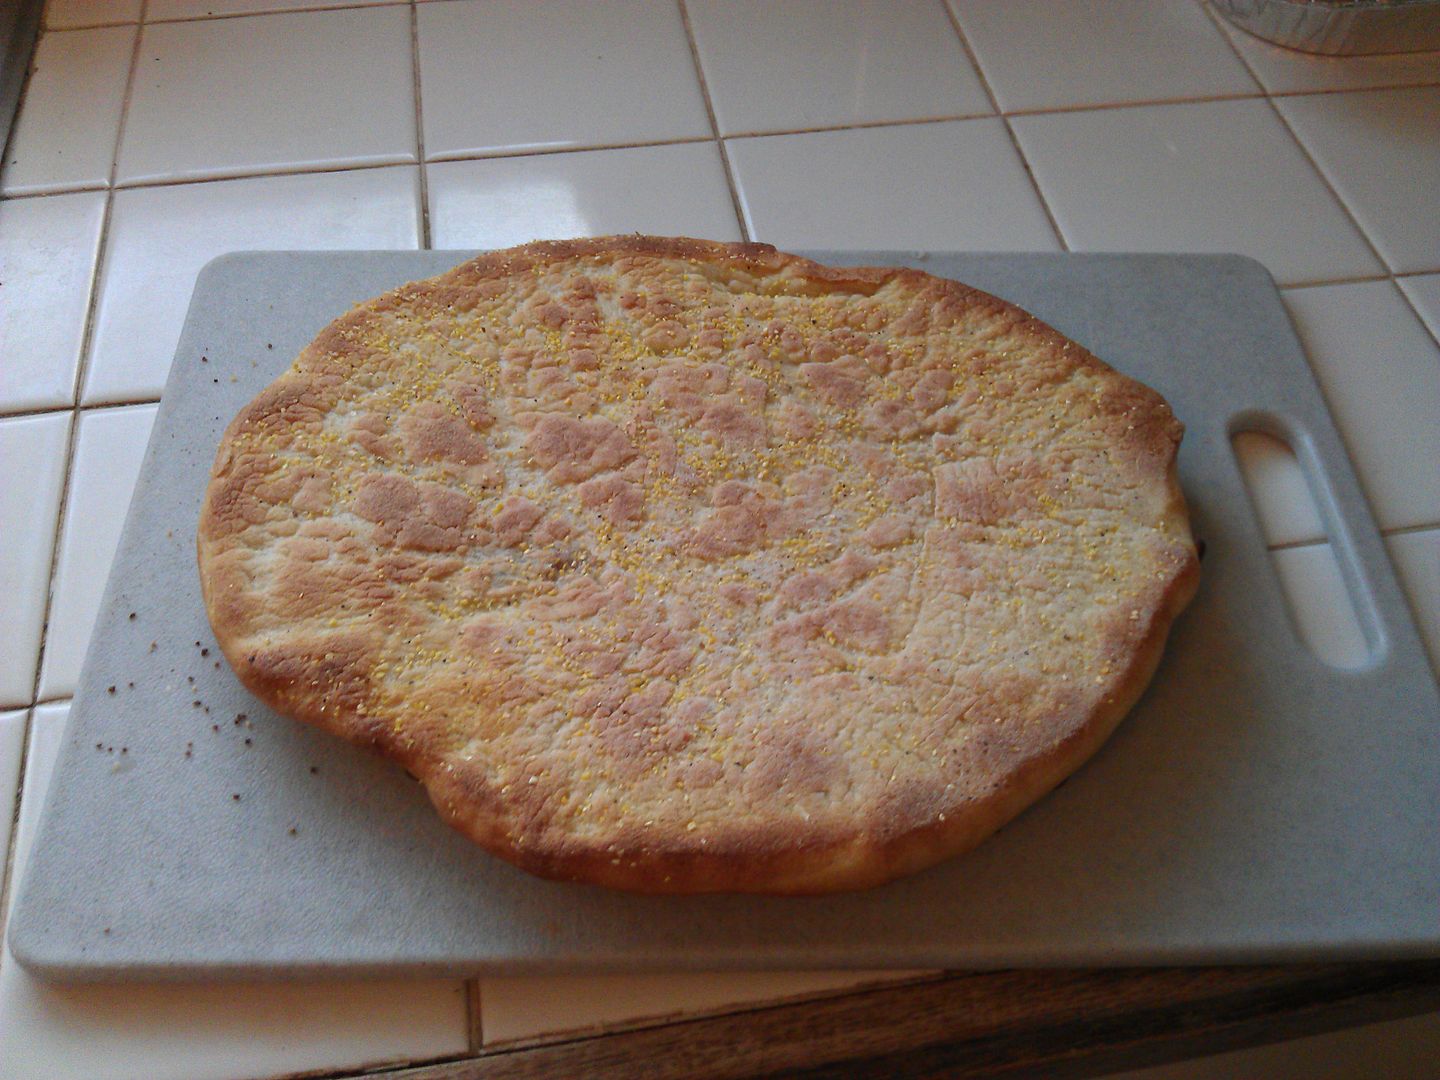 [/URL]
[URL=http://s115.photobucket.com/user/Relaxin/media/IMG_20130710_182044.jpg.html]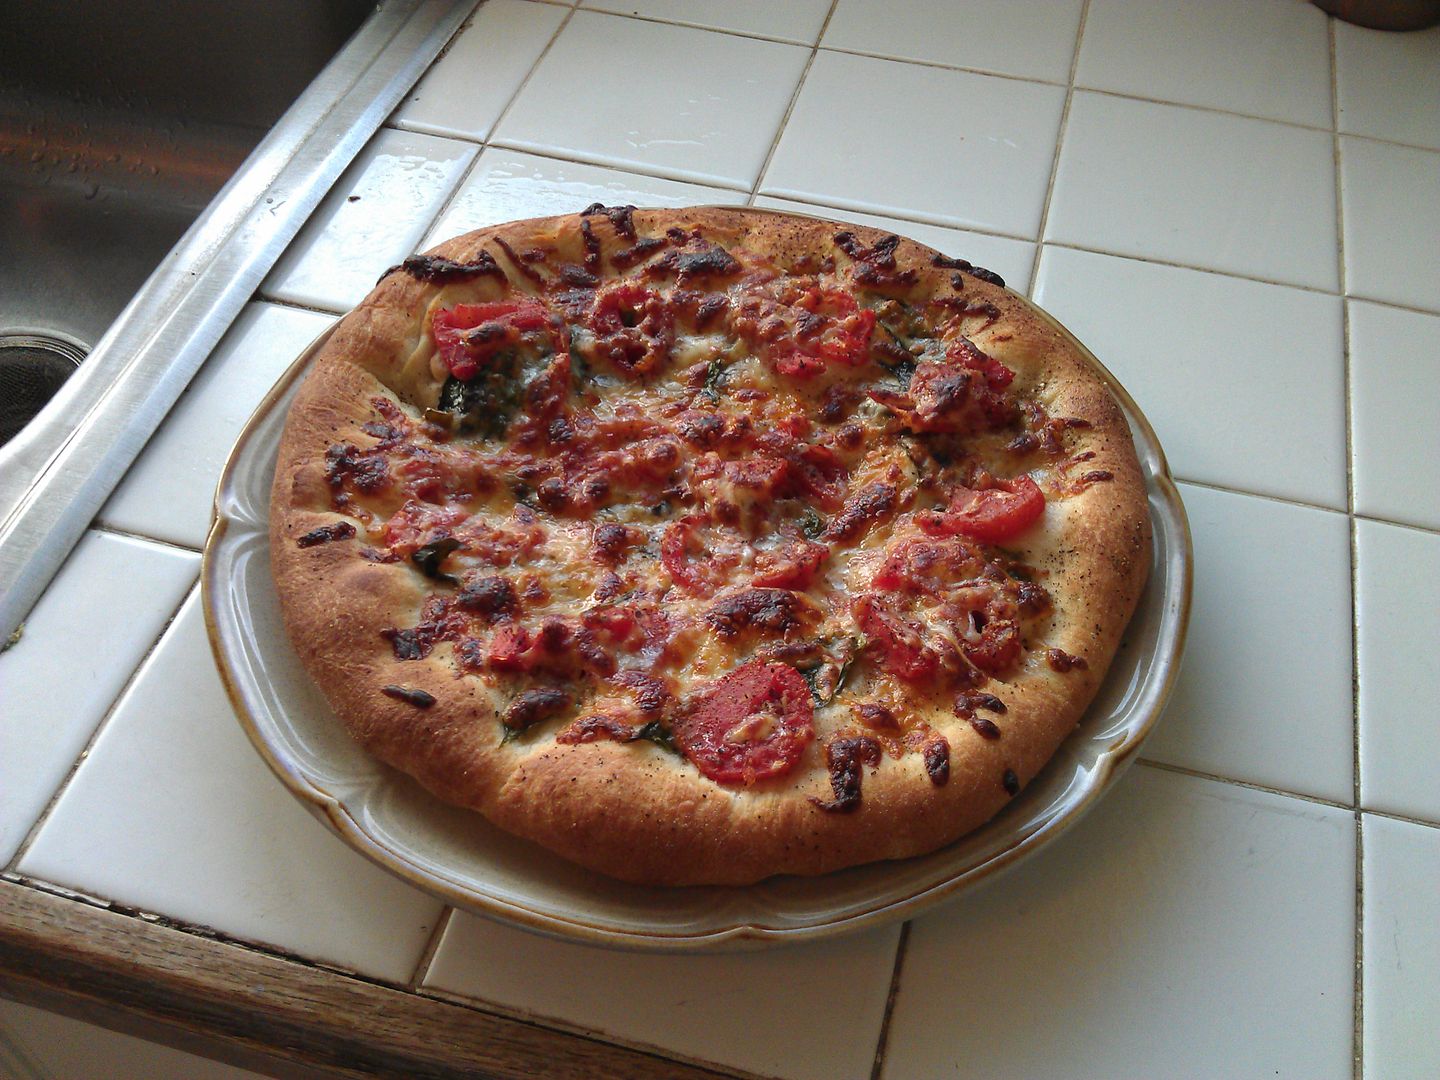 [/URL]
[URL=http://s115.photobucket.com/user/Relaxin/media/IMG_20130710_182057.jpg.html]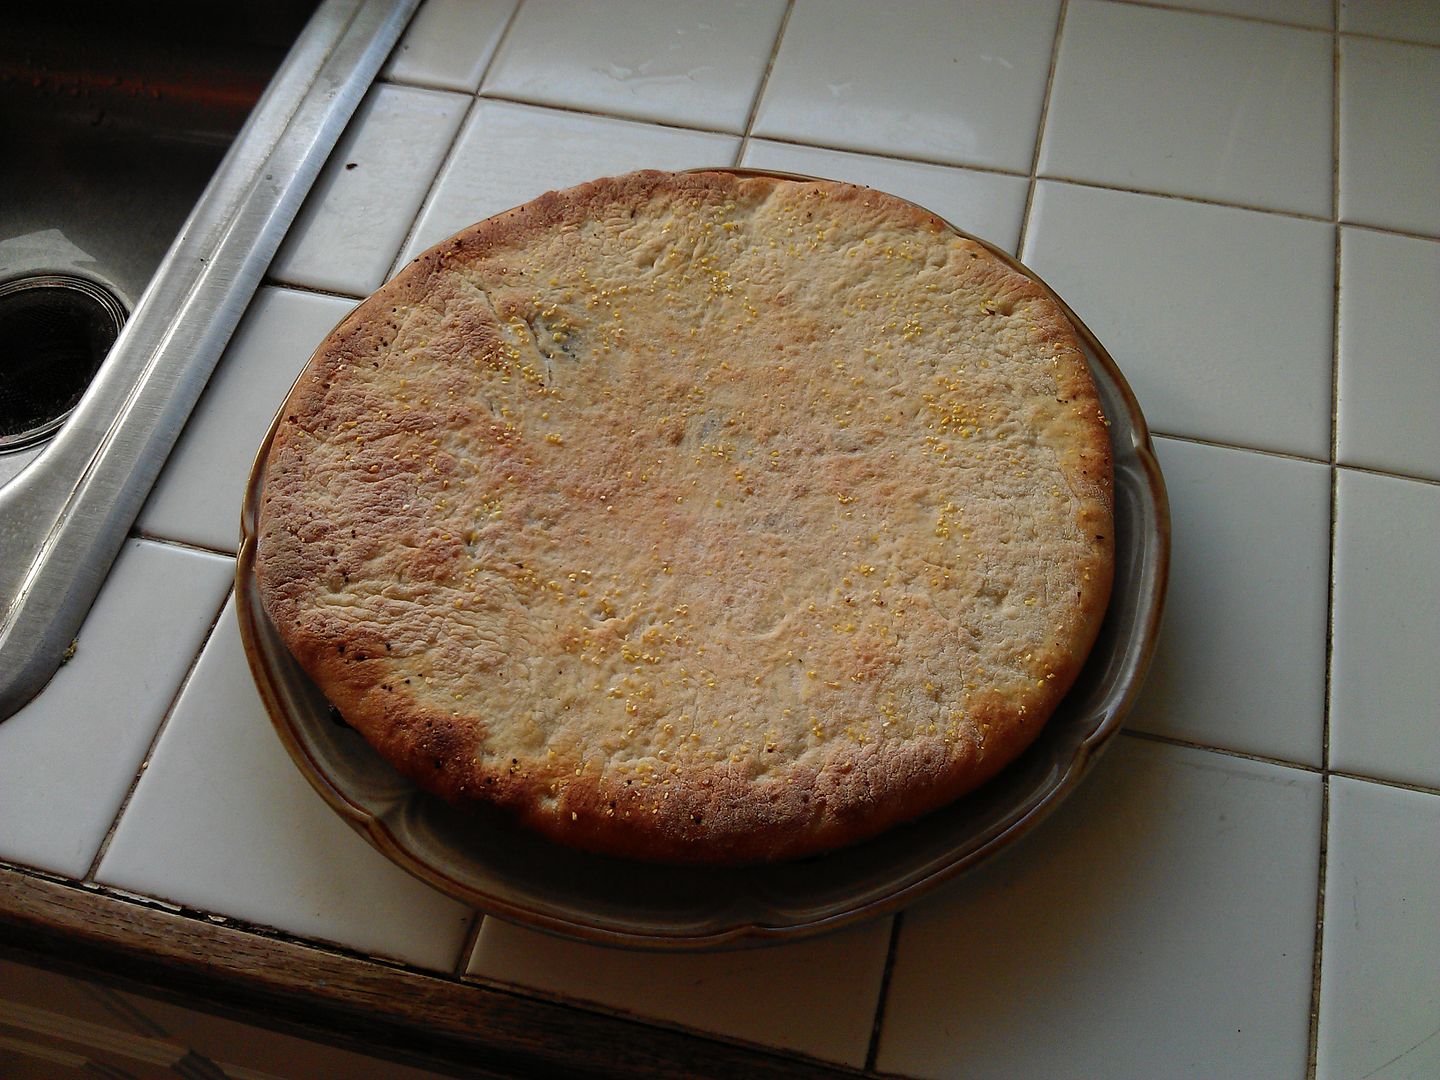 [/URL]
[URL=http://s115.photobucket.com/user/Relaxin/media/IMG_20130710_180502.jpg.html]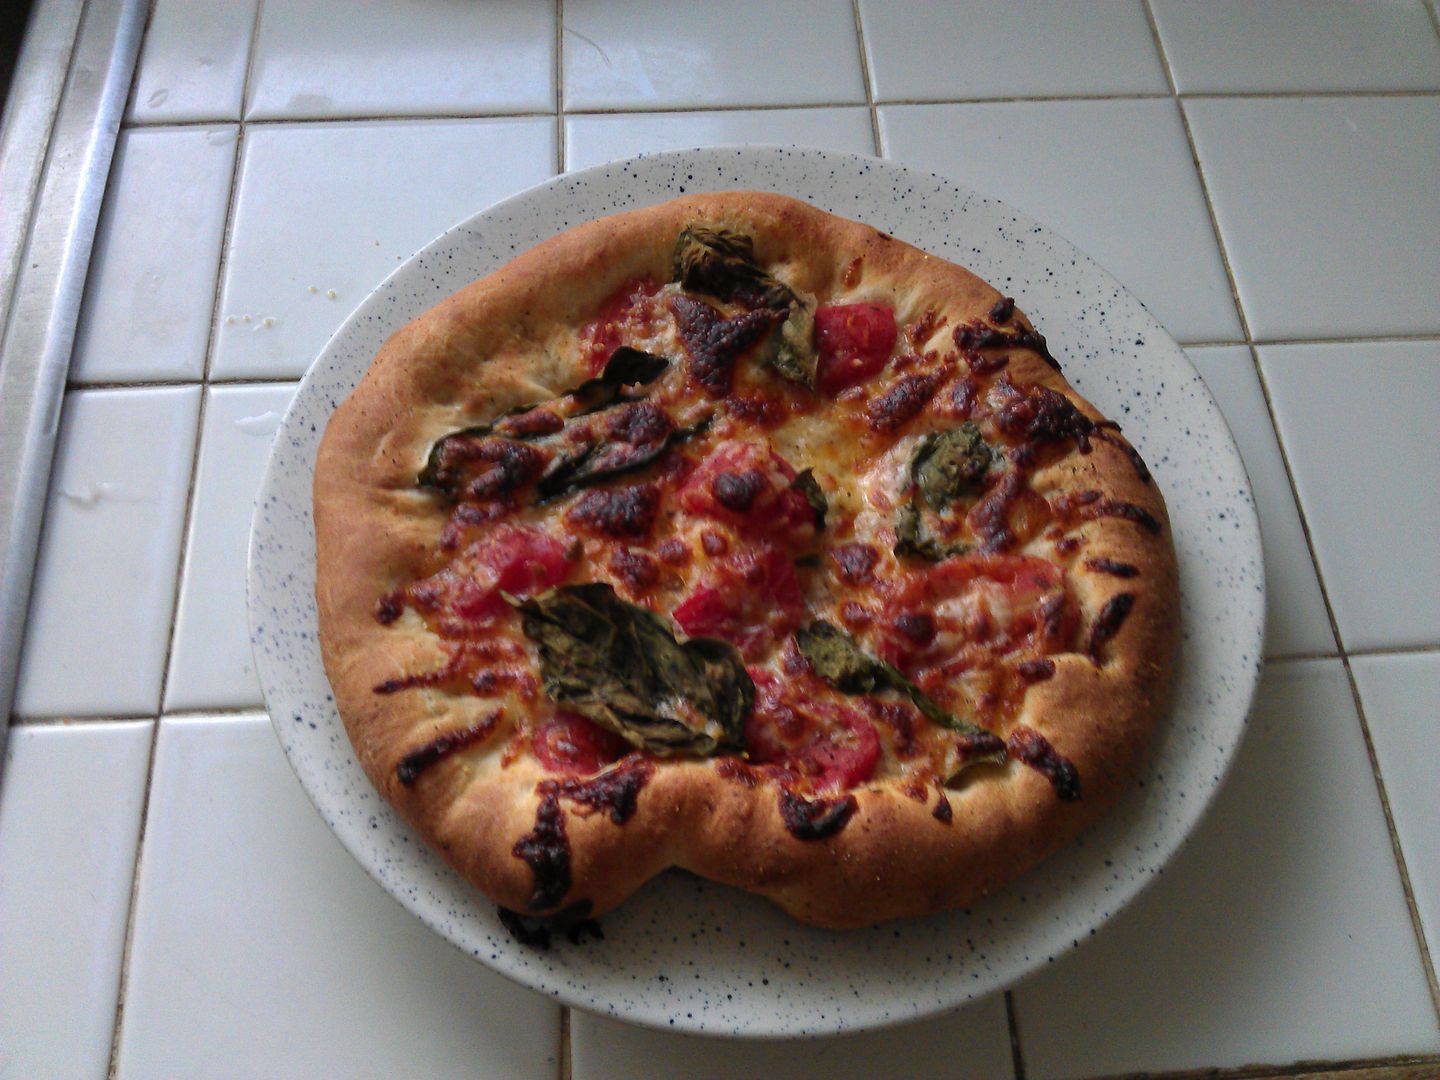 [/URL]
[URL=http://s115.photobucket.com/user/Relaxin/media/IMG_20130710_180514.jpg.html]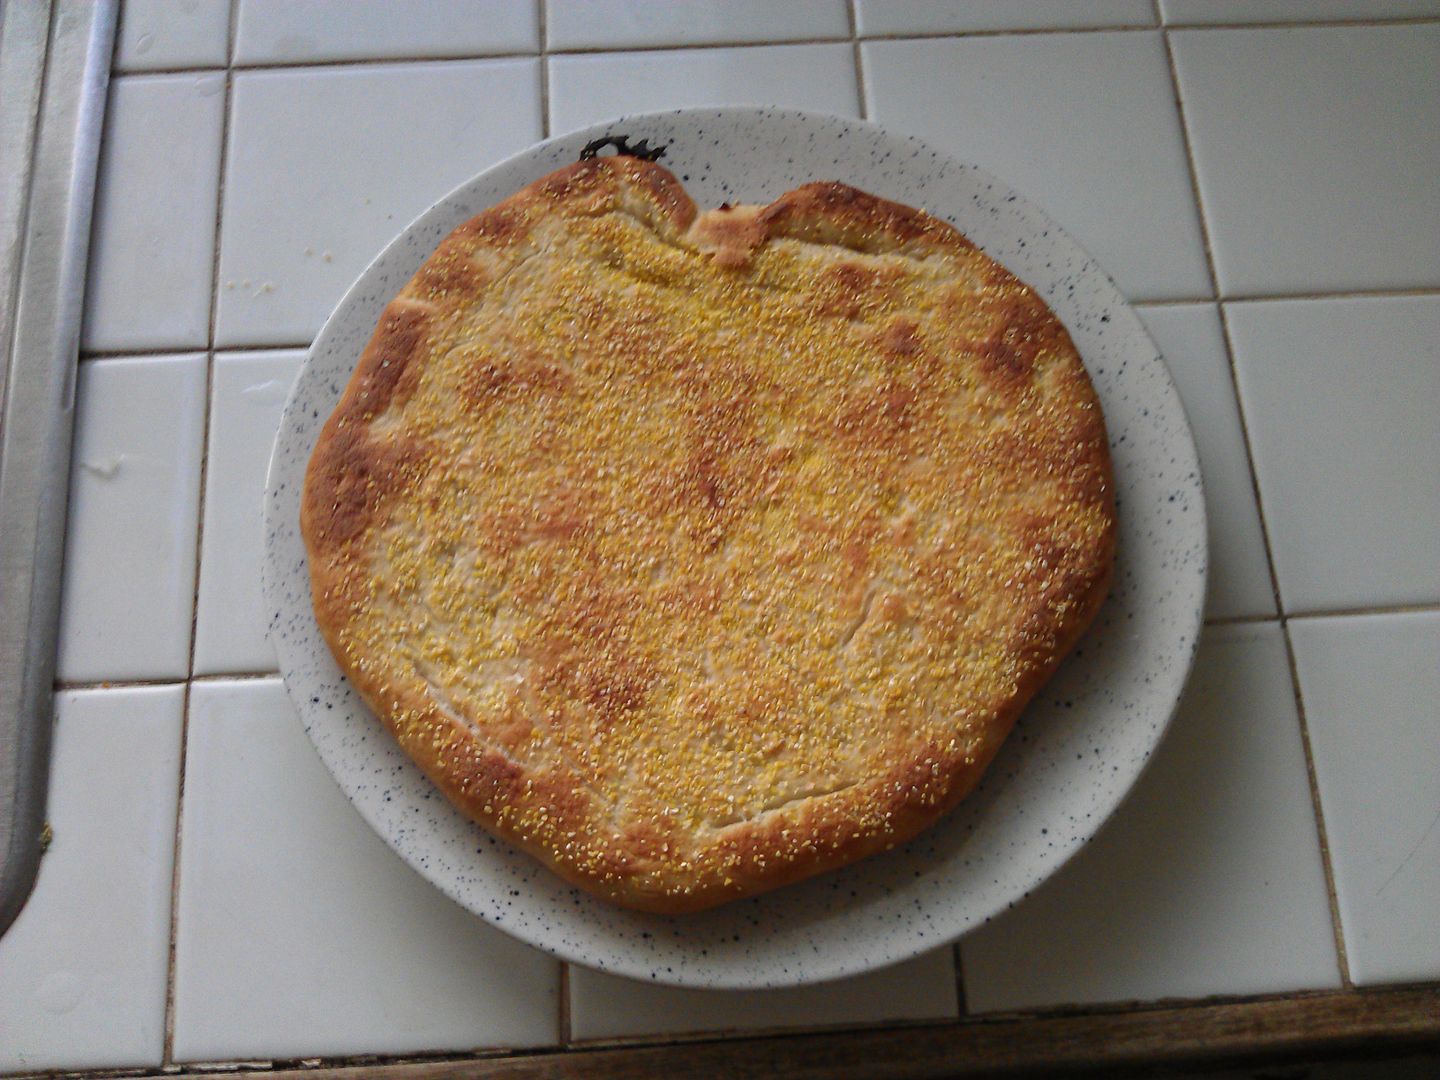 [/URL]
The following picture is from a second set of pizzas that I've cooked. It shows the kind of crumb I'm getting at the crust. I didn't think to snap a pic from the first set of pizzas but both sets turned out pretty much the same.
[URL=http://s115.photobucket.com/user/Relaxin/media/IMG_20130711_134622.jpg.html]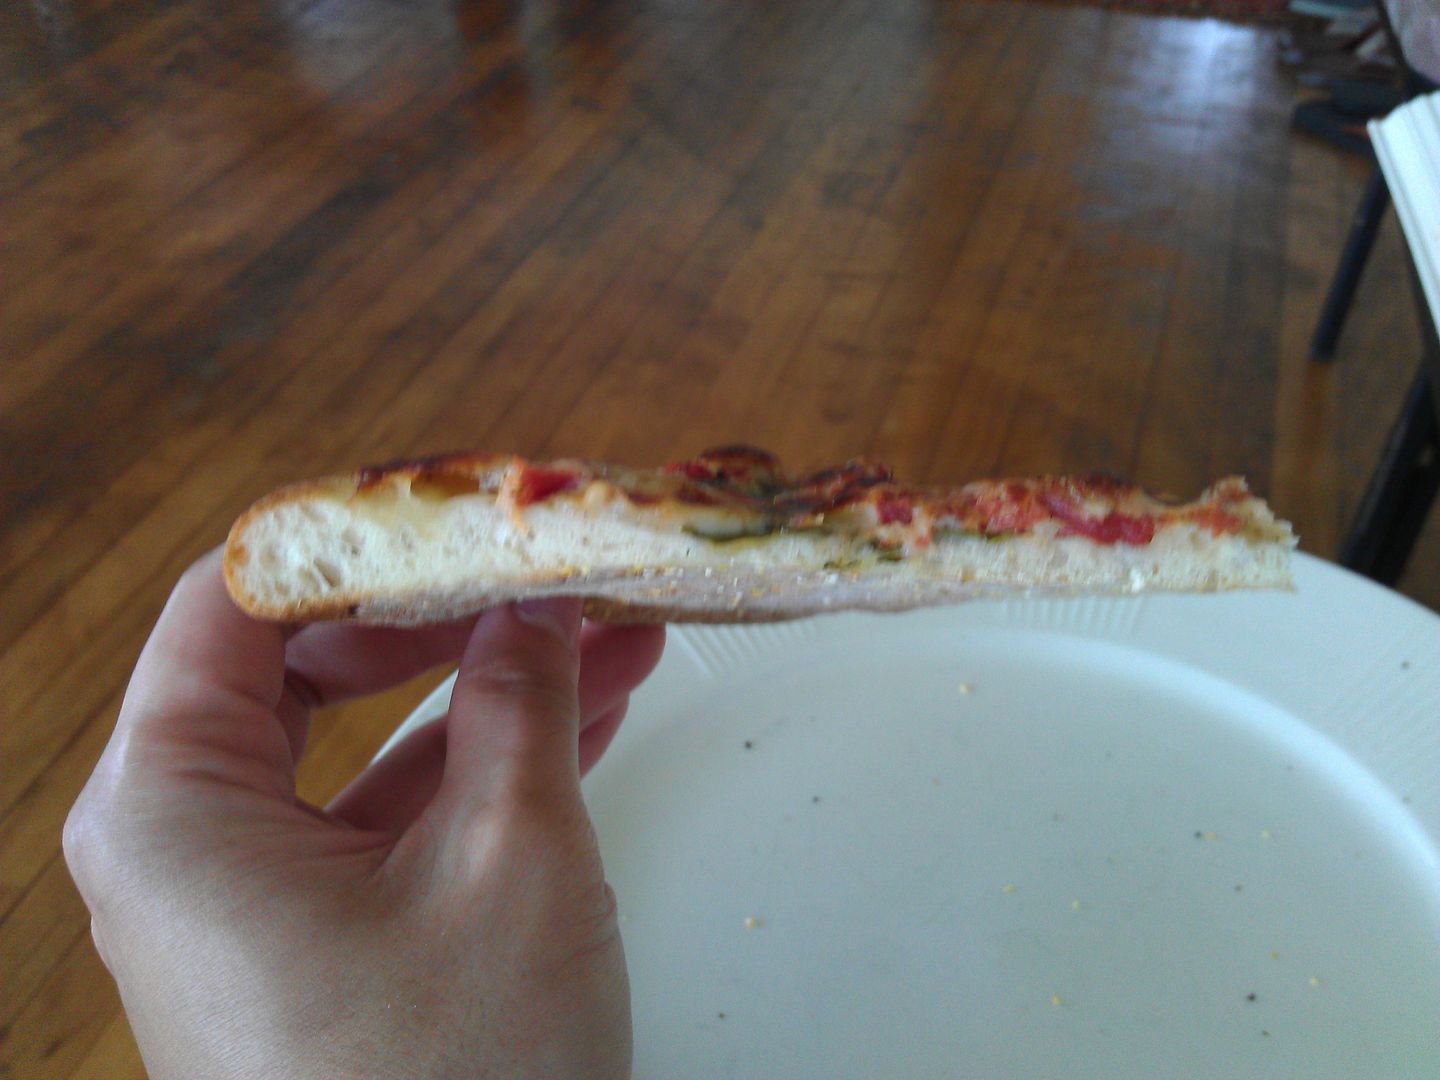 [/URL]
Bread loaves all come out with a thick, crispy crust that I hear crackling while cooling when I take them out of the oven. I apparently have some techniques to work out with this particular oven because everything is coming out too dark. However the crust is even all the way around. I'm also using a very large ground cornmeal (Golden Pheasant Polenta.) One of these days I'm going to have to throw some into a blender to grind it down a little more. It just seems too large for sliding stuff on and off the stone. Unfortunately I don't have a food processor. The following picture is after cooking the first two pizzas listed above before sweeping the surface. The oily stains are from toasting buttered french bread slices. There's puffy burnt mozzarella cheese towards the back right.
[URL=http://s115.photobucket.com/user/Relaxin/media/IMG_20130710_182318.jpg.html]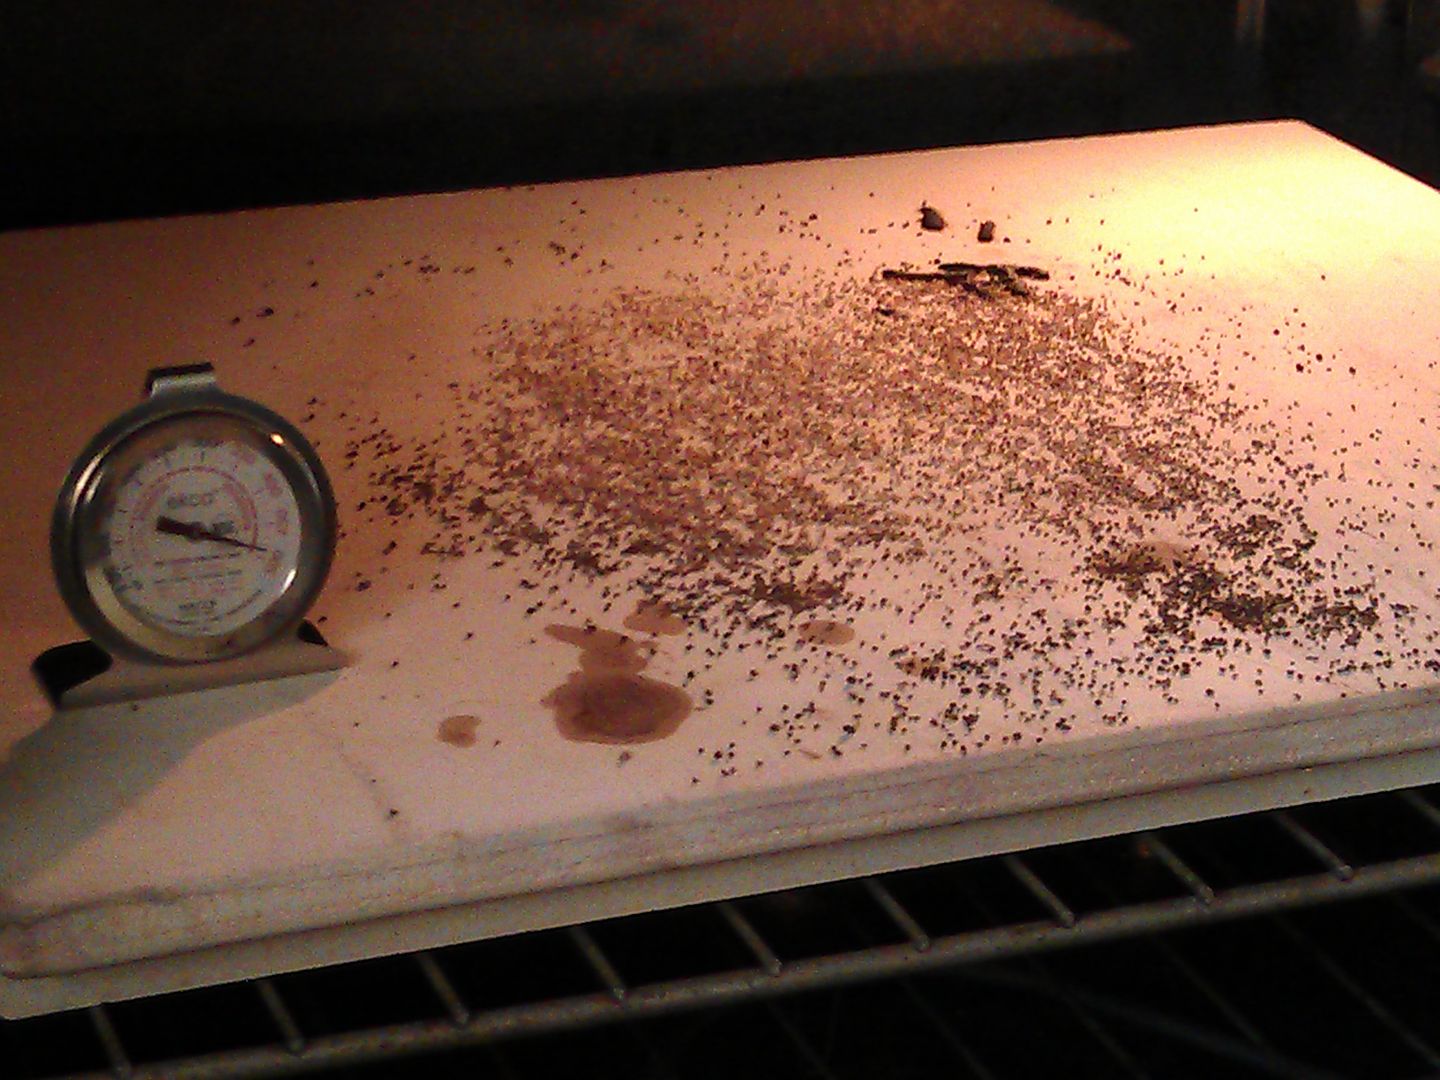 [/URL]
[URL=http://s115.photobucket.com/user/Relaxin/media/IMG_20130708_083706.jpg.html]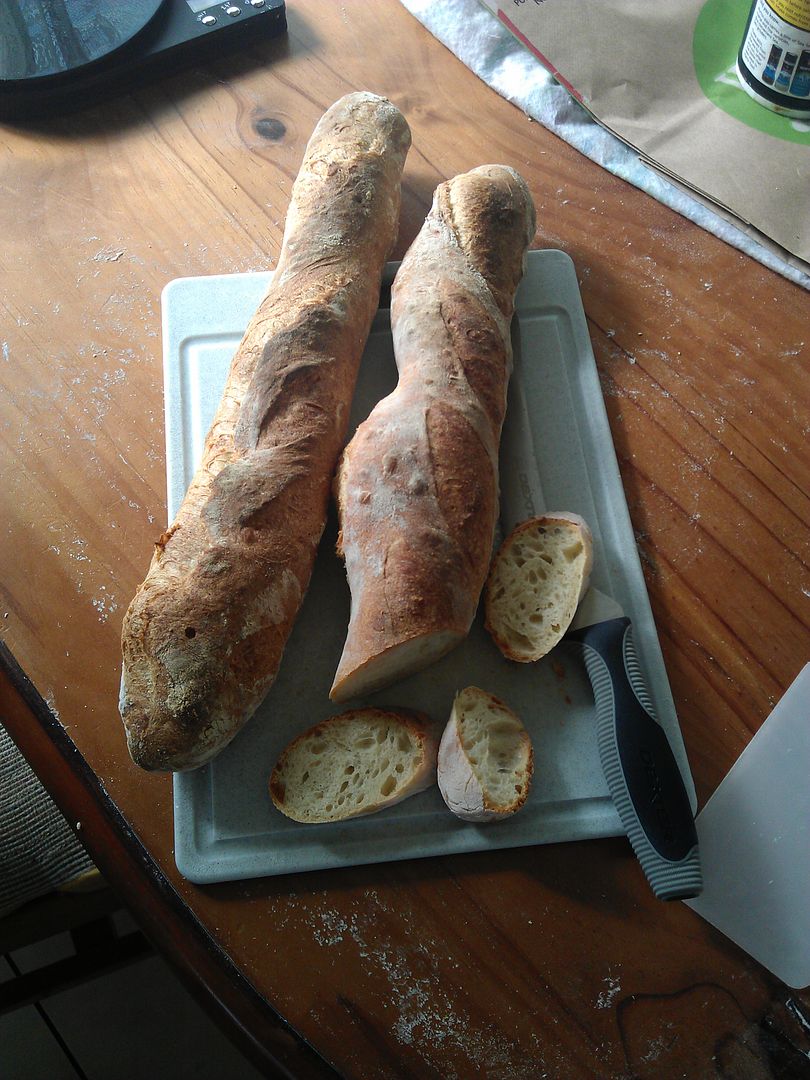 [/URL]
[URL=http://s115.photobucket.com/user/Relaxin/media/IMG_20130708_083758.jpg.html]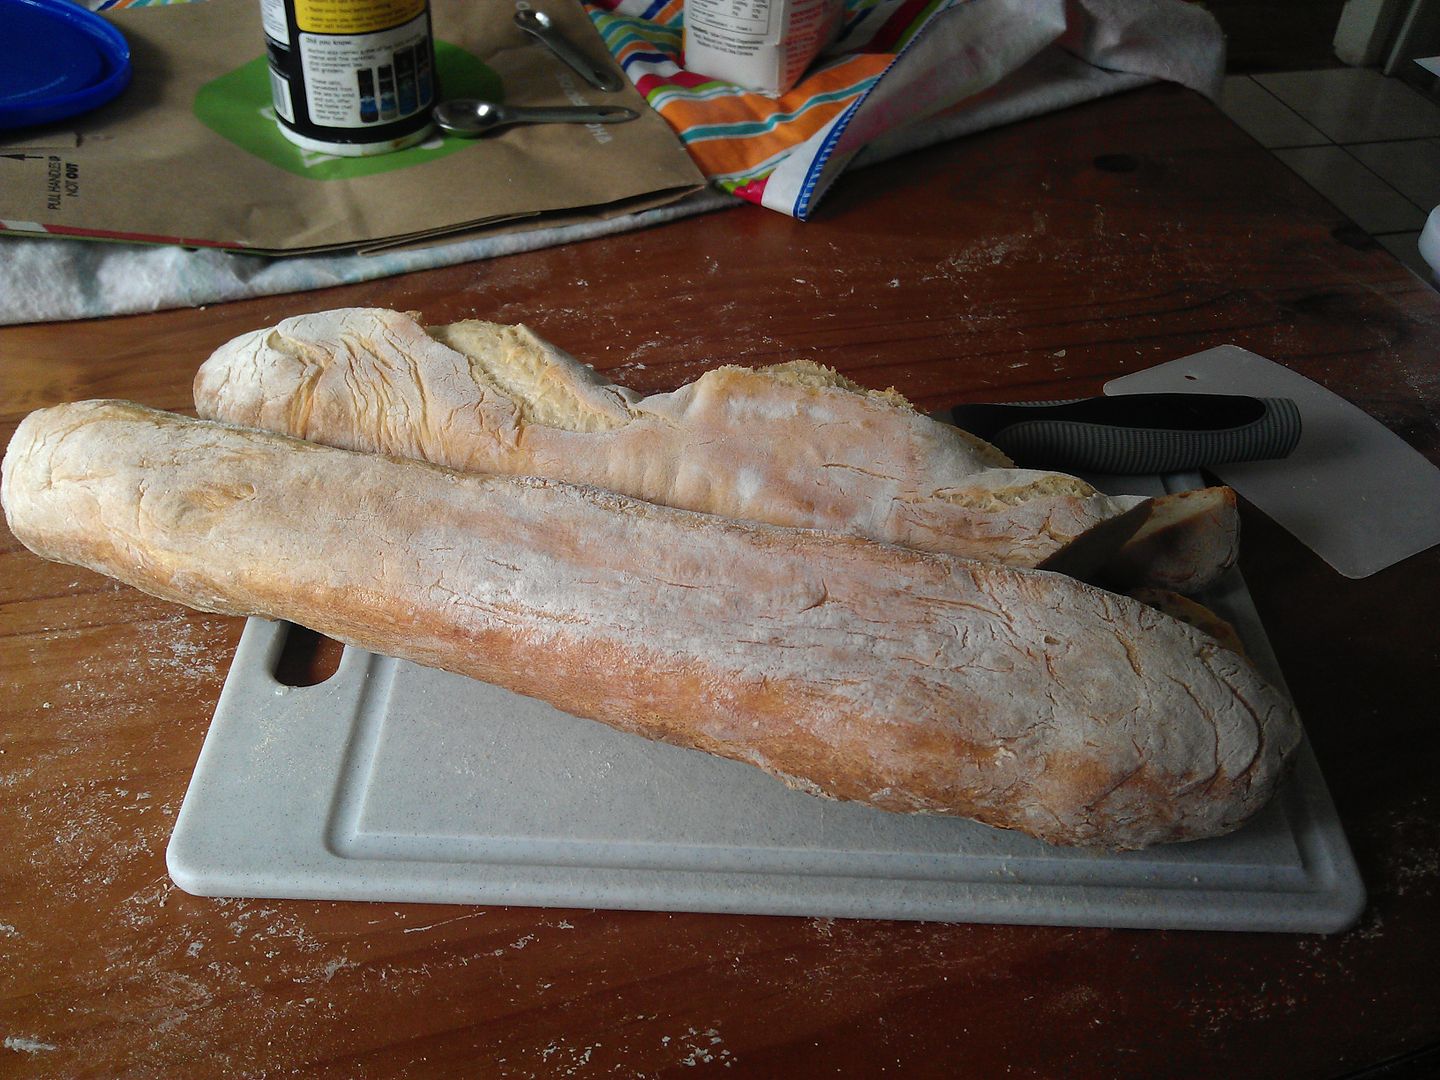 [/URL]
Do be careful when using plastic cutting boards as a pizza peel. I found that I was burning the corner of the plastic board shown above on the stone. I have bits of burnt plastic on the surface of my stone. I've since flipped it over to cook a little more on it but soon I'll be headed to the hardware store to pick up a sanding block to resurface the side with burnt plastic.