Continuing my journey though The Bread Bible, I finally had both the flour and the time to move on to the third recipe, onion rolls. Since the basis of the rolls are the previous French white recipe, which with I've had repeated success, I'm not going to bother explaining that process. If interested, you can see my first attempt at that pain ordinaire here: http://www.thefreshloaf.com/node/25195/pain-ordinaire-bread-bible
Onion rolls made me so nervous I actually put off baking them for a bit. My trepidation arose from two facts: First, other than Betty Crocker casseroles and slow-cooker stews, I'm not much of a cook at all, so the onion cream really intimidated me. Second, I didn't generally like onion rolls (or so I thought, until I gave this recipe a spin), so I wasn't even really sure what they should look or taste like in the end. I was hoping my husband's penchant for onion bagels would get me through, though of course a bagel isn't a roll, so who knew how helpful that would be.
In the end, I sucked it up, reminded myself you don't learn by not trying, and plunged in. First, I prepped the onion-cream filling:
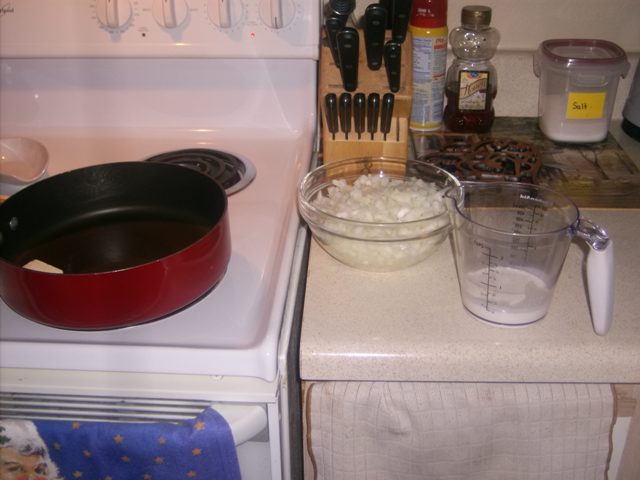
I couldn't help but think that perhaps I was wrong about onion bread--after all, how could anything, especially a bread, made with this much butter and heavy cream possibly be bad tasting?
But then, my love of butter and cream probably verge on unhealthy...but I digress.
The butter melted, I poured in the cream, it simmered, I stirred, and so it went. I watch a lot of Food Network and decided that cooking the onions "until clear" was a good place to start. Of course, the clarity was difficult to assess with the cream in there, but I pressed onward nonetheless.
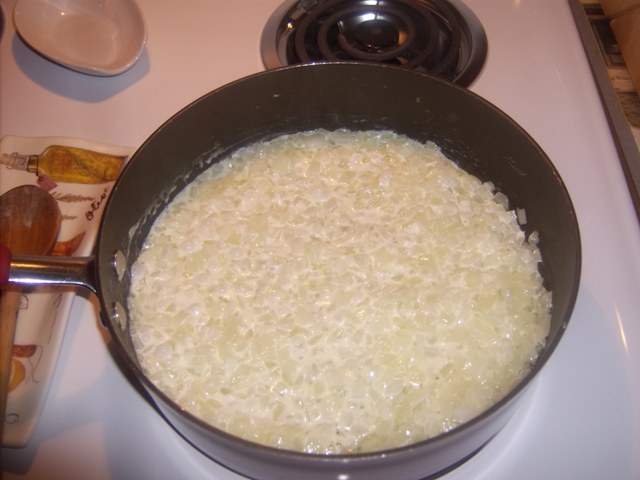
This is the mixture before I reduced it:
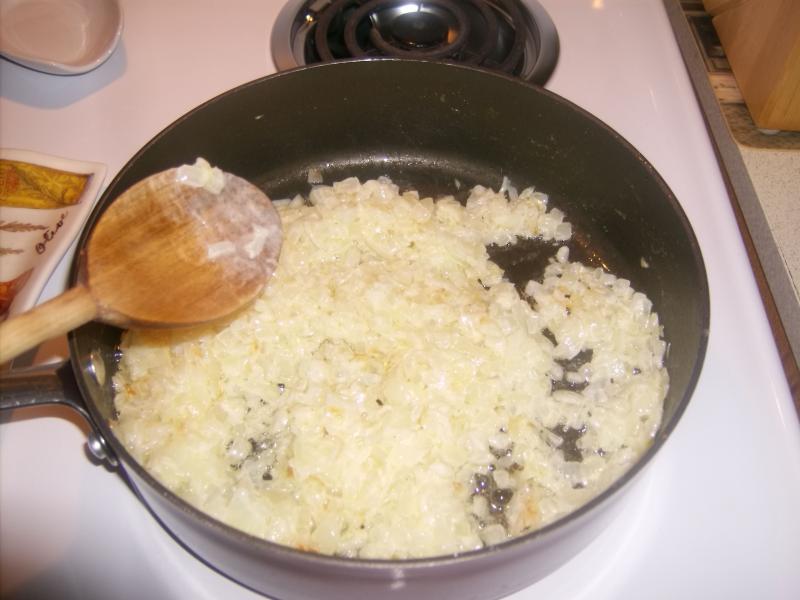
And this is the mixture reduced (or, at least, what I thought was reduced; by all means, any cooks out there feel free to chime in and offer some tips):
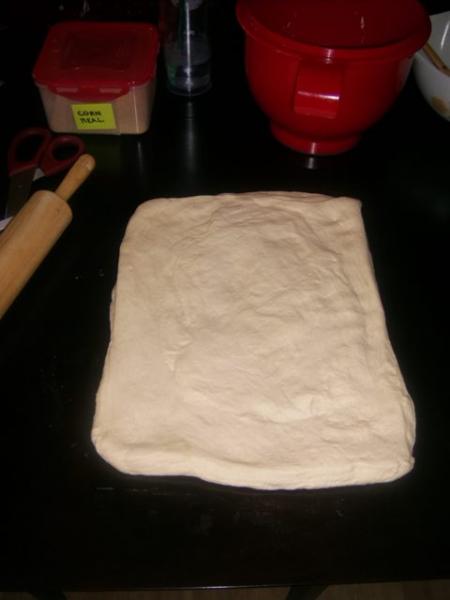
 I should mention that I was, in fact, pleased with the French bread dough:
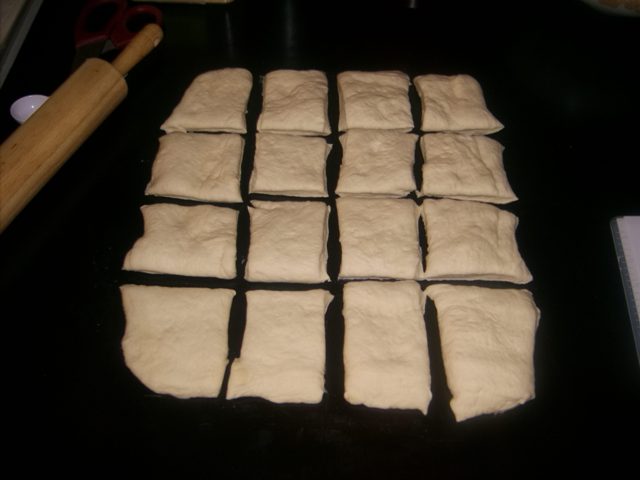
While the onion mixture cooled, I made the rolls using a neat trick I got off a Betty Crocker forum:
(i.e., making squares, then tucing the corners in underneath, pinching the seam, rolling gently a few times for shape, and voila! A roll!). While this trick does work well, I'm still hoping that Santa brings me a food scale this year because getting even dough divisions continues to be difficult and I'm worried on day I'll come across a recipe it really impacts.
I used kitchen shears to cut an X into the dough, as instructed, and smushed down my fingers in the middle pretty deep. This is where I got concerned--it didn't seem as though there was enough room for 1 tablespoon of onion filling, let alone two. Still, I pressed onward:
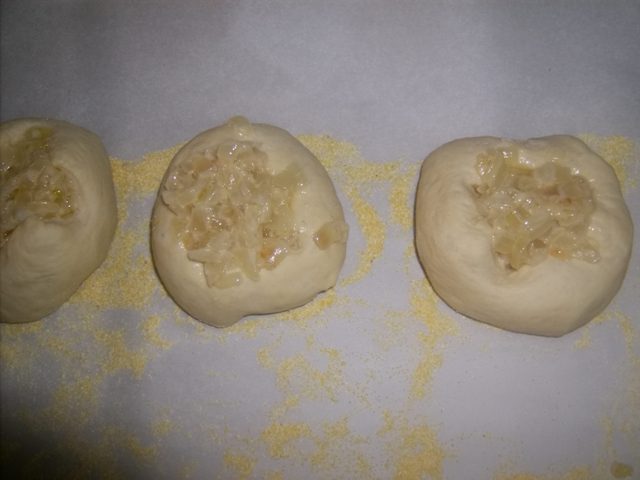 They really did seem rather overstuffed at this point, and I was getting more and more worried.
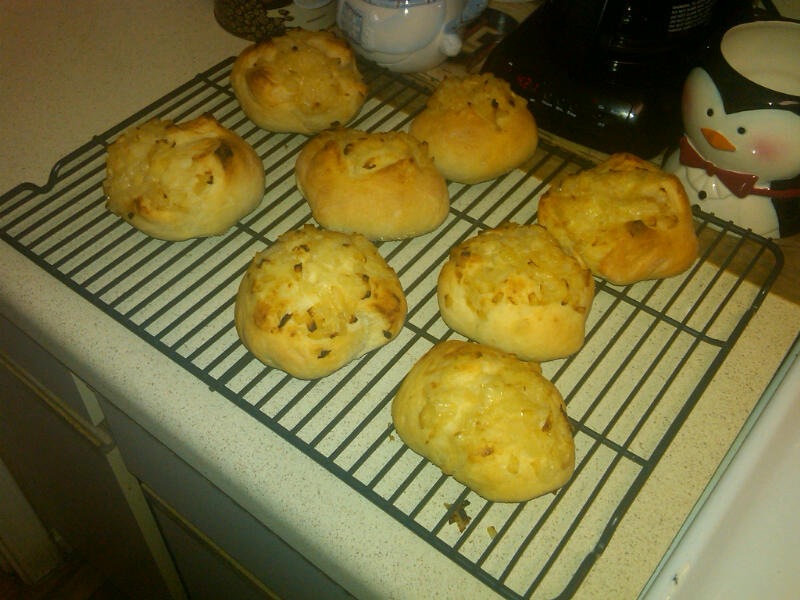
Surprisingly, however, by the time they were ready for the oven, I had run out of the filling: In they went, and the results were I think pretty ok.
On the one hand, I learned the importance of letting the "legs" of the roll surround the filling because it really bakes the filling in. The roll portion came out lovely, I must say, but I was kind of disappointed that the onion filling wasn't more integrated into the bread. Ultimately, it seemed more like a topping, but that might be how it's supposed to turn out. The oninons were also very wet and only a little blackened. I notice on onion bagels, the onions on top at least are charred.
Still, my hubby and I did eat them pretty quickly, but I'm wondering if I shouldn't bake these again to work on filling technique before moving on to the flatbreads listed next. All feedback welcome!
- Shutzie27's Blog
- Log in or register to post comments
I think you did a good job and I concur that you might want to explore shaping. Some of my thoughts ... first I'm having a technical difficulty.
Dolly saw your rolls and has crawled into my lap between me and laptop resting on my left arm. She loves bread! I think she approves of your rolls too!
Shaping ideas: We both know that scoring will weaken the outer skin of the roll/loaf and encourage the expanding dough to open and rise through it. So if you don't want the centers to push & rise up, then maybe another solution is worth checking into.
After shaping dough squares into rounds, let them relax a few minutes and then press the middles flat forcing the outside thicker.
Another idea would be to roll the squares into coils and rest, roll them up like a snail shell tucking the moistened end under and top with onion mixture.
Another could be to roll the dough (top side down) out larger and leave the dough as squares. Fold the corners to the top middle pressing together to seal and then place the topping on it.
I love to attack dough with a scissors and cutting the x's is a neat one. Go one step further and after the rolls are filled make scissor cuts on the outside rim into the bulky parts of the roll. Try some up & down and try some sideways.
You might even try a cut (or group of shallow cuts) going all around the outside edge which would lift it into the air during the bake.
Try lots of ideas on one batch and see what you like. Don't forget to write it down too! :)
Thank you, Mini Oven! Actually, all of those not only sound like they'll help, but they also sound fun to try! I'm probably going to make another batch just to do that, in fact. I didn't let them rest at all before shaping for the filling, either, so that's also something I'm going to have to keep in mind. Thanks again for the great suggestions!