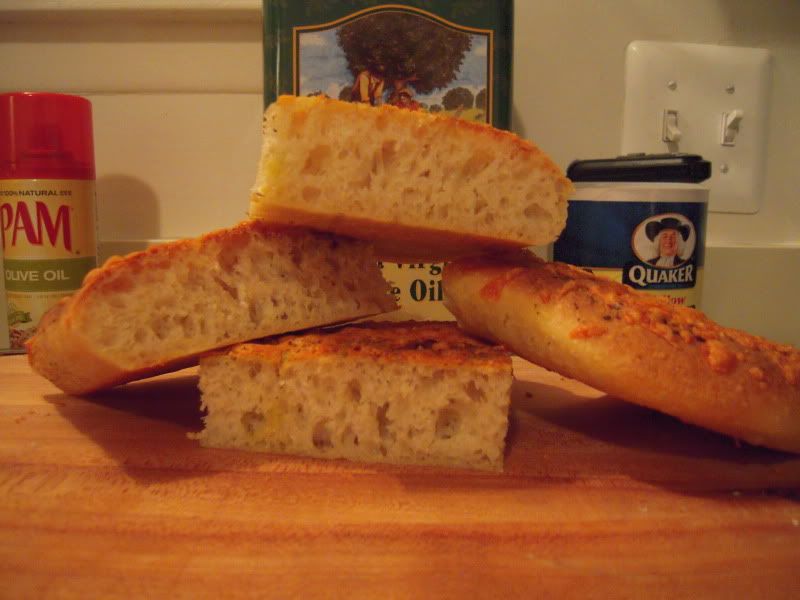
Late Wednesday night after a long day at work, I found myself in the kitchen grinning devilishly at the thought of what's to come. Focaccia!
As I am sure, like most, I am a weekend warrior. The week is often times filled with such hustle and bustle it's difficult to squeeze in a bake session in the midst of all that chaos. Whether it is work from "Nine to Five" then the commute home to see the kids (In my case a cool little 10 Year old boy), help them with their homework, prepare something that resembles a nutritious meal, run a few errands and polish off the night getting the little ones off to bed before getting a little downtime time with the beautiful Fiancé. So, like I said I do my "thing" on the weekends.
This week I have two projects Focaccia which as previously mentioned was started on Wednesday with an ETA of last night and this Sunday I am going to be trying out a recipe that I was fortunate enough to be graced with right here on TFL. Lindy D answered a thread that I started about Quick Dinner Bread and put me on to something called "Six-Fold French Bread" by Jeffrey Hamelman.
Without further delay "Let's Get to Some Bread Makin". I give you Focaccia with Basil, Sun-Dried Tomatoes and Sharp Cheddar Cheese. I made this bread based on a recipe by Peter Reinhart out of "The Bread Baker's Apprentice". This version uses a long slow refrigerated fermentation to develop big, open, translucent holes, along with a deep resonating flavor that sites on the back of your tongue for hours.
Please forgive the poor pictures as well as the poor selection of times to take them...I promise they will get better as we go down the rabbit hole.
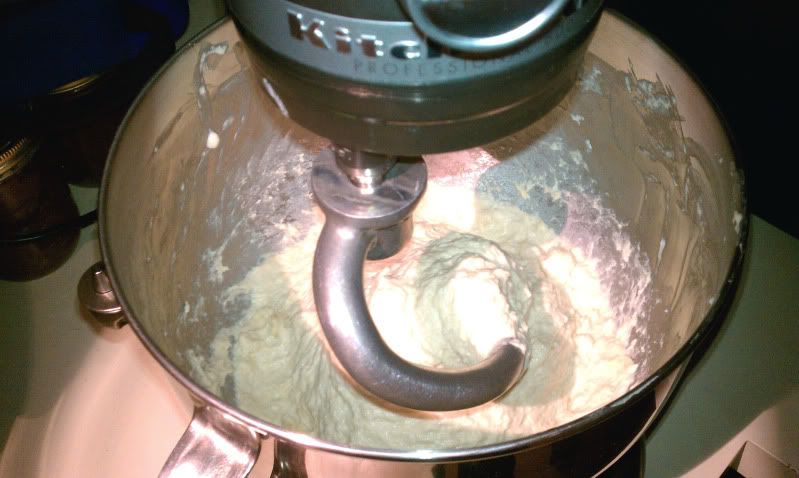
Here u can see the party going on. After mixing the below ingredients I used the paddle attachment to thoroughly incorporate everything, as I told my Son it's like introducing everyone to each other. Once everyone has been introduced I always, always, always give everyone about 5-8 minutes to relax and get to know each other better. Then I throw my dough hook on and it's time to party for about 7-10 minutes. It should surely stick to the bottom of the bowl, have a velvety looking texture and clear the sides when finished.
• Unbleached Bread Flour (King Arthur)
• Salt
• Dry Instant Yeast
• Olive Oil
• Water (At Room Temp)
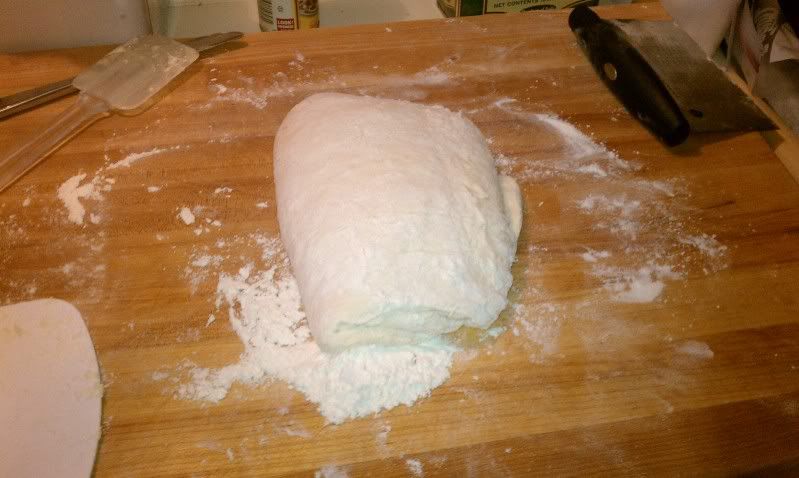
Here you see the results of the party. I laid down a health amount of bench flour on my John Boo's cutting block (OH YEAH!!) and scraped my dough out onto it. After getting my hands nice and floured I stretched the dough out lengthwise to about twice its size, I then folded the dough using a trifold, letter style fold (Insert a picture I wish I had taken). After this fold give it a nice spray of oil (u know the stuff I'm talking about) cover it loosely with a piece of plastic wrap and let it rest for about 30min at room temp.
Stretch and Fold the dough one more time using the same technic as above, let rest one whole hour this time.
Now it's time to pan this bad boy. I used a heavy aluminum ½ sheet pan which is actually the perfect size for this recipe. Line your pan with some parchment paper then brush or spray a light layer of olive oil over the pan. Carefully using a pastry scraper I picked up the Focaccia dough and place it in the center of the pan while trying to maintain its rectangular shape. Brush or spray a light layer of olive oil over the top of the dough this time, then using your fingertips-only the fingertips-dimple and spread the dough to fill the pan. Don't worry about getting it all the way out to the corners you want to avoid tearing or ripping the dough. Also keep in mind if the dough starts to spring back on you give a fifteen minute rest and then continue dimpling.
I then loosely covered the dough with plastic wrap. Making sure that it is in contact with the dough to serve as a protective barrier. Refrigerate the dough overnight or up to 3 days, the longer is the better. It's all downhill from here.
Last night when I got home from work I immediately pulled my sheet pan out of the refrigerator and stuck it in my oven. As I do not have a nice proofing box, I make do with what I have available to me. Which in this case is an oven turned on the Warm for about 5 minutes and then turned off. Here the bread sits for 3 or so hours (Patience is a virtue).
This is the perfect time to make the most important decisions "What the Hell am I going to put on this thing"? Finally after about two hours I took my Focaccia out of the oven and preheated it to about 500°F, then I removed the plastic wrap and in my case I threw some Mrs. Dash: Tomato Basil and Garlic all over the top then sprinkled some nice Kosher Salt and finally a health portion of Extra Sharp Cheddar Cheese.
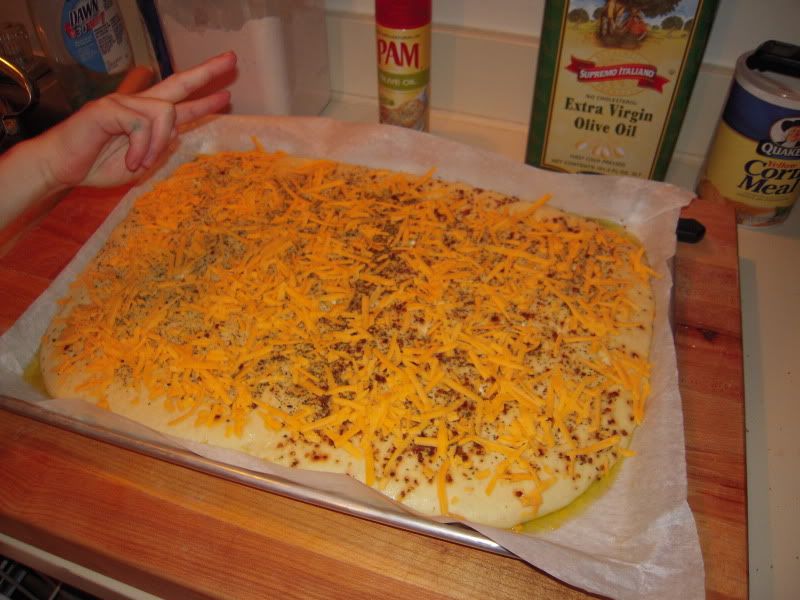
Off to the oven with you. Once the dough was in the oven I dropped the temp to about 450°F for 10 minutes, then I rotated the pan 180° and continued to bake it till the internal temp read 205° at the center with an internal instant read thermometer. Immediately remove the Focaccia from the pan and discard the parchment paper, set it on a large cooling rack for at least 10 minutes.
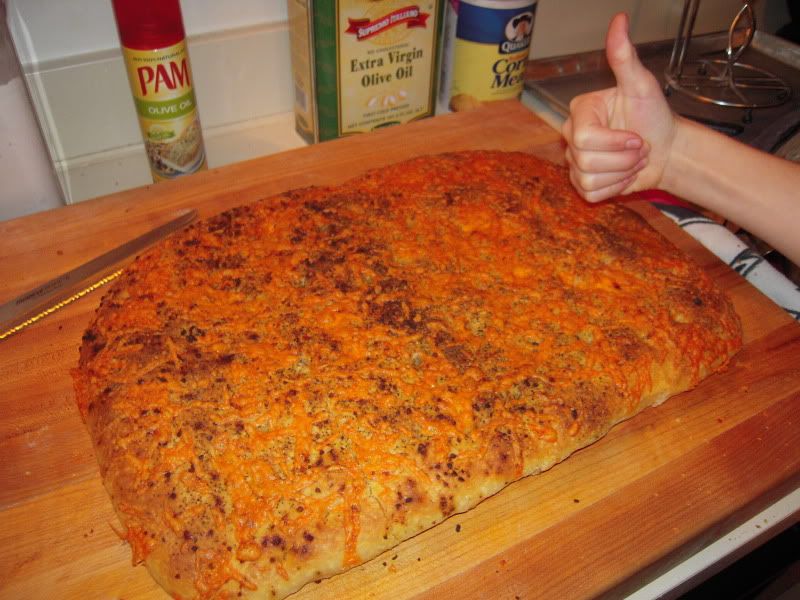
This is about the time I always get goose bumps. The anticipation of what awaits inside that beautiful crust gets me every time. Hope you enjoyed my Focaccia!
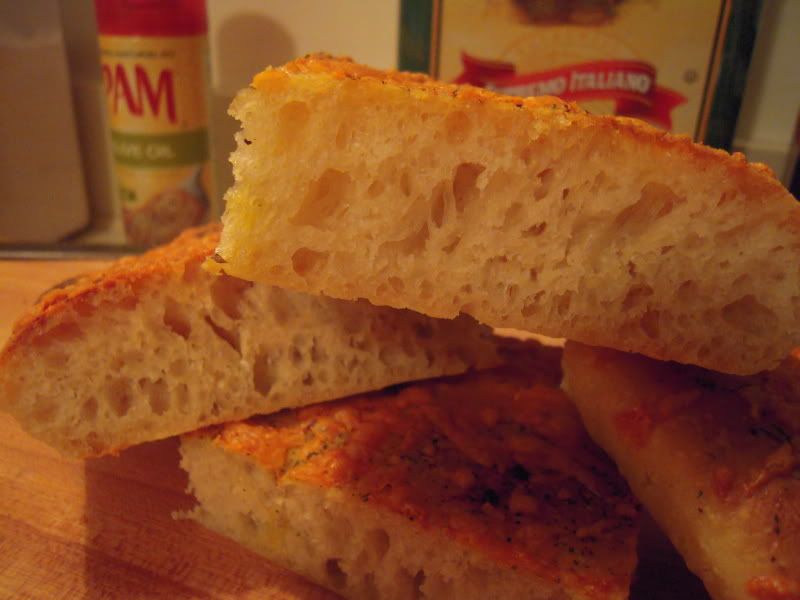
And of course a couple of Food Porn shots to please the masses.
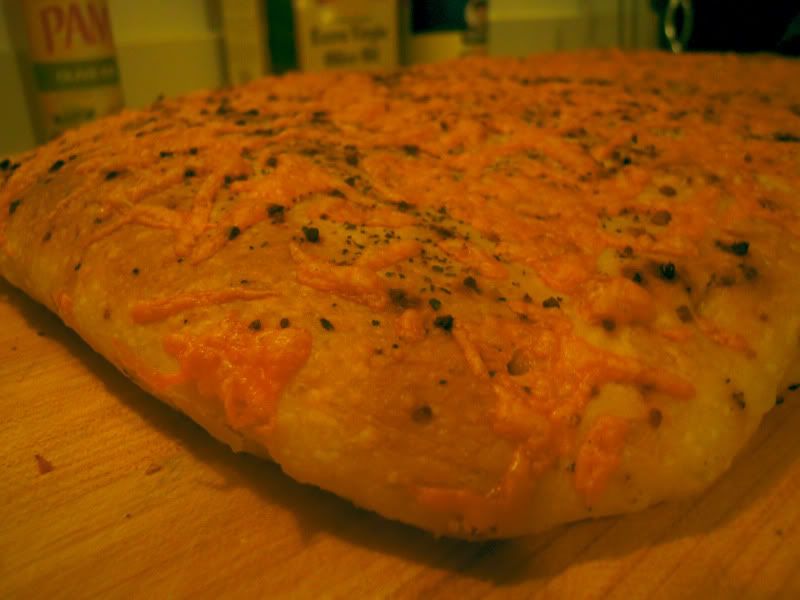
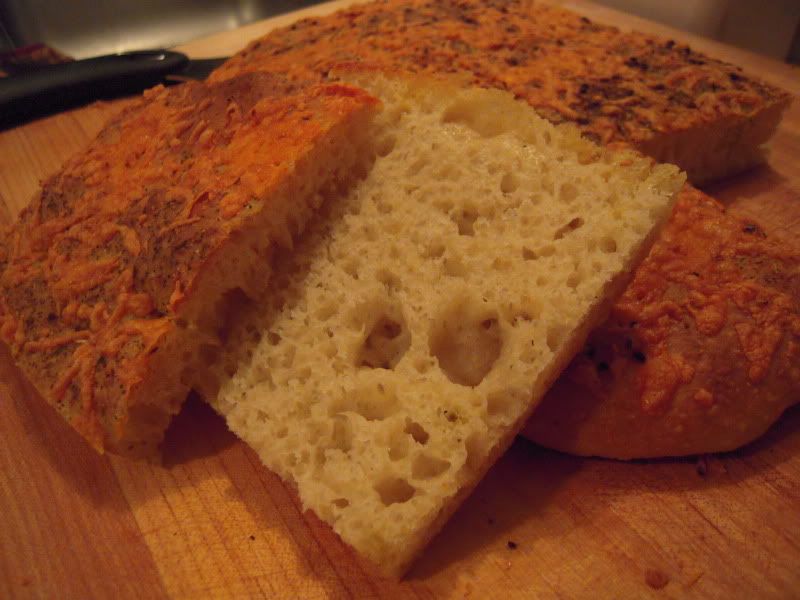
Thank you! See you next time.
- Bake Skywalker's Blog
- Log in or register to post comments
The crumb looks so beautiful and all around delicious looking focaccia!
Sylvia
Thank you so much!!
Your post is quite entertaining. The metaphor about mixing is funny.
The crumb looks fantastic...nice focaccia
Sue
http://youcandoitathome.blogspot.com/
Yeah, some of my best childhood memories are from cooking in the kitchen with my Mom. So I try to get my son excited about cooking as often and anyway I can.