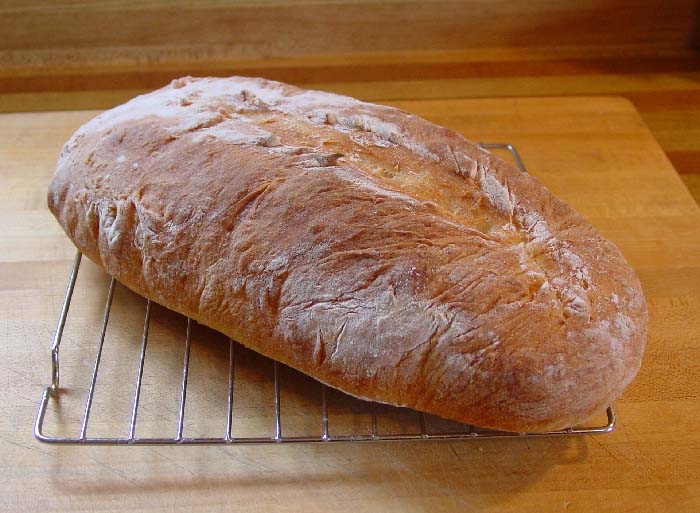
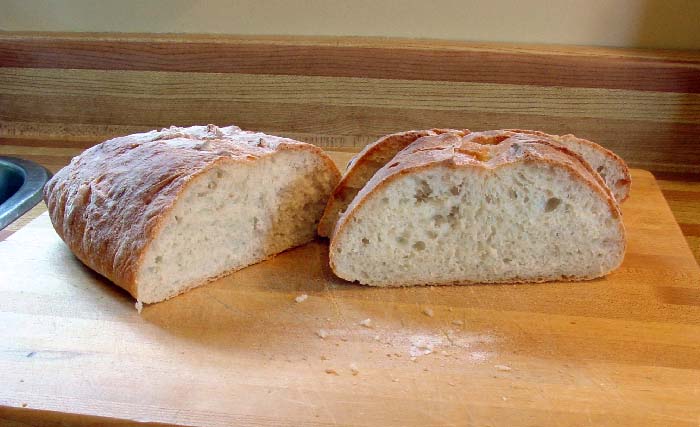
This is my first attempt at the bread recipe in Lesson #3 on this site:
http://www.thefreshloaf.com/lessons/timeandtemperature
I was running out of time however and cheated a little, by raising the final dough in the oven to speed things up a little. I managed to reduce the time from 90 minutes to 60 minutes on the first and final rise. I didn't use any type of wash on this loaf as I wanted the crust as crunchy as possible. I did put a pan in the oven and set the oven up to 500F. I placed one cup of ice cubes into the tray just at the same time I put the bread in the oven. I reduced the heat from 500F to 400F after 4 minutes and the loaf went 40 minutes with one rotation in the middle. I did have one minor problem however, I put clingrap over the shaped loaf for the final rise and it stuck on there pretty good. I everso gently worked it off the loaf trying so hard not to push any of the air out of it. It worked out pretty good in the end though. Not a lot of oven rise but none the less my best loaf to date. One last thing to say... my slash was a little wrecked but it didn't look to bad.
The bread came out fantastic. I'm in heaven, thank you all... as this is where I learned how to do it. I've made simular recipes in the past but not as good as this one with the pre-ferment. The crust was a little crunchy and chewy and the flavour was perfect. I'm so happy.
Here are a couple of pictures.


- earth3rd's Blog
- Log in or register to post comments
Looks great!
to prevent the dough from sticking to the cling wrap - oil the wrap with a bit of olive oil prior to covering the dough - slides off like water when you're ready to remove it.
Also, intead of using ice cubes, try a cup of hot boiling water. The energy requires to transform the ice to water will affect your oven temperature, causing you to lose the much required heat to bake a crispy crust bread.
The bread looks good by the way!
Beautiful looking bread in every way!
As suggested above, a light dusting of il spray helps the plastic wrap release or, you can dust the loaf with flour before covering lightly. When you make a cut after proofing it will be a slightly easier surface to cut also.
Eric
Thank you all for your comments, I'll definatley try it on my next loaf.
Nice looking bread right out of the gate.
Larry