Can't resist posting this
If it's too off topic, my apologies, but it's irresistible.
How to kneed from r/aww
If it's too off topic, my apologies, but it's irresistible.
How to kneed from r/aww

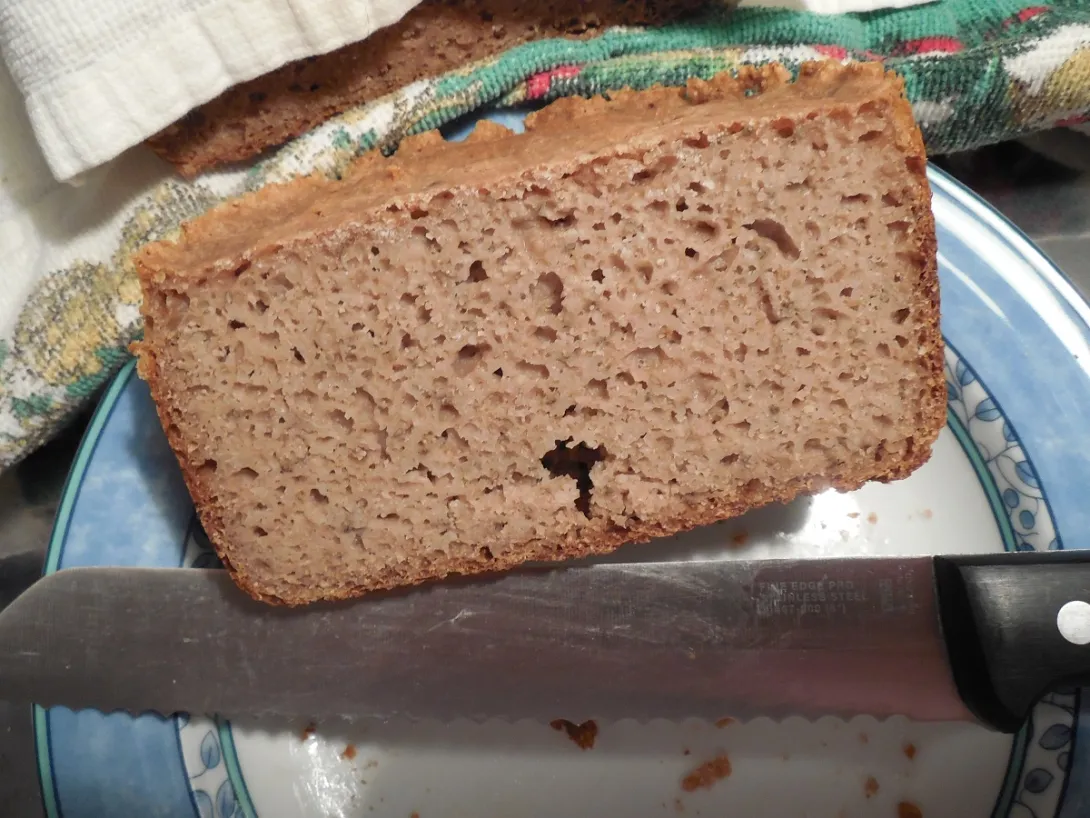
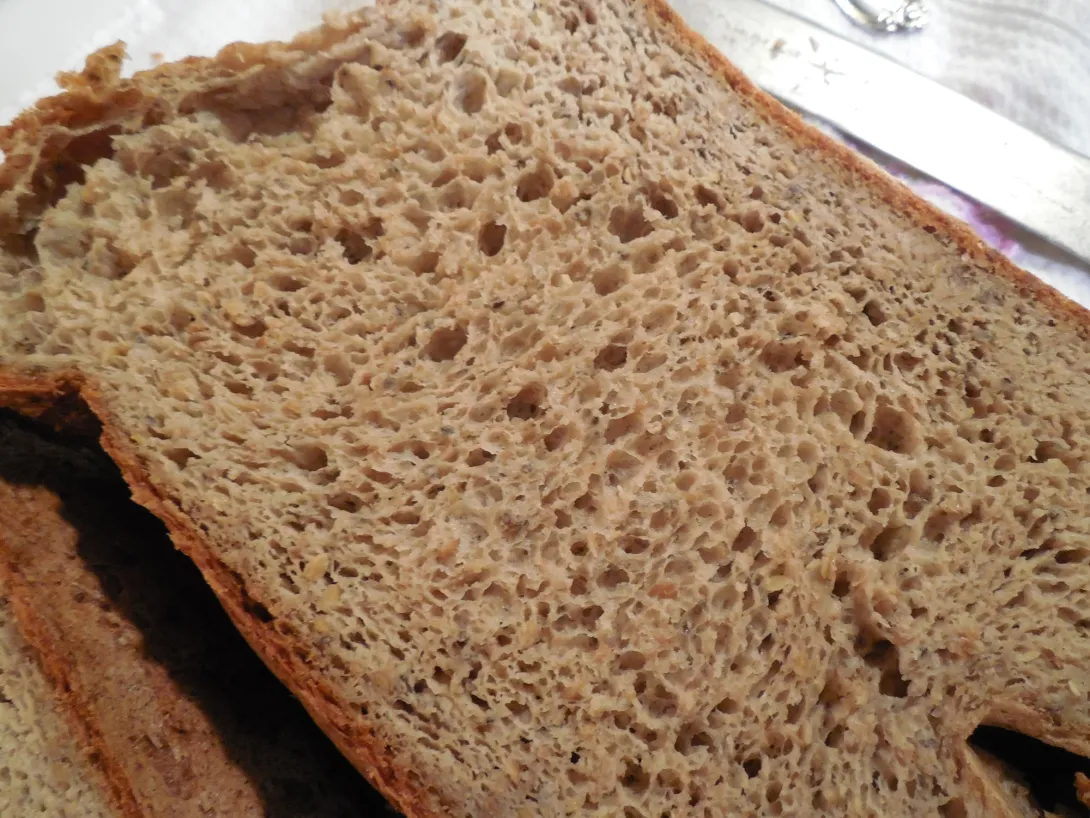
This experiment worked out very well. It's an everyday bread that I'll be using. It has no egg, only milk, and is suitably simple to use even if you're retired and aren't up for a kneading session. Most Celiac diagnoses happen after mid-life, so my series is meant to empower everyone to make their own bread, even if they're limited in mobility. My focus is on nutrition and simplicity. Please comment and tell me what you think. There is more detail in the article I'm linking to, but the recipe is reprinted here with a picture of the crumb.

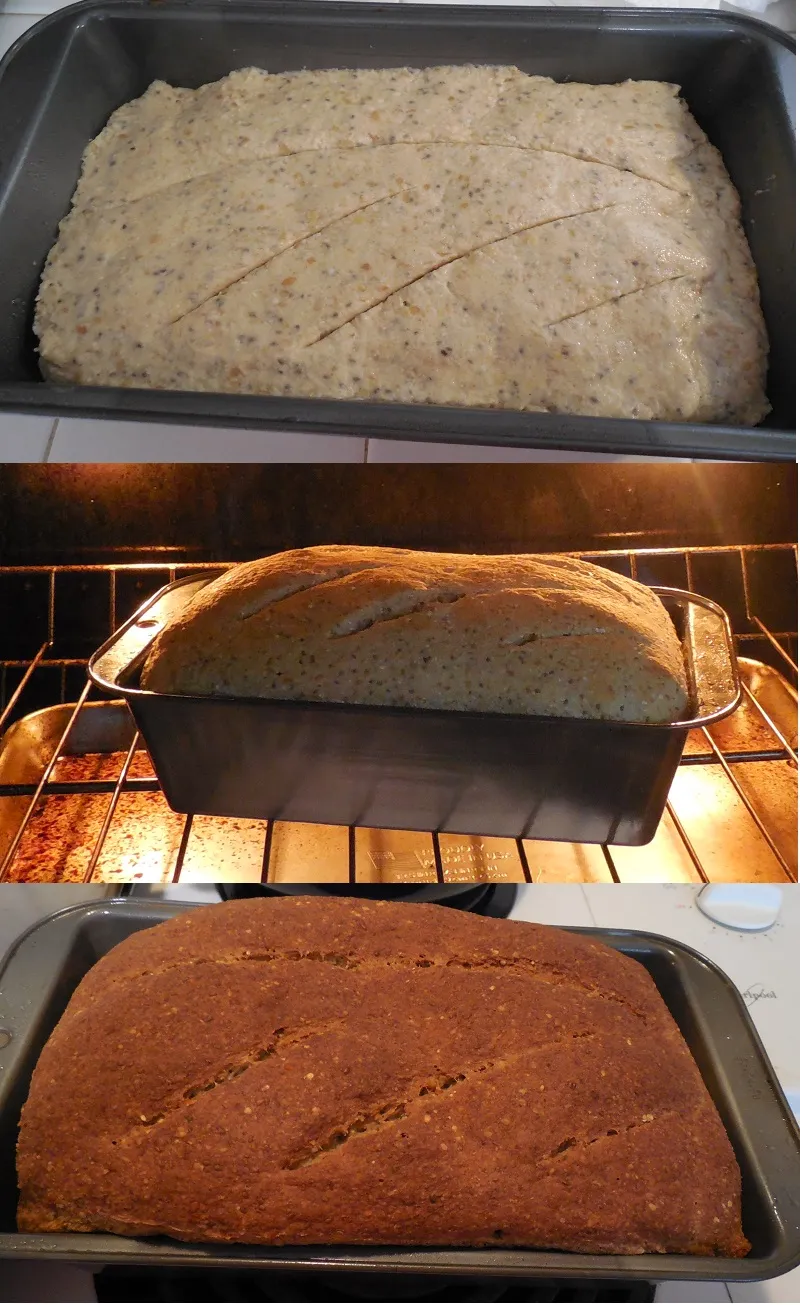
During baking there was a nice oven rise but it shrinks by the end of the baking time. I'm guessing it's because of water loss.
This bread recipe is gluten free and I've read before that the shrinking of bread after baking happens a lot more in gluten free bread making. I've never seen anyone explain why this is, though. It just is.

There are many reasons why I want to make a bread machine work in my life. I've baked bread the long way and I love to do that. But my spine no longer wants me to stand up straight, and I get winded just walking the length of my house. Kneading is fun and I love it, but it hurts now. Bending over is a roulette of dizzy spells. So having something on my counter that requires no reaching for parchment paper and pans, no preheating of oven and bending over to load/unload it, no kneading, etc...

I've been experimenting with a new bread machine and gluten free. And it hasn't turned out too badly so far. There's a series I'm going to keep up until I feel like using the bread machine has become "routine" at https://www.nixgluten.com/2019/10/the-great-gluten-free-bread-machine.html There's also a part 2 so far. Here are some pics from the experiment.
Cinnamon Raisin bread: