JonJ's blog
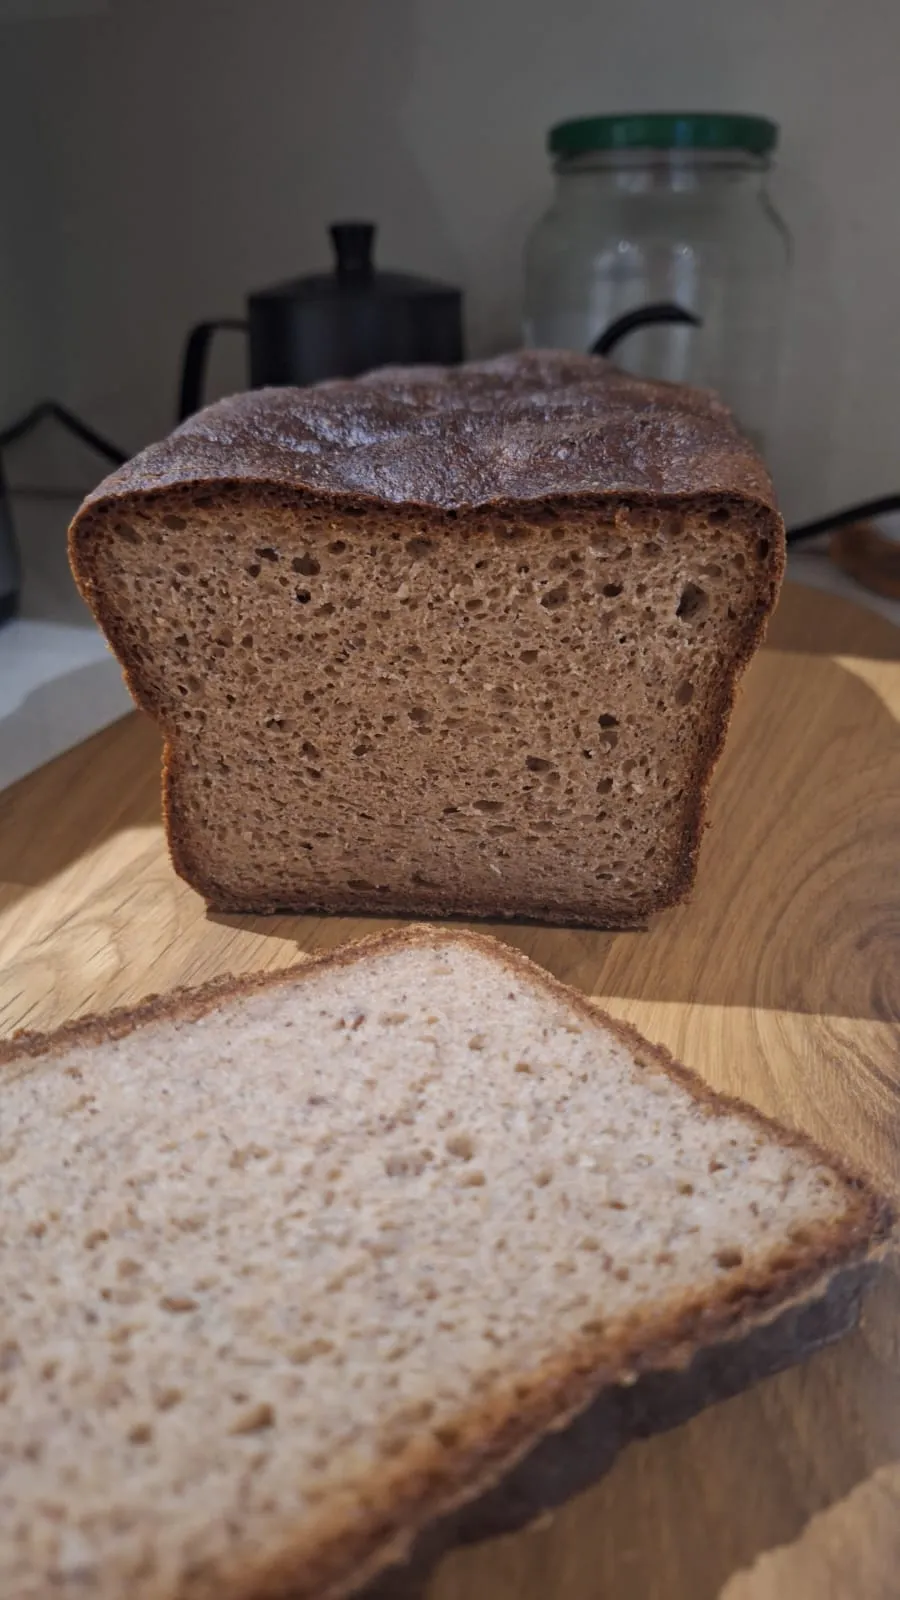
Teff, walnut, rye sprouts and nut butter sourdough loaves
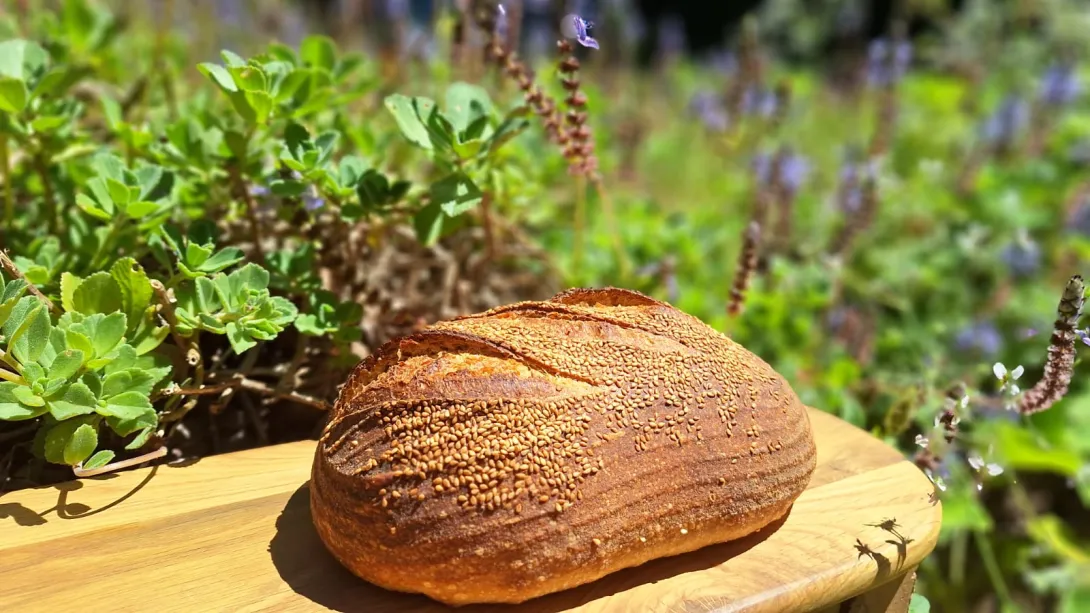
Some breads just make me dream of what they taste like. For example, Lin's recent teff walnut and rye loaves. And in a good way they stimulate the creative juices as well as the Pavlovian ones!
Poppy seed hamantaschen
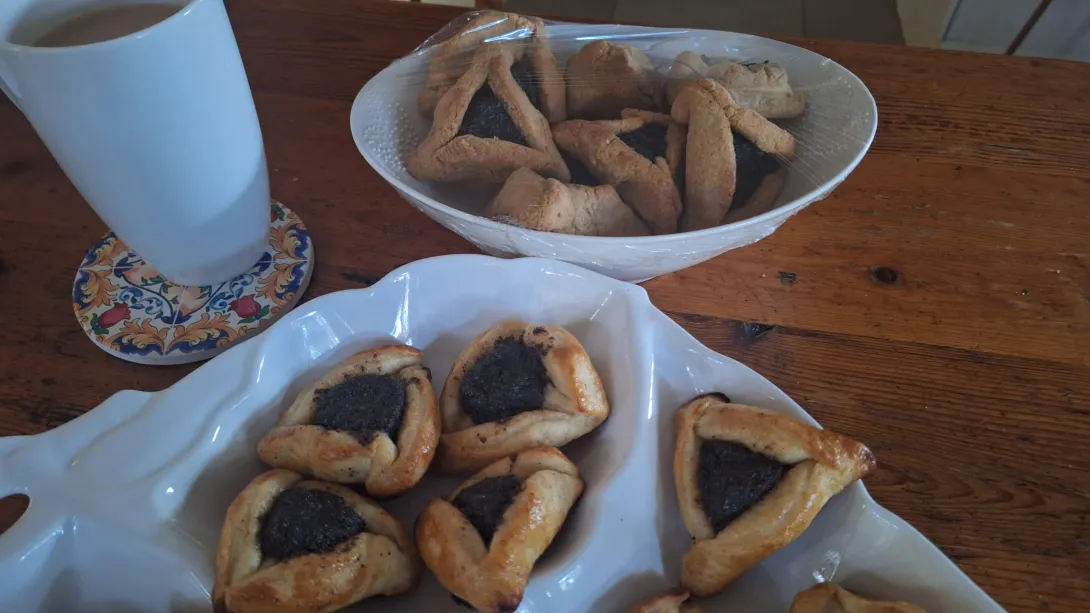
Trying to beat Ilya who always has an interesting post of his lovely hamantaschen every year.
The ones at the back are gluten free (almond and tapioca) whilst those at the front are more traditional and have a yeasted dough made with cake flour and a little bit of lemon zest from a Ukranian recipe.
The Life-Changing Loaf of Bread
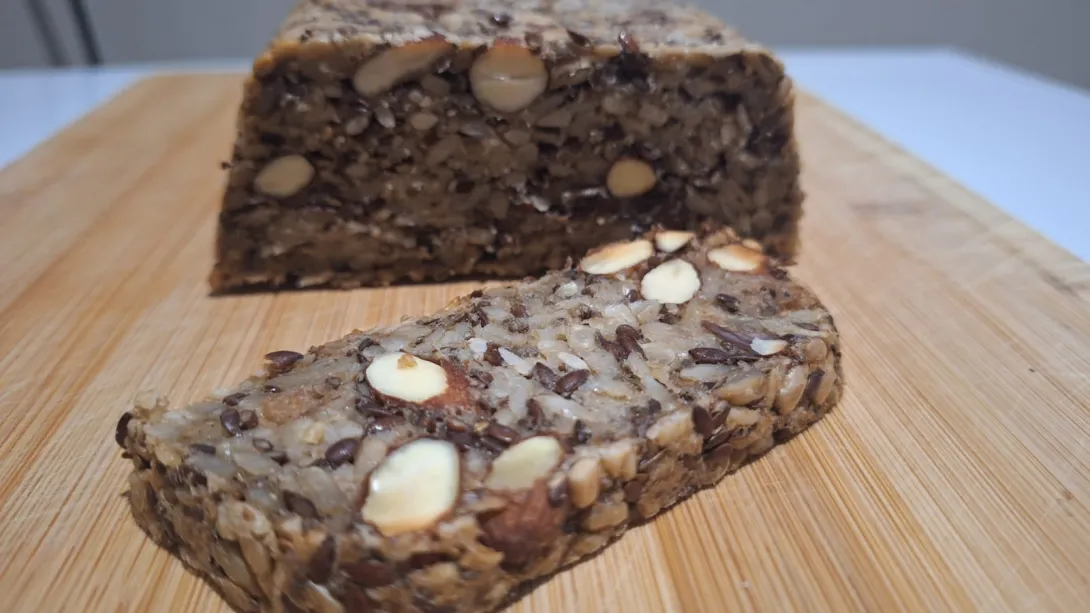
I didn't name it that, the name comes from the original creator! It's a recipe that is pretty extreme when you're thinking in terms of bread, but it isn't even a bread as we know it - no raising agents, nor any flours, and of course it would be gluten-free. Basically, a seed, nuts and oat loaf bound together with psyllium (and perhaps some chia/flax).
Here's the ingredients list:
Grain free sandwhich loaf
Another recipe from the Gluten Free Gastronimist this time without the rice flour and now using quinoa and chickpea flours. So, no grains!
This is their grain free bread:
Buckwheat brown rice gluten-free sandwich bread
I'll be the first to admit to having multiple gluten free failures! Many kinds of ugly monster breads, in fact.
Nearly a year ago, Martadella wrote about making a lovely gluten free bread.
This is the recipe:
Galette des rois
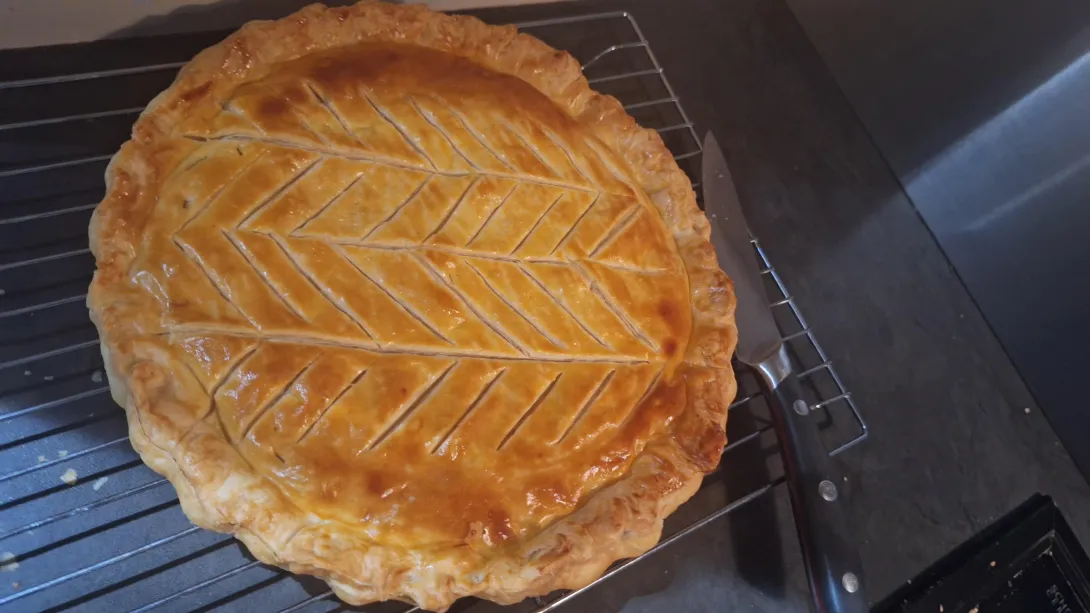
This is a simple thing to make (depending on how you get your puff pastry) and such a fun tradition. I used an almond as the fève, trying to keep it kind of rustic. Recipe from David Lebovitz, but with extra vanilla, of course!
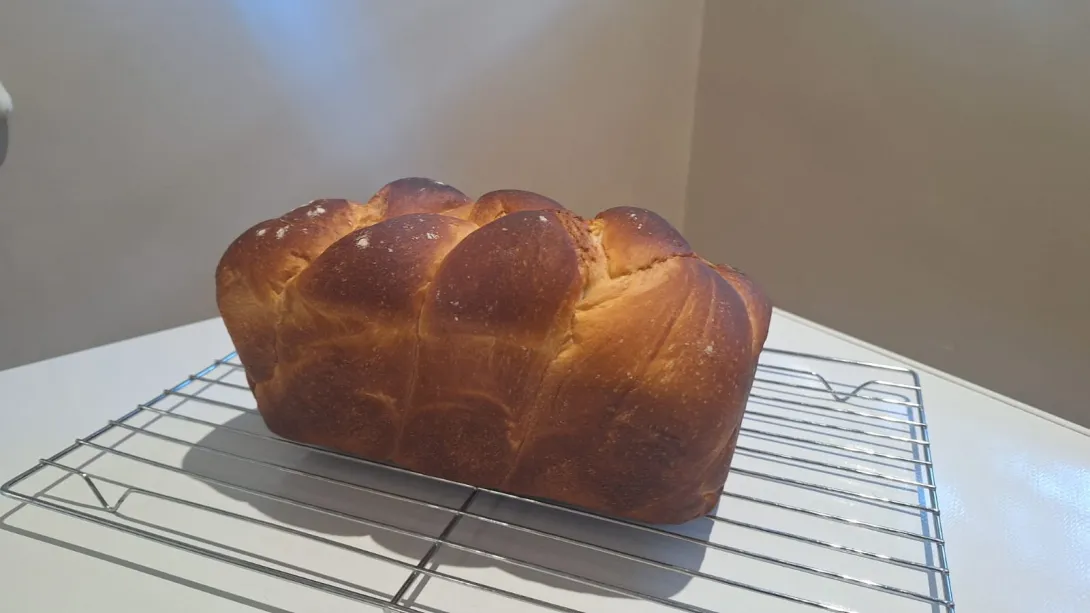
Cake flour sourdough breads
At some point I imagined that a sourdough bread made with mostly cake flour would have a delectable soft sweet crumb texture. Or at least a better 'bite' than loaves made with bread flour. Perhaps softer on the tongue, with a good sweet flavour! And without the chew or bounce that I've come to expect with lots of gluten.
Thinking about open crumb
Every now and then I go after open lacy crumb in my breads. Now, I'll be first to admit that I love my bagels, flat-breads, whole-wheat and all rye breads too! So, a lot of the time I'm not interested in open crumb at all. But, the first time I made a sourdough bread that had a dark, almost-burnt crust, and a light interior that was like a "web of crumb" held up by the crust, it was a bit of an "aha" moment. So, that's what other bakers were going on about, it isn't only an Instagram thing!
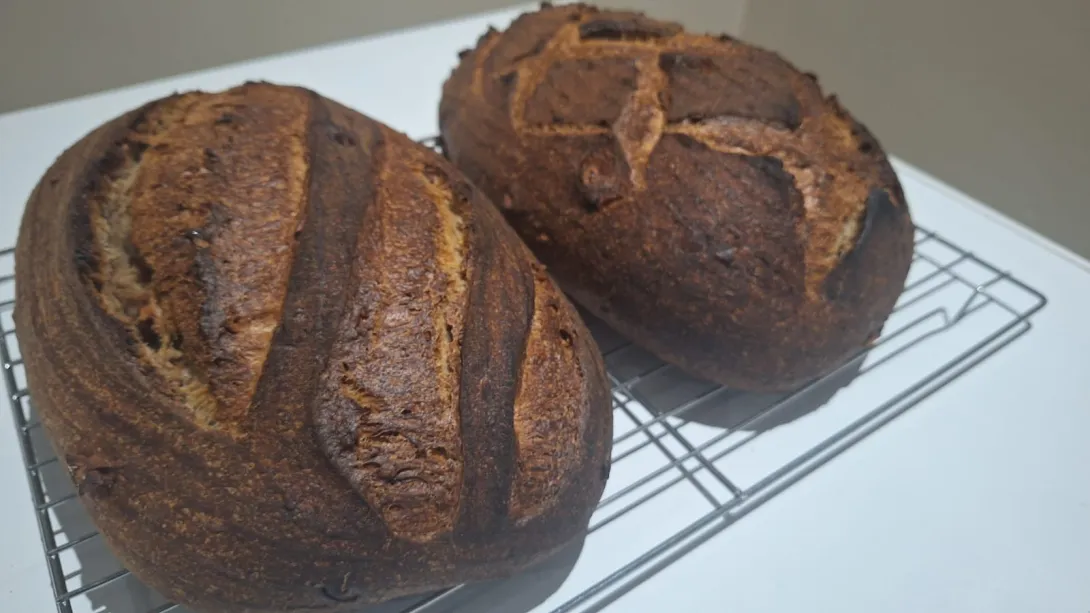
A new standard sourdough recipe

I've had more than my fair share of experimental failures lately! This is the curse of being an experimental baker. My failures of late have included, amongst others and going through my baking notes, a 90% biga with raisin yeast water that took too long to rise, a sourdough made with a cool and stiff preferment, and a sourdough made at warm temperatures with a very very low inoculation. Some bakes have had whacky hydrations too...