Despite failing to post about it, I'm still at my quest for a perfect, hole-y ciabatta. The last two weeks were interesting, to say the least.
If you recall, two weeks ago I baked Craig Ponsford's ciabatta (a la Maggie Glezer), with results that were just about perfect. Last week I tried to replicate the experience. First, the formula and proceedure:
Biga:
- 300g King Arthur AP flour (the original calls for 200g Bread Flour and 100g AP) - 91%
- 15g Whole Rye Flour - 4.5%
- 15g Whole Wheat Flour - 4.5%
- 185g Water - 56%
- 0.016g Instant Yeast - 0.005%*
*(originals calls for mixing 1/2 tsp yeast with 1 cup water, then measuring 1/2 tsp yeast-water into the biga. I have a scale with 0.01g graduations, and just measured 0.02g. )
Final Dough
- 325g King Arthur AP flour
- 342g Water
- 12g Salt
- 1.55g Instant yeast (1/2 tsp)
- Biga (All)
- Mix biga ingredients together until smooth. Biga will be quite stiff.
- Allow to ferment for 24 hours, or until tripled (Two weeks ago I didn't keep track, last week I only waited for a little more than double, possible a mistake).
- Combine all final dough ingredients in the bowl of a stand mixer. Mix with the hook for 5 minutes. Dough will be very gloopy.
- I gave it 30 stretch and folds in the bowl with a rubber spatula. Not sure if this had any effect--I'll probably skip in in the future.
- Ferment 3 hours. At 20, 40, 60 and 80 minutes, dump the dough out onto a well floured work surface to stretch and fold.
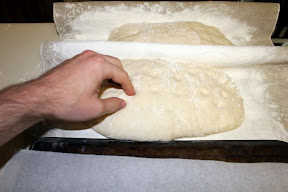
- Divide the dough in half, making two oblong shapes. Fold each oblong in thirds, letter style (this will produce something vaguely square). Gently stretch each dough piece into an oblong, and place on a well floured couche (I omitted the stretch last week--I think this was a mistake), seam side down. Yes, down. Cover with plastic, but try to keep the plastic off the surface of the dough.
- Proof 45 minutes. Meanwhile, preheat oven to 500 degrees (or with my POS oven, 535)
- With wet fingers, make small dimples all over the exposed surface of the dough.
- Flip the loaves onto parchment on a sheet pan or peel. Slide the loaves into the oven, turn temperature down to 450 and bake for 35 minutes, using your favorite steaming method for the first 15.
- Crack the oven door, turn off the oven, and wait 5-10 minutes more before removing the loaves to a cooling rack.
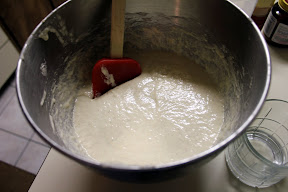
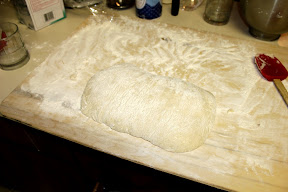
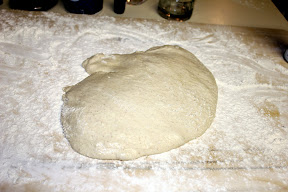
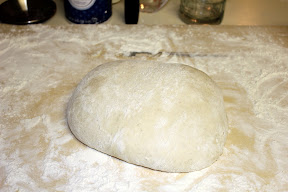
This formula is fun to make. This is the dough after mixing:
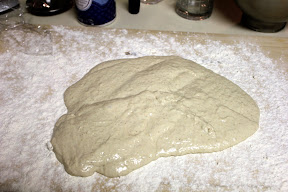
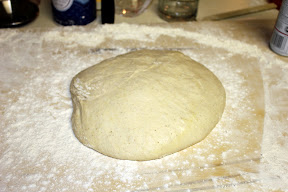
First Fold, Before and After
Second Fold, Before and After
Third Fold, Before and After
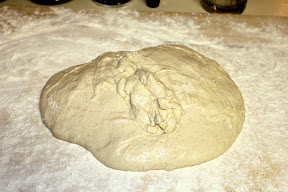
Last Fold, Before and After
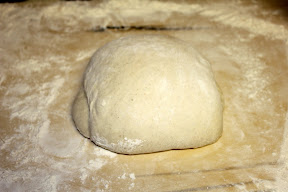
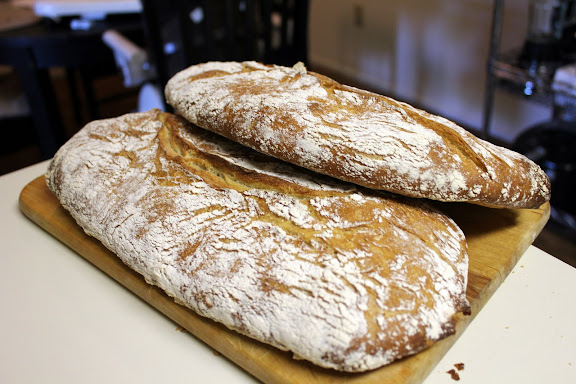
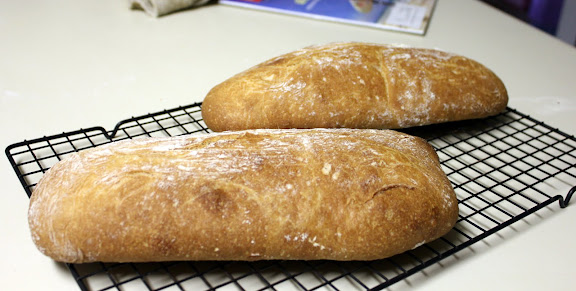
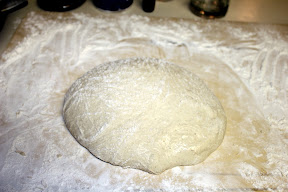
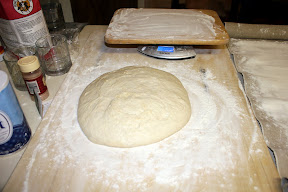
Ready to divide and proof:
Dimpling
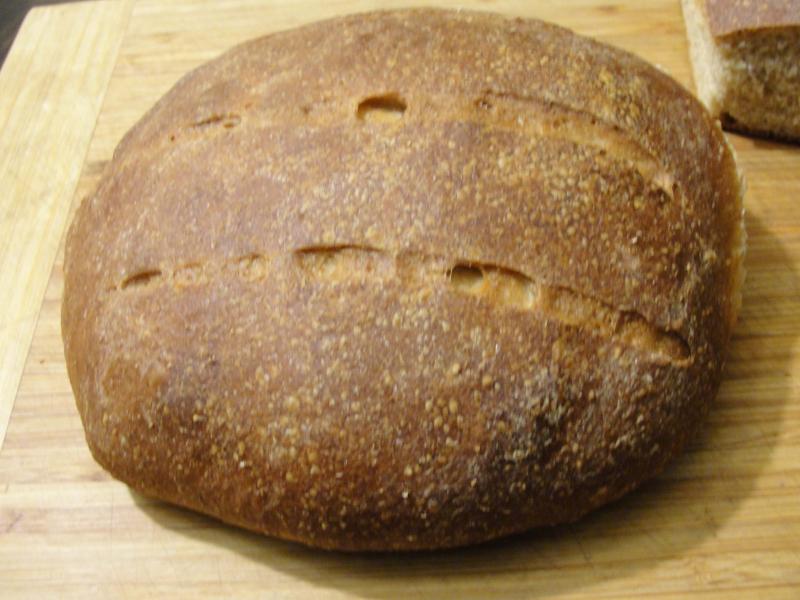
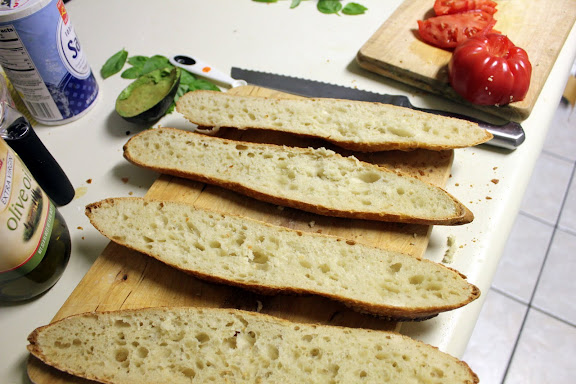
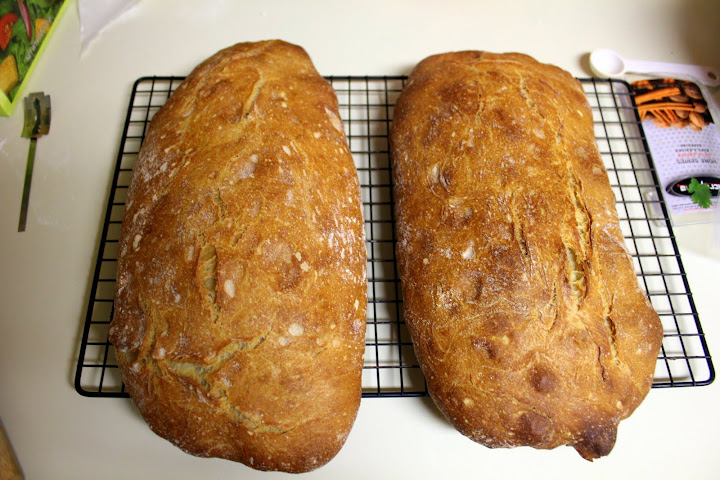
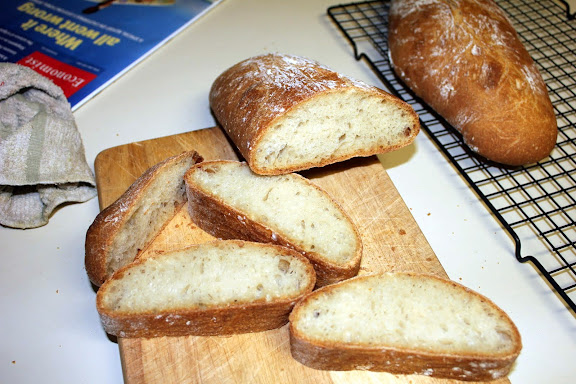
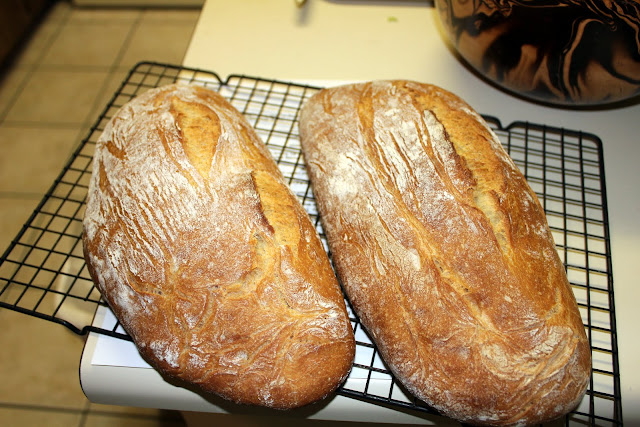
Exterior:
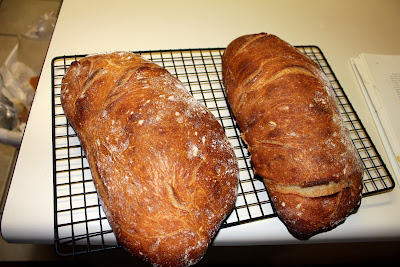
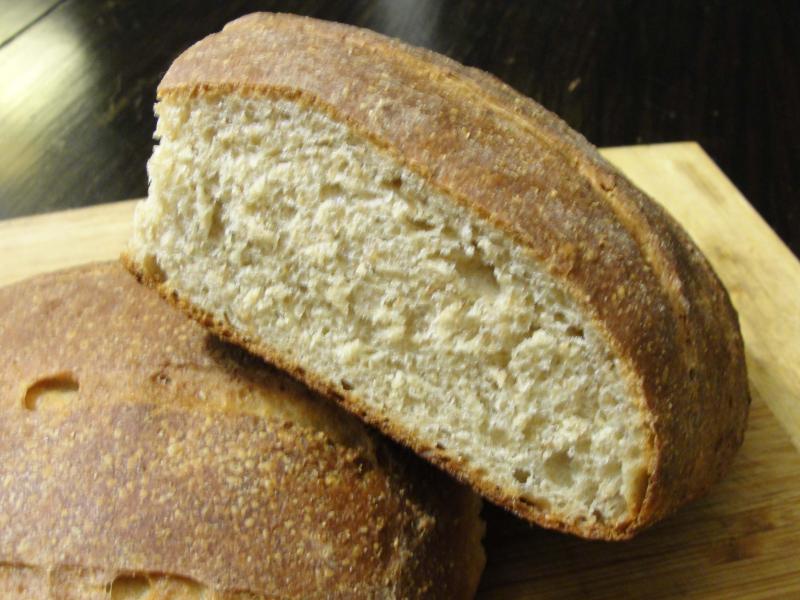
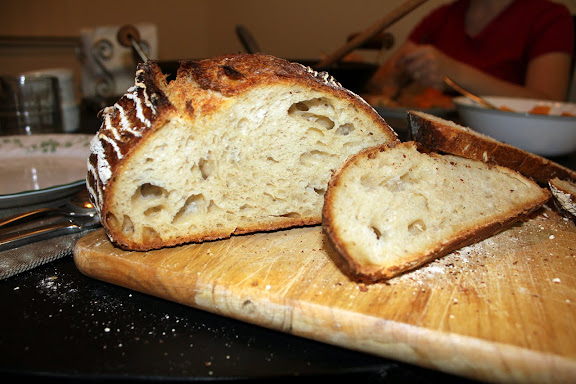
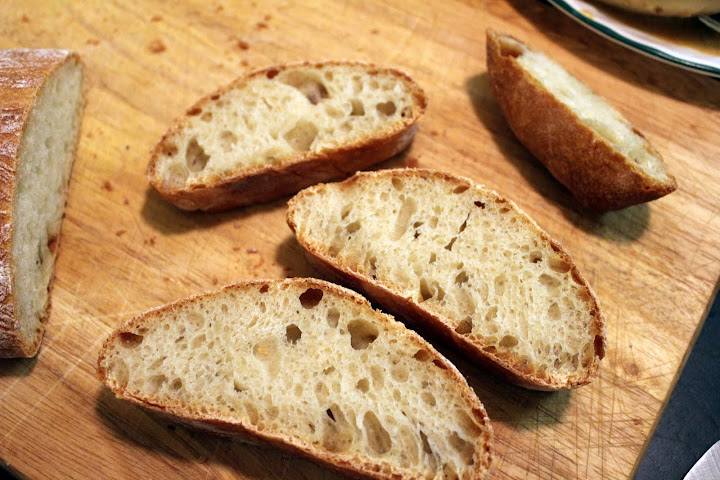
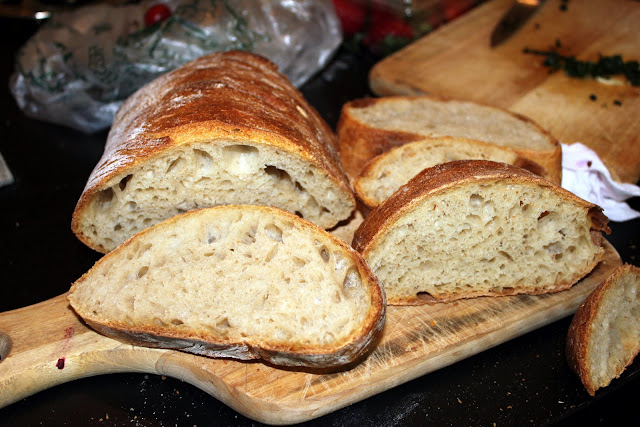
Crumb:
This bake was...puzzling. As you can see, these loaves were awfully tall for ciabatta. The crumb was tighter than the previous week, more akin to a batard. The flavor profile was a bit difference as well--the sour and whole-grain notes were stronger, while the poolease-y flavor (what I think of as pain a l'ancienne flavor) was more muted. Indeed, if I'd stuck a couple of sourdough batards into my oven, and pulled these out, I'd have been neither surprised nor displeased in the least. Since I in fact loaded a pair of conventionally leavened ciabatta...well, color me puzzled.
Cut ahead to today. I had intended to take another stab at the Ponsford recipe, but a number of circumstances prevented me from putting together a biga in time. That 24 hour fermentation time is tricky to work around. I did have time for a poolish, so instead I took another stab at SteveB's Double Hydration Ciabatta, with some modifications inspired by the Ponsford Ciabatta. It went like this:
Poolish:
- 190g KAF AP flour
- 190 Water
- 0.36g Instant Yeast (1/8tsp)
Final Dough
- 310g Flour
- 190g Water
- 15g Olive Oil
- 10g Salt
- 0.36g Instant Yeast (1/8tsp)
- Mix poolish, ferment 12 hours.
- Whisk poolish with 150g water and oil.
- Add 30g flour and whisk vigorously until slightly frothy.
- Add remaining flour and mix with a wooden spoon until smooth. Autolyze 30 minutes
- Sprinkle salt, yeast and remaining 40g water over dough. Mix by hand until smooth (I started with the wooden spoon until the water was incorporated, then did about 60 stretch-and-folds with a spatula).
- Proceed as in the Ponsford recipe from step 5, except omit the 3rd fold, and the letter-fold after dividing.
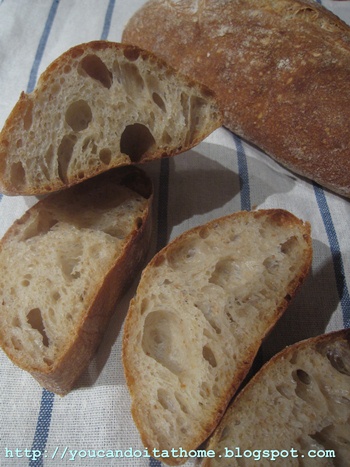
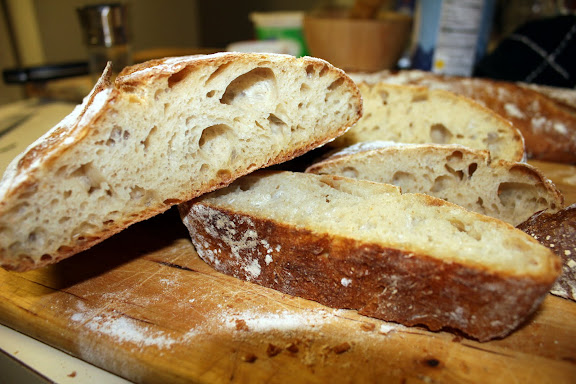
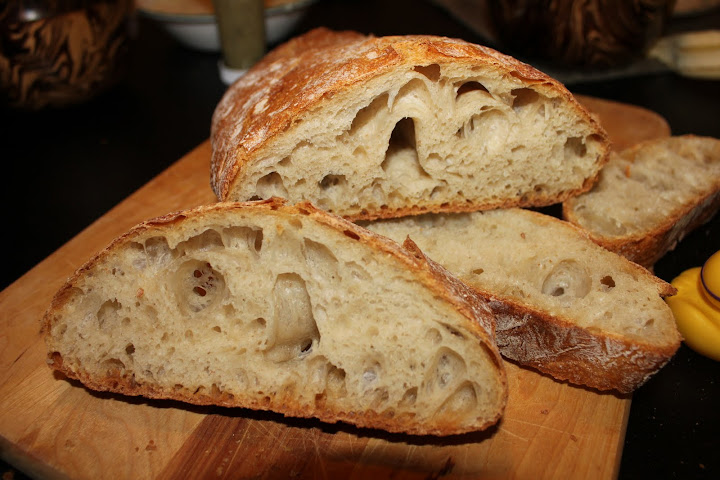
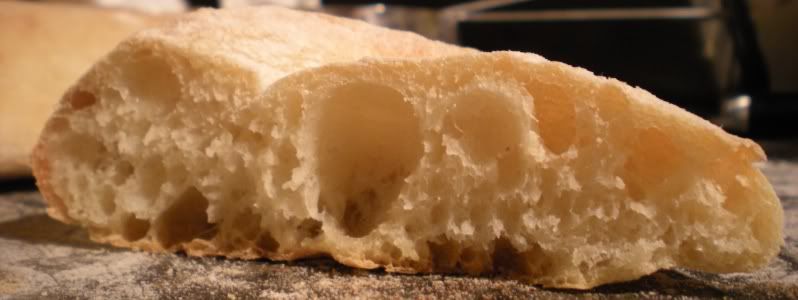
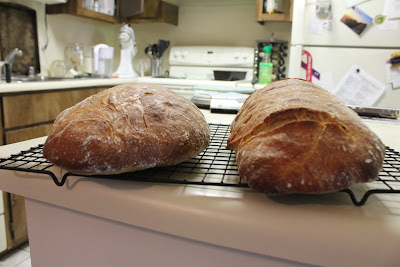
The results:
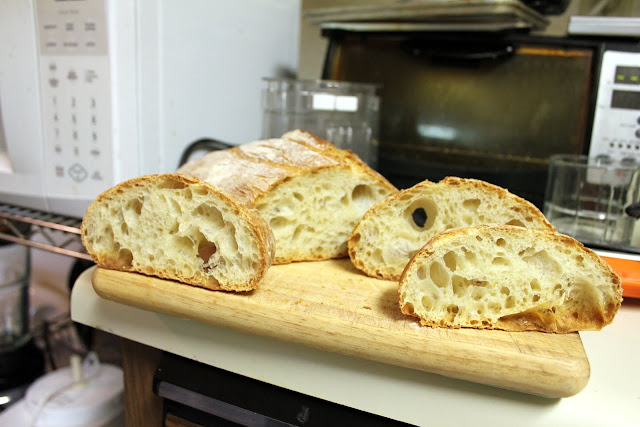
Curiouser and curiouser! Excellent crumb this time, much better than my two previous tries. The dough seemed much stronger than on my previous two attempts, and I think the crumb is a result of that. The dimpling technique may be a factor as well, hard to say. Also rather tall for ciabatta, although not as ridiculous as last week. Crust was nicely crispy. Flavor was clean, sweet and creamy. I think I liked the Ponsford ciabatta's flavor more, but it would be somewhat deceptive to say that one was "better" than the other, because they're really very different.
Proposition: An open crumbed ciabatta requires a strong dough. Getting a wet dough like ciabatta to be strong is the trick, but multiple stretch-and-folds will do it.
Happy baking, everyone.
-Ryan