A while ago I wrote a post, Life With Fred; Maintaining a Starter In Pictures, about how I maintain my starter; an approach focused on minimizing both waste and stress. The starter, Fred, seemed pretty resilient. While I usually baked every week or two, sometimes Fred would cool his heels in the fridge for a month or more. I wondered how long he could go between feedings and still remain viable. I knew that dabrownman was taking a similar no-waste, laissez-faire approach. He had some additional goals and described them and his approach in his excellent No Muss No Fuss Starter post.
I also knew that there were a lot of beasties in my 75g of Fred; it would take some time and effort to kill them all. On the other hand, at 100% hydration, Fred might not last as long as a stiffer starter.
So I cloned Fred by removing 15g and feeding with AP flour and a pinch of rye it 1:2:2 to make a clone known as Dead Fred (DF) . I kept DF in a warm place until he was starting to bubble.
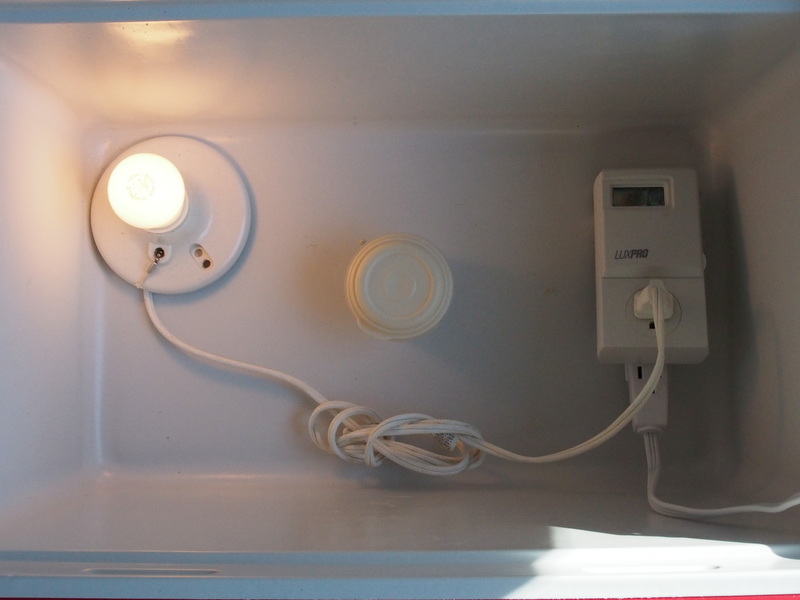
Then I put him in the back of the fridge and left him undisturbed. For 11 months.
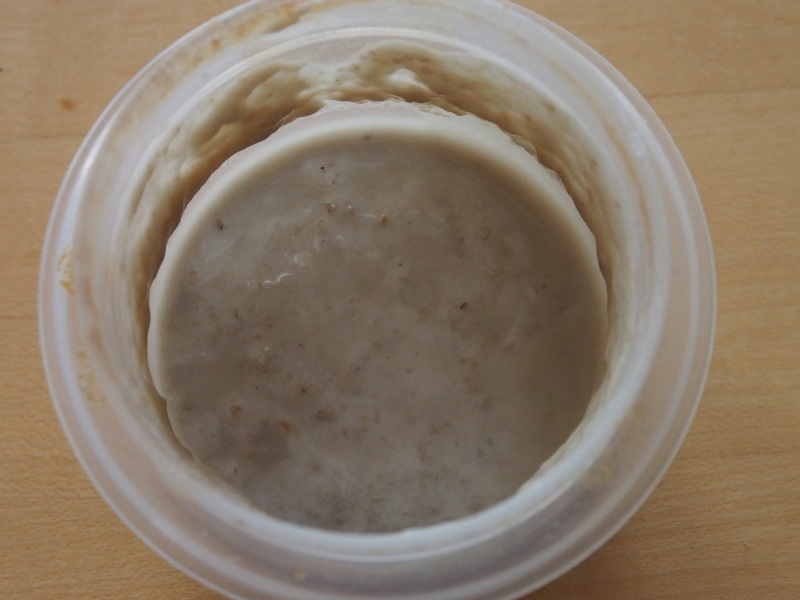
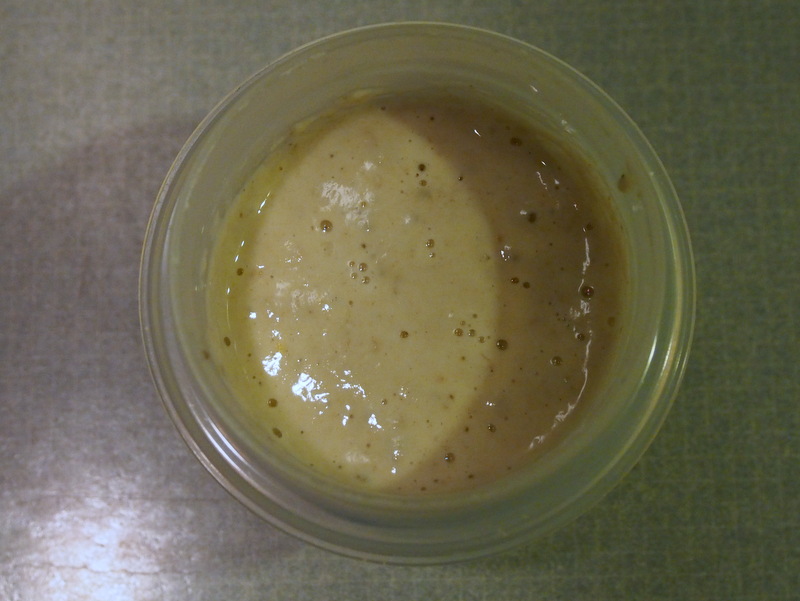
When I removed DF it was clear that he had been cold and lonely back there. He had even turned to drink. Sad.

I poured off the hooch and left him at room temperature for a while. There were no signs of life; he's starving, I think.
But was the yeast dead or just dormant? Let’s see.
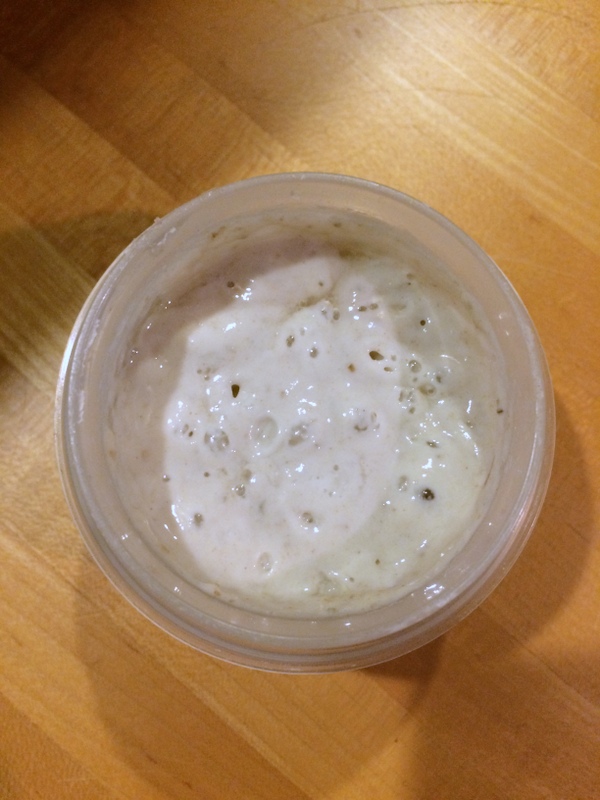
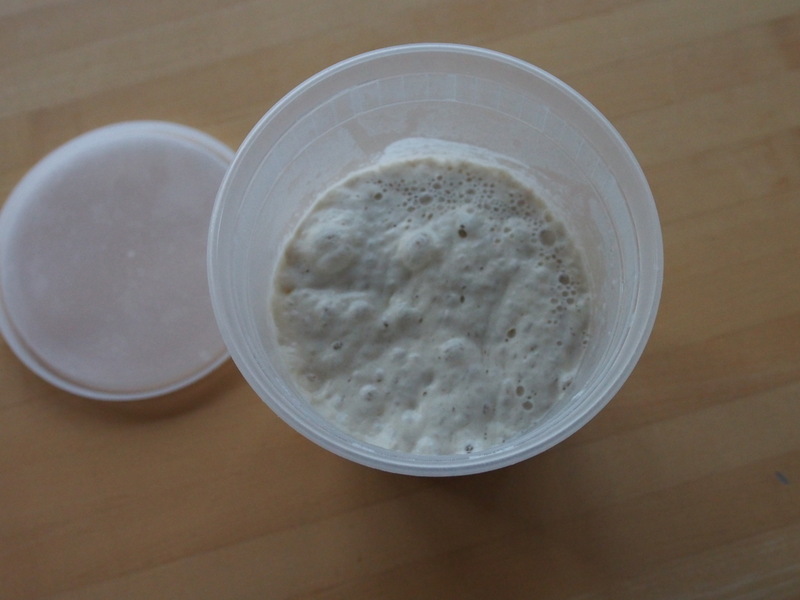
Once again I removed 15g, this time from Dead Fred, and fed it 1:2:2 with AP flour and a pinch of rye to make 75g of 100% hydration or Zombie (i.e un-Dead) Fred (ZF). ZF went into the proofing box at 78 F:
About 11 hours later there are signs of life. He really was just sleeping.
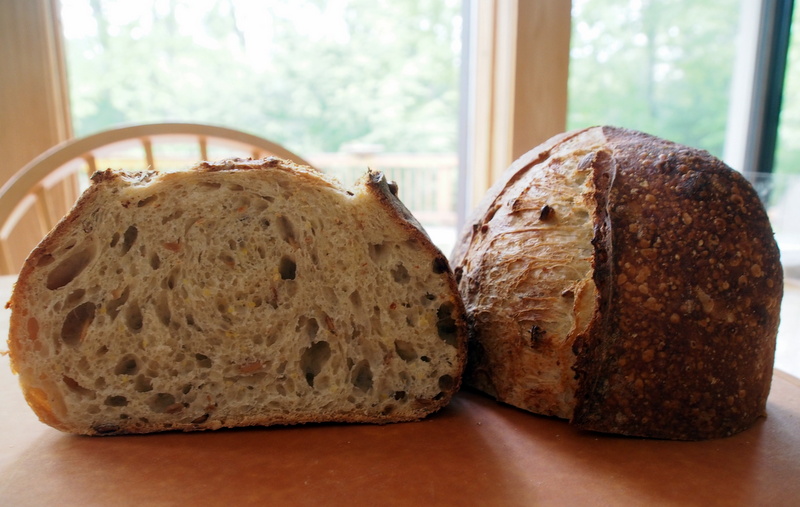
Looking good, but not quite as active as the original Fred yet. Normally I would have fed him again before building a levain - a multi-stage build - but timewise, if I tried to build a levain immediately it would fall into my usual baking schedule. So I went for it and built a 123% hydration levain for my spin on Hamelman’s Vermont Sourdough. Lately I’ve been doing mostly whole-grain breads, but I knew I’d have better chances with a whiter bread if the levain were a little weak.

After about 14 hours in the proofing box at 78F, the levain is looking good:
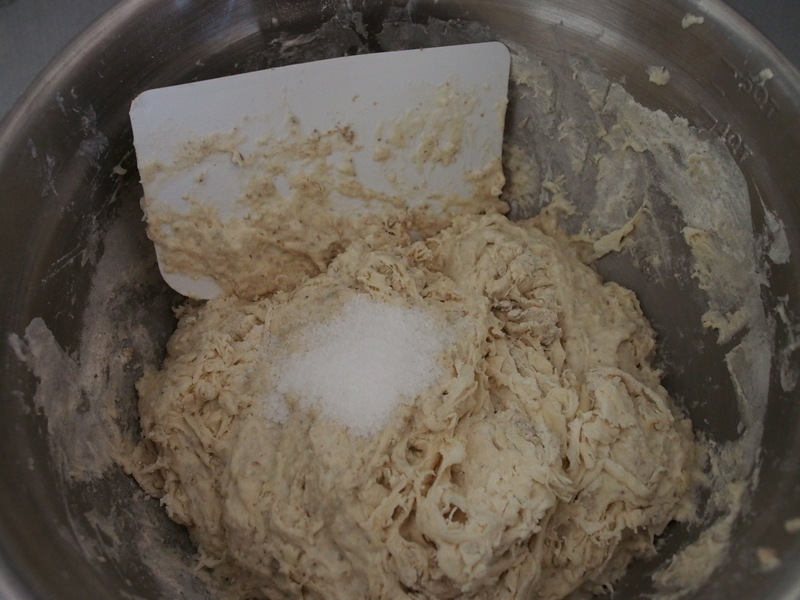
The levain and the remainder of the ingredients get rough-mixed:
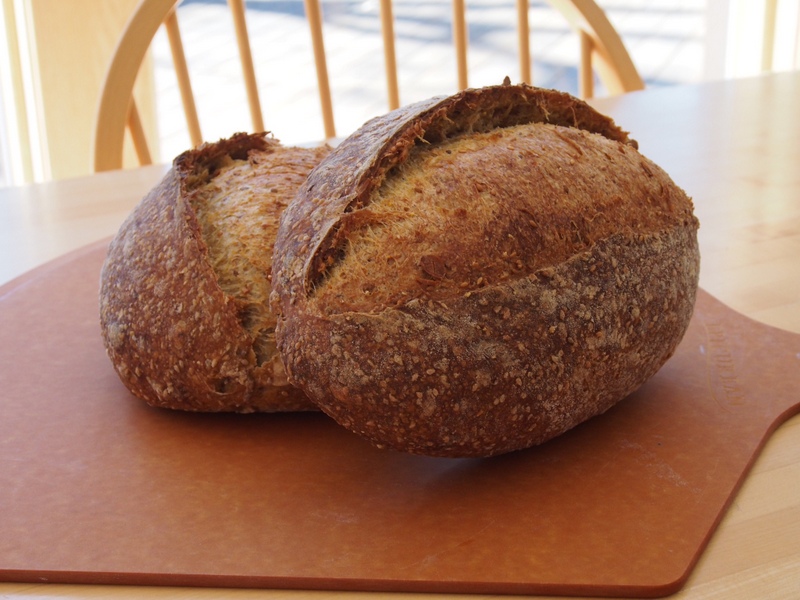
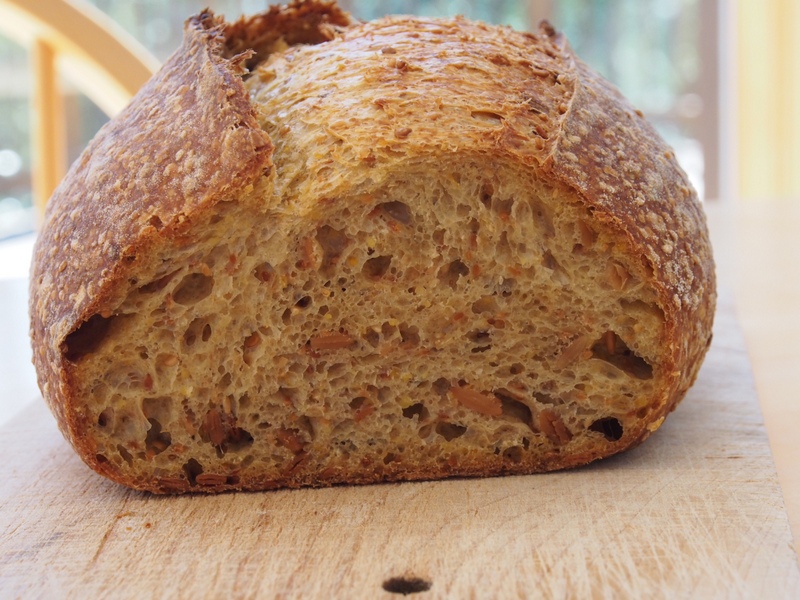
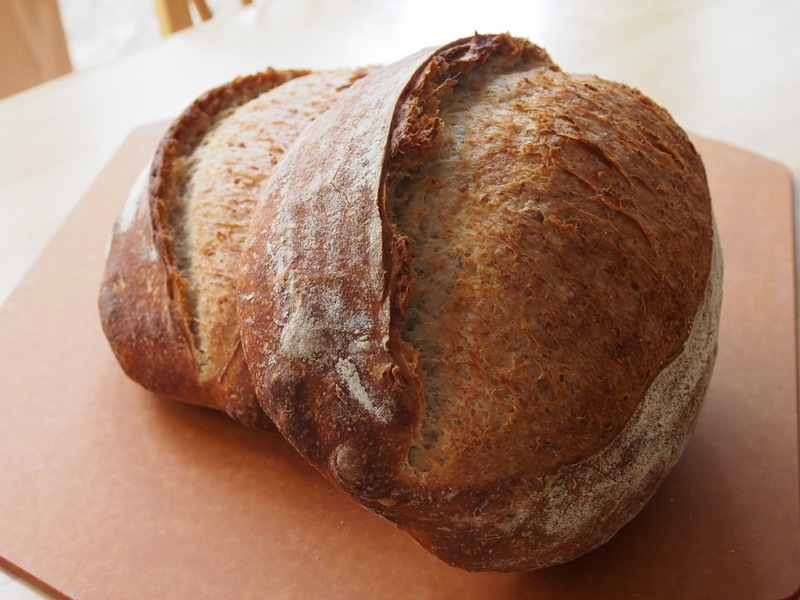
Then some slap-and-folding, a bulk ferment with a couple of folds, shape, retard overnight, and et voilà. From dead to bread.
There are a lot of yeastie beasties in a starter. They're simple organism, very focused on survival. Maybe your starter's not dead.
Just sleeping.


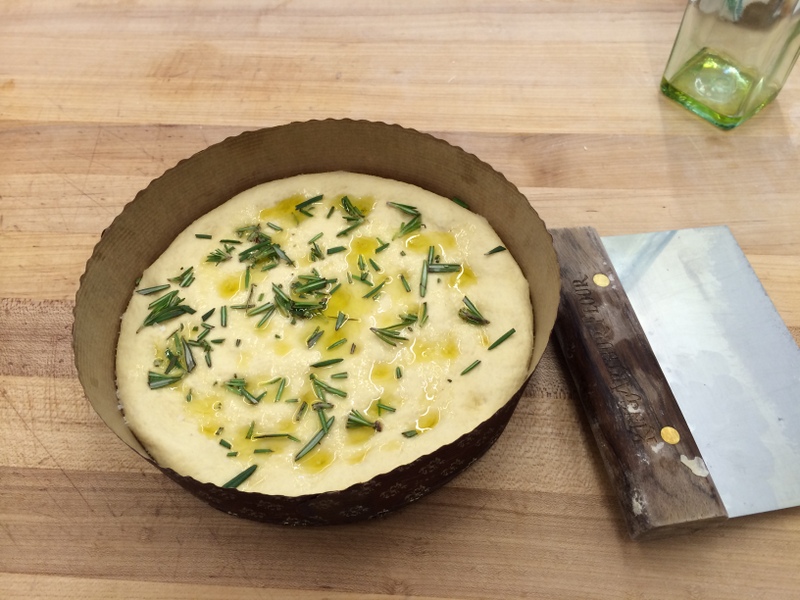 Foccacia Siciliano