After pinching off 100g of this combo; Yeast Water and Joe Ortiz’s Cumin, WW Sourdough starter for the donuts and English muffins this past Sunday, we used the remaining 230g of combo starter to make some semolina, durum atta and white whole wheat based herbed bialy’s that had a filling of home made chorizo, caramelized onions, 4 cheeses; brie, aged cheddar, pepper jack and pecorino cheese. The herbs were basil and cilantro.

What a beauty with the cilantro sprinkled on top.
The previous YW bialy’s we made here:
http://www.thefreshloaf.com/node/27712/yeast-water-rye-ww-garlic-chive-onion-cheese-and-chorizo-bialy%E2%80%99s
where we used YW only for the levain, used much lower % of whole grains and only used a small amount of pepper jack cheese with the only herb being a garlic chive in the dough. The best thing about the old bake was the unbelievable open crumb. Everything else about the new bake turned out better than the old one.

Chorizo and onion mix before caramelizing.
This bake built on the previous one without autolyse, but we gussied it up and baked it with Sylvia’s steam this time while making it a totally hand made dough. Because of the steam and50 Flower temperature, the bake took longer than the previous one that was 10 minute long. This one took 5 min of steam and then 10 more minutes to finish.
These bialys were just delicious with a slight SD tang that we hope will develop over the next 24 hours. We continue to be impressed with the JoeOrtizSDstarter and when mixed with the YW created a nice, light, open crumb and a crust that was thin and chewy. The filling was built up from the bottom starting with fresh basil a cube of double creme and a cube of Alpine Lace Swiss, then a tablespoon or so of the chorizo and caramelized onion mix, with 4 cubes of cheese on top (2 cubes of pepper jack, 1 cube of pecorino and a cube of aged, super sharp cheddar.

Before proofing.
The Method
was straight forward. The combo YW SD was built up over (2) 3 hour builds and (1) 2 hour build and then it was refrigerated for 72 hours. But there was no need to refrigerate it other than to fit my scedule
The chorizo and onions were sautéed until caramelized and refrigerated until needed.

Spooned and docked after proofing.
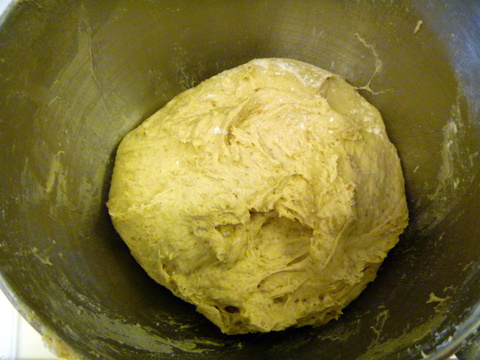
After warming up, the levain was mixed with the dough water to break it up and the salt, flour, dried potato flakes, barley malt, molasses and butter were added to the mix. After combining by hand, the dough was emptied out to a slightly floured surface and kneaded by hand for 5 minutes. It was fully developed and the dough rebounded immediately when two fingers were poked into the dough. The dough was rested for 20 minutes and then 2 sets of 4 S & F’s each were done on 15 minute intervals. The dough was then allowed to ferment for 1 ½ hours until it had nearly doubled.

Sylvia's Steam in the microwave heating up.
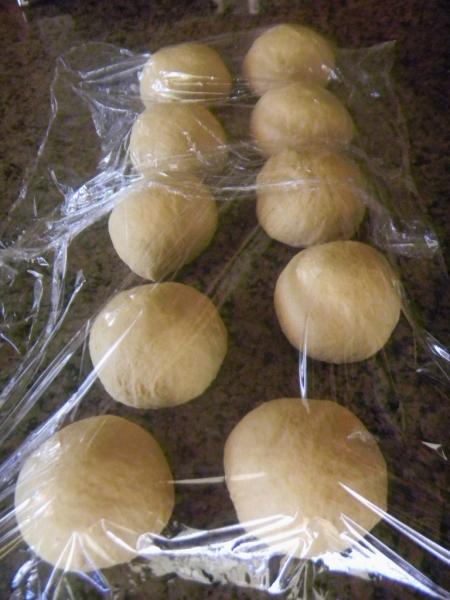
The dough was divided into (10) roughly 100g pieces and hand formed into tight balls. These balls were rested for 10 minutes and then formed into little pizza shapes by picking them up and hanging them in the vertical while pressing out the centers.

Mis en place for filling the unspooned and undocked bialys
These were placed on semolina sprinkled parchment paper on un-rimmed baking sheets. The centers were then pressed out again before covering with plastic wrap to proof for another hour. At the 30 minute proofing mark the oven was preheated to 500 F regular bake and Sylvia’s Steam was prepared in the microwave and placed in the bottom of the oven.
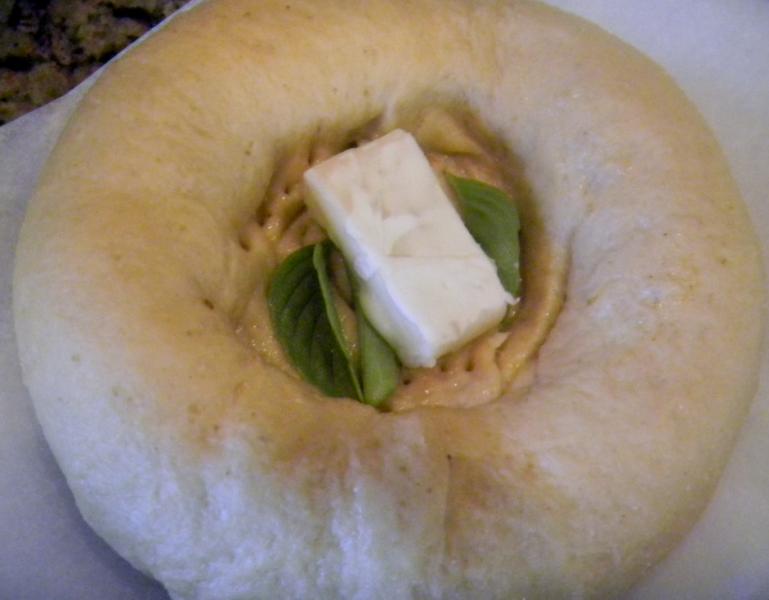
Basil and brie first then Alpine Lace went in too on this level but not shown for som reason..
After proofing, the centers of the bialys were then pressed out flat again with a wet spoon and the centers docked with a fork to keep them from puffing in the oven. Some basil leaves were placed in the bottom with a cube of brie and a cube of Alpine Lace Swiss, a tablespoon of chorizo was added and flattened out to fill the well and 2 cubes of pepper jack and 1 cube of each of aged cheddar and pecorino were placed on top.

Chorizo, and 3 more cheeses, pecorino in the middle, flanked by cheddar and pepperjack.
The bialys were placed onto the middle oven rack with the stone one very top rack and steam below. At 2 minutes the temperature was turned down to 450 F regular bake. At 5 minutes the steam was removed and the temperature turned down to 425 F convection this time as the bialys were rotated 180 degrees on the oven rack. At the 10 minute mark the bialys were rotated 180 degree again and at 15 minutes they were done and moved to cooling racks. The fresh chopped cilantro was then sprinkled on top

Before the cilantro went on.
The formula follows the pix’s.

Cut vertical with my daughter apprentice holding before scarfing. She liked them!

Cut horizontal. Not as open as the first YW only ones but these tasted so much better. Will make them again.
| SD & YW Semolina, Durrum Atta, WWW Bialy's w/ Caramelized Onion, Chorizo and 4 cheeses | | | | | |
| | | | | | |
| Mixed Starter | Build 1 | Build 2 | Build 3 | Total | % |
| SD Starter | 20 | 0 | 0 | 20 | 3.48% |
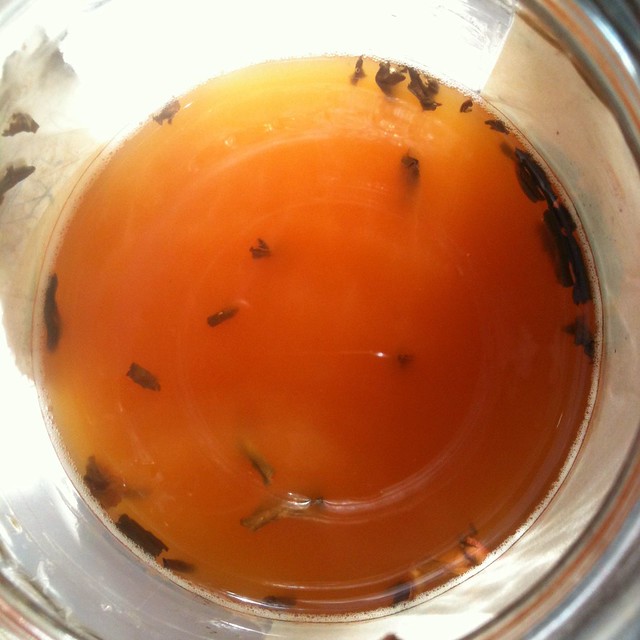
| Yeast Water | 35 | 0 | 0 | 35 | 7.61% |
| S. White Wheat | 21 | 17 | 0 | 38 | 8.26% |
| Durum Atta | 16 | 0 | 17 | 33 | 7.17% |
| WWW | 0 | 17 | 17 | 34 | 7.39% |
| Water | 0 | 35 | 35 | 70 | 15.22% |
| Total Starter | 92 | 69 | 69 | 230 | 50.00% |
| | | | | | |
| Starter | | | | | |
| Hydration | 100.00% | | | | |
| Levain % of Total | 22.14% | | | | |
| | | | | | |
| Dough Flour | | % | | | |
| Durum Atta | 100 | 21.74% | | | |
| Bread Flour | 200 | 43.48% | | | |
| White WW | 50 | 10.87% | | | |
| Potato Flakes | 10 | 2.17% | | | |
| Semolina | 100 | 21.74% | | | |
| Dough Flour | 460 | 100.00% | | | |
| Salt | 9 | 1.96% | | | |
| Water | 260 | 56.52% | | | |
| Dough Hydration | 56.52% | | | | |
| | | | | | |
| Total Flour | 575 | | | | |
| Water - 340, YW -35 | 375 | | | | |
| T. Dough Hydration | 65.22% | | | | |
| Whole Grain % | 46.09% | | | | |
| | | | | | |
| Hydration w/ Adds | 70.09% | | | | |
| Total Weight | 1,039 | | | | |
| | | | | | |
| Add - Ins | | % | | | |
| Barley Malt | 20 | 4.35% | | | |
| Molasses | 20 | 4.35% | | | |
| Butter | 40 | 8.70% | | | |
| Total Add Ins | 80 | 17.39% | | | |

Apprentice takes a nice 105 F bake herself in the backyard oven. Dumb Doxie !!!